How to Grow Sweet Peppers: A Gardener’s Guide to a Bountiful Harvest
Sweet peppers are one of the most rewarding vegetables to grow in a home garden. Their crisp texture and mild, sweet flavor make them a favorite for fresh eating, cooking, and preserving. Over the decades I’ve been gardening, I’ve experimented with dozens of sweet pepper varieties, tested different soil amendments, and learned how to deal with common pepper-growing challenges. In this guide, I’ll share both my personal experience and expert-backed techniques to help you successfully grow sweet peppers from seed to harvest.
Why Grow Your Own Sweet Peppers?
Growing sweet peppers at home gives you access to fresher, tastier produce than anything you’ll find in a grocery store. Store-bought peppers are often picked before they fully ripen, which means they never develop their full sweetness. When you grow your own, you control the ripening process and can enjoy vine-ripened peppers bursting with flavor. Plus, homegrown peppers are free from the pesticides and wax coatings often found in commercial produce.
I’ve grown bell peppers, banana peppers, and mini snacking peppers in raised beds, containers, and in-ground plots. Each method has its advantages, but no matter where you plant them, giving peppers the right conditions is key to a successful harvest.
Best Growing Conditions for Sweet Peppers
1. Sunlight and Location
Know What to Plant This Week
Every week I answer the gardener's most important question: what should I plant now? Get seasonal planting advice free — or go Pro for my full Soil Temperature Garden Report, with soil temperature, moisture, weather trends, and crop-by-crop recommendations.
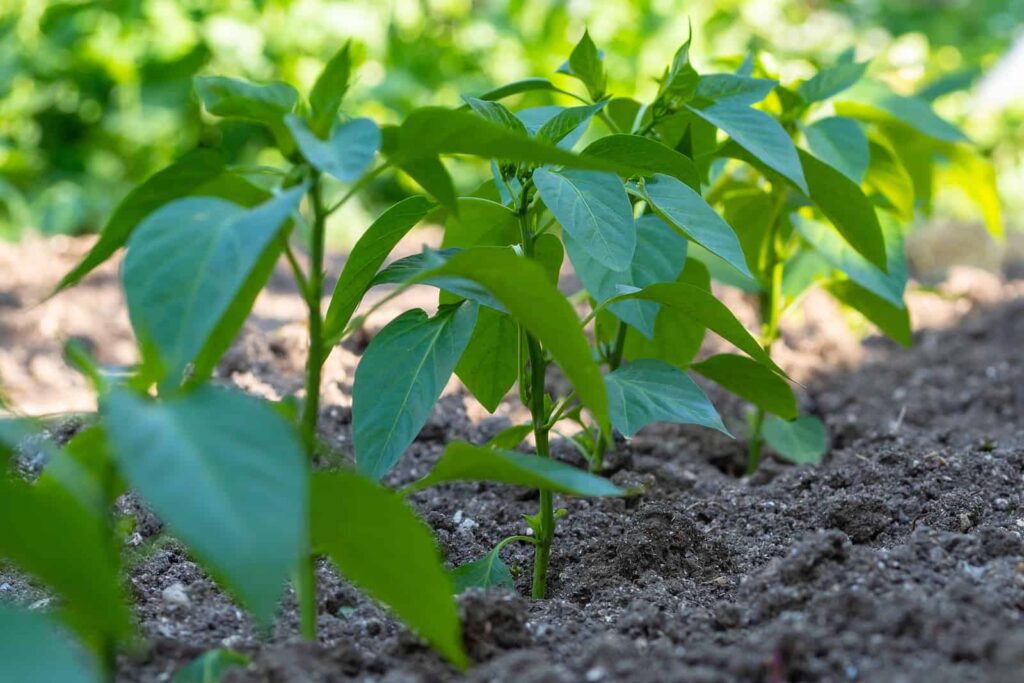
Sweet peppers thrive in full sun, meaning they need at least 6 to 8 hours of direct sunlight per day. If you plant them in a spot that gets too much shade, your peppers will grow slowly and may produce fewer fruits. I’ve found that placing them in a sunny, south-facing garden bed works best.
2. Soil Preparation
Peppers prefer well-draining, fertile soil with a pH between 6.0 and 6.8. Before planting, I always mix in compost and aged manure to improve soil structure and nutrient levels. If your soil is heavy clay, consider growing peppers in raised beds or containers to improve drainage.
3. Temperature Requirements
Peppers are warm-season crops that do not tolerate frost. The best time to plant them outdoors is after the last frost date, when soil temperatures have warmed to at least 60°F (16°C). I always start my pepper seedlings indoors about 8 to 10 weeks before my last frost date, so they are strong and ready to go into the garden when the weather warms up.
Planting Sweet Peppers
Starting Seeds Indoors
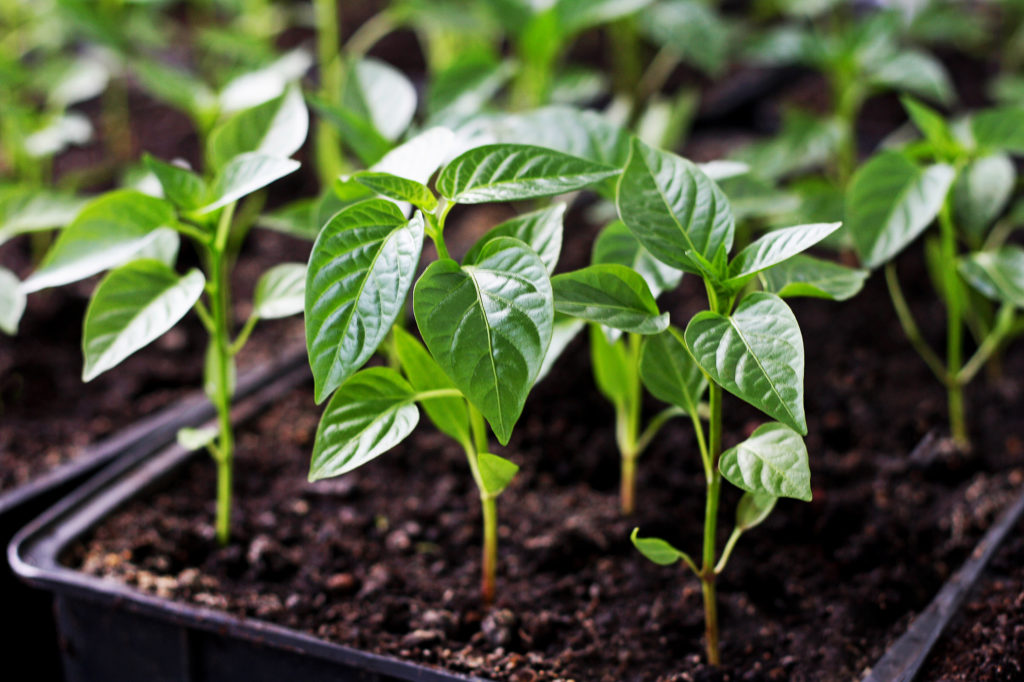
I’ve had the most success growing sweet peppers from seed indoors under grow lights. Pepper seeds germinate best at temperatures between 70-85°F (21-29°C). To speed up germination, I use a heat mat under my seed trays. Peppers can take 7-21 days to sprout, so patience is key!
Start pepper seeds indoors about 10 weeks before the date you intend to set peppers into the garden. Don’t rush peppers into the garden. Transplant pepper seedlings into the garden 2 to 3 weeks after the last frost in spring, after the soil temperature has warmed to at least 65°F (18°C).
Peppers mature in 60 to 95 days depending on the variety.
Start pepper seed indoors 7 to 10 weeks before the date you intend to set seedlings into the garden.
- Sow 3 to 4 seeds in a pot or across flats.
- Sow seed ¼ to ½ inch (7-13 mm) deep.
- Germination soil temperature is 75-95°F (24-35°C); the optimum soil temperature for germinating seed is 85°F (29°C).
- Germination takes 7 to 10 days at 85°F (29°C) or warmer.
- Keep the seed starting mix just moist until seedlings emerge.
- Clip away the weaker seedlings once the strongest seedling is about 2 inches (5 cm) tall.
- Seedlings started indoors should be kept under grow light or in a sunny window after germination. Keep the indoor nighttime temperature above 62°F (17°C).
- Water to keep the seed starting mix from drying.
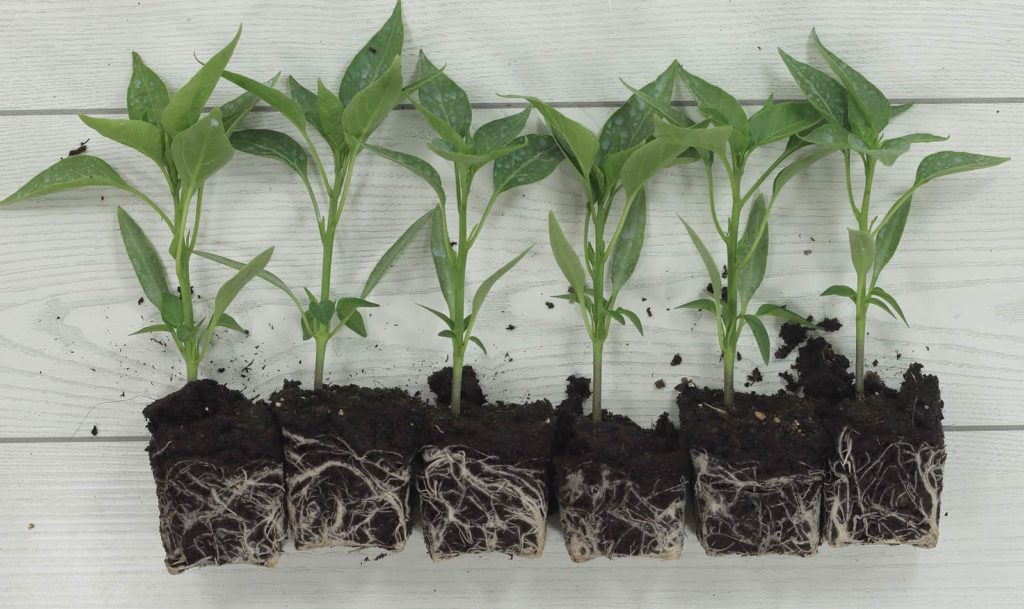
- Transfer seedlings to a larger container once they are 2 to 4 inches (5-10 cm) tall; be sure that seedlings have sufficient room for root growth. This process is called “potting up.” Continue to pot up seedlings as they outgrow containers—until they are transplanted into the garden or a very large container.
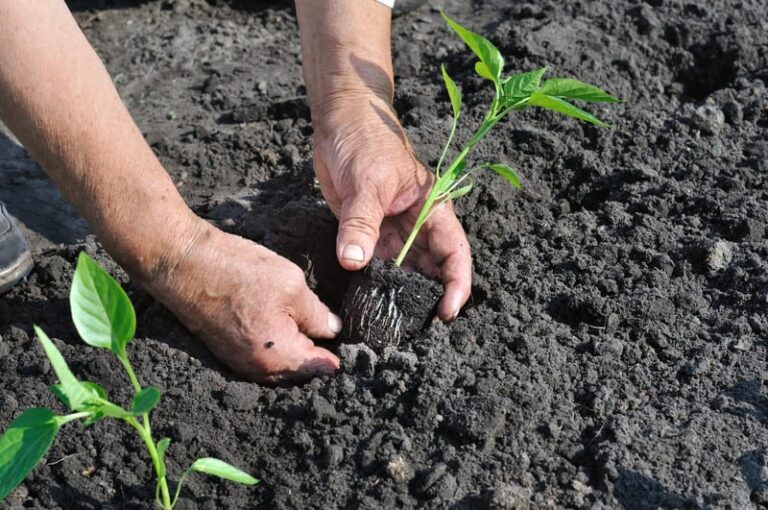
Transplanting Seedlings
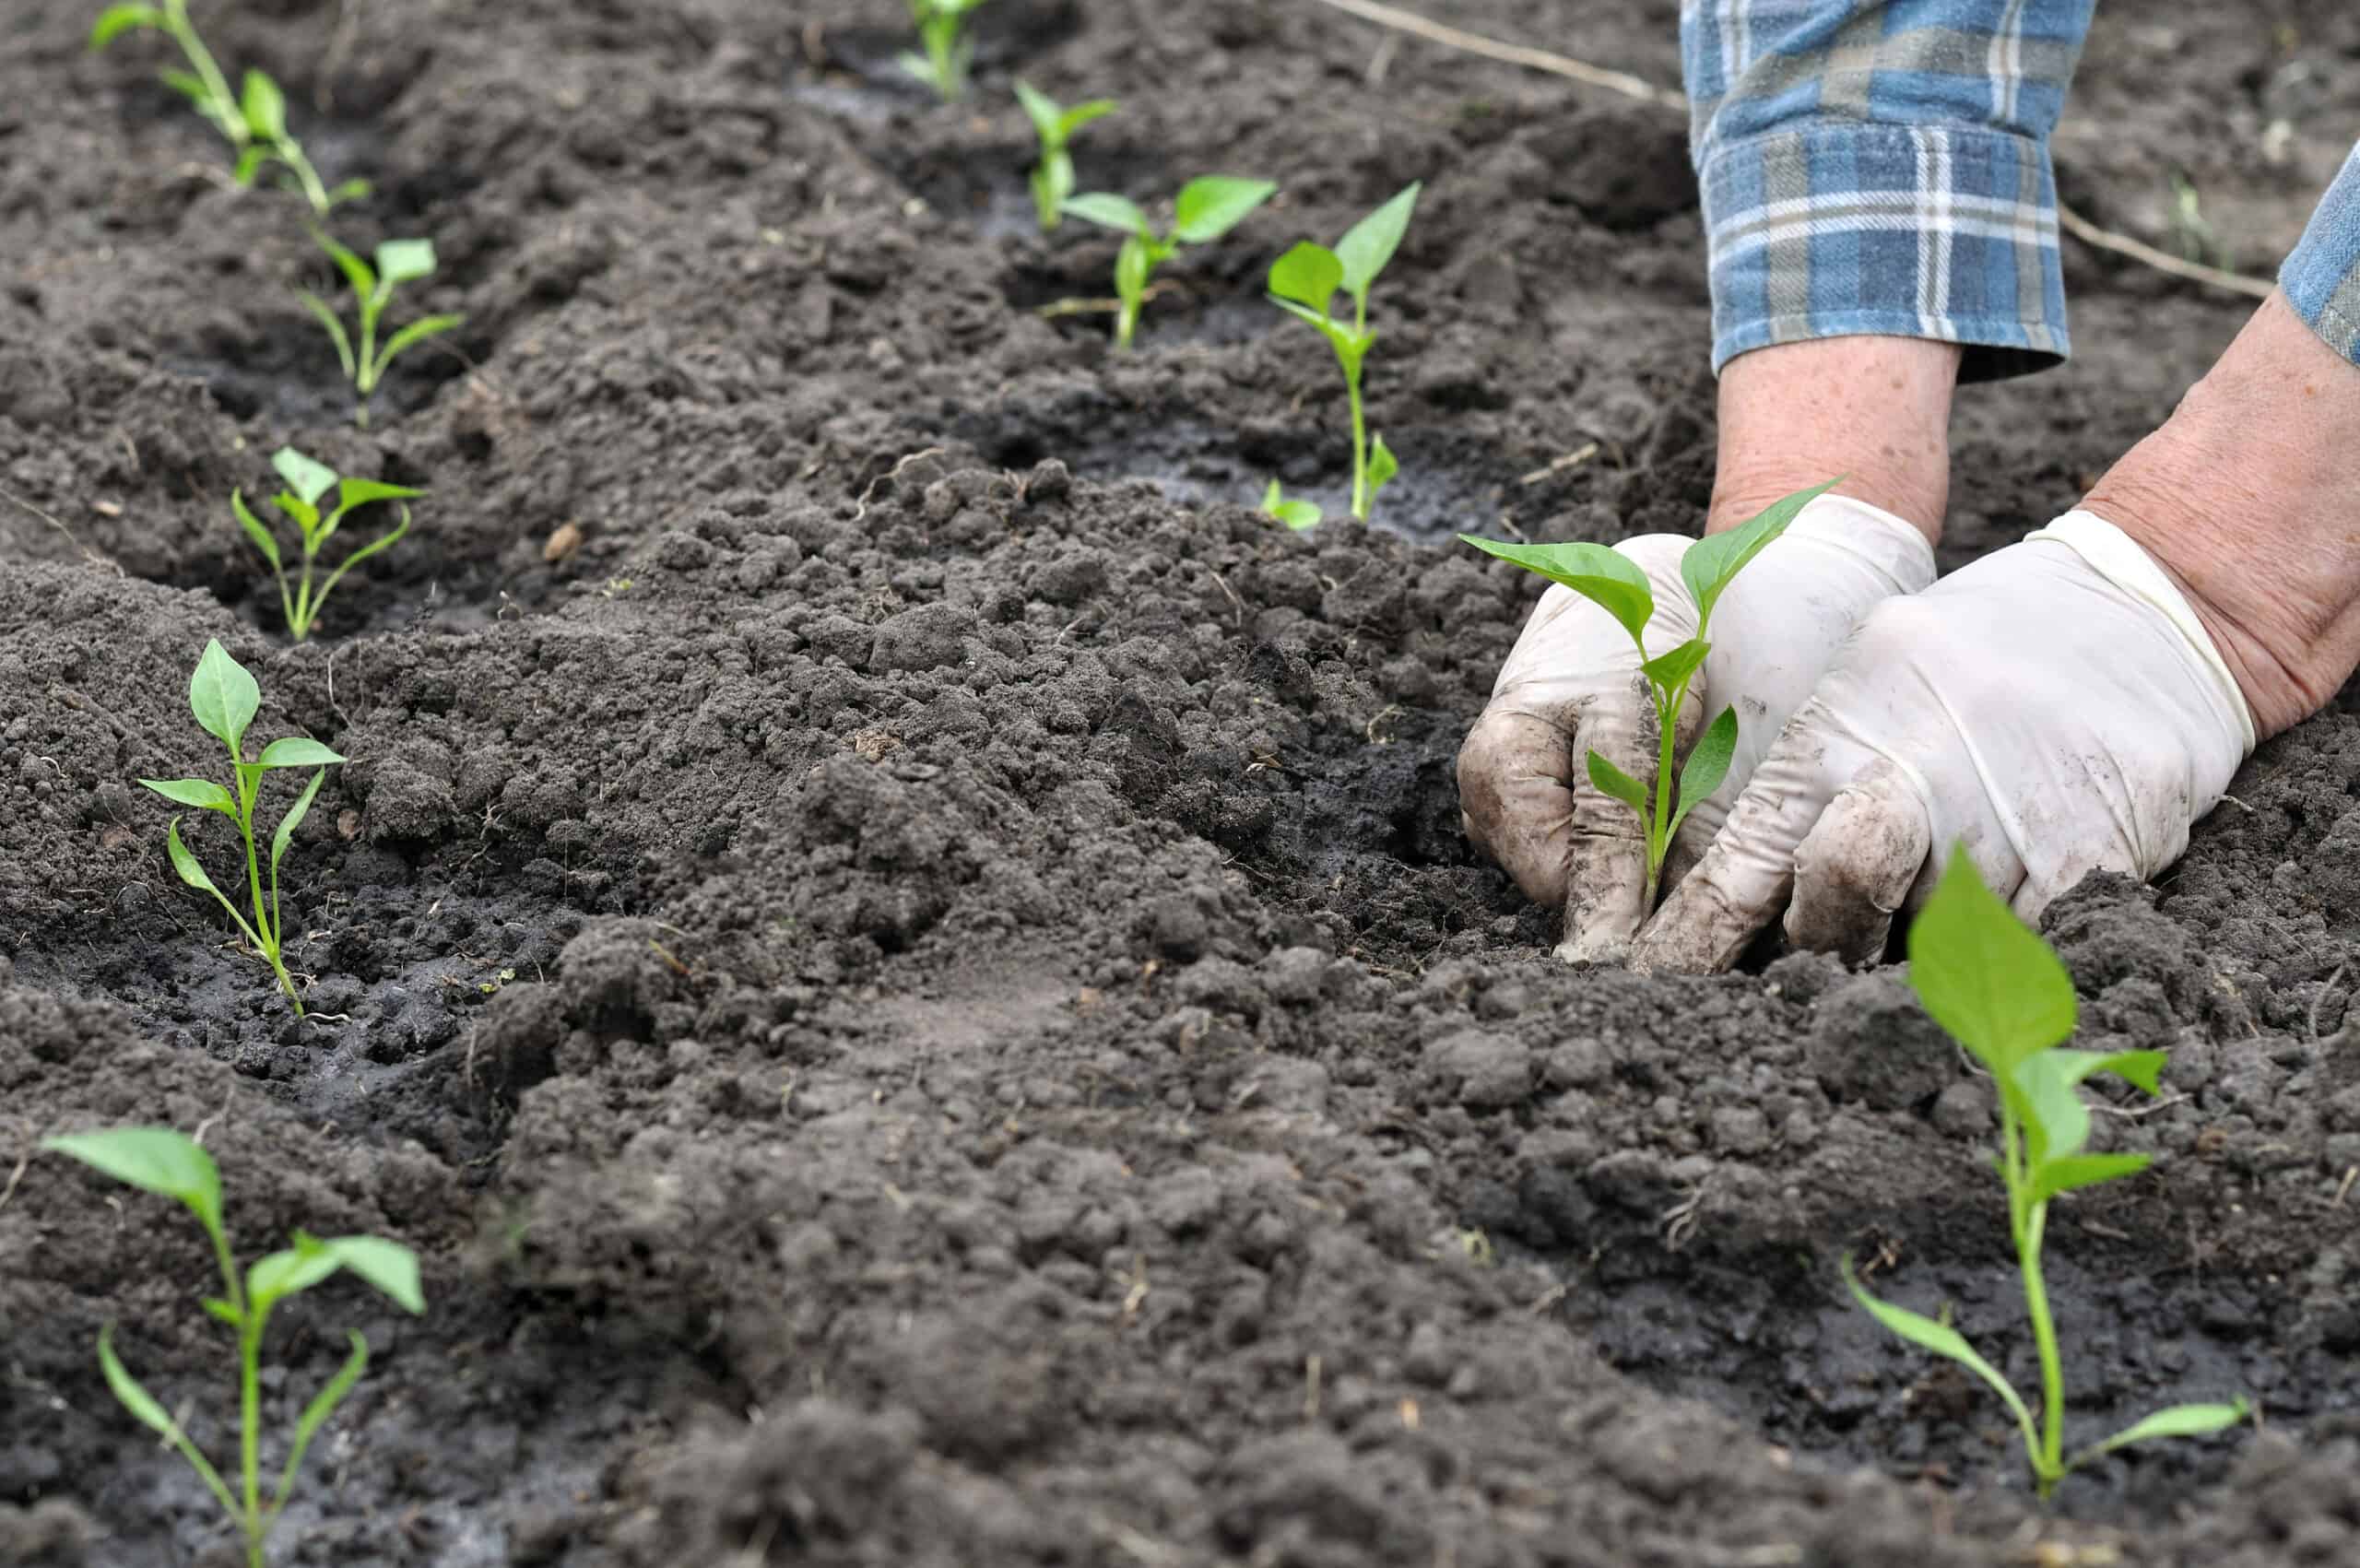
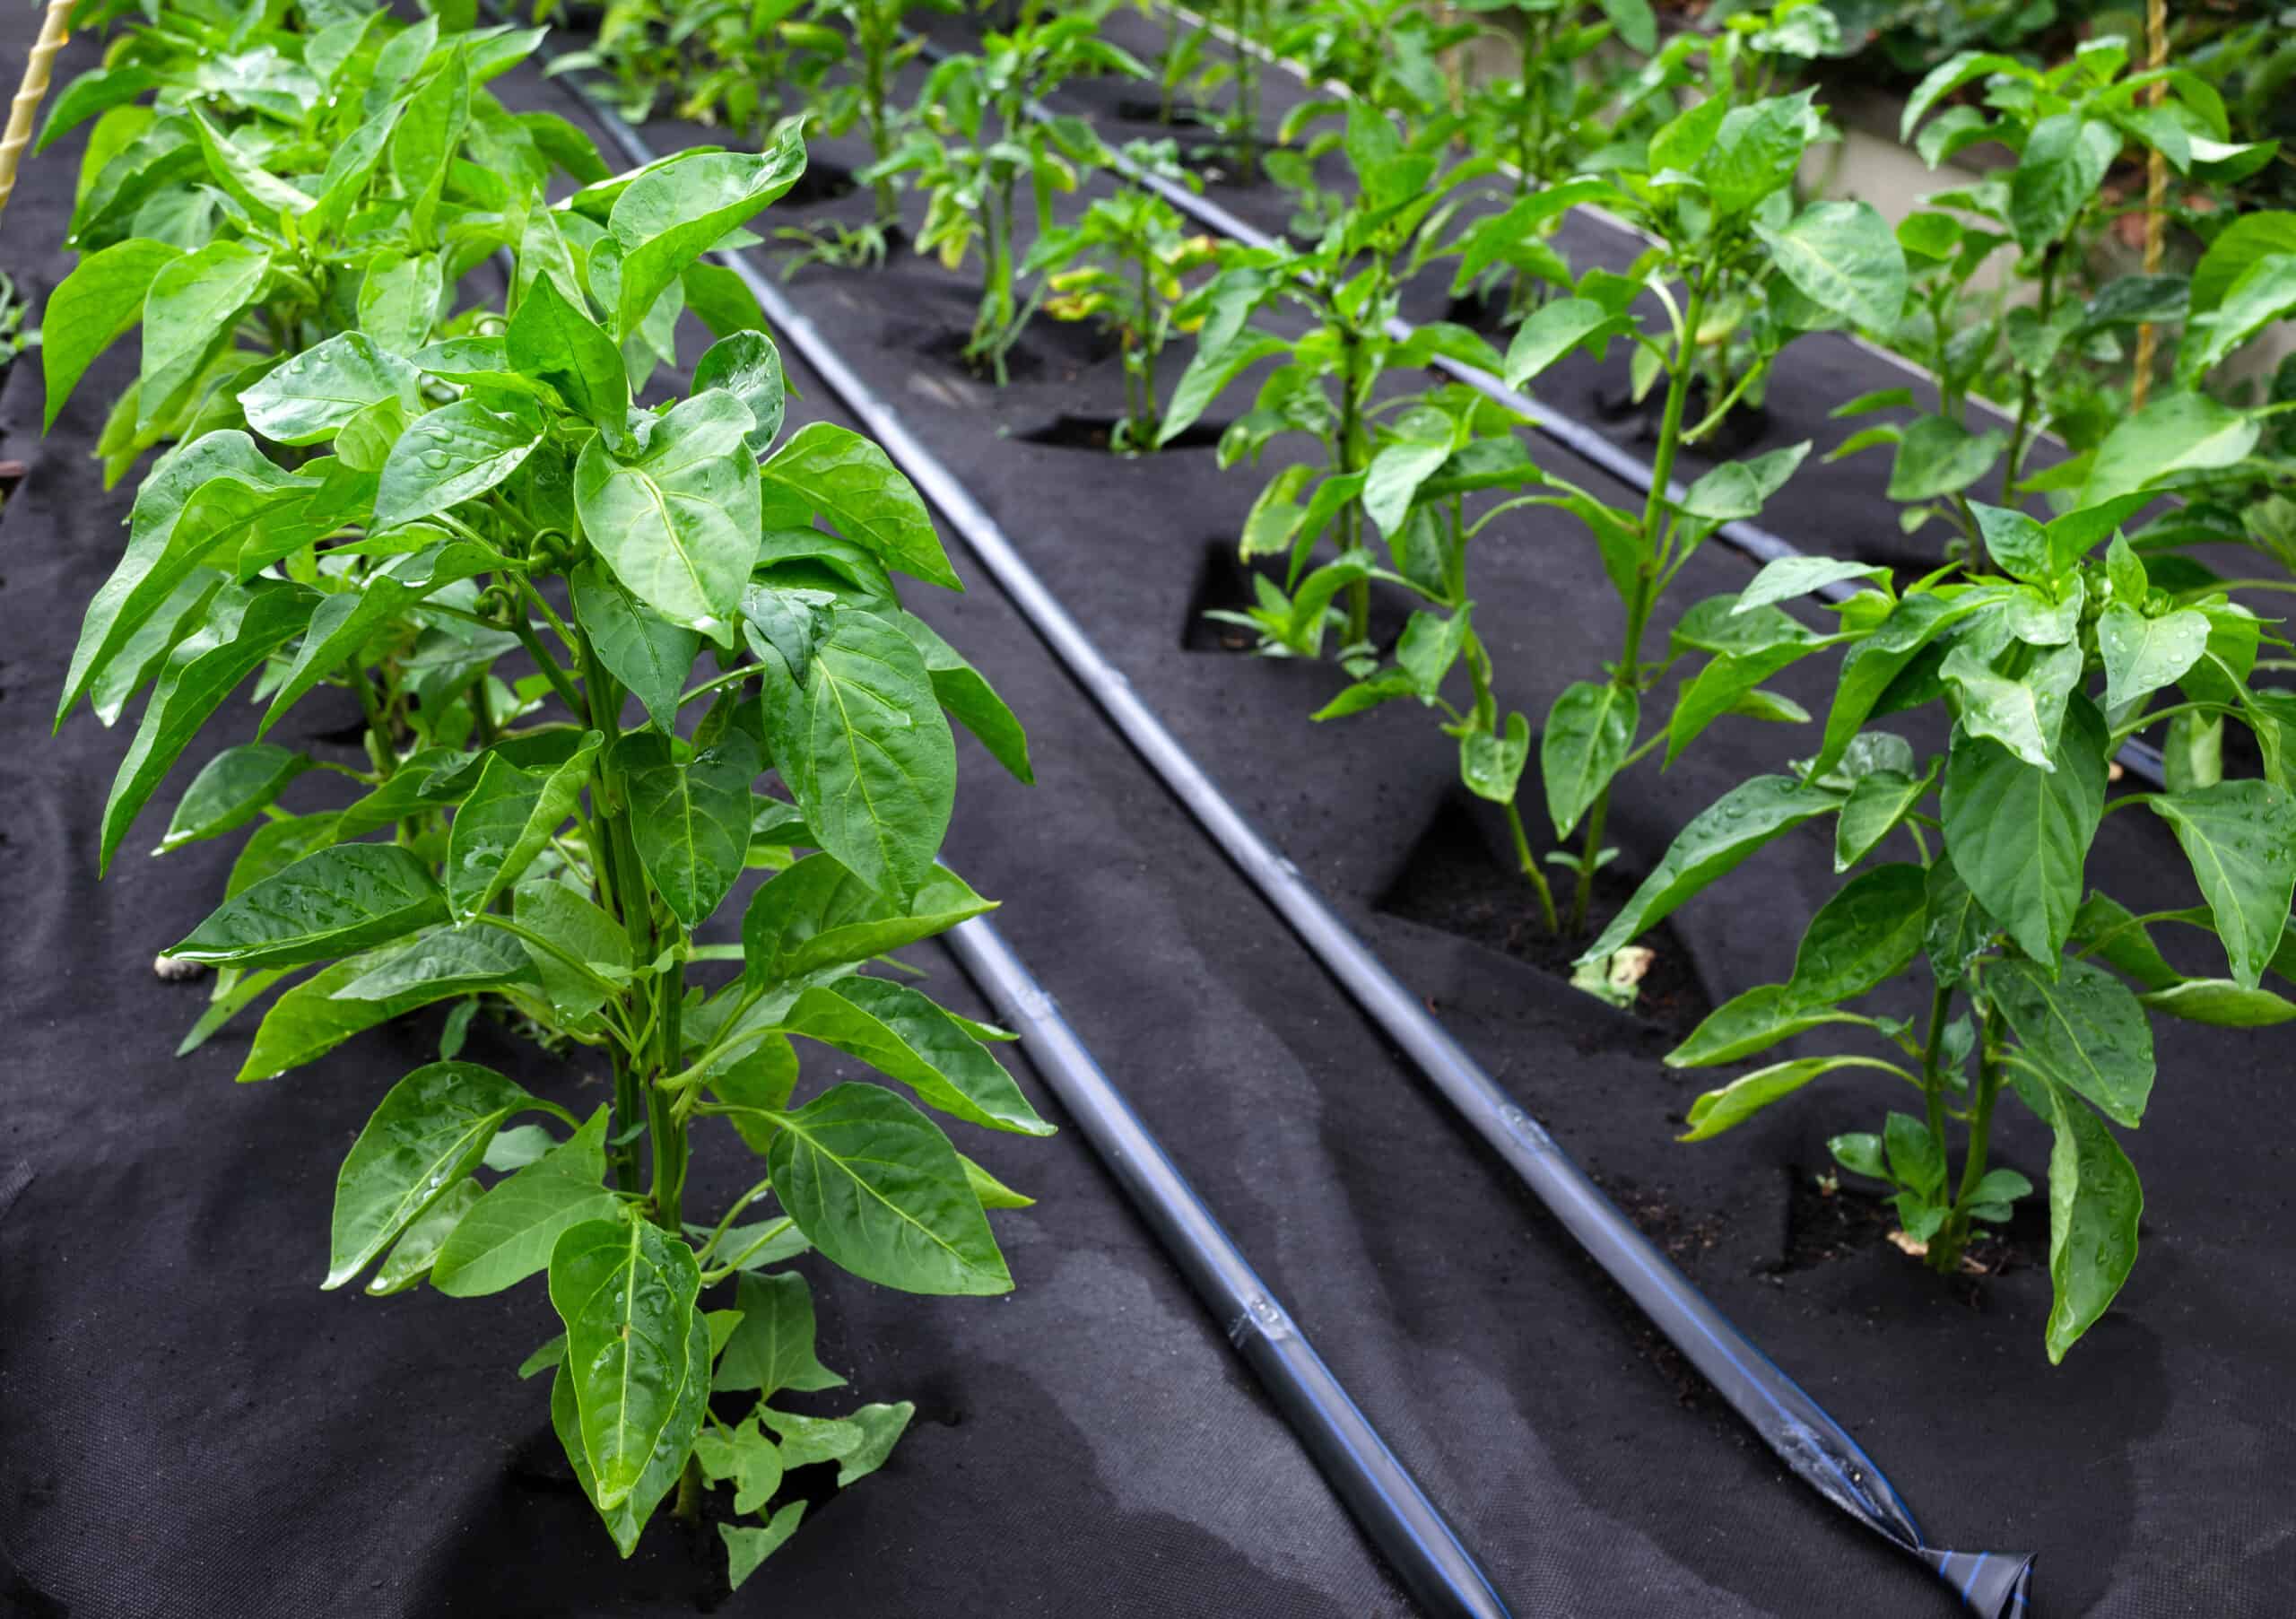
Once seedlings are about 6-8 inches tall with strong stems, they are ready to be hardened off and transplanted outdoors. Hardening off involves gradually exposing them to outdoor conditions over a period of 7-10 days. When transplanting, I space my plants 18-24 inches apart to allow for good air circulation, which helps prevent diseases.
Peppers should be closely spaced. The leaves of mature pepper plants should touch each other. Set bell peppers 18 inches apart and hot peppers 12 inches apart.
- Space pepper plants 18 to 24 inches (45-61cm) apart in each direction.
- Space rows 24 to 36 inches (61-91cm) apart.
Pepper Planting Details
Plant peppers where they will succeed. Peppers want full sun and deep, sandy, or gravelly loam–meaning rich and well-drained. Add plenty of aged-compost and organic matter to planting beds in advance of transplanting peppers. A pH of 5.5 to 7.0 is optimal. Raised beds will give peppers the soil warmth they need–and black plastic sheeting or mulch will help warm the soil. Magnesium helps peppers develop fruits; work a dusting of Epsom salts or Dolomitic limestone into the bed just before planting. Side-dress peppers with compost when flowers appear and again three weeks later.
- Sowing depth: ¼ inch (6mm)
- Space between plants: 18-24 inches
- Days to sprout: 10
- Days to harvest: 65-95
- Storage period: 10 weeks
- Seeds per 100-row feet: 1 packet (75 plants)
- Yield per 100-row feet: 50 pounds
Caring for Sweet Pepper Plants
1. Watering
Peppers need consistent moisture, but they don’t like soggy soil. I water deeply 1-2 times per week, ensuring that the soil stays evenly moist but not waterlogged. Mulching around the plants with straw or compost helps retain soil moisture and reduces the risk of blossom end rot.
2. Fertilizing
I feed my sweet peppers with a balanced organic fertilizer (such as a 5-10-10 blend) every 3-4 weeks during the growing season. Avoid using too much nitrogen, as it can lead to lush green growth but fewer fruits. Compost tea and fish emulsion also work well for boosting plant health.
3. Staking and Support
Many gardeners don’t realize that sweet pepper plants benefit from staking. Without support, heavy fruiting plants can topple over. I use small stakes or tomato cages to keep my pepper plants upright and prevent breakage.
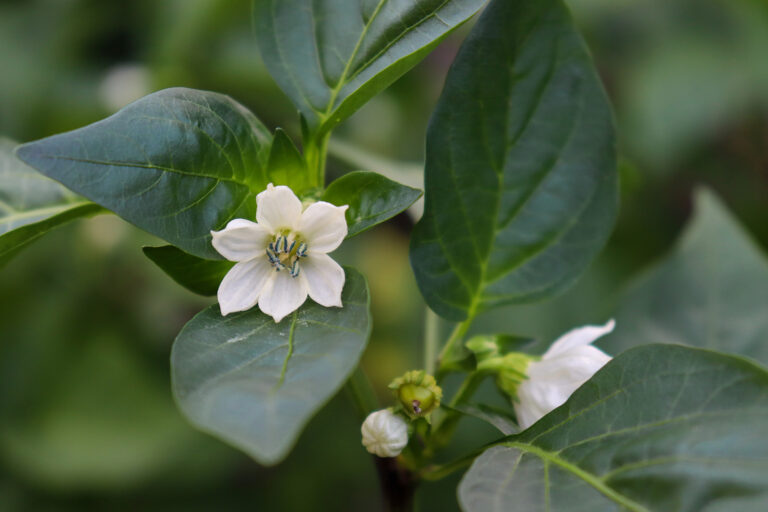
4. Pollination and Flower Care
Peppers are self-pollinating, but I’ve noticed that giving the plants a gentle shake helps improve pollination and fruit set. If you notice flowers dropping off before fruit forms, it could be due to excessive heat or lack of pollinators. Providing some afternoon shade during extreme heat waves can help.
Common Sweet Pepper Problems and How to Solve Them
Pests
- Aphids & Spider Mites: If I see tiny bugs clustering on my plants, I spray them with a homemade neem oil solution or introduce ladybugs as a natural control method.
- Pepper Weevils: These pests bore into fruit and ruin the harvest. The best solution is to remove affected fruits and practice good crop rotation.
Diseases
- Blossom End Rot: Caused by calcium deficiency and irregular watering. Mulching and steady moisture levels help prevent this issue.
- Bacterial Spot: Can cause dark spots on leaves and fruit. Prevent by watering at the base and avoiding overhead watering.

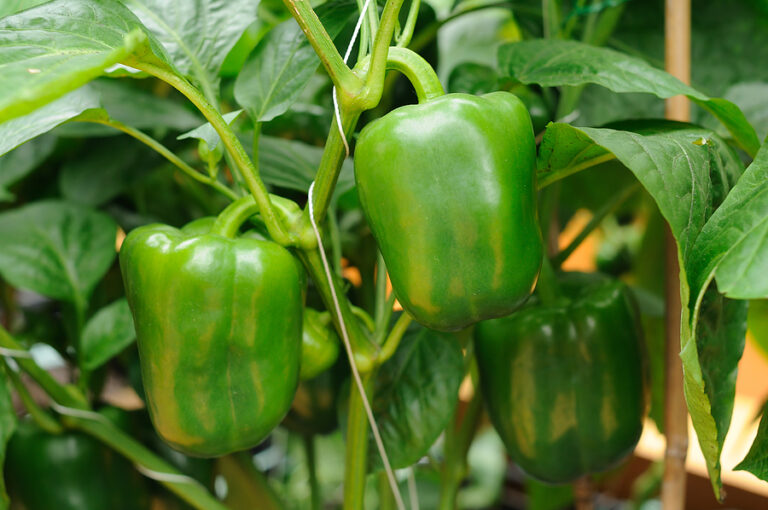
Harvesting Sweet Peppers
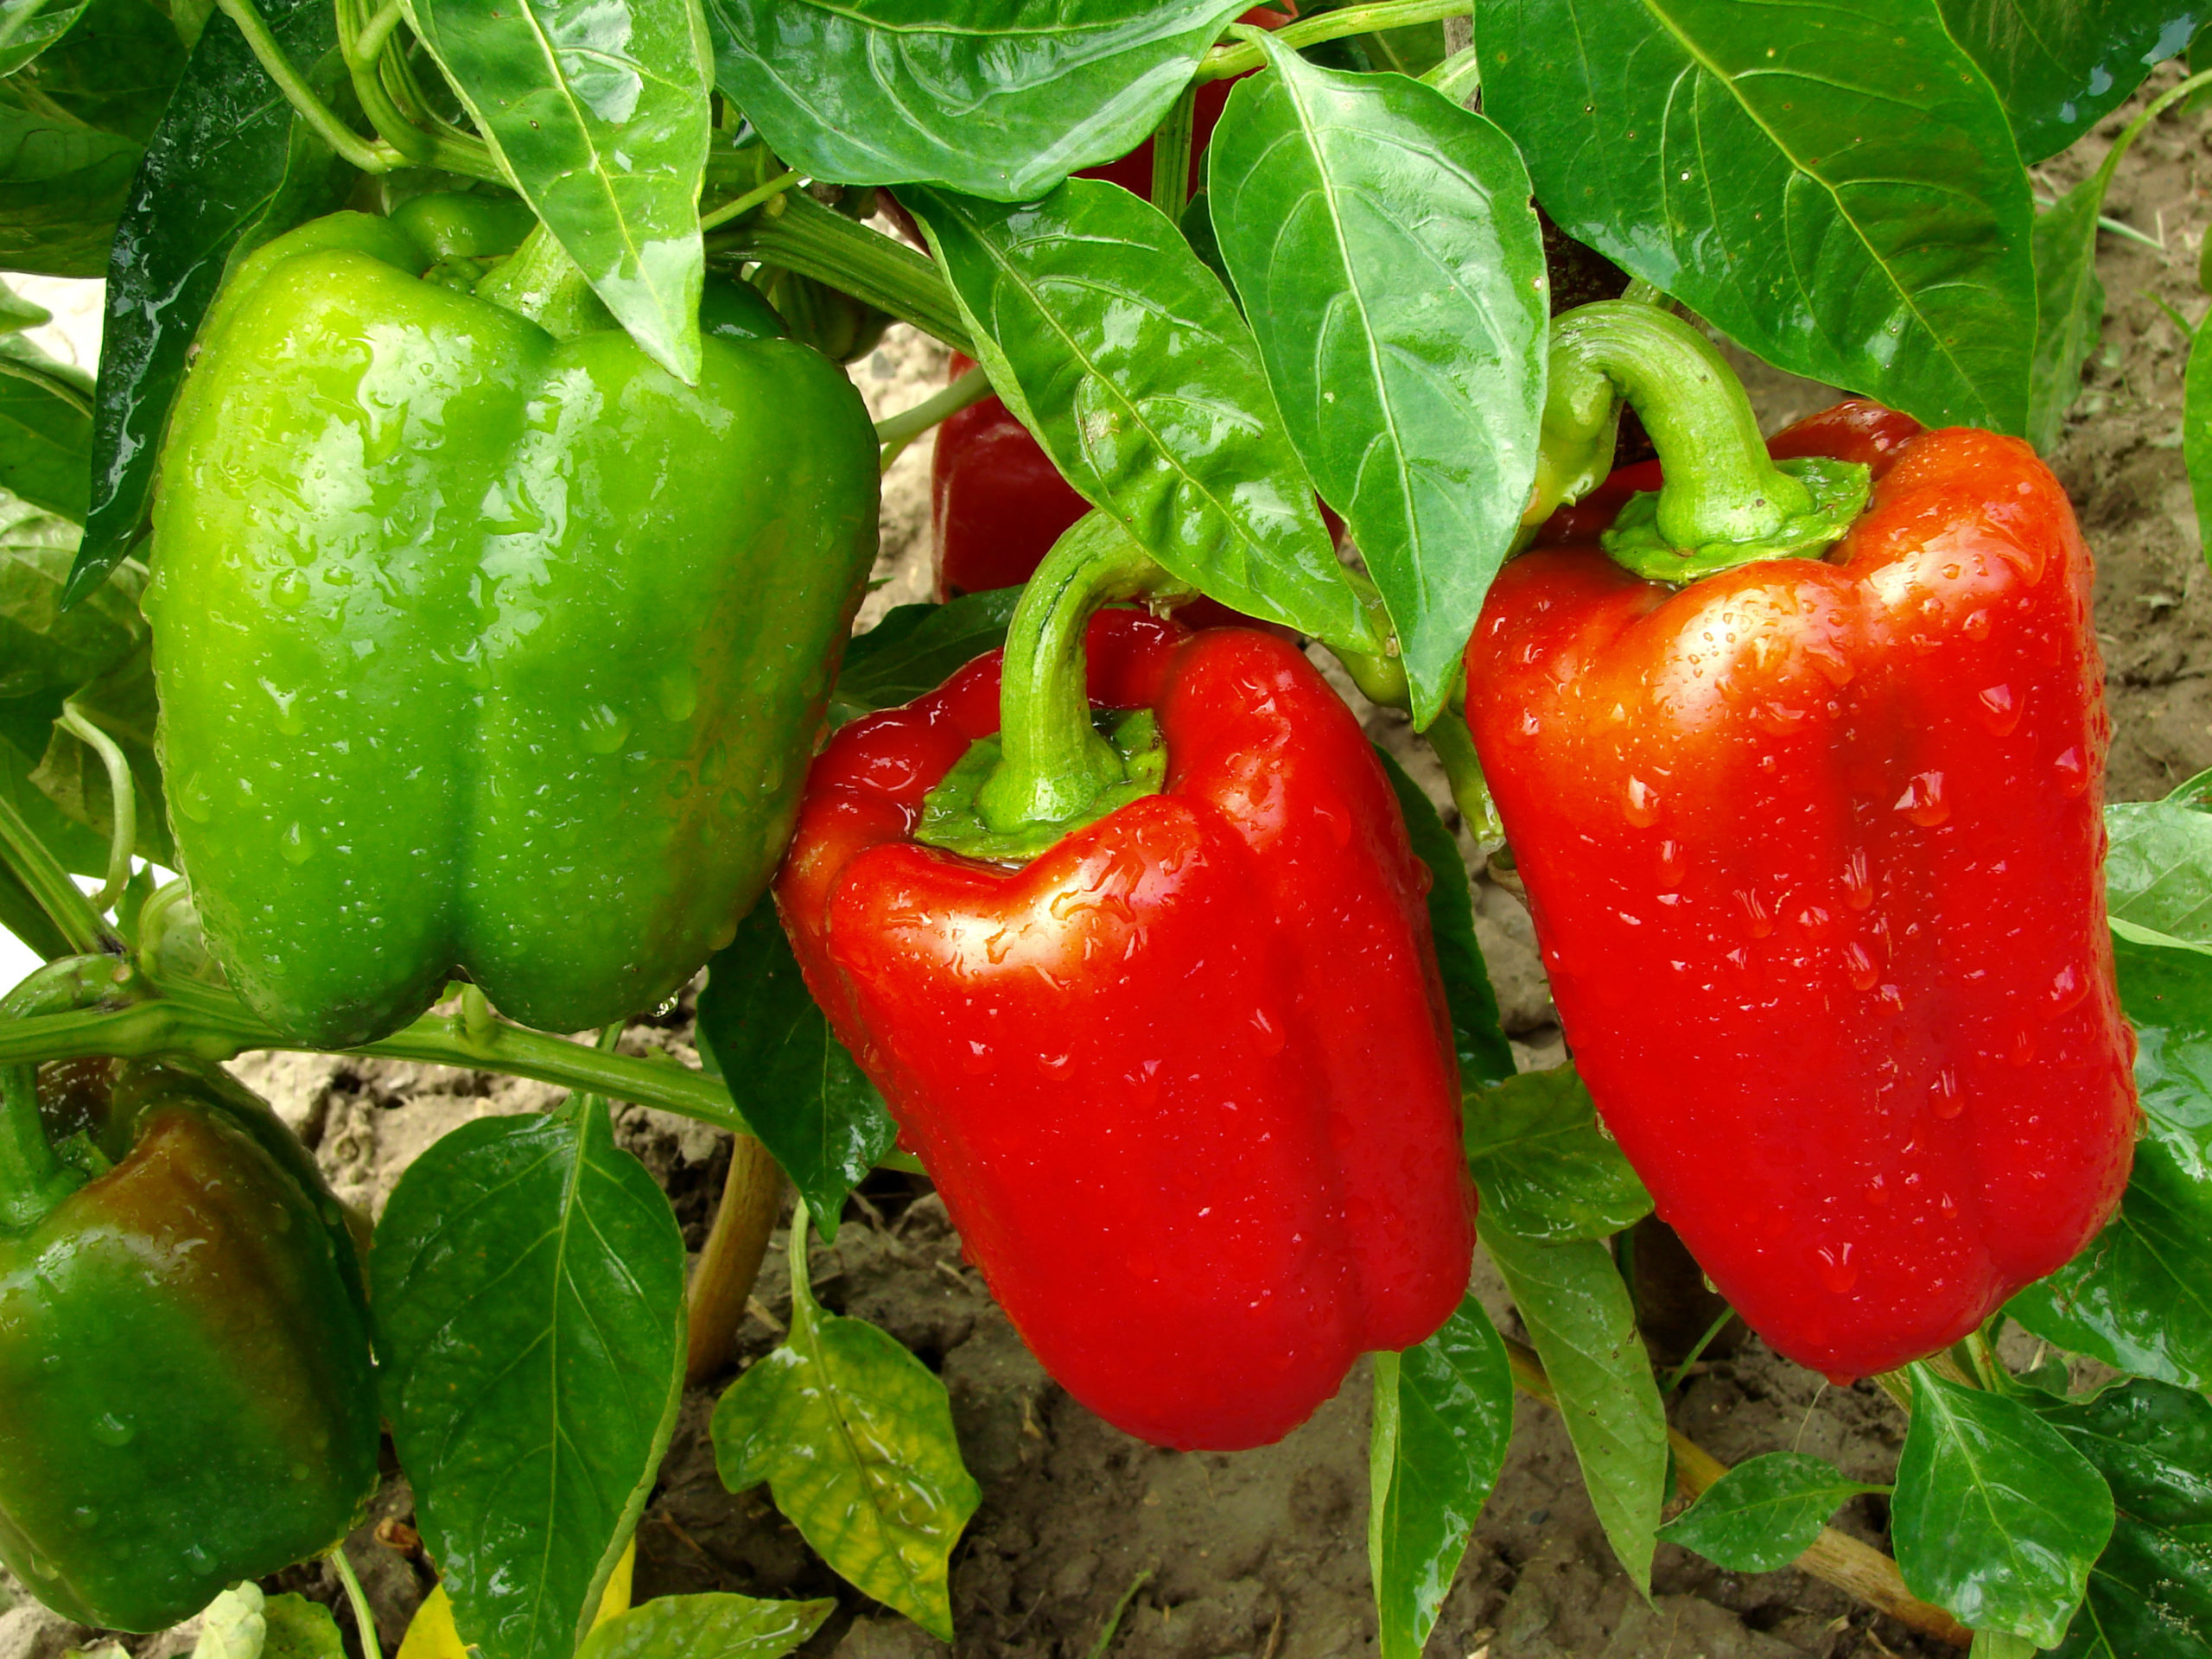
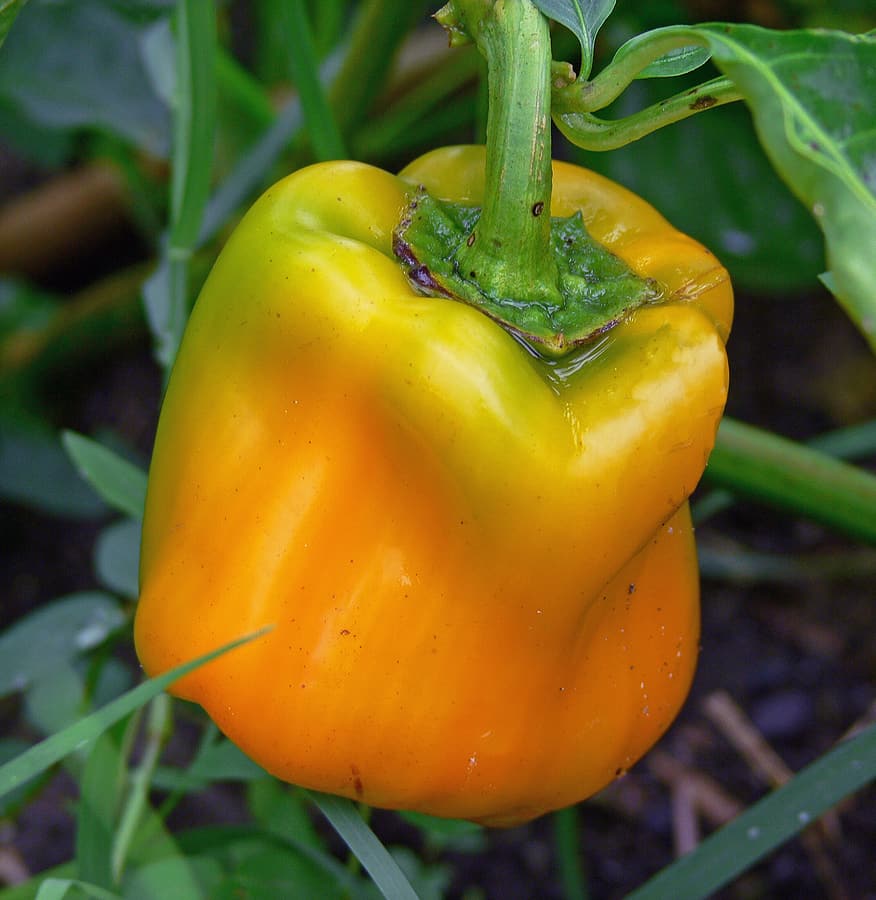
Sweet peppers can be harvested at any stage, but they develop the most flavor and nutrients when they fully ripen on the plant. Green bell peppers will turn red, yellow, or orange depending on the variety. I prefer to harvest some early for cooking and let others ripen fully for peak sweetness.
To harvest, use sharp scissors or pruning shears to cut the peppers off the plant rather than pulling them. This prevents damage to the plant and encourages continued production.
Storing and Preserving Sweet Peppers
Fresh peppers store well in the refrigerator for up to two weeks. For long-term storage, I freeze them by slicing and spreading them on a baking sheet before transferring them to a freezer bag. Peppers can also be roasted, dehydrated, or pickled for future use.
My Final Thoughts on Growing Sweet Peppers
After decades of growing sweet peppers, I’ve found that success comes down to warmth, consistent watering, and patience. Every season brings new challenges, from unexpected heat waves to surprise pest invasions, but with the right care, peppers will reward you with a bountiful harvest. If you’re new to growing sweet peppers, don’t be discouraged by a slow start—once they take off, they are incredibly productive.
Pepper Companion Plants
Plant peppers where they will be shaded by taller plants later in the summer.
Peppers can share space with cabbage and onions. Carrots are a companion that is said to enhance the growth of peppers.
Peppers seem to grow well when planted near cabbage, onions, carrots, basil, parsley, and tomatoes.
Container Growing Peppers
- Peppers can be grown in pots or containers that are at least 12 inches (30cm) wide and 8 to 14 inches deep. For more about growing peppers in pots and containers read 7 Tips for Growing Peppers in Pots.
- Plant peppers in a commercial potting mix.
- Choose a container with holes in the bottom for easy drainage.
- Keep the soil evenly moist.
- Side-dress plants with compost tea or dilute fish emulsion every two weeks through the growing season.
- In larger containers, set plants on 12-inch (30cm) centers.
Propagating Peppers
- Start pepper seed indoors 7 to 10 weeks before the date you intend to set seedlings into the garden.
- Sow 3 to 4 seeds in a pot or across flats.
- Sow seed ¼ to ½ inch (7-13 mm) deep.
- Germination soil temperature is 75-95°F (24-35°C); the optimum soil temperature for germinating seed is 85°F (29°C).
- Germination takes 7 to 10 days at 85°F (29°C) or warmer.
Sweet Bell Pepper Varieties to Grow
Sweet peppers vary in shape and color and include the slender banana pepper; the short, round cherry pepper; the small bright-red, heart-shaped pimiento; the multi-colored Italian frying pepper; and the blocky green to yellow to orange to red bell pepper. Sweet peppers can be eaten raw, cooked, or pickled. Not all sweet pepper varieties are mildly flavored; some can be spicy and hot.
- Blocky Sweet Peppers: ‘Ace’ (55 days); ‘Bell Boy’ (75 days); ‘Bell Captain’ (72 days); ‘Big Bertha’ (72 days); ‘Bull Nose’ (55-70 days); ‘California Wonder’ (73 days); ‘Camelot’ (74 days); ‘Elisa’ (72 days); ‘Emerald Giant’ (74 days); ‘Jupiter Elite’ (66 days); ‘King Arthur’ (72 days);’ Little Dipper’ (66 days); ‘Midway’ (70 days); ‘North Star’ (66 days); ‘Secret’ (60 days); ‘Yankee Bell’ (60 days); ‘Yolo Wonder’ (73 days).
- Red Sweet Bells: ‘Cardinal’ (70 days); ‘Rampage’ (66 days); ‘Redwing’ (72 days); ‘Summer Sweet’ (76 days).
- Long Sweet Peppers: ‘Banana Supreme’ (65 days); ‘Hungarian Yellow Wax’ (65 days).
- Space Savers: ‘Baby Bell’ (55 days); ‘Jingle Bells’ (55 days); ‘Park’s Pot’ (45 days).
- Yellow-Orange Sweet Bells: ‘Canary’ (72 days); ‘Gold Finch’ (72 days); ‘Klondike Bell’ (72 days); Orobelle (70 days); ‘Peppourri Orange’ (75 days); ‘Summer Sweet’ (86 days).
- Heart-Shaped Sweet Peppers: ‘Pimento’ (65-80 days).
- Other Sweet Peppers: ‘Blue Jay’ (73 days); ‘Chocolate Beauty’ (58-86 days); ‘Cubanelle’ (62 days); ‘Purple Beauty’ (70 days).
About peppers
- Peppers are tender perennials that are grown as annuals.
- Peppers grow on compact erect bushes 1½ to 2 feet tall.
- The fruit follows a single flower growing at the angle between a leaf and a stem.
- Botanical name: Capsicum annuum (sweet and hot peppers).
- Origin: New World Tropics.
🌶 Peppers Growing Hub
Start here:
- How to Plant and Grow Hot Peppers: A Gardener’s Guide to Spicy Success
- How to Grow Sweet Peppers: A Gardener’s Guide to a Bountiful Harvest
Getting Peppers Started (general prep)
- Seed Starting Peppers: Proven Method for Strong, Healthy Plants
- Soil Preparation for Peppers: The Secret to Strong Roots and Big Harvests
- Best Hot Pepper Varieties to Grow for Salsas, Sauces, and Drying
- Best Sweet Pepper Varieties to Grow
- World’s Hottest Peppers You Can Grow in Your Garden
- The Science of Pepper Heat: Understanding Scoville Units
- Growing Peppers Indoors Under Lights
- Companion Planting with Peppers: Best and Worst Neighbors in the Garden
Planting & Growing Peppers
- When and How to Transplant Pepper Seedlings Outdoors
- 10 Steps to Grow a Bumper Pepper Crops
- How to Grow Hot Peppers in Containers: Tips for Small Spaces
- 7 Tips for Growing Peppers in Pots
- How to Grow Colored Bell Peppers: How to Get Reds, Yellows, and Oranges
- Cross-Breeding Hot Peppers at Home: A Beginner’s Guide
- How to Water & Fertilize Sweet Bell Peppers for Maximum Yield
- Pruning Pepper Plants for Healthier Growth and Bigger Harvests
- Six Tips to Grow Peppers for Flavor
- Pepper Season Extension & Overwintering: How to Keep Plants Producing Longer
Pepper Care & Troubleshooting
- Pepper Pests, Diseases, and Problems—How to Fix Them Naturally
- Caring for Peppers: Mid-Season Problem Cures
- How to Increase the Heat of Hot Peppers Naturally
- Overwintering Pepper Plants Indoors
- How to Overwinter Pepper Plants in Any USDA Zone
Harvesting & Preserving Peppers
- When to Harvest Hot Peppers for Maximum Heat
- How to Harvest Sweet Peppers for the Best Flavor
- How to Preserve Hot Peppers: Drying, Fermenting & Pickling
- How to Ripen Green Peppers Indoors
- Saving Pepper Seeds for Next Year’s Crop
Cooking & Using Peppers
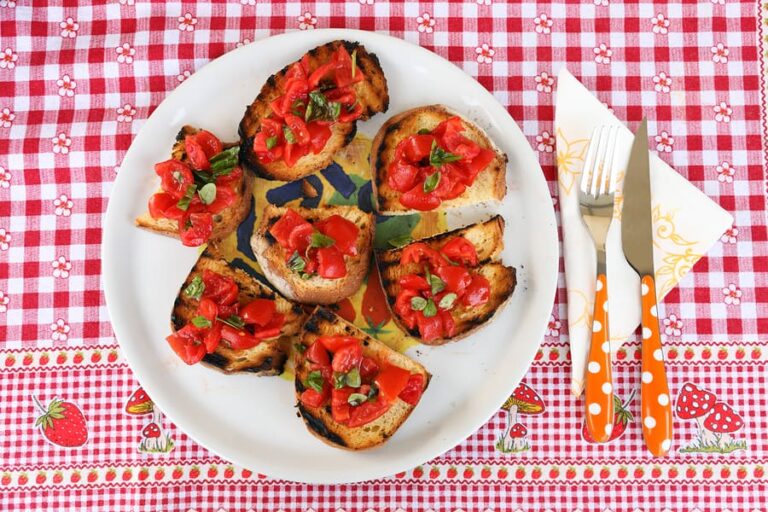
- Preparing and Serving Sweet Peppers – Harvest to Table
- Five Ways to Cook and Serve Chili Peppers
- Stuffed Peppers: Best Varieties for Cooking
- Cooking with Hot Peppers: Flavor & Safety Tips
- How to Handle Hot Peppers Without Burning Your Skin
Books to help you grow: