7 Tips for Growing Peppers in Pots and Containers
You can easily plant, grow, and harvest peppers in pots and containers. Growing peppers in pots is a great way to make the most of your outdoor space. Peppers are a warm-season crop and an excellent choice for growing on a balcony, deck, patio, or rooftop.
Growing peppers in containers has been one of the most rewarding and practical gardening methods I’ve used over the years. Whether you’re short on garden space, dealing with unpredictable weather, or simply want to keep your favorite pepper plants close to your kitchen, container gardening offers incredible flexibility. I’ve successfully grown everything from crisp, sweet bell peppers to fiery habaneros on patios, balconies, and even indoors under grow lights.
Early on, I made plenty of mistakes—choosing pots that were too small, using the wrong soil mix, and not watering consistently. Through trial and error, I’ve refined my approach to ensure that container-grown peppers thrive just as well, if not better, than those in the ground. In this guide, I’ll share the best container sizes, soil mixes, watering techniques, and fertilization strategies that I’ve found to produce strong, healthy plants with an abundant harvest. Whether you’re a beginner or an experienced gardener, these tips will help you successfully grow peppers in containers.
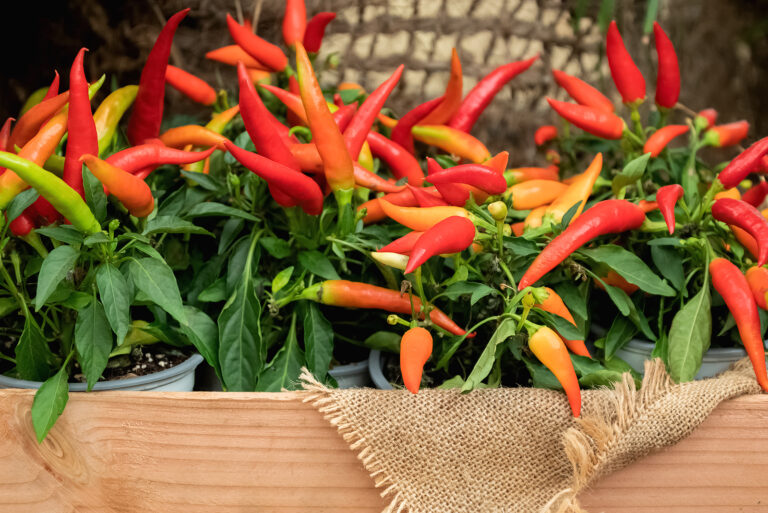
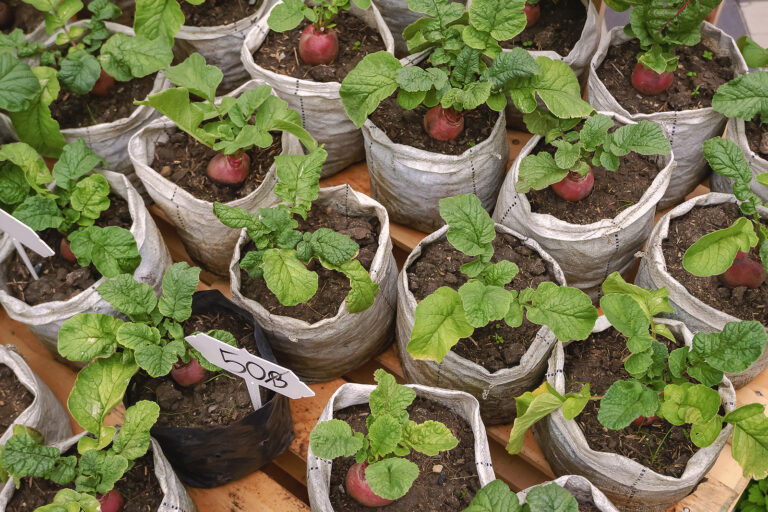
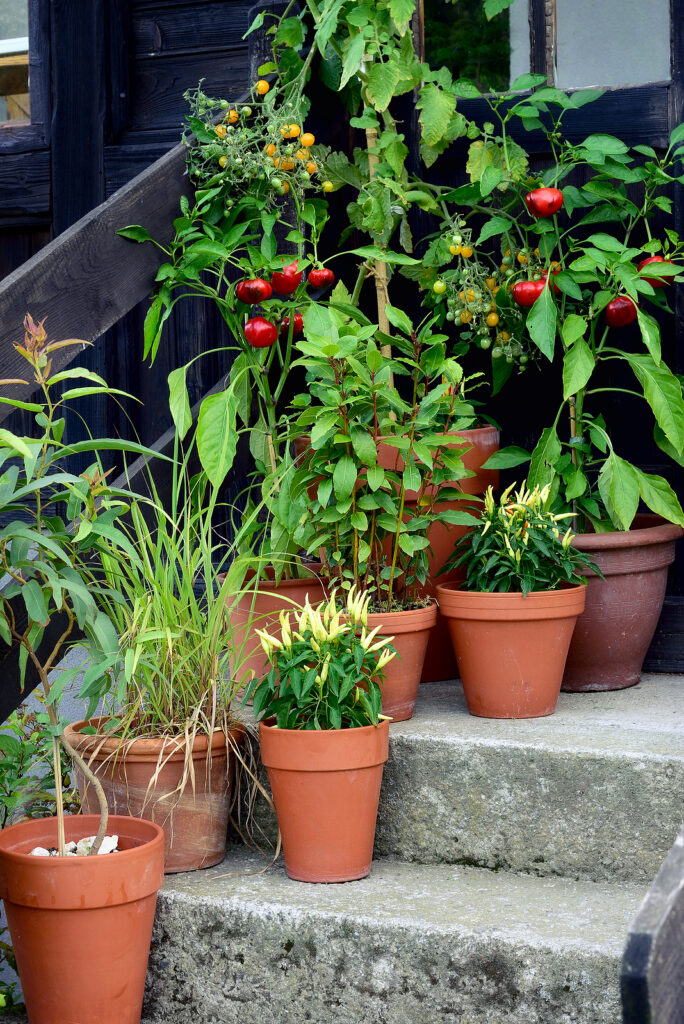
Two or three peppers plants grown in pots, grow bags, or other containers will supply plenty of peppers.
Know What to Plant This Week
Every week I answer the gardener's most important question: what should I plant now? Get seasonal planting advice free — or go Pro for my full Soil Temperature Garden Report, with soil temperature, moisture, weather trends, and crop-by-crop recommendations.
Here are 7 tips for growing peppers in pots and other containers.
Tip #1: Select the Right Type of Pepper
Peppers range from mild to very hot and spicy. There are dozens of pepper varieties, but just two basic types – sweet peppers and hot peppers. Sweet peppers are mild and often sweet-flavored. They can be eaten raw in salads and sandwiches, and many are suitable for roasting and use in stir-fried dishes and casseroles. Hot peppers are spicy and hot tasting. They also can be eaten raw and used in salsas and chutneys or roasted or pickled and dried.
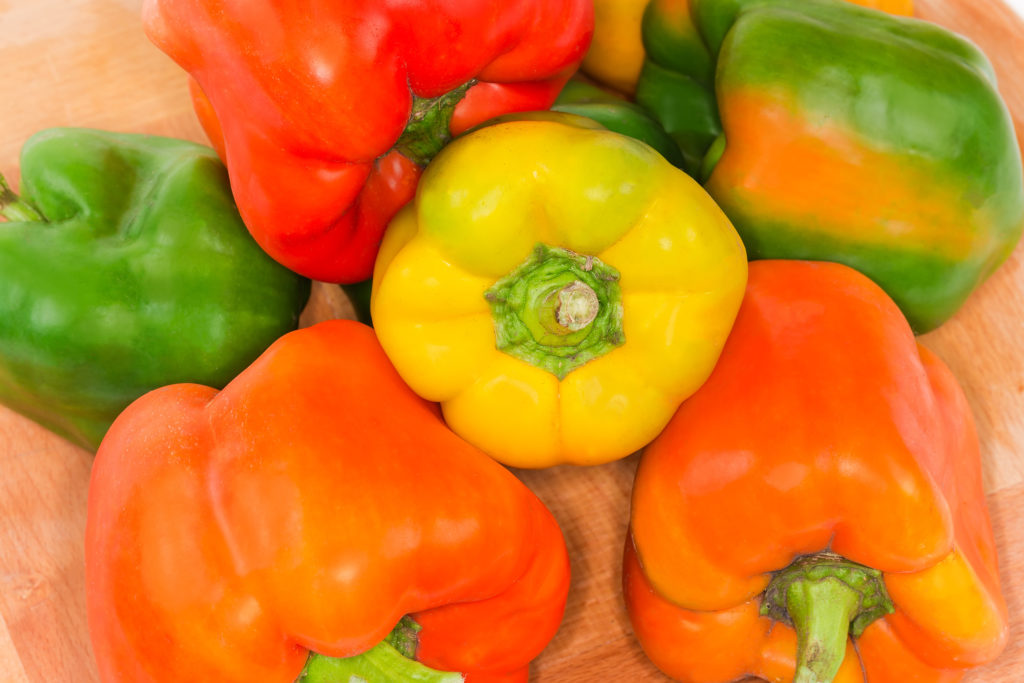
Sweet Peppers
If you want a mild sweet pepper, here are a few to consider: ‘Ace’ is a bell type that produces early crops of large, slightly conical fruits; ‘Bell Boy Hybrid’ is a bell that is blocky and sweet; ‘California Wonder’ bears large, squarish glossy red fruits with a sweet flavor; ‘Giant Marconi’ is an All-America Selection with red, long, thin, and tapered fruits; ‘Gourmet’ is a compact plant with sweet tasting fruit that ripens from green to deep orange and adapts to most conditions; ‘Gypsy’ is a compact All-American winner that bears fleshy, yellow-green fruit; ‘Hungarian Sweet Banana’ is a tasty, long, thin-walled banana pepper that is yellow to orange; ‘Jingle Bells’ is a compact plant that produces medium-sized fruit; ‘Sweet Chocolate’ is a bell that bears deep brown fruit mild flavored fruit and is tolerant of cool weather.
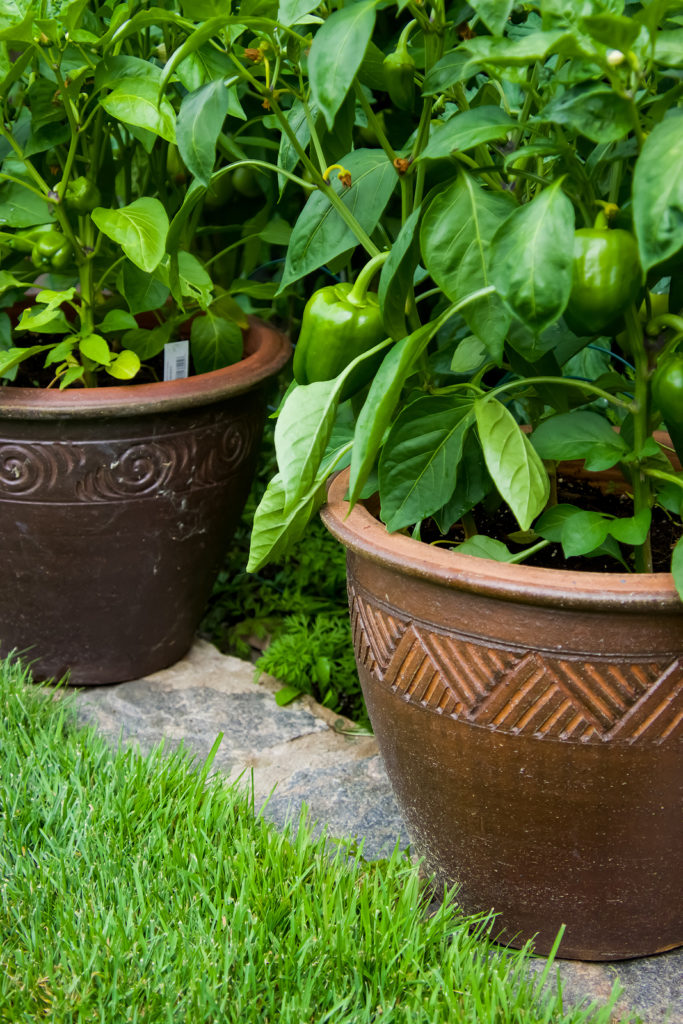
Sweet or bell peppers usually start out green and can be harvested perfectly tasty at any time. They will mature into different colors—green, yellow, orange, and red–depending on the cultivar.
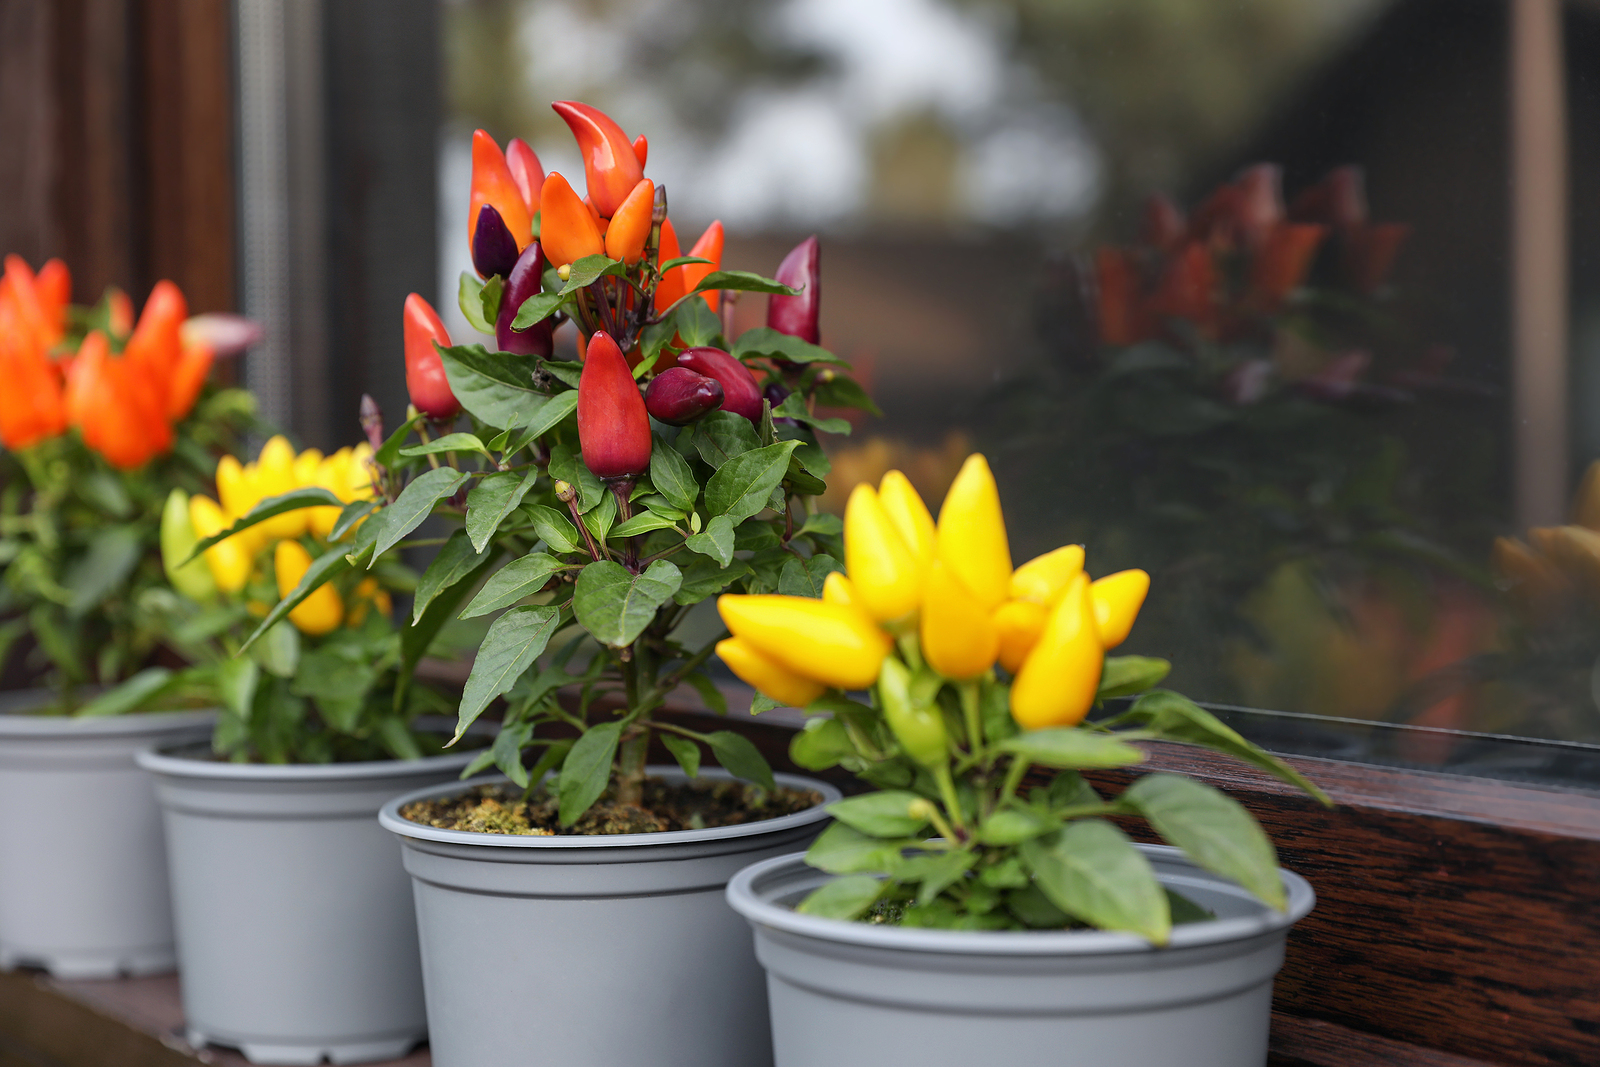
Hot Peppers
Hot peppers or chilies range from almost mild to fiery hot. Here are hot peppers for growing in pots: ‘Anaheim’ is a long tapered, pungent, but not too hot flavor; ‘Apache’ is a compact variety ideal for patio containers with medium heat; ‘Cherry Bomb’ is a compact plant that produces masses of tiny and hot fruit; ‘Habañero’ is a scorching hot pepper that is suited for containers; ‘Jalapeño’ is an easy to grow in pots pepper, not as hot as ‘Habanero’; ‘Padron’ has an intense flavor that is mild when green that heats up if left to mature; ‘Super Chile’ is an All-America winner semi-compact plant with upward facing spicy chili peppers; ‘Thai Dragon’ is a small, thin-walled hot pepper that grows on a short, bushy plant.
Check the Scoville units of hot peppers before you plant. Scoville heat units (SHUs) measure the amount of capsaicin in a pepper; capsaicin gives pepper its heat. Sweet peppers are rated 0 SHUs. A jalapeño pepper rates about 4,000 SHUs. A habañero pepper can rate about 200,000 SHUs which is fiery hot.
Tip #2: Choose the Right Pot
Consider the amount of space you have to grow peppers. How big a pot can your space handle? There are peppers as small as 6 inches tall and wide and as large as 24 inches tall or more and nearly as wide. The size of the pepper will determine the size of the pot you need. For best results choose a pot that is at least 12 to 14 inches in diameter and 8 to 10 inches deep.
A single pepper plant will grow best in a 5- to 7-gallon (18 L-25L) pot, grow bag, or container A small pepper plant can be grown in a pot 8 inches deep, about a 2-gallon size. Give a pepper plant at least 12 inches (30cm) of space around. Set pepper plants in larger containers at least 18 inches apart.
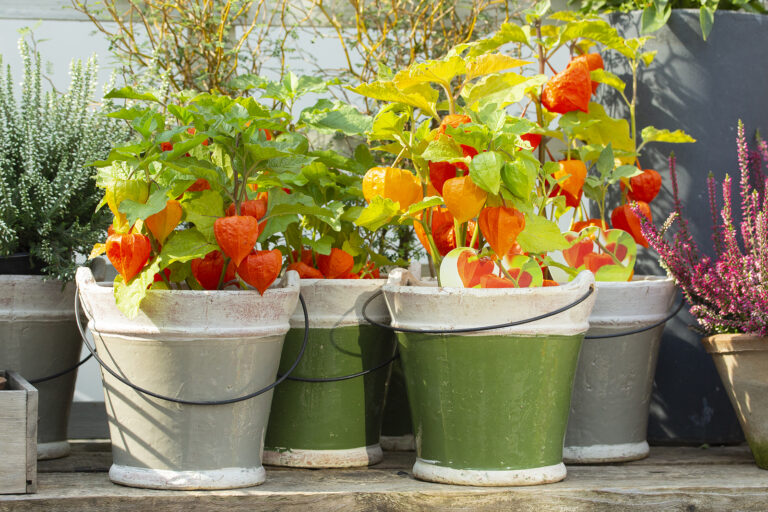
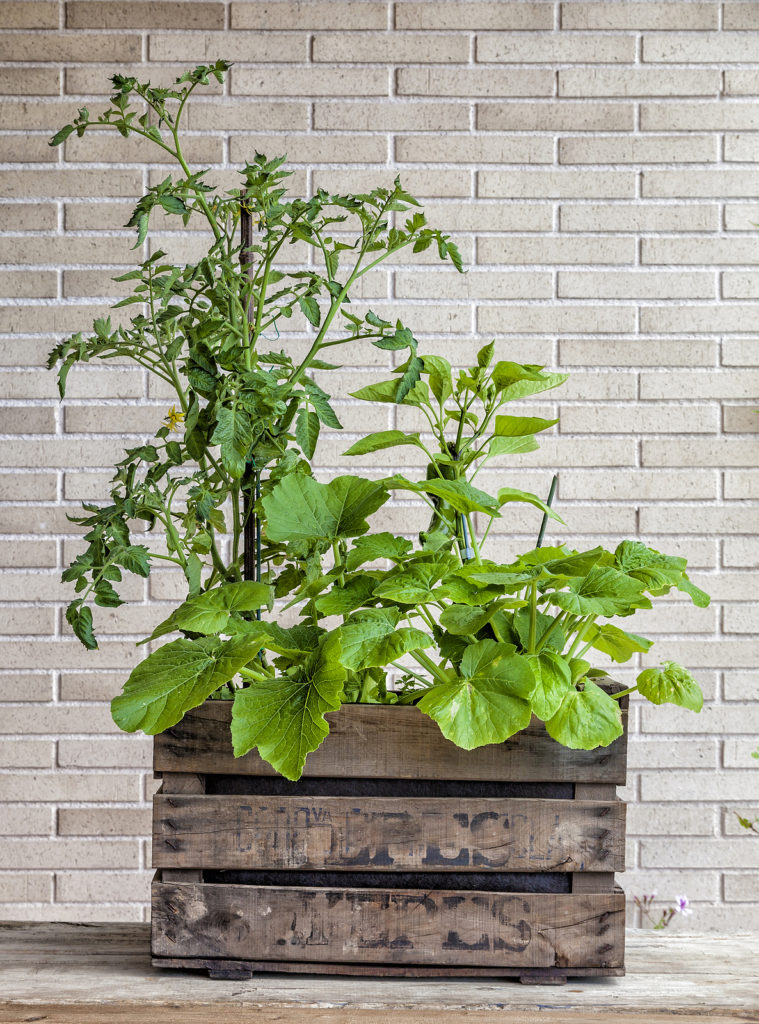
Containers right for peppers include plastic nursery pots and decorative plastic pots, terracotta and glazed clay pots, grow bags, wooden or metal tubs, and boxes. Peppers are not large plants. Choose a pot or container that can be easily moved from place to place. Make sure the pot you choose has several drainage holes to allow excess water to escape.
Black or dark-colored plastic pots will attract and hold solar heat. Terra cotta and unglazed clay pots can wick moisture from the soil and so require closer and more frequent watering.
Tip #3: Prepare the Soil
Start with good-quality potting soil. Make sure it is light and well-draining. Peppers like soil that is slightly acidic, so it’s a good idea to add some organic matter like compost to the potting soil you choose.
Don’t use common garden soil. Regular garden soil will become compacted much more easily than it does in the ground. It is best to use a special container soil for vegetable gardening. A good potting mix is a combination of organic material (bark, aged compost, worm casting, spent coffee grounds) and minerals (soil, sand, vermiculite, and other ingredients. The potting soil must contain nutrients for vegetable growth and enough air space to allow good air and water movement.
Here’s a potting mix you can make at home: equal parts aged compost, pulverized topsoil, and a combination of worm castings, spent coffee grounds, and perlite.
Here’s another easy-to-make potting mix: ½ gallon each of commercial potting soil, compost (homemade or purchases) or vermiculite, and common garden soil.
If you are using a large pot, you may want to add a layer of gravel at the bottom to help with drainage. This will prevent the soil from becoming waterlogged and root rot from occurring.
Once you have the soil and gravel in place, you can add some fertilizer to the mix. Peppers use a lot of nutrients to thrive, so make sure to use a fertilizer specifically made for peppers. Fertilizers made for tomatoes are perfect for peppers.
Tip #4: Start Peppers Indoors
Peppers require a long growing season. Start them indoors early in the year to give them time to mature and produce fruit. Sow seeds 10 weeks before you plan to transplant young plants into containers outdoors. Plan to transplant peppers outdoors in late spring.
Pepper seeds need about 14 days at 80°F to germinate. Below 80°F peppers germinate at a lower and slower rate. Slow germination can cause plant stress from which peppers may not recover. Peppers will not germinate in soil cooler than 65°F. Use a heat mat or a heated propagator set at 68°-75°F (20-24° C).
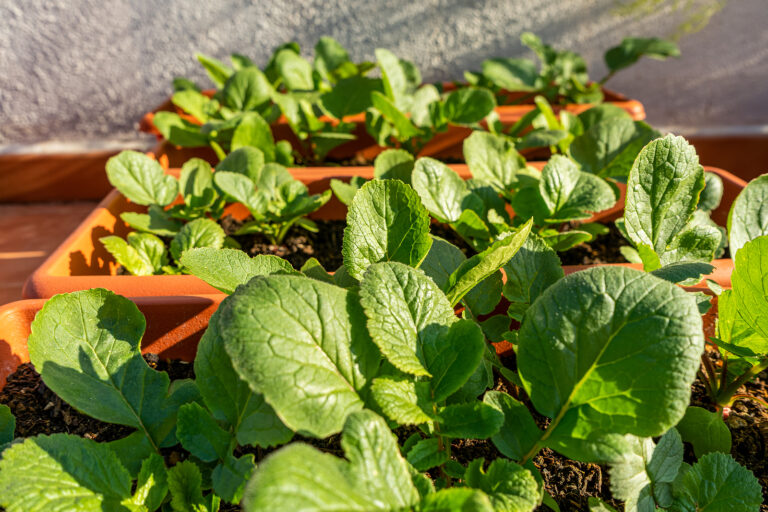
Start seeds indoors in peat pots, cell packs, or seed trays. Sow two or three seeds per cell. Sow seeds ¼ inch deep. Press the seeds into the soil, then cover them lightly. Water sown seeds lightly.
Start seedlings under two 40-watt fluorescent tubes. Under a grow light give peppers 16 hours of light each day. You can also start seeds on a very warm and very bright windowsill.
Keep the soil evenly moist for uninterrupted growth. A gallon of water every couple of days may be needed in hot weather.
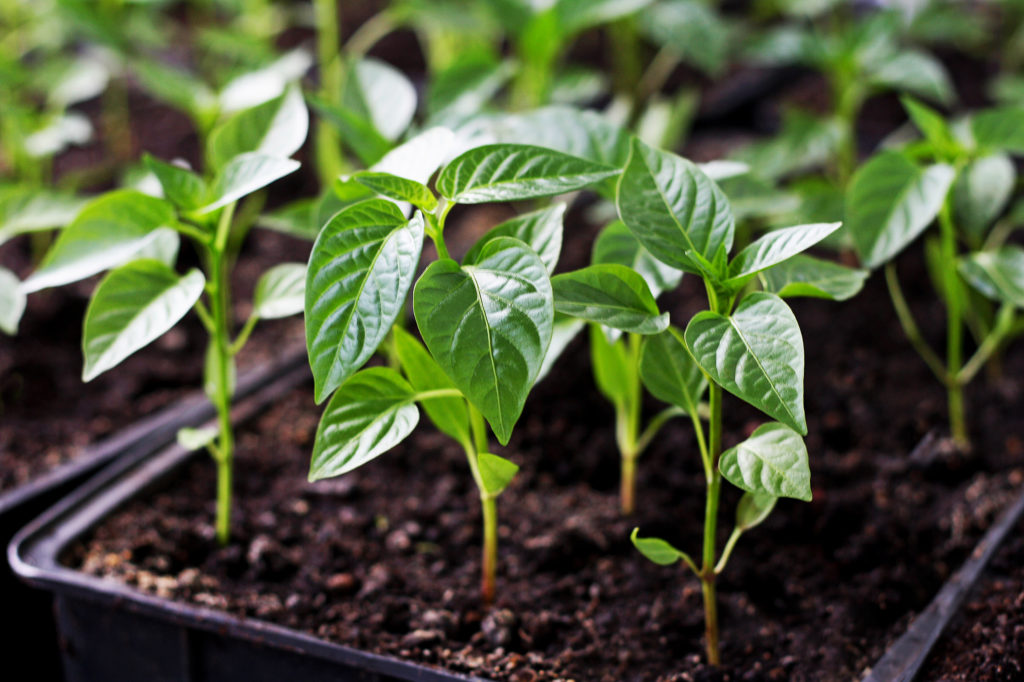
When the first true leaves appear, transplant young peppers to four-inch pots. Keep peppers at 70°F or warmer during the day and 60°F at night. When plants produce a third set of true leaves you can lower the nighttime temperature to 55°F for four weeks; this will result in more blossoms and a greater fruit set.
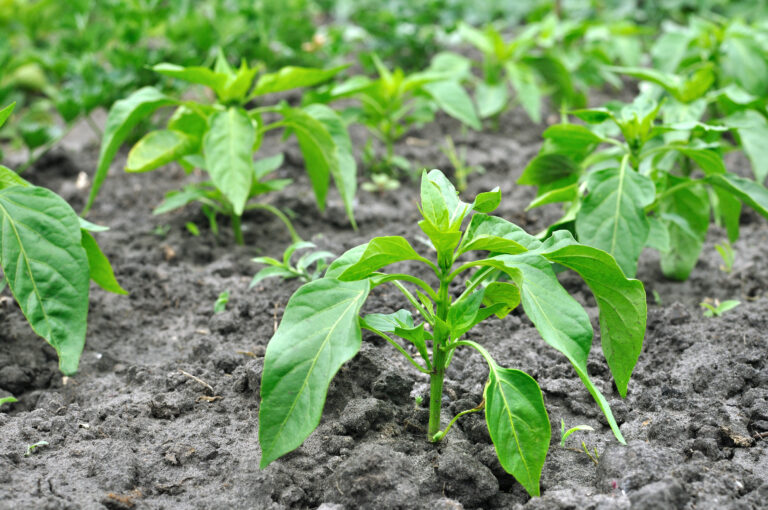
Peppers need 6 to 8 weeks to reach transplant size.
When plants are about 8 to 12 inches (20-30 cm) tall, pinch off the growing tip to promote business.
Potting Up Peppers: Pot up peppers as necessary until outdoor temperatures are warm. Move plants to the next bigger pot, from a 4-inch small pot to a 6-inch pot or to a gallon pot or a larger pot when the plant becomes rootbound. Continue to pot up root-bound plants until they are in their final container.
When potting up peppers, be sure to firm plants into the soil because they will become heavy over time. Water them thoroughly and keep the soil moist during all stages of growth.
Insert a bamboo stake 24 inches in height next to each plant and tie the main stem in with a soft string. Use several stakes to support large-fruited varieties. The large fruits will become heavy. You can set a small tomato cage in place when transplanting peppers to their final container; a cage will give a pepper plant all the support it needs. The brittle branches of peppers must be protected from strong wind.
Space plants 16 inches (40 cm) apart in each direction or in containers with a minimum diameter of 12 inches (30 cm).
Grow peppers in an organic potting mix that is a well-drained mix. You can add compost and dolomitic limestone (for magnesium) to promote growth.
Purchasing Transplants: Pepper seedlings available at garden centers will be about 8 to 10 weeks old. If you grow peppers from purchased seedlings, choose the healthiest, strongest young plants. Avoid plants that are tall and leggy. Choose plants that are dense and compact. Avoid peppers with flowers or fruits unless it is mid to late season. Plants with flowers or fruit may be slow to establish after transplanting.
Tip #5: Move Peppers Outdoors at the Right Time
Move peppers outdoors to a sunny spot only when temperatures are consistently warm. The optimal outdoor soil temperature for peppers is 70°F. The optimal air temperature is between 80° and 90°F. Keep peppers warm outdoors; they must be protected from cold weather. As a general rule, peppers should not go outdoors until two or three weeks after the last frost date. Place containers where they get at least 8 hours of sun each day. Move them as needed to keep them in full sun and warm.
Give peppers protection if nighttime temperatures fall below 55°F. Place a black or dark color mulch around the base of plants to capture solar heat. Protect plants with a row cover if the weather turns cloudy or cool.
Harden off peppers before setting them outdoors full-time Harden off peppers by placing them outside during the day and inside at night for two weeks. (Keep in mind, transplants purchased from a garden center were started in a temperature-controlled greenhouse.)
Prune away any blossoms that appear before transplanting outdoors as well as a couple of weeks after transplanting. Allow the root system to grow and develop before allowing the plant to flower and bear fruit. Trimming away flowers will delay the harvest, but the harvest will be larger.
Peppers are hot-weather plants and like temperatures greater than 60°F and less than 90°F. Fruit does not set well cooler or warmer than these temperatures. If the weather goes into the mid to upper 90s, move peppers into a shady spot.
Tip #6: Water, Fertilize and Care for Peppers
Peppers crave water. They require frequent watering. Water peppers regularly to ensure consistently moist (not wet) soil and uninterrupted growth. You may need to water often, especially in hot weather. Moisture in containers will evaporate more quickly than moisture in the garden. Long dry spells can result in lower yields and smaller fruits.
Start feeding peppers regularly once they are 8 inches tall. Fertilize once or twice a month with an organic fertilizer. A good fertilizer choice is an organic liquid tomato fertilizer. Fish emulsion and kelp meal are also good organic fertilizers. You can also use time-release organic fertilizer; time-release fertilizers commonly feed for up to four months.
Peppers want phosphorus for fruit growth; use bone meal, bulb food, or superphosphate—mix some into the soil at planting time. Calcium will help prevent blossom end rot. Magnesium will help fruits develop—which means more fruit. Sulfur promotes plant protein and enriches the nutritional content of peppers. Epsom salt for garden use provides many of the minor nutrients peppers need.
Peppers do not need extra nitrogen which can produce beautiful foliage but few fruits.
When caring for peppers, keep the following in mind:
- Aphids and flea beetles can attack peppers. Knock aphids and whiteflies off the plant with a strong spray of water or spray with insecticidal soap.
- Blossom end rot results from uneven watering or a nutrient imbalance.
- Blossoms do not set well below 60°F or above 90°F.
- Dry soil can inhibit fruit formation.
- Overripe peppers left on the plant will reduce yield.
- Tomato mosaic virus (TMV) can affect peppers. Choose varieties that are TMV-resistant and do not allow smokers to handle plants.
- If plants are grown under cover or indoors, hand pollinate flowers using a soft brush or cotton swab to encourage fruit to set.
Tip #7: Harvest Peppers at the Right Time
Sweet peppers can be harvested as soon as they are edible size; they do not need to reach full size. They can be harvested and eaten green. You don’t have to wait until they turn color to enjoy sweet peppers. Hot peppers, on the other hand, are commonly left to mature on the plant before they are harvested. Hot peppers are left on the plant until they turn their mature color which may be yellow, orange, or red.
Clip off sweet peppers as soon as they reach usable size or turn their mature color. Harvest hot peppers after they reach maturity.
Peppers often produce one large fruit before then developing others. Remove the first fruit so that other fruits can develop. As the season goes on, the more you pick fruits, the more the plant will produce.
Late in the season when there are not enough warm days for new fruits to develop, you can allow peppers to stay on the plant until they reach their mature color.
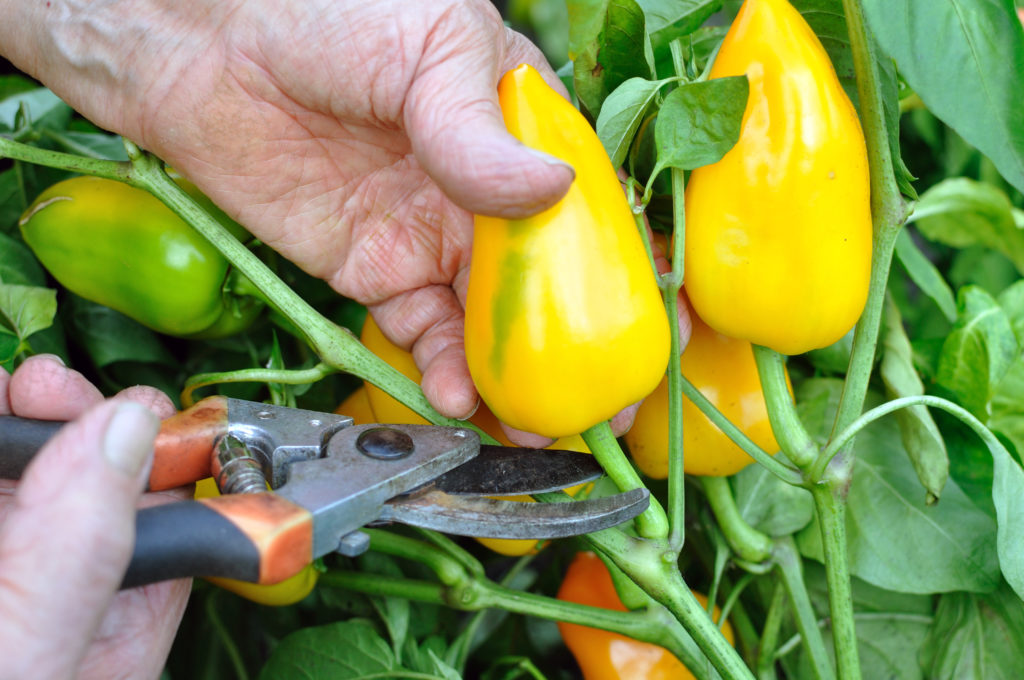
Harvest peppers by snipping the fruit off the plant with a scissor or garden shears; remove a bit of the stem with the fruit—this will help the fruit keep longer. Pulling fruit from the plant can result in broken branches and damage to the plant.
Use gloves when working with hot peppers to protect your skin from burns. The outer skin of the pepper won’t hurt you. The oil in the seeds and ribs of the plant can burn. Treat pepper burns with milk, not water.
Overripe peppers left on the plant reduce yield.
🌶 Peppers Growing Hub
Start here:
- How to Plant and Grow Hot Peppers: A Gardener’s Guide to Spicy Success
- How to Grow Sweet Peppers: A Gardener’s Guide to a Bountiful Harvest
Getting Peppers Started (general prep)
- Seed Starting Peppers: Proven Method for Strong, Healthy Plants
- Soil Preparation for Peppers: The Secret to Strong Roots and Big Harvests
- Best Hot Pepper Varieties to Grow for Salsas, Sauces, and Drying
- Best Sweet Pepper Varieties to Grow
- World’s Hottest Peppers You Can Grow in Your Garden
- The Science of Pepper Heat: Understanding Scoville Units
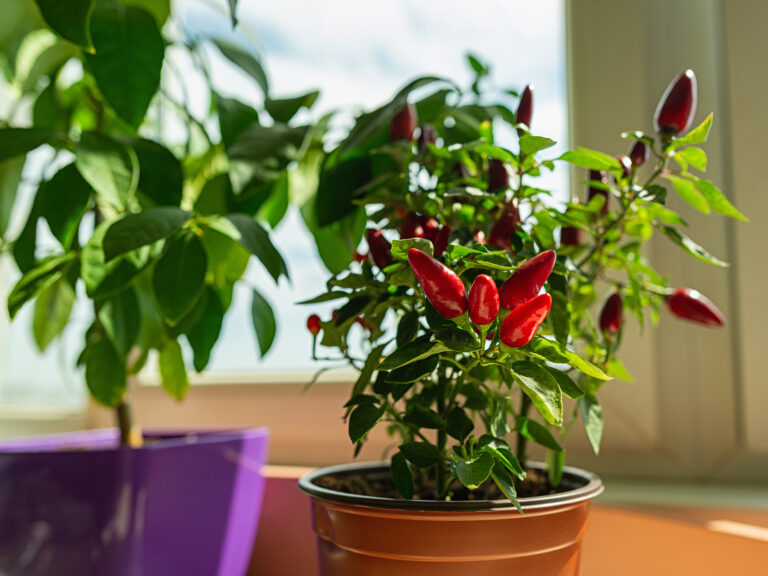
- Growing Peppers Indoors Under Lights
- Companion Planting with Peppers: Best and Worst Neighbors in the Garden
Planting & Growing Peppers
- When and How to Transplant Pepper Seedlings Outdoors
- 10 Steps to Grow a Bumper Pepper Crops
- How to Grow Hot Peppers in Containers: Tips for Small Spaces
- 7 Tips for Growing Peppers in Pots
- How to Grow Colored Bell Peppers: How to Get Reds, Yellows, and Oranges
- Cross-Breeding Hot Peppers at Home: A Beginner’s Guide
- How to Water & Fertilize Sweet Bell Peppers for Maximum Yield
- Pruning Pepper Plants for Healthier Growth and Bigger Harvests
- Six Tips to Grow Peppers for Flavor
- Pepper Season Extension & Overwintering: How to Keep Plants Producing Longer
Pepper Care & Troubleshooting
- Pepper Pests, Diseases, and Problems—How to Fix Them Naturally
- Caring for Peppers: Mid-Season Problem Cures
- How to Increase the Heat of Hot Peppers Naturally
- Overwintering Pepper Plants Indoors
- How to Overwinter Pepper Plants in Any USDA Zone
Harvesting & Preserving Peppers
- When to Harvest Hot Peppers for Maximum Heat
- How to Harvest Sweet Peppers for the Best Flavor
- How to Preserve Hot Peppers: Drying, Fermenting & Pickling
- How to Ripen Green Peppers Indoors
- Saving Pepper Seeds for Next Year’s Crop
Cooking & Using Peppers
- Preparing and Serving Sweet Peppers – Harvest to Table
- Five Ways to Cook and Serve Chili Peppers
- Stuffed Peppers: Best Varieties for Cooking
- Cooking with Hot Peppers: Flavor & Safety Tips
- How to Handle Hot Peppers Without Burning Your Skin
Books to help you grow: