Mastering Chickpeas: Planting, Growing, and Harvesting Tips
The chickpea or garbanzo bean is a cool-season annual that requires about 100 days to reach harvest. Chickpeas, also called garbanzo bean and gram, are regarded as beans, but botanically are neither beans nor peas. Chickpea is a tender annual legume.
Related article:
Chickpea quick growing tips
- Sow chickpeas in the garden about the date of the average last frost in spring or slightly earlier.
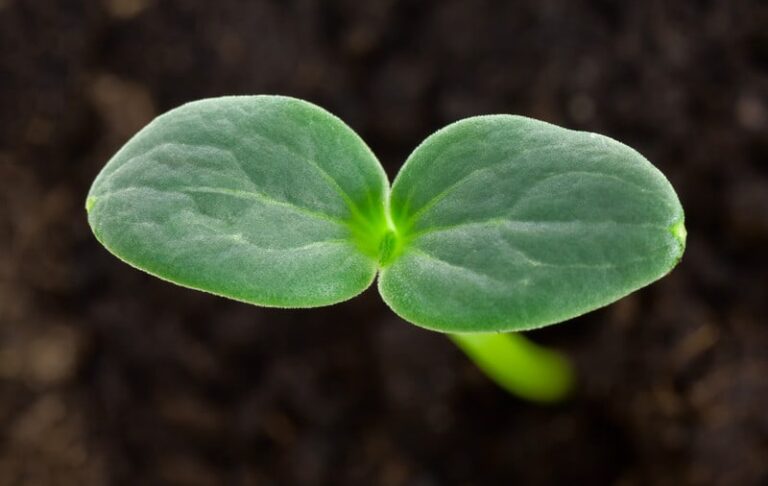
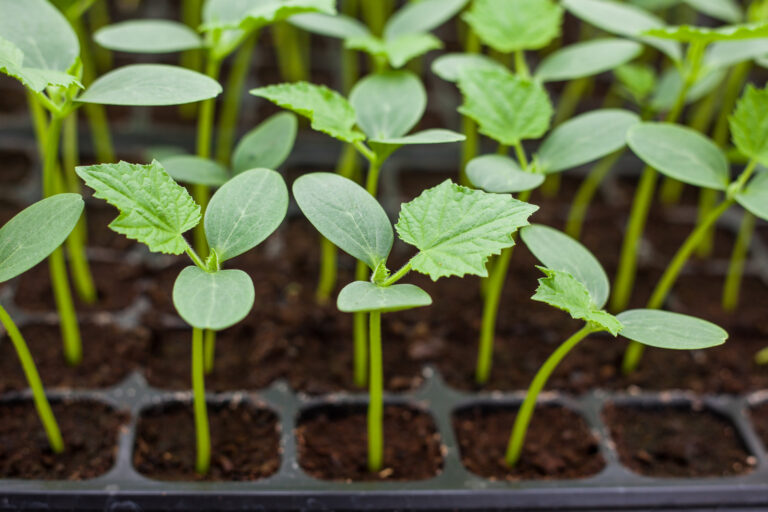
- Chickpeas require a long growing season; to get a head start on the season, sow chickpeas indoors in a peat or paper pot for several weeks before transplanting out.
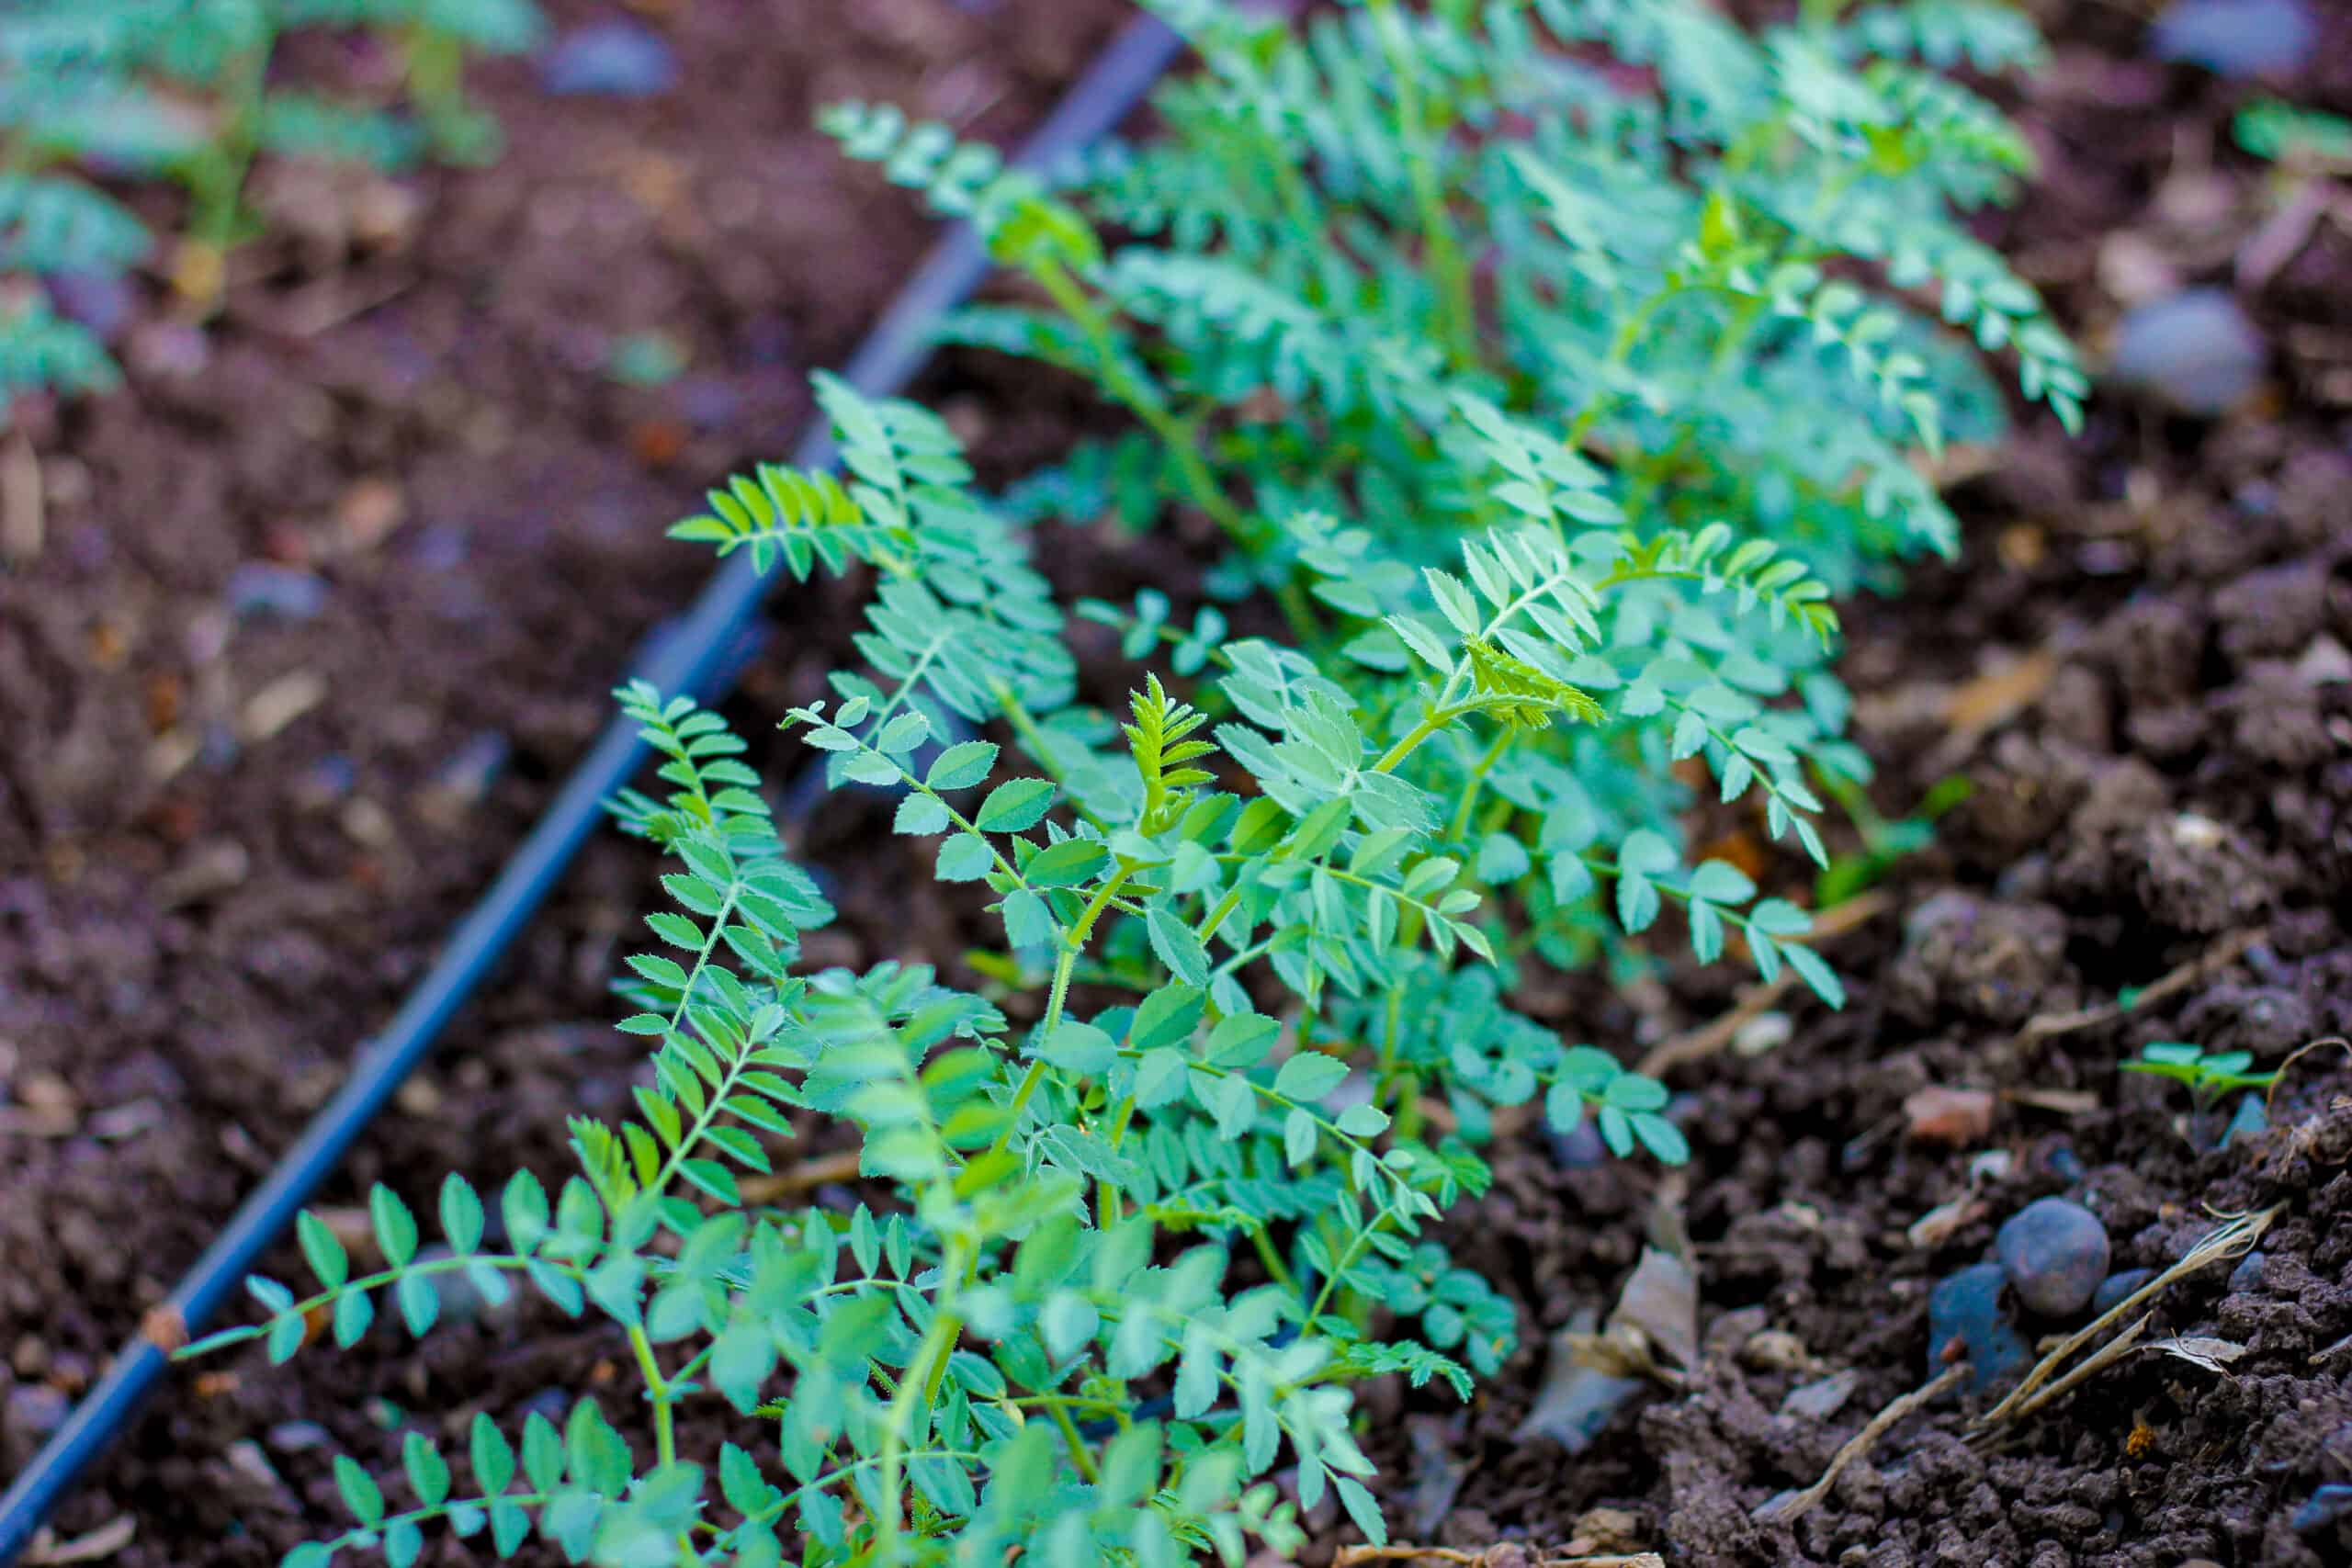
- Set the chickpea and biodegradable pot whole in the garden when the plant is 4 to 5 inches (10-12cm) tall.
- Yield: grow 4 to 8 chickpea plants per household member.
Garden Planning Books at Amazon:
- Vegetable Garden Almanac & Planner
- Kitchen Garden Grower’s Guide Vegetable Encyclopedia
- Vegetable Garden Grower’s Guide
- Tomato Grower’s Answer Book
Planting chickpeas
- Plant chickpeas in full sun. Chickpeas will grow in partial shade but the yield will be reduced.
- Grow chickpeas in loose, well-drained soil rich in organic matter. Add aged compost to planting beds in advance of planting.
- Avoid planting chickpeas where green manures have just grown or in soil high in nitrogen; this will result in green leafy growth, not seed production.
- Add potassium and phosphorus to the soil.
Chickpea planting time
- Chickpea is a cool-season annual that requires 100 or so days to reach harvest.
- Chickpeas are frost tolerant but grow best where daytime temperatures range between 70 and 80ºF (21-26ºC) and where nighttime temperatures do not dip below 65ºF(18ºC).
- Sow chickpeas in the garden as early as 2 or 3 weeks before the average last frost in spring.
- Chickpeas require a long growing season; to get a head start on the season, sow chickpeas indoors in a peat or paper pot and transplant the pot and plant whole to the garden when the plants are 3 to 4 inches (7-10cm) tall.
Planting and spacing chickpeas
- Sow chickpeas 1½ to 2 inches (5cm) deep, spaced 3 to 6 inches (7-15cm) apart.
- Thin successful plants to 6 inches (15cm) apart; cutaway thinned plants at soil level with scissors so as not to disturb roots.
- Space rows 18 to 24 inches (45-61cm) apart.
- Do not soak the seed before sowing and avoid heavy watering after sowing to keep seeds from cracking.
- Chickpeas allowed to grow a bit crowded will offer each other support.
See Garden Products Recommended by Harvest to Table
Chickpea companion plants
- Grow chickpeas with potatoes, cucumbers, corn, strawberries, celery, summer savory.
- Do not plant chickpeas with garlic.
| # | Preview | Product | Price | |
|---|---|---|---|---|
| 1 |

|
Goya Foods Chick Peas, Garbanzo Beans, 15.5 Ounce (Pack of 8) | Buy on Amazon | |
| 2 |

|
Amazon Grocery, Canned Garbanzo Beans, 15.5 Oz | Buy on Amazon |
Container growing chickpeas
- Chickpeas can be grown in containers 8 inches deep, the space required for a useable crop makes chickpeas a poor choice for container growing.

Water and feeding chickpeas
- Keep chickpea planting beds evenly moist until chickpeas have pushed through the soil. Water regularly during flowering and pod formation. Avoid overhead watering which can cause flowers and pods to fall off.
- Mulch when the weather warms to conserve soil moisture.
- Add aged compost to planting beds in advance of planting.
- Side dress chickpeas with aged compost at midseason. Avoid adding nitrogen-rich fertilizers to planting beds. Chickpeas, like other legumes, set up a mutual exchange with soil microorganisms called nitrogen-fixing bacteria to produce nitrogen compounds used by the plant.
Chickpea care
- Avoid handling chickpeas when they are wet or covered with heavy dew; this may spread fungus spores.
- Keep planting beds weed-free but cultivate around chickpeas carefully so as not to disturb the plant’s shallow root system.
- Rotate chickpeas and other legumes to add nitrogen to the soil.
Chickpea pests
- Chickpeas can be attacked by aphids, bean beetles, flea beetles, leafhoppers, and mites.
- Aphids, leafhoppers, and mites can be sprayed away with a blast of water from the hose or controlled with insecticidal soap. Look for eggs and infestations and crush them between your fingers and thumb. Pinch out and remove large infestations.
- Aphids can spread the bean mosaic virus.
- Keep the garden clean and free of debris so that pests can not harbor or overwinter in the garden.
Chickpea diseases
- Chickpeas are susceptible to blight, mosaic, and anthracnose.
- Plant disease-resistant varieties.
- Keep the garden clean and free of debris.
- Avoid handling plants when they are wet so as not to spread fungal spores.
- Removed diseased plants; put them in a paper bag and throw them away.
- Chickpeas are susceptible to many soil-borne diseases; rotating beans so that they do not grow in the same location more than every three years will reduce soil-borne diseases.
See Garden Products Recommended by Harvest to Table
 Harvesting chickpeas
- Chickpeas will be ready for harvest about 100 days after planting.
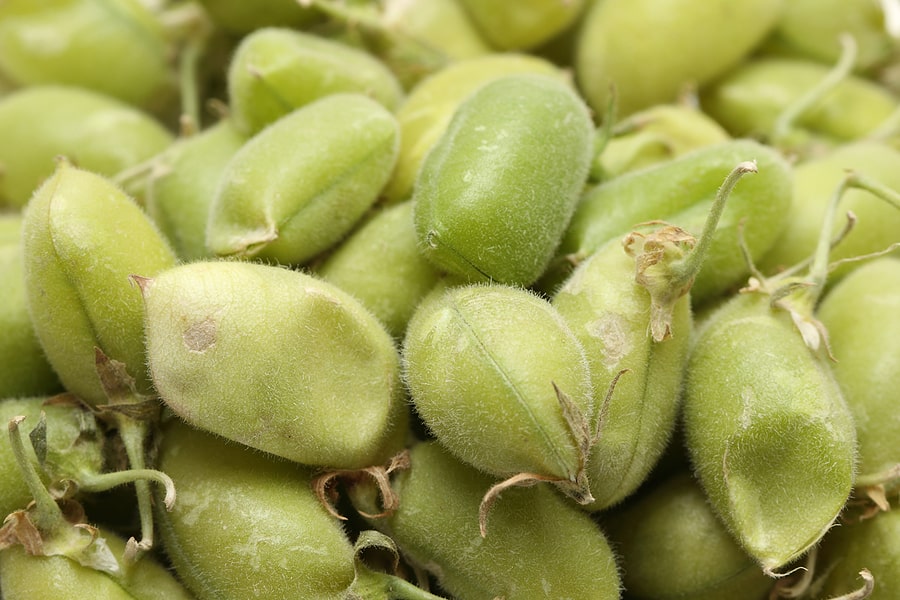
- Chickpeas for fresh eating can be picked when pods are still immature and green; they can be eaten like snap beans.
- For dried chickpeas, harvest the entire plant when the leaves have withered and turned brown; place the plant on a flat, warm surface and allow the pods to dry.
- Collect the seed as the pods split. Seeds that will barely dent when bitten are sufficiently dry.
Storing and preserving chickpeas
- Unshelled chickpeas will keep in the refrigerator for up to one week.
- Dried, shelled chickpeas will keep in a cool, dry place for up to a year.
- Chickpeas can be frozen, canned, or sprouted.
Chickpea varieties to grow
- ‘Chickpea’; ‘Garbanzo’; ‘Gram’; ‘Kabuli Black’.
About chickpeas
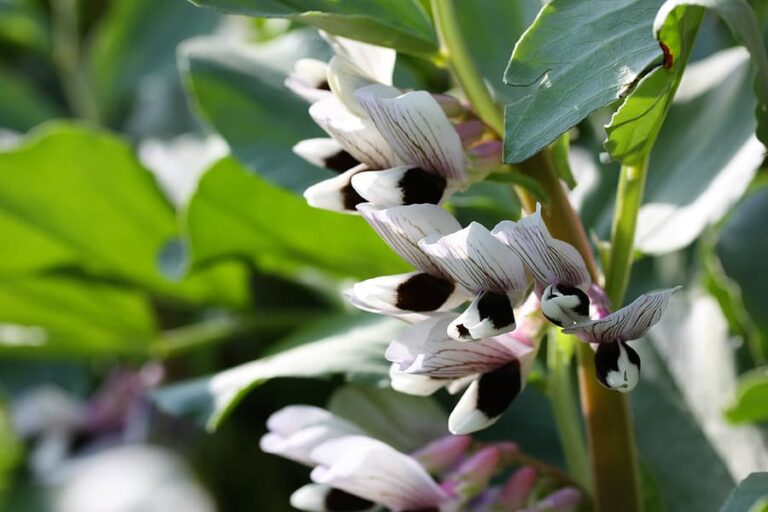
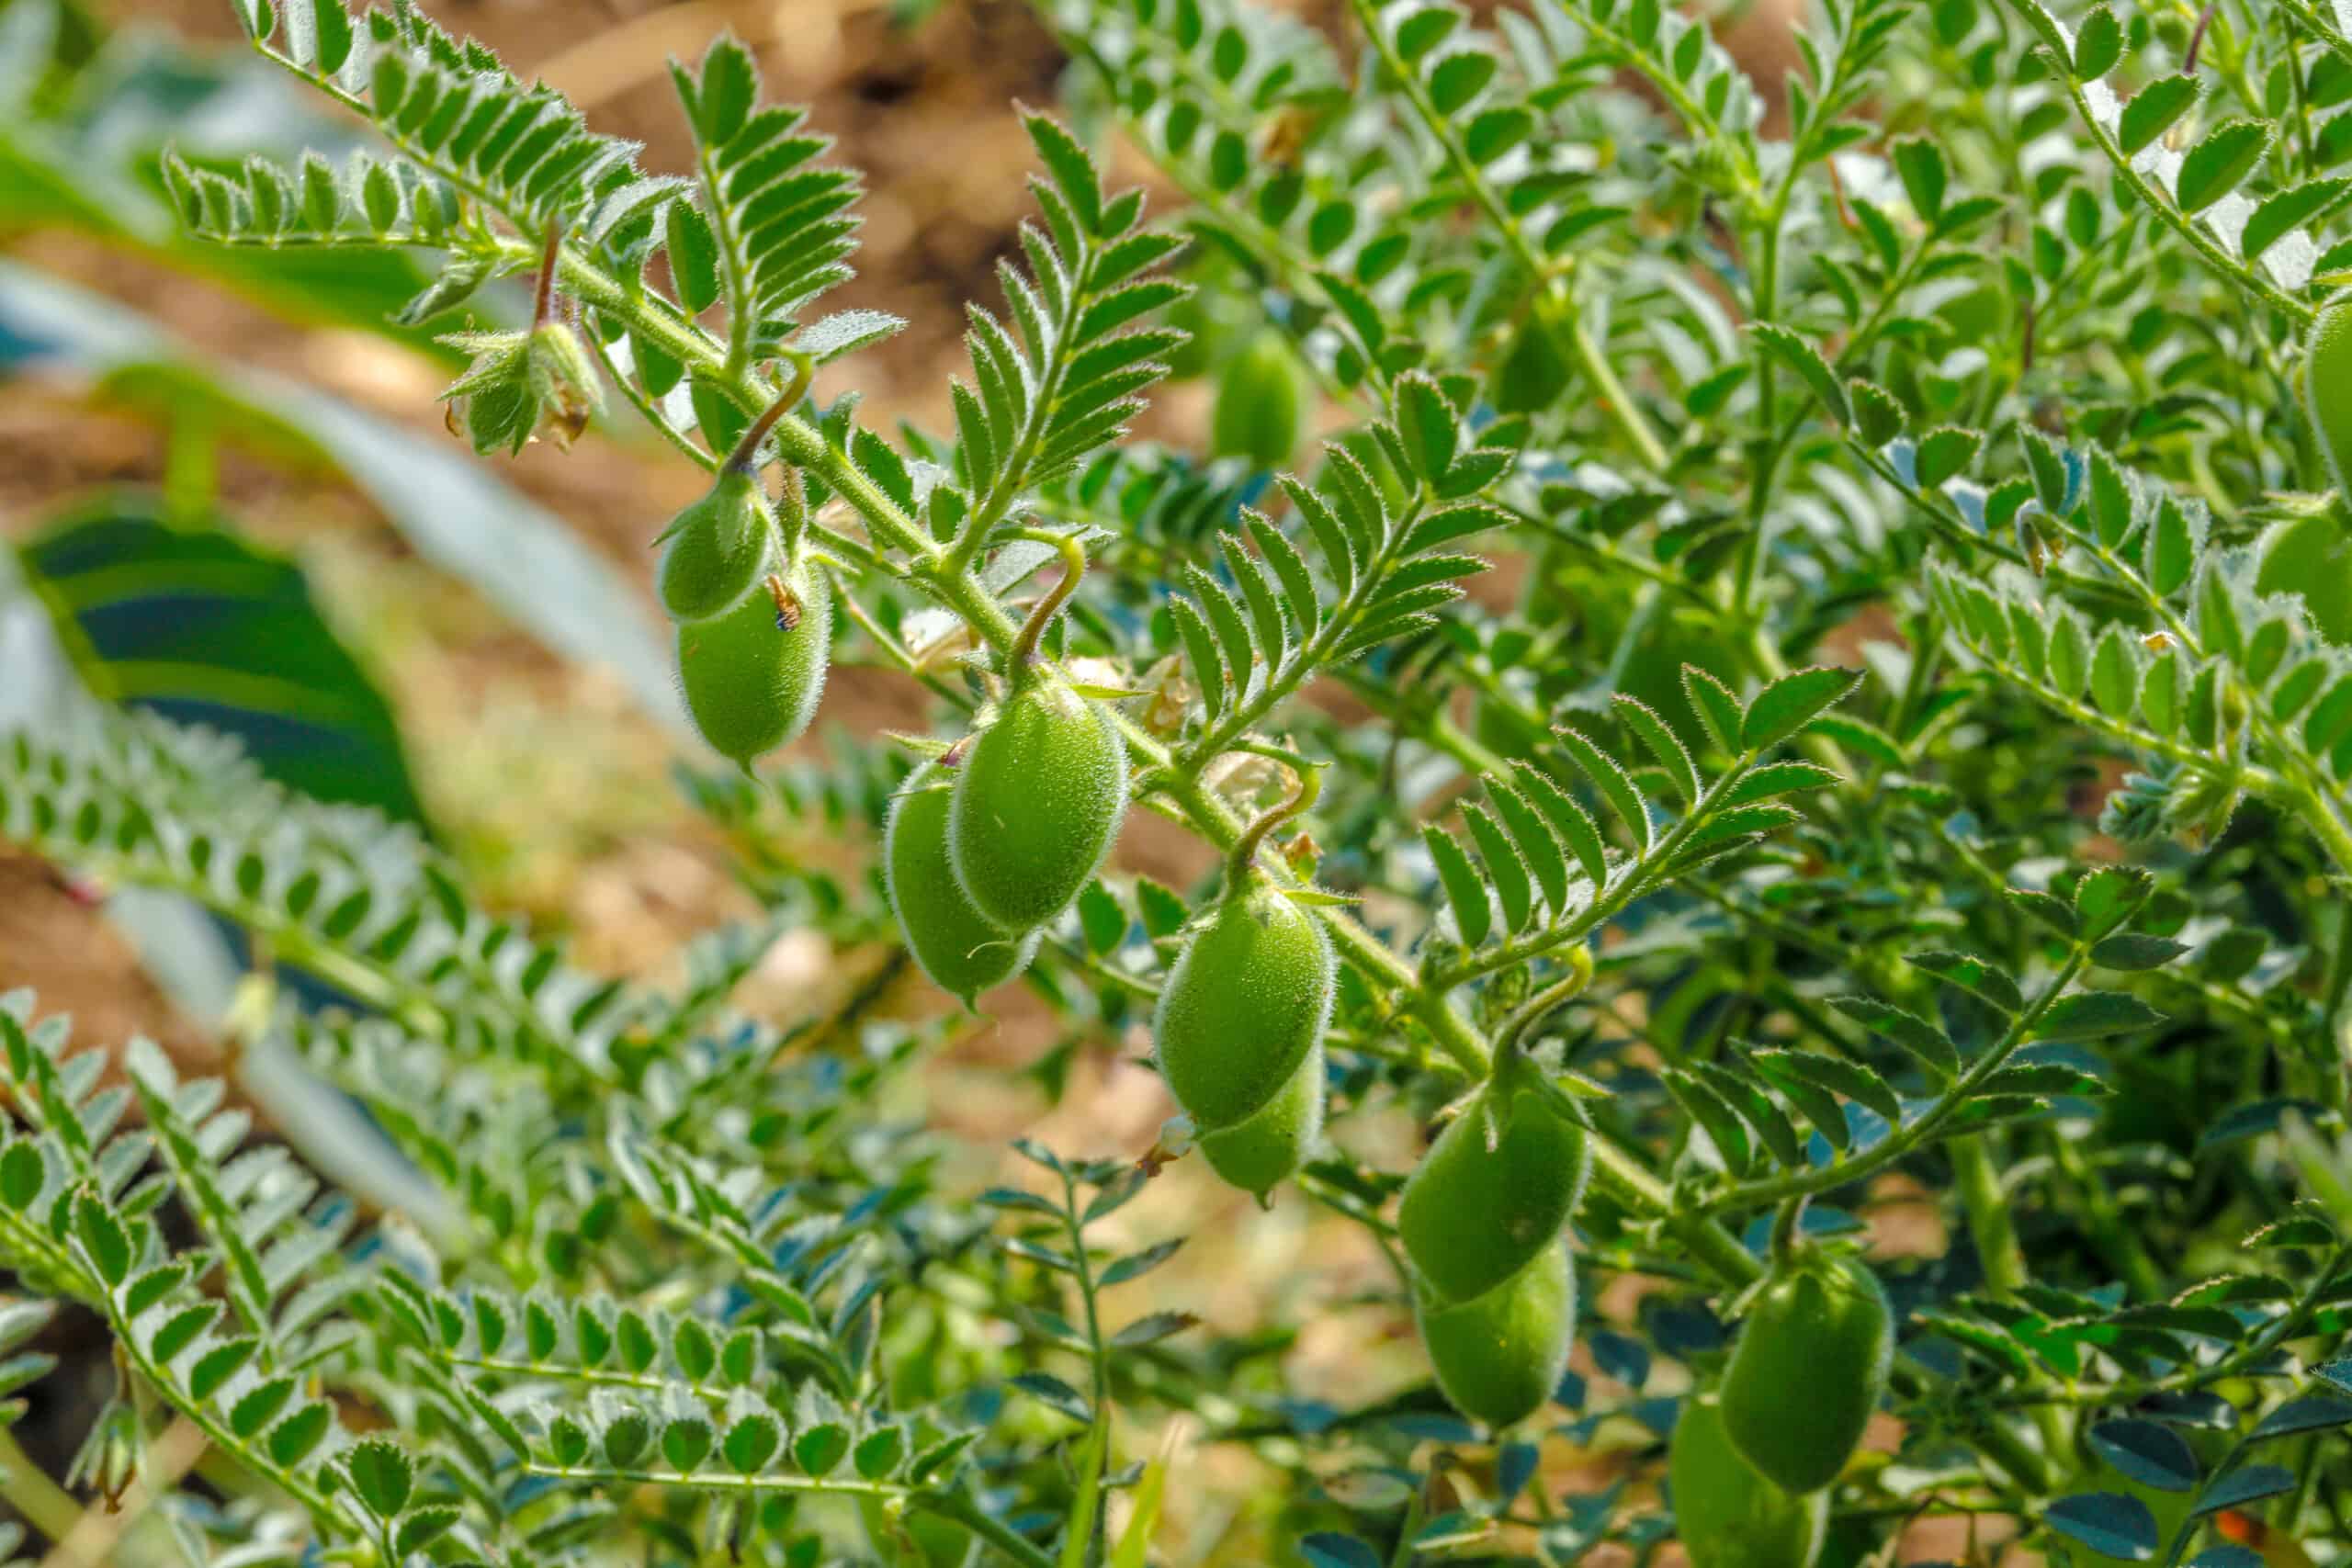
Chickpea is a bushy plant that grows to about 18 inches (45cm) tall and has pairs of dark green, compound leaflets that look like vetch. Chickpeas have swollen oblong pods about 1 inch (2.5cm) long and nearly as wide that contain one or two large, cream-colored, pea-like seeds each. Flowers may be white or violet colored depending on the variety.
- Common name. Chickpea, garbanzo, gram
- Botanical name. Cicer arietinum
- Origin. Southern Europe and India
Chickpea Learning Hub
Start Here / Overview
- Mastering Chickpeas: Planting, Growing, and Harvesting Tips
- How to Plant, Grow, and Harvest Chickpeas (Garbanzo Beans): The Complete Guide
Planning & Planting
- Best Chickpea Varieties to Grow: Kabuli, Desi, Black, and Specialty Types
- Short-Season Chickpeas: Best Varieties and Tips for Cooler Climates
- When to Plant Chickpeas: Temperature, Frost Windows, and a Month-by-Month Calendar
- How to Start Chickpeas From Seed: Indoors, Outdoors, and Spacing Tips
- Can You Grow Chickpeas in Containers? What Works—and What Doesn’t
- Growing Chickpeas in Raised Beds
- Best Companion Plants for Chickpeas (and What to Avoid)
Care & Maintenance
- How to Water and Feed Chickpeas for Maximum Pod Production
- Chickpea Care Guide: Weeding, Mulching, Trellising, and Seasonal Maintenance
Pests, Diseases & Troubleshooting
- Chickpea Pests: Identification, Prevention, and Organic Controls
- Chickpea Diseases and How to Prevent Them: Blight, Mosaic, Anthracnose & More
- Troubleshooting Chickpeas: Why Plants Fail, Don’t Flower, or Don’t Make Pods
Harvesting & Post-Harvest
- Harvesting Chickpeas: Fresh Green Pods vs. Dried Beans
- How to Store and Preserve Chickpeas: Fresh, Dried, Canned, or Frozen
Cooking & Enjoying
Related articles:
How to Plant and Grow Snap Beans
How to Harvest and Store Snap Beans
Bean Growing Problems: Troubleshooting
Five Ways to Quick Cook and Serve Snap Beans
How to Can Green Snap Beans for Beginners
Cooking and Serving Yard-Long Beans
How to Grow Plant, Grow, and Harvest Chickpeas and Garbanzo Beans
How to Cook and Serve Chickpeas
How to Plant and Grow Lima Beans
How to Plant, Grow, and Harvest Broad Beans and Fava Beans
Five Ways to Cook and Serve Fava Beans
All About Dried Beans – Growing and Cooking
Container Growing Beans – Plant, Grow, and Harvest Tips
More how to grow articles:
Learn how to plant, grow, and harvest your favorite vegetables. Click below for all you need to know.
- Artichoke
- Arugula
- Asparagus
- Beans, Snap
- Beets
- Broad Beans
- Broccoli
- Brussels Sprouts
- Cabbage
- Cantaloupe — Melons
- Cardoon
- Carrots
- Cauliflower
- Celeriac
- Celery
- Chard
- Chayote Squash
- Chickpeas
- Chicory
- Chinese Cabbage
- Collards
- Corn Salad
- Corn, Sweet
- Cresses
- Cucumbers
- Eggplant
- Endive and Escarole
- Fava Beans
- Florence Fennel
- Garbanzo Beans
- Garlic
- Horseradish
- Jerusalem Artichoke
- Kale
- Kohlrabi
- Leeks
- Lettuce
- Lima Beans
- Melons
- Mizuna
- Mustard Greens
- New Zealand Spinach
- Okra
- Onions
- Parsnips
- Peanuts
- Peas
- Peppers
- Potatoes
- Pumpkins
- Radicchio
- Radishes
- Rhubarb
- Rutabaga
- Salsify
- Shallots
- Sorrel
- Southern Peas
- Soybeans
- Spinach
- Squash, Summer
- Squash, Winter
- Sunchokes
- Sweet Potato
- Swiss Chard
- Taro
- Tomatillo
- Tomatoes
- Turnips
- Watermelon
- Zucchini
Learn to grow 80 vegetables: THE KITCHEN GARDEN GROWER’S GUIDE
See Garden Products Recommended by Harvest to Table
Garden Planning Books at Amazon: