How to Grow Watermelons from Seed to Harvest: Ultimate Guide for Sweet, Juicy Success
Watermelons are the quintessential summer crop—sweet, juicy, and rewarding to grow. I’ve been planting and growing watermelons for over 30 years in California’s warm climate, both in my backyard garden and raised beds here in Sonoma Valley. Over the years, I’ve learned exactly what it takes to go from seed to harvest successfully—and I’m here to share that knowledge with you.
Whether you’re gardening in a small space or a large plot, this guide will walk you through the entire process of growing watermelons—from seed starting and transplanting to caring for the vines and picking the perfect melon.
Why Trust This Guide?
My approach is based on decades of personal experience, research, and experimentation. I’ve grown dozens of watermelon varieties—both heirloom and hybrid—and I’ve adapted my techniques for raised beds, containers, and traditional in-ground planting. I also write extensively about vegetable gardening for home gardeners and test every method I share in my own year-round garden.
Step 1: Choose the Right Watermelon Variety
Success begins with variety selection. Choose a watermelon that matches your climate, space, and time to harvest.
My go-to recommendations:
- Small spaces: ‘Sugar Baby’ (bush type, early-maturing)
- Short season: ‘Blacktail Mountain’ (tolerates cooler nights)
- Big harvests: ‘Crimson Sweet’ or ‘Jubilee’ (long vines, large fruit)
👉 Related:
Watermelon Varieties by Size: From Personal Melons to Giants
Top Watermelon Varieties for Short Growing Seasons
Best Long Vine Watermelons for Large Gardens
Best Watermelon Varieties for Small Spaces (Bush & Short Vines)
Step 2: Start Seeds at the Right Time
Soil and air temperature are critical.
Watermelon seeds won’t germinate in cold soil. I’ve found that soil temperatures must be consistently above 70°F (21°C) for successful germination, and air temperatures should be at least 75°F (24°C) during the day.
Two planting options:
- Direct sow: Once soil is warm (70–95°F), typically 2 weeks after the last frost.
- Start indoors: 2–4 weeks before the last frost date in biodegradable pots to avoid root disturbance.
I often start mine indoors in mid-April and transplant in early May, once Sonoma Valley’s weather stabilizes.
👉 Related: When to Plant Melons for the Best Harvest
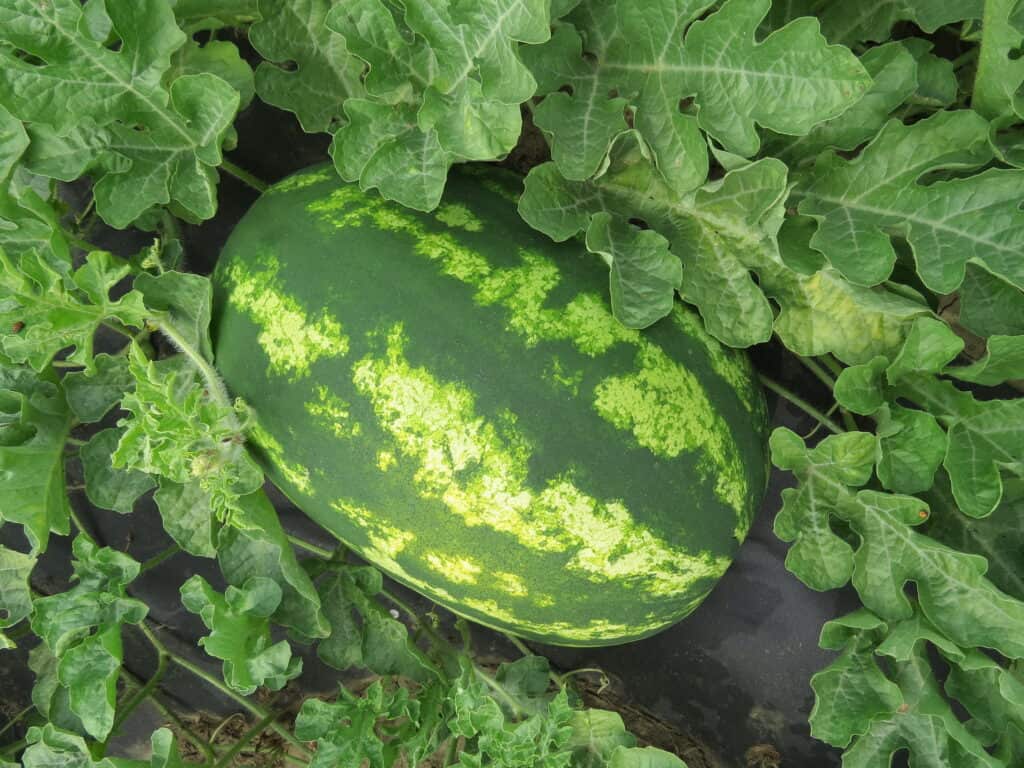
Step 3: Prepare the Planting Site
Watermelons love heat and rich soil.
Choose a sunny location with at least 8 hours of direct sunlight and well-draining soil. Amend with aged compost or organic matter to enrich the soil.
Best growing conditions:
- Soil pH between 6.0 and 6.8
- Loose, sandy-loam texture
- Raised or mounded beds for extra warmth and drainage
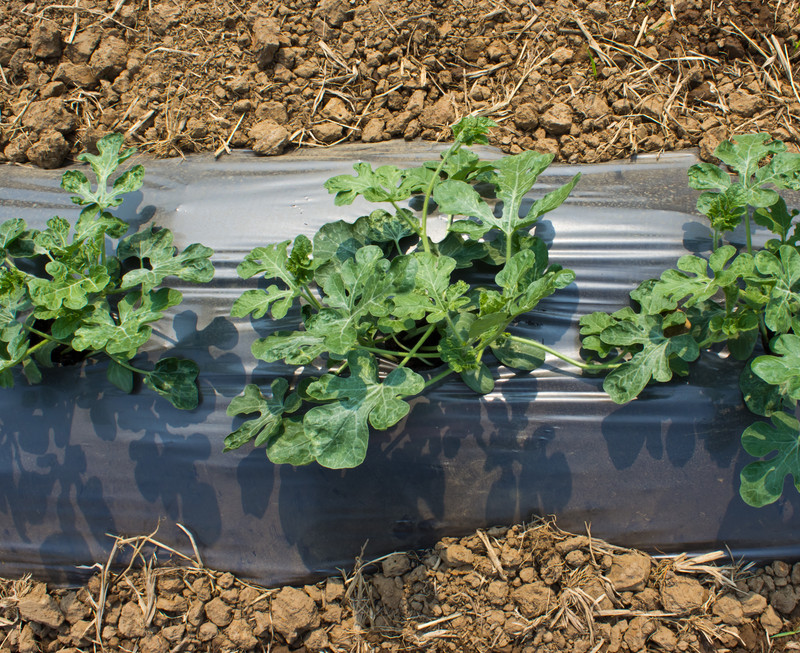
👉 Tip from experience: Use black plastic mulch early in the season to warm the soil and speed up growth.
👉 Related: Soil Prep and Mulching Tips for Healthy Watermelons
Step 4: Planting and Spacing
Direct sowing:
- Sow 2–3 seeds per hill, 1 inch deep.
- Space hills 3–4 feet apart in rows 5–6 feet apart.
- Thin to the strongest seedling per hill after emergence.
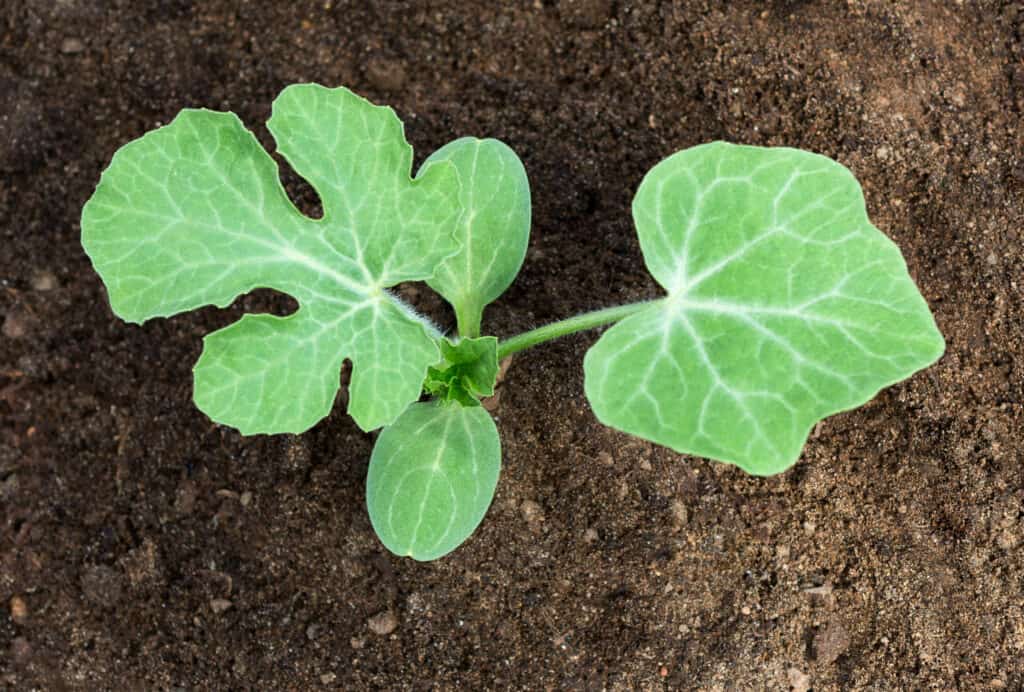
Transplanting seedlings:
- Harden off for 5–7 days.
- Gently transplant when plants have 2–3 true leaves.
- Plant at the same depth and water deeply.
I’ve learned that overcrowding leads to mildew and poor airflow, so always give vines room to sprawl—or train them vertically if space is tight.
👉 Related: How Much Space Do Watermelons Need?
Step 5: Early Season Watermelon Care
Watering:
Water deeply but infrequently to encourage deep root growth. Avoid watering the leaves. Once fruits begin to swell, I reduce watering slightly to improve sweetness.
Feeding:
Apply a balanced fertilizer at planting (like 10-10-10), then switch to a low-nitrogen, high-potassium formula when flowering begins.
👉 Related:
How to Feed Watermelons: Fertilizer Schedules and Organic Options
Watering Watermelons: How Much and How Often
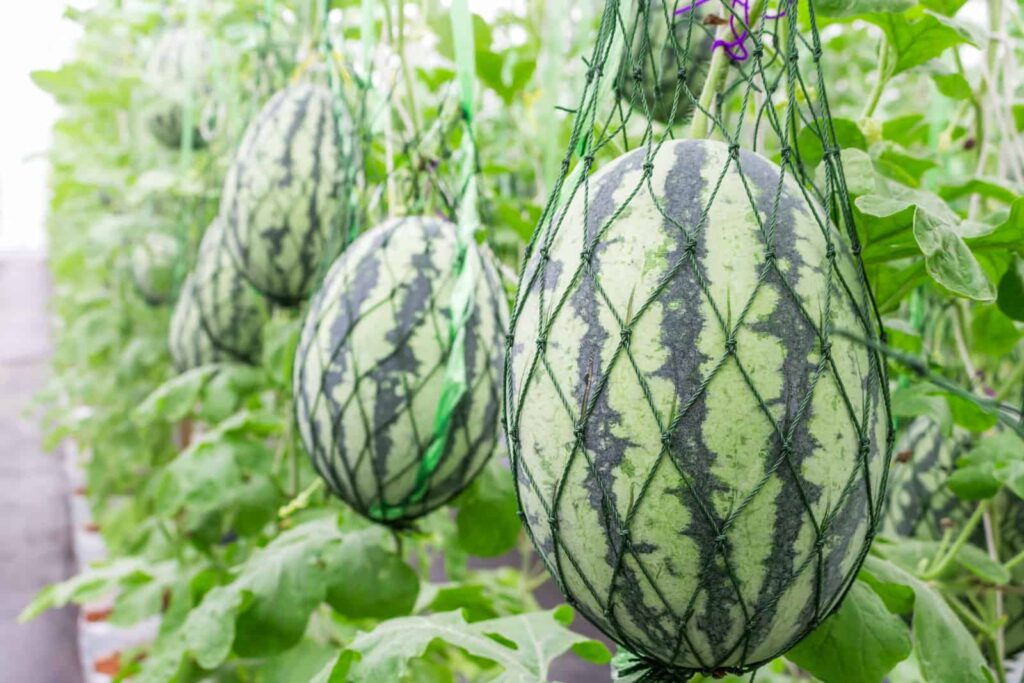
Step 6: Training and Supporting Vines
Watermelons are naturally sprawling, but in smaller gardens, I’ve had great success growing them vertically on sturdy trellises.
- Use a strong trellis or cattle panel
- Support heavy fruit with slings made from old T-shirts or mesh produce bags
👉 Related: Growing Watermelons Vertically: Tips for Small Gardens
Step 7: Pollination and Fruit Set
Watermelons rely on pollinators like bees for fruit development. If your vines bloom but no fruit forms, pollination may be lacking.
My solution:
Hand-pollinate early in the morning using a soft brush to transfer pollen from male to female flowers (which have a tiny fruit at the base).
👉 Related: Watermelon Pollination Tips: Helping Watermelons Set Fruit
Step 8: Pests, Diseases, and Common Issues
In my experience, the most common watermelon pests are cucumber beetles, aphids, and squash bugs. I manage them with early detection, row covers, and neem oil.
Common diseases include:
- Powdery mildew
- Fusarium wilt
- Anthracnose
Good airflow, crop rotation, and resistant varieties are the best defenses.
👉 Related: Watermelon Pests and Diseases: How to Stop Them
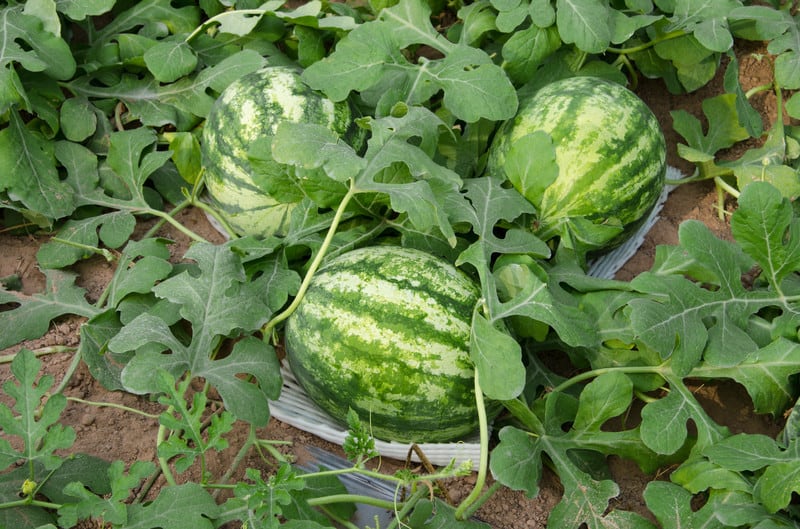
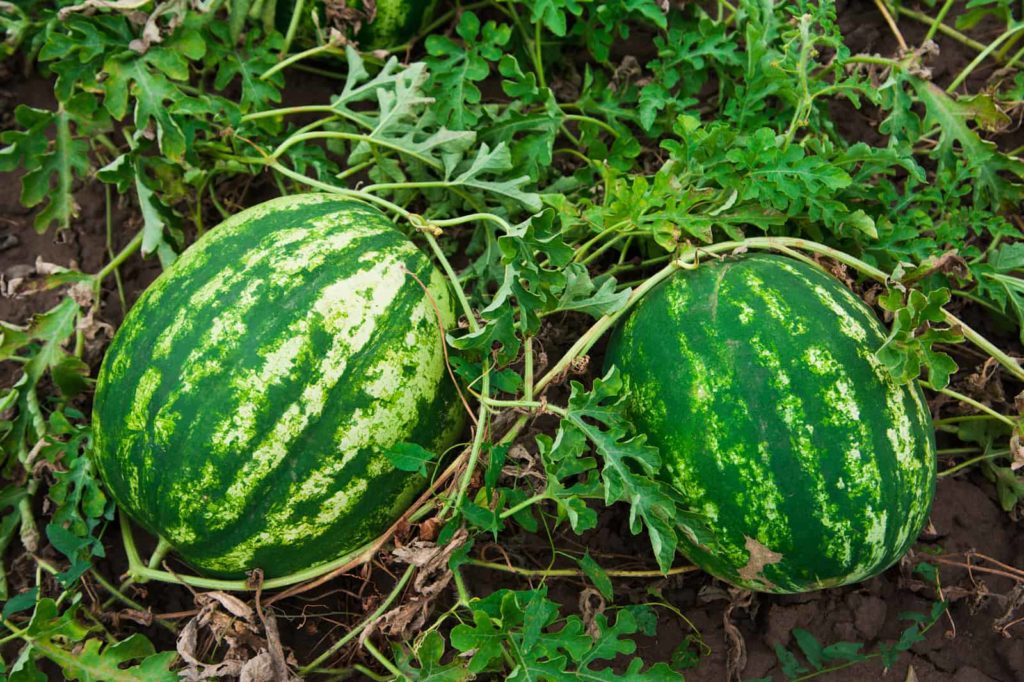
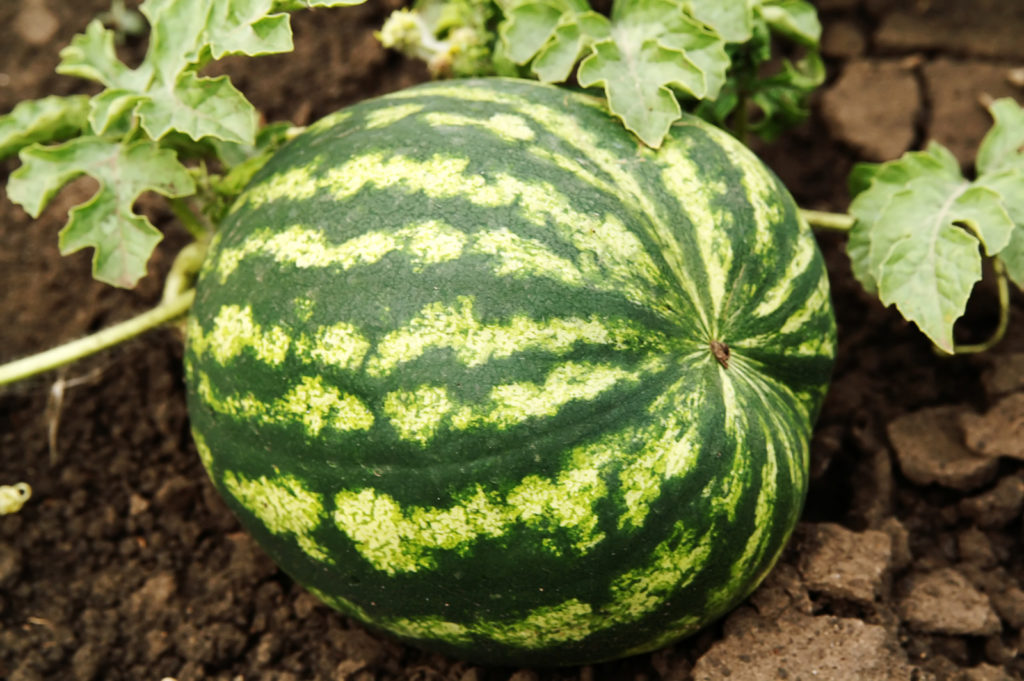
Step 9: Harvesting Watermelons
Knowing when to harvest is an art.
After years of trial and error, I rely on three signs:
- The tendril nearest the fruit turns brown and dry
- The spot where the melon touches the ground turns creamy yellow
- The melon sounds hollow when tapped
Resist picking too early—watermelons don’t ripen off the vine.
👉 Related: How to Know When Watermelons Are Ready for Harvest

Step 10: Storing and Enjoying Your Harvest
- Whole melons store at room temperature for up to 10 days.
- Refrigerate cut melons and eat within 3–5 days.
- Freeze chunks for smoothies or make watermelon popsicles for hot days.
👉 Related: Preserving Watermelons for Fresh Eating and Preservation
Final Thoughts From My Garden
Growing watermelons from seed to harvest is one of the most satisfying experiences in the garden. From the first sprout to slicing open a sun-warmed melon in July, every stage brings its own reward.
Over the years, I’ve found that success comes down to warm soil, space, good airflow, consistent care, and patience. Stick with it, and you’ll be rewarded with the unforgettable taste of a homegrown watermelon—sweeter than anything store-bought.
Wateratermelon Frequently Asked Questions
Q: Should I start watermelons indoors?
A: To ensure watermelons have enough warm and hot weather to ripen, start seeds indoors 3 to 4 weeks before the average date of the last frost. Plant seeds n peat pots or other biodegradable containers that can be set directly in the ground; watermelons don’t like their roots to be disturbed at transplanting time.
Q: When can watermelons be planted outdoors?
A: You can transplant watermelons into the garden when temperatures average 60°F, even warmer is better. Protect young seedlings with hot caps or cloches. Plastic milk jugs with their bottoms cut out will work, but remember to remove them during the day if the sun is bright.
Q: What’s the best way to plant watermelon seeds?
A: Sow seeds 1 inch deep in hills, two to four seeds per hill, 4 to 6 feet apart. Some bush varieties can be spaced closer together.
Q: Can watermelons be grown on a trellis?
A: Yes. To be certain the fruits don’t break off, or pull the vines away from their support, create a little “hammock” for them with nylon netting or pieces of cloth.
Q: Can I grow watermelons in very dry regions?
A: Yes, try this: create a depression 3 to 5 inches deep and 12 to 15 inches across. Sow seeds or set transplant halfway up the sides of the depression then train the vines away from the depression. Water in the depression and the water will wick up to the roots, and the vine trained away will not get muddy.
Q: Can I grow watermelons in cool summer regions?
A: In cooler climates, grow smaller “ice-box: varieties. Plant these smaller melons in the warmest spot in your garden. Use black plastic mulch to trap heat in the soil.
Q: How much fertilizer do watermelons need?
A: Give watermelons a complete organic fertilizer at planting ot transplanting time and again when plants are established and just starting to send out runners. Work the fertilizer into the soil in circular furrows 8 inches away from the plants.
Q: Will watermelons need extra water?
A: Watermelons need plenty of water, but they also must have good drainage. Keep the soil evenly moist. Planting on mounds will ensure good drainage.
Q: How can I tell when a watermelon is ready to harvest?
A: Rap the melon with your knuckle. If the sound is sharp and high, the melon is not ripe. If the sound is dull and hollow, the melon is ripe. When the tendril closest to the melon is alive and green, it is not ripe. When the tendril dries up and turns brown, the melon is ripe. You can also look for yellowing on the spot where the melon rests on the ground.
Watermelons Overview Post:
How to Grow Watermelons from Seed to Harvest: Ultimate Guide for Sweet, Juicy Success
Melons Overview: The Ultimate Guide to Growing Melons: From Planting to Harvest
Related Posts:
Starting Watermelons Right
- When and How to Start Watermelons: A Seed-Starting Guide
- Watermelon Temperature Needs: Warmth, Frost, and Growth Milestones
- Soil Prep and Mulching Tips for Healthy Watermelons
Planting & Space Planning
- How Much Space Do Watermelons Need?
- Growing Watermelons in Containers: Tips for Small Gardens
- Growing Watermelons Vertically: Tips for Small Gardens
- Companion Planting for Watermelons: What Works and What Doesn’t
Watermelon Care Through the Season
- Caring for Watermelon Plants Through the Season
- Watering Watermelons: How Much and How Often
- How to Feed Watermelons: Fertilizer Schedules and Organic Options
- Watermelon Pollination Tips: Helping Watermelons Set Fruit
Dealing with Pests and Diseases
Knowing When to Harvest
Choosing the Right Varieties
- Watermelon Varieties by Size: From Personal Melons to Giants
- Top Watermelon Varieties for Short Growing Seasons
- Best Long Vine Watermelons for Large Gardens
- Best Watermelon Varieties for Small Spaces (Bush & Short Vines)
- How to Grow Seedless Watermelons Successfully
Enjoying the Harvest
- Preserving Watermelons for Fresh Eating and Preservation
- Watermelon Flavor Pairings to Complement Your Harvest Table
More how to grow articles:
Learn how to plant, grow, and harvest your favorite vegetables. Click below for all you need to know.
- Artichoke
- Arugula
- Asparagus
- Beans, Snap
- Beets
- Broad Beans
- Broccoli
- Brussels Sprouts
- Cabbage
- Cantaloupe — Melons
- Cardoon
- Carrots
- Cauliflower
- Celeriac
- Celery
- Chard
- Chayote Squash
- Chickpeas
- Chicory
- Chinese Cabbage
- Collards
- Corn Salad
- Corn, Sweet
- Cresses
- Cucumbers
- Eggplant
- Endive and Escarole
- Fava Beans
- Florence Fennel
- Garbanzo Beans
- Garlic
- Horseradish
- Jerusalem Artichoke
- Kale
- Kohlrabi
- Leeks
- Lettuce
- Lima Beans
- Melons
- Mizuna
- Mustard Greens
- New Zealand Spinach
- Okra
- Onions
- Parsnips
- Peanuts
- Peas
- Peppers
- Potatoes
- Pumpkins
- Radicchio
- Radishes
- Rhubarb
- Rutabaga
- Salsify
- Shallots
- Sorrel
- Southern Peas
- Soybeans
- Spinach
- Squash, Summer
- Squash, Winter
- Sunchokes
- Sweet Potato
- Swiss Chard
- Taro
- Tomatillo
- Tomatoes
- Turnips
- Watermelon
- Zucchini
Related articles:
How to Harvest and Store Watermelon
How to Serve Summer and Winter Melons
Garden Planning Books at Amazon: