How to Plant, Grow, and Harvest Microgreens
Microgreens are leafy vegetables that are harvested very young—after the cotyledon or seed leaves have developed with one set of small true leaves. Leafy vegetables grown as microgreens include arugula, beets, cabbage, chard, cress, kale, mustard, and radish.
Microgreens are grown for the flavor, texture, and nutrition they can add to salads, soups, sandwiches, and other plates. They can also be served as stand-alone vegetables. They are commonly served raw, not cooked.
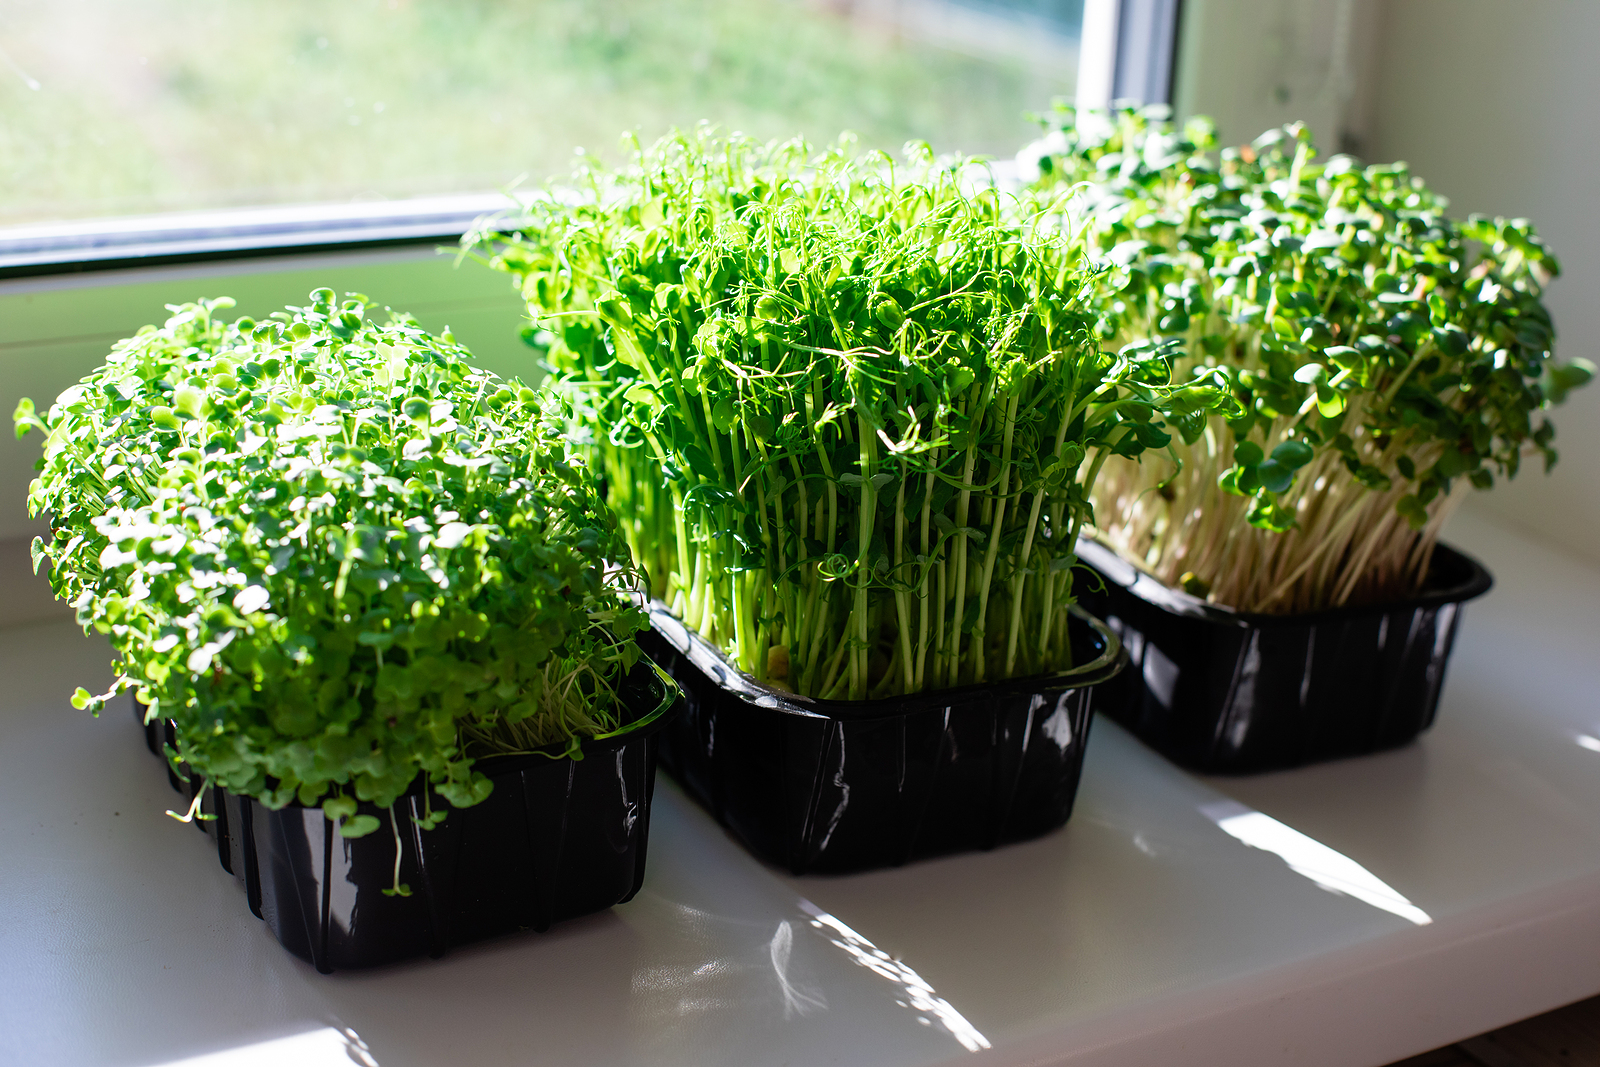
Microgreens range in size from 1 to 3 inches (2.5-7.6cm) including the stems and leaves. Microgreens are commonly harvested by cutting the seedling stem just above the soil line.
Common microgreens
Vegetable greens that are often grown as microgreens include:
- Amaranth: Sparking leaves packed with essential vitamins can be used as a garnish; leaves taste like lettuce (harvest in 21 days).
- Arugula: usually purple stems with green leaves with a spicy flavor (harvest in 21 days).
- Basil: green or purple leaves can be used in Mediterranean-inspired dishes (harvest in 15 days).
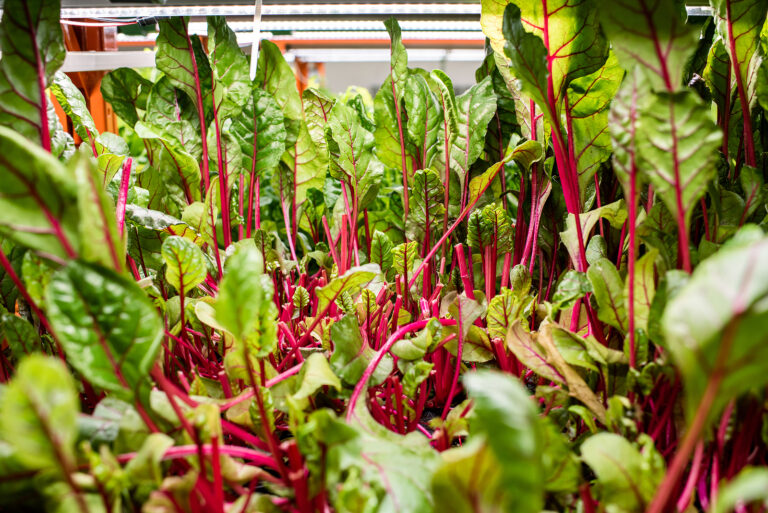
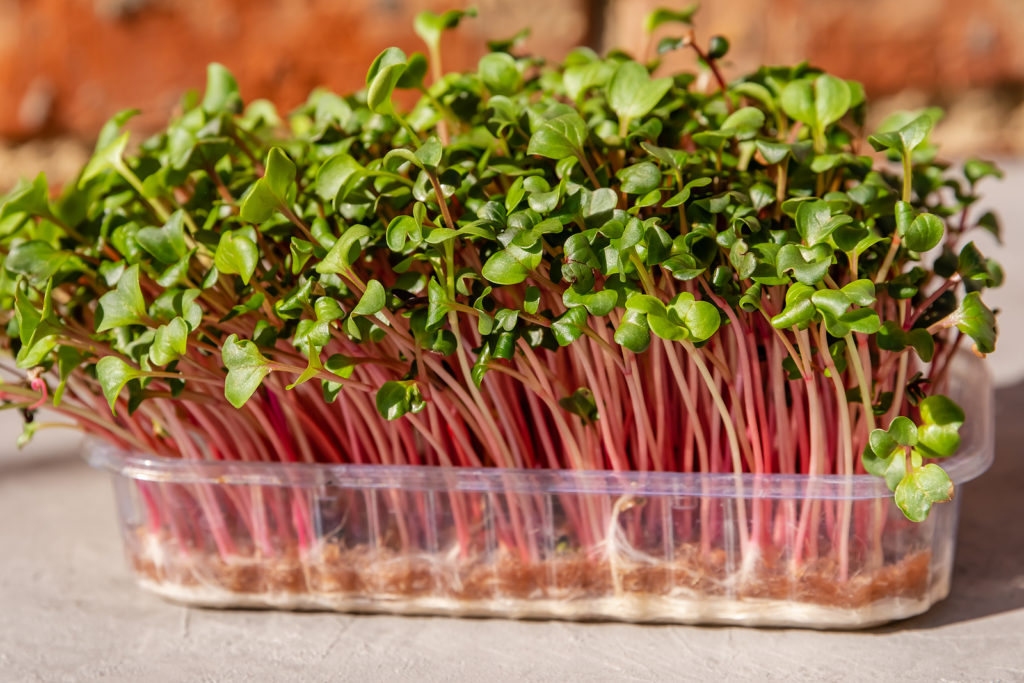
- Beets: usually red or golden stems have an earthy flavor and brighten up salads and sandwiches (harvest in 21 days).
- Chard: often reddish-pink stems, but also gold, orange, white, or purple stems and green leaves (harvest in 21 days).
- Cilantro: wispy leaves with a strong, distinctive flavor can be added to many dishes (harvest in 21 days)
- Cress: green and almost feathery leaves with a peppery flavor.
- Fenugreek: stems and dark green leaves add a curry-like flavor to sandwiches, salads, or stir-fries; use in Asian cooking (harvest in 21 days).
- Kale: pinkish stems and greenish-purple leaves have high nutrient content; add to soups or salads before serving (harvest in 21 days).
- Mizuna: Slightly peppery leaves can be added to salads or used as a topping for pasta and curry dishes (harvest in 12 days).
- Mustard: often red-veined leaves with a peppery, spicy mustard or horseradish flavor (harvest in 14 days).
- Radish: Among the fastest to germinate (harvest in 12 days); spicy addition to any hot or cold dish.
Where to plant microgreens
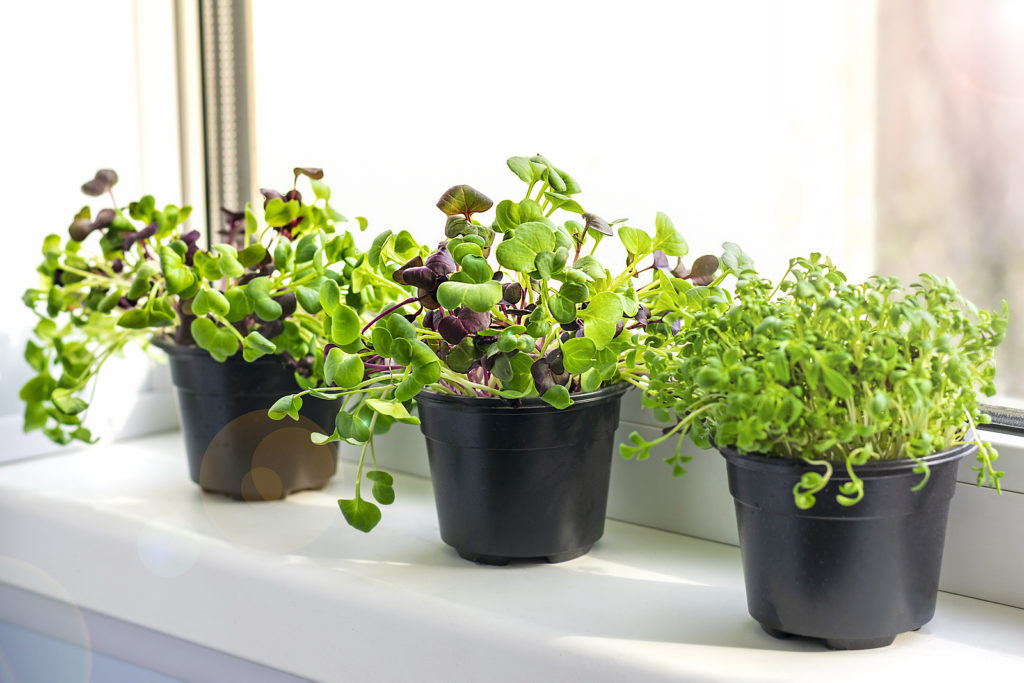
- Space: Microgreens, like other plants, need room to grow and space for light and air to reach all plants. Allow space for individual pots or trays; avoid crowding microgreens into a small space.
- Light: Microgreens grow best in natural light. A south-facing window that does not get too hot in summer is best. Microgreens can also be grown under all artificial light. Artificial light is often used to supplement natural light during winter.
- Airflow: Microgreens are most successfully grown where there is good air circulation or airflow. A light breeze—from an open window or small fan—will help seeds germinate and grow strong and will keep mold, diseases, and insect pests at bay.
- Water and Drainage: Microgreens are best grown where there is easy access to water, near a sink or tub where they can soak and drain.
- Humidity: Ample humidity can benefit microgreen seed starting. Too much humidity can be detrimental to seedlings. Humidity control or plastic domes over pots and trays can encourage germination and early growth.
Containers for microgreens
- Material: Containers for growing microgreens can be made of plastic, foam boxes, terra cotta, stone, or wood. Choose a container that is safe for edible plants. Choose a container that is free draining.
- Depth: Microgreens are harvested young when roots need little depth. The root mass of most microgreens will be in the top 6 inches of soil. Choose a container that is 6 inches deep. Some microgreen growers use algae-infused mats that provide nutrients and support; mats can be placed in a tray or pot just 2 to 3 inches deep.
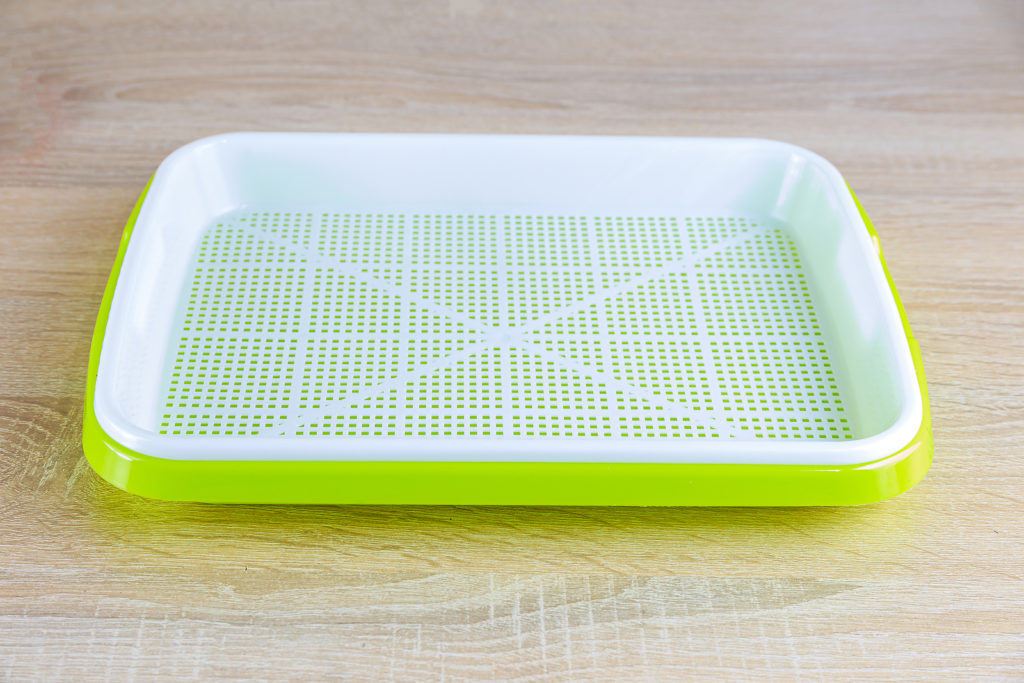
- Drainage: Containers for microgreens must be well-drained. All plants need well-aerated soil. Choose a container with a single hole in the bottom or several small holes or slits that allow for drainage. Sitting water and overwatering can result in mold. Microgreens can be bottom-watered; place the pot or tray in a few inches of water; the soil and roots will draw water from below.
Growing media for microgreens
Microgreens are most often grown on a soilless media (called potting soil) or on substrate mats made of fiber and often infused with plant nutrients. Here is a description of each method:
- Microgreens can be grown in a soilless media suited for container and indoor seed starting and growing. Avoid growing microgreens in garden soil which can contain pathogens and insect pests. A growing media suitable for microgreens would include peat, coir fiber, vermiculite, bark, and bonemeal. Commercial seed starting and potting mixes blended specifically for vegetable and herb growing are well suited for growing microgreens.
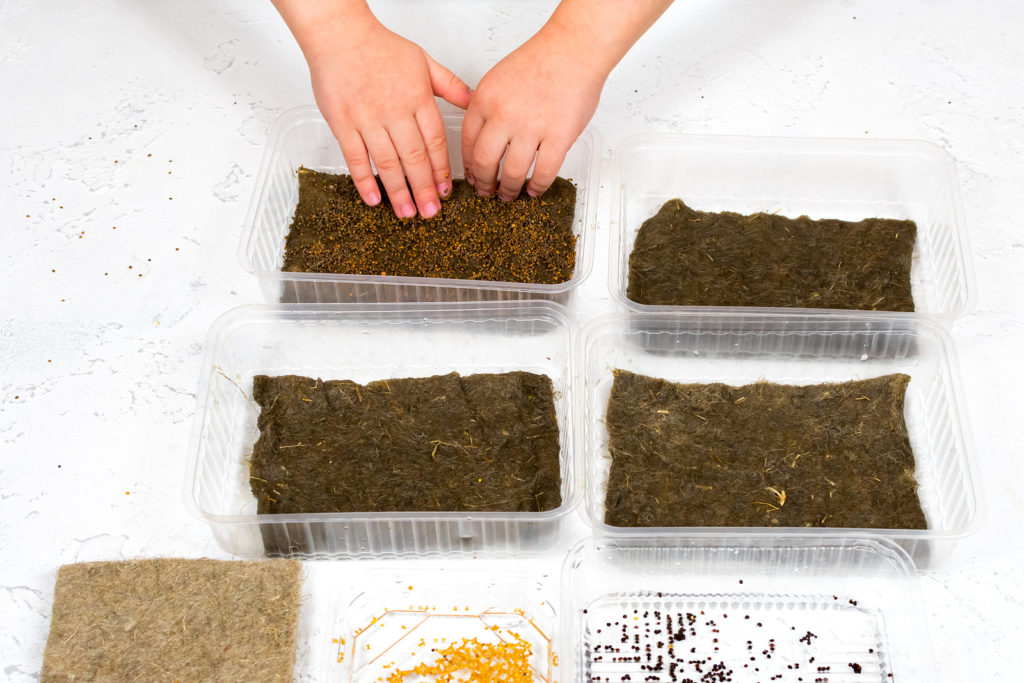
- Microgreens can be grown on a fiber or paper substrate mat or even a wet cloth. Commercial mats are usually biodegradable and compostable and made from all-natural, ph neutral, hemp, or other fibers. Mats can be cut to size to fit most containers.
Shelving for microgreens
- If you are growing more microgreens that can fit on a windowsill or kitchen counter, use adjustable shelving that allows for shelf height adjustment that will allow for the best light exposure and air circulation. Slatted shelves can increase airflow around microgreens. Choose shelving such as stainless steel which is easily cleaned.
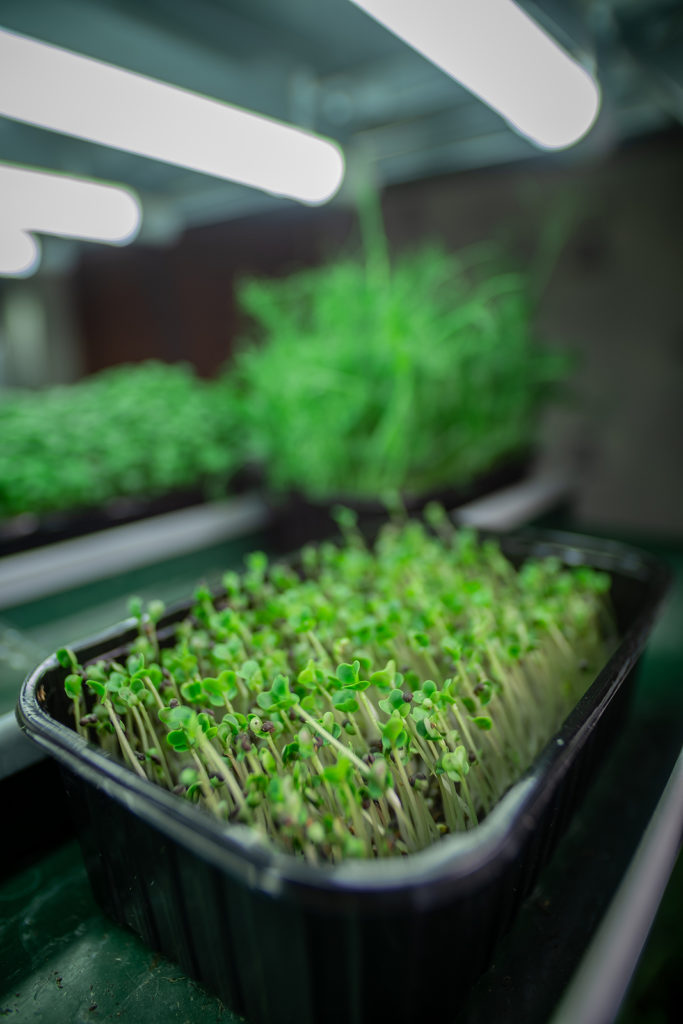
Artificial light for microgreens
When microgreens can not be grown in sufficient natural light there are several artificial light options. Here are some:
- Full-spectrum fluorescent bulbs (T8 or T5 bulbs) in a standard metal light fixture; are often marketed as utility or shop lights. Use a light fixture that has hooks or chains on each end for easy adjustment.
- Under-the-counter fluorescent lighting (usually T12 bulbs) can be used, but microgreen containers should be set on blocks or shelves that will bring them closer to the light.
- High-intensity discharge (HID) lights are highly efficient, fit into standard sockets, and are more expensive than fluorescent lights.
- Light-emitting diode (LED) bulbs that emit the complete spectrum of light wavelengths needed by plants are energy efficient and more costly than fluorescent lights.
Other growing supplies for microgreens
- Fans: Airflow around plants will aid temperature control, humidity, disease resistance, and oxygen intake. A natural breeze helps plants grow stronger. If microgreens are away from natural airflow, use a fan or fans to mimic low levels of wind. Crossing airstreams from two or more box fans or oscillating fans can create airflow.
- Automatic light timers: Use light timers to turn lights on and off.
- Heat mats: Heat mats, also called germination mats, are placed beneath a planting tray to warm the soil and roots and speed germination, especially in cooler weather.
- Mister bottles: Mister bottles are used to mist water over plants, especially when the air is dry. They can also be used to deliver foliar fertilizers or organic pesticide sprays.
Planting microgreens step-by-step
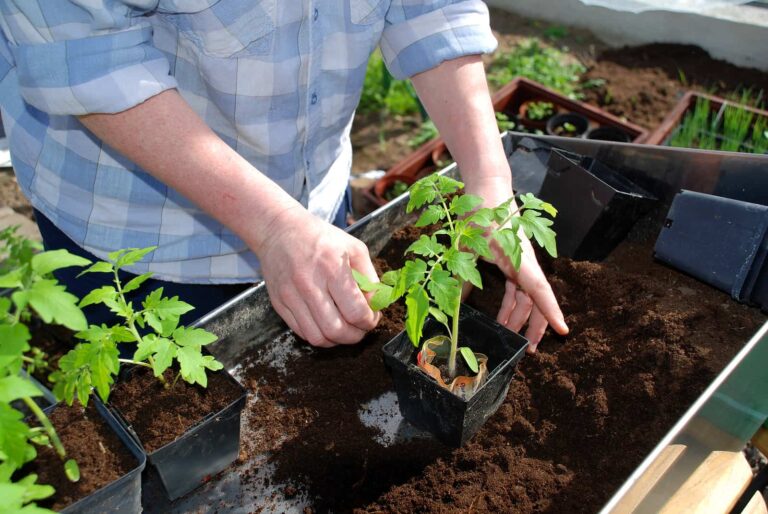
Microgreens can be grown from seeds or transplants. Starting from seed is the most common way to grow microgreens.
Here are the steps to plant microgreens:
- Microgreens grow best in a planting mix that is loose and has good drainage. Use a commercial potting mix formulated for vegetables or herbs.
- Moisten the planting mix. Squeeze the moistened planting mix; if a few drops of water come out, the mix is right. If a steady stream of water comes out, it’s too moist.
- Place the planting mix in a clean tray, pot, or another container. The mix needs to be only a few inches deep. If the planting mix seems too dense, add some dry mix to fluff it up.
- Add seed heavily, not lightly. A dense harvest to more time and is cost-effective than a light harvest.
- Do not cover the seed with planting mix, vermiculite, or anything else. Covering the seed will result in uneven germination.
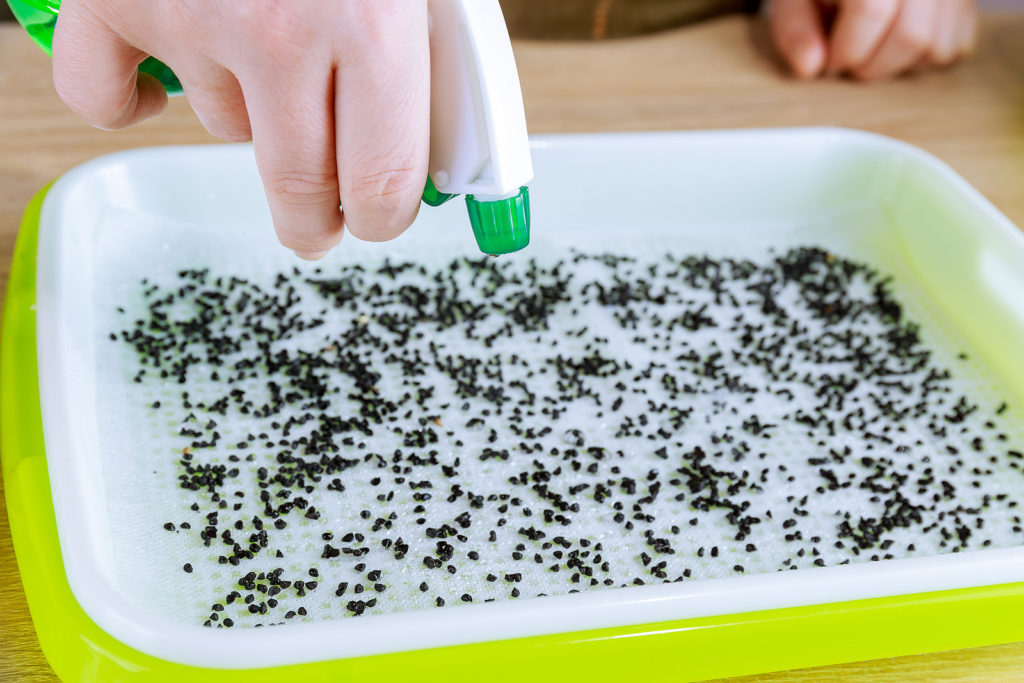
- Spritz the planting mix and seed lightly.
- Place a paper towel or piece of newspaper over the top of the planting pot or tray; this will block light for a few days, keep the planting mix and seed warm, and speed germination.
- After seeds begin to germinate in about 3 to 4 days, remove the cover and water lightly daily.
- Set the container in a bright window or under artificial light for at least 6 to 8 hours each day
- Once the seeds have sprouted, do not water from above. Bottom water the seedlings by setting the pot or tray into a larger container, sink, or bathtub, and let the potting medium soak up the water from below.
Microgreens common problems
Here are common microgreen growing problems and possible solutions:
- Slow or no germination: Poor or no germination can happen when the seeds are too old, or they are not getting enough moisture. To test seeds for germination rate, place 10 or 20 seeds on a moist paper towel; they should germinate within 2 to 4 days; if germination is poor, get new seeds.
- Microgreens are yellow or sickly looking: The greens are probably not getting enough light. Move them closer to the light source.
- Mold in planting mix: This is caused by poor airflow, overwatering, or too much humidity. Remove areas not affected by mold and place them in another container then discard the moldy section. Allow the planting mix to dry for a day or two before harvesting. Important: do not mistake tiny white root hairs for mold.
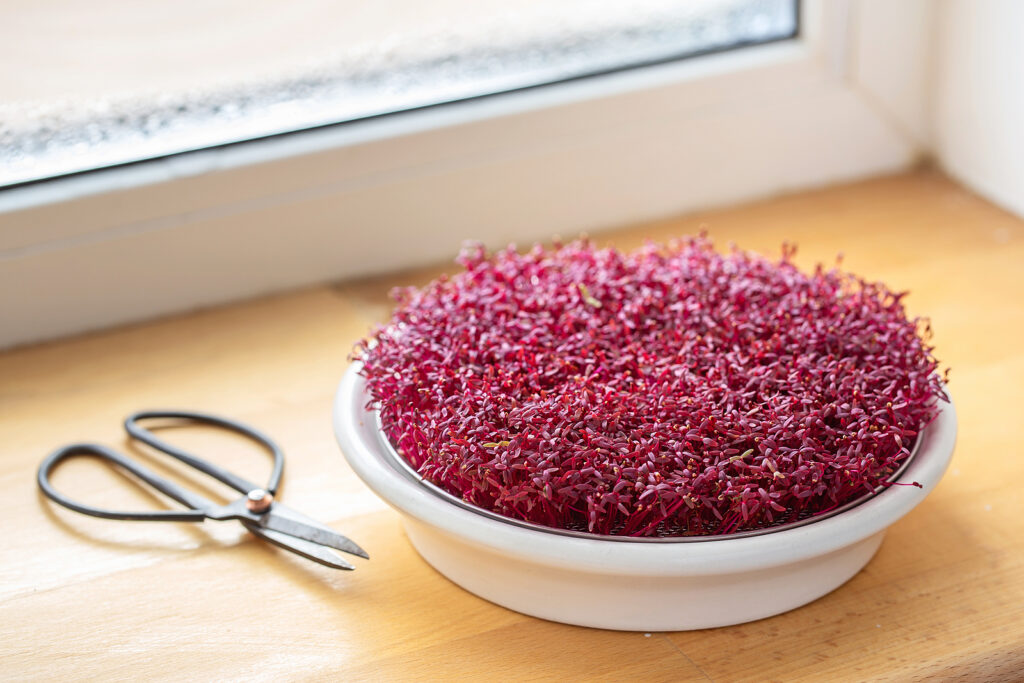
Harvesting and storing microgreens
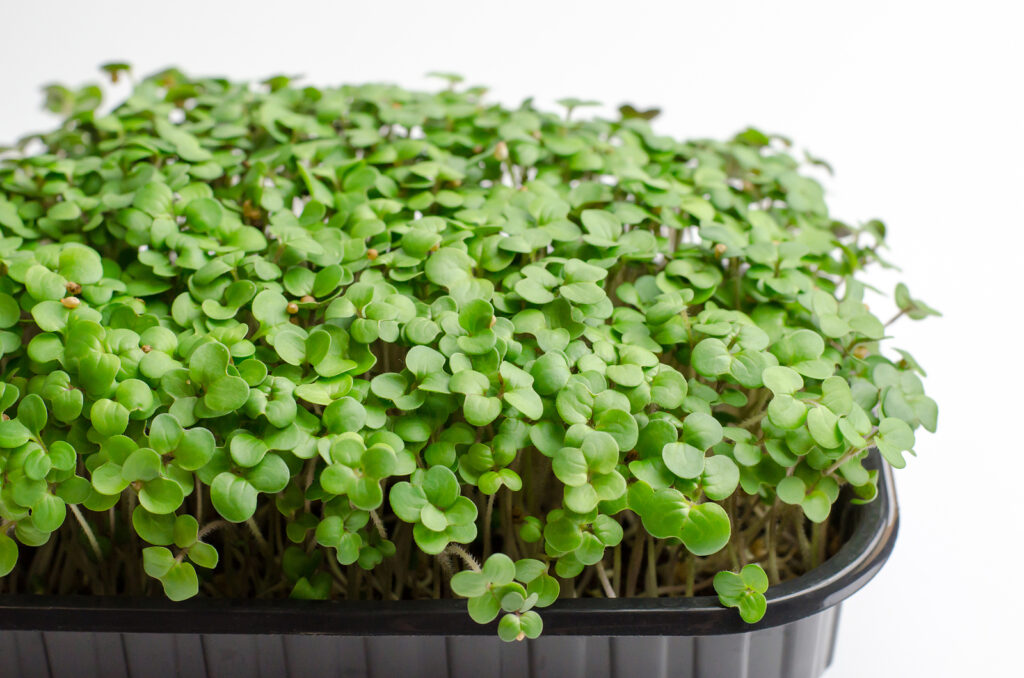
- Microgreens will be ready for harvest in 1 to 2 weeks.
- Most microgreens will be tastiest when they are 1 to 2 inches tall and have sprouted a second set of true leaves.
- Harvest microgreens with scissors; take a handful and cut the stems just above the planting mix level.
- If ungerminated seeds are evident once greens have been harvested, set the pot or tray back in the light and allow the remaining seeds to germinate.
- Store microgreens in glass containers with lids to keep them fresh.
- Microgreens will keep for at least a week if refrigerated.
- Microgreens taste best when they are used shortly after harvest.
Using microgreens
- Microgreens are best used fresh. Refrigerated microgreens will keep for about a week.
- Add microgreens to salads, soups, sandwiches, and other plates.
- Add fresh microgreens over salmon, chicken, tofu, or pork.
- Sprinkle microgreens on a sandwich or open-faced grilled cheese.
- Sprinkle microgreens over pizza or scrambled eggs or add microgreens to an omelet.
- Add microgreens to a fresh-cut fruit and yogurt salad.
- Add microgreens to fruit and water to make a smoothie.
Related articles:
How to Plant, Grow, and Harvest Cress
How to Prepare and Serve Cress
How to Plant, Grow, and Harvest Microgreens
Articles of interest:
Best Herbs for Container Growing
Garden Planning Books at Amazon:
- Vegetable Garden Almanac & Planner
- Kitchen Garden Grower’s Guide Vegetable Encyclopedia
- Vegetable Garden Grower’s Guide
- Tomato Grower’s Answer Book