How to Grow a Salad Garden in 10 Steps
Salad greens are easy and quick to grow and are rich in vitamins and minerals.
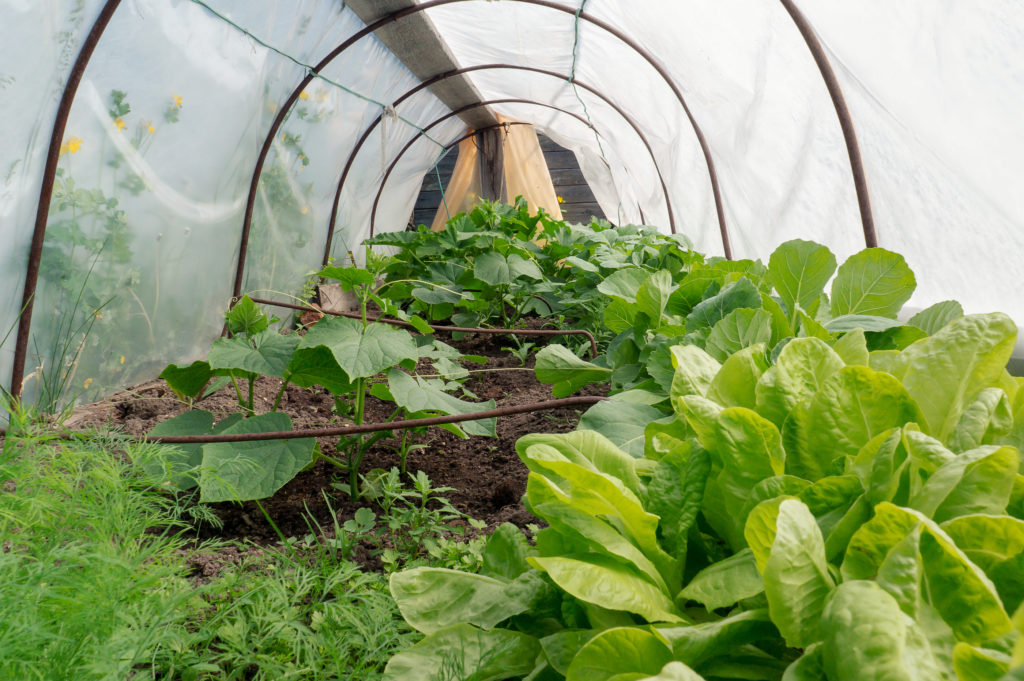
Plant salad greens—leaf lettuce, arugula, mesclun, and radicchio are a few—for harvest in cool weather—spring or fall. In warm-winter regions, grow salad greens outdoors year-round. In cold-winter regions, grow salad greens under the protection of plastic tunnels in winter.
10 Steps to Grow a Salad Garden
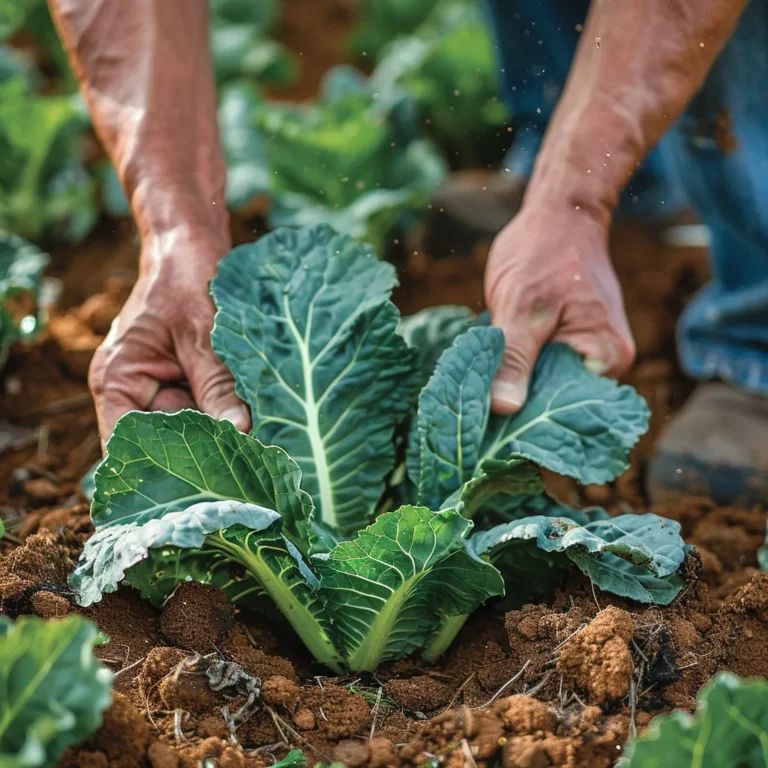
Step 1: Site and preparation. Grow salad greens in cool weather; plant greens in spring or fall or grow through the winter where temperatures do not dip to freezing. Prepare planting beds by laying down 1 inch (2.5 cm) of compost and aged manure then use a garden fork or spade to turn the soil under to at least six inches (15 cm). Rake the seed bed even before planting; when planting in autumn use raised beds to keep your greens above the splatter of autumn and winter rains. You can also grow salad greens easily in containers; place the containers where they will get even sun and shelter from prevailing winds. Always locate your salad garden as close to the kitchen as possible.
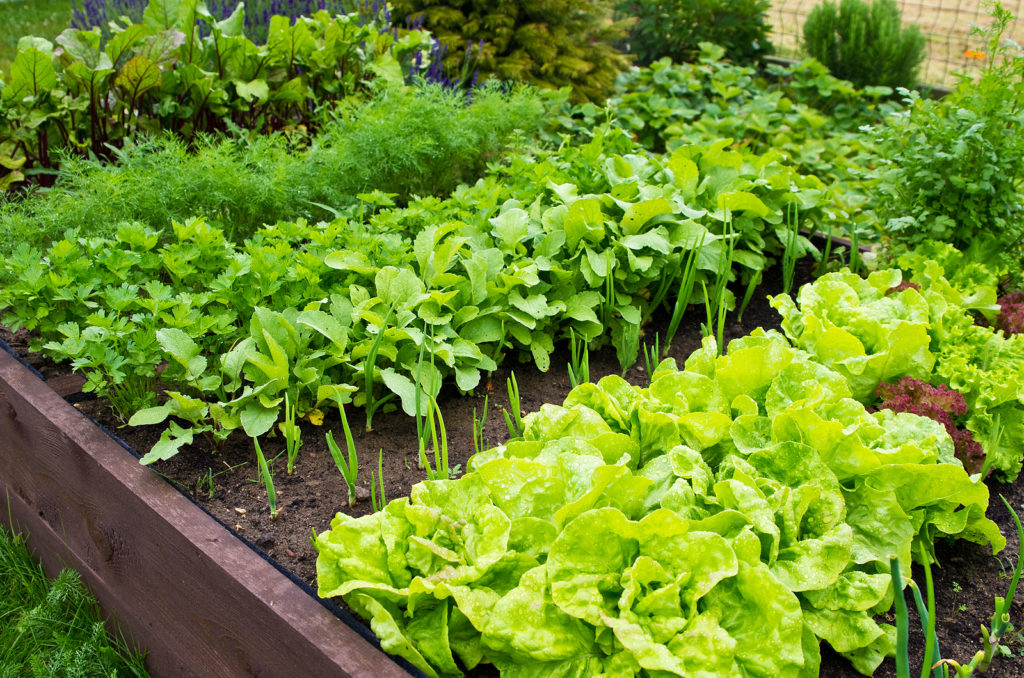
Step 2: Planting. Sow seed or set transplants evenly spaced across the bed or in the container so that plant leaves will just touch at maturity. This is called intensive planting; intensively planted crops will require less overall irrigation and will shade out weeds that compete for soil nutrients. It’s also your best use of space.
Know What to Plant This Week
Every week I answer the gardener's most important question: what should I plant now? Get seasonal planting advice free — or go Pro for my full Soil Temperature Garden Report, with soil temperature, moisture, weather trends, and crop-by-crop recommendations.
Tools for Vegetable Gardeners at Amazon:
- A.M. Leonard Straight Rake with Ash Handle
- All-Steel Nursery Spade with D-Grip Handle
- 4-Tine Spading Digging Fork with D-Handle
- Digital Soil pH Meter Outdoors Greenhouse
- Earthwise Handheld Electric Fertilizer Spreader
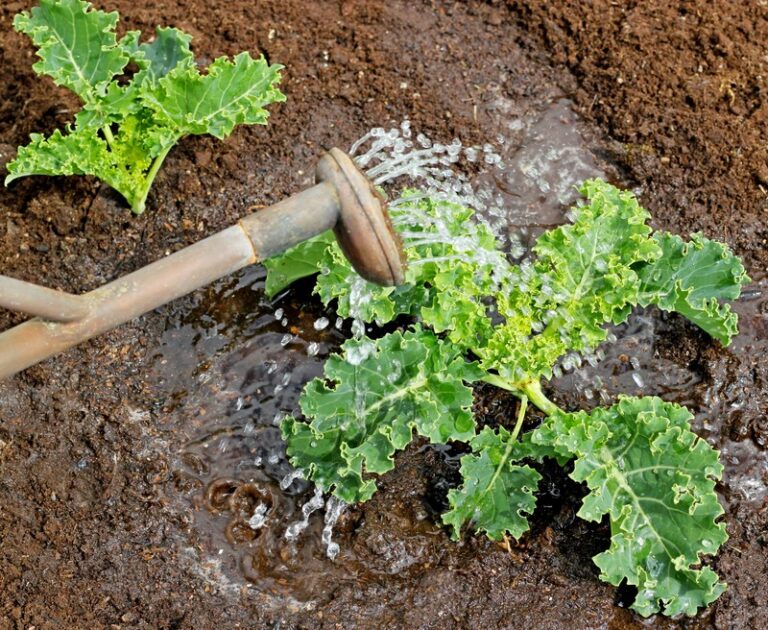
Step 3: Water. Salad greens require soil that is evenly moist; avoid letting the soil dry out. (Lettuce and salad greens are 80 percent water.) Locate beds or containers close to a hose bib. Set a weeper or soaker hose or drip irrigation line evenly spaced across the bed. Where autumn or spring rains are common, a raised bed or container is the best way to ensure planting beds don’t become too wet. You can place plastic sheeting across the bed to make sure the beds don’t soak up too much water in wet weather.
Step 4: Sowing. Most lettuce and salad greens are easy to grow from seeds. Seeds for salad greens is easy to find. Non-heading greens will be ready for harvest in 50 days or less. Think of the salads you want to serve when you select and sow seed; consider greens for color and flavor—some greens will be sweet flavored while others will be just bitter or pungent. Sow seed not more than ½ inch (1.25 cm) deep, firm the soil with the palm of your hand, and mark each crop with a plant tag. For a continuous harvest, plant successive crops every two weeks.
Step 5: Garden map. Keep a simple garden map of the crops you’ve planted and a log of when you planted and when you expect to harvest. You can use your log and map next season to choose and plant the crops you enjoyed most. Note planting dates and days to germination, maturity, and harvest.
Step 6: Easy-to-grow crops. Here are easy-to-grow salad greens for spring and harvest planting (after the name of each crop is the number of days to maturity and the amount of space you should give each plant in an intensively planted garden):
- Arugula: 30 days to harvest; 4 plants per square foot (0.09 sq.m).
- Chervil: 60 days to harvest; sprinkle across the bed.
- Claytonia: 40 days to harvest; 4 plants per square foot.
- Cress: 30 or so days to harvest cut young; sprinkle across the bed.
- Loose-leaf lettuce: 40 days to harvest; 4 plants per square foot.
- Mache: 50 days to harvest; 4 plants per square foot.
- Mesclun (a mix of greens seeds): about 25 days to harvest; sprinkle seed across the bed.
- Radicchio: 30 days to harvest; 4 plants per square foot.
- Sorrel: 20 days to harvest, cut young; sprinkle across the bed.
- Spinach: 40 days to harvest; 9 plants per square foot.
- Carrots: 30 to 40 days to harvest for baby carrots; 16 plants per square foot.
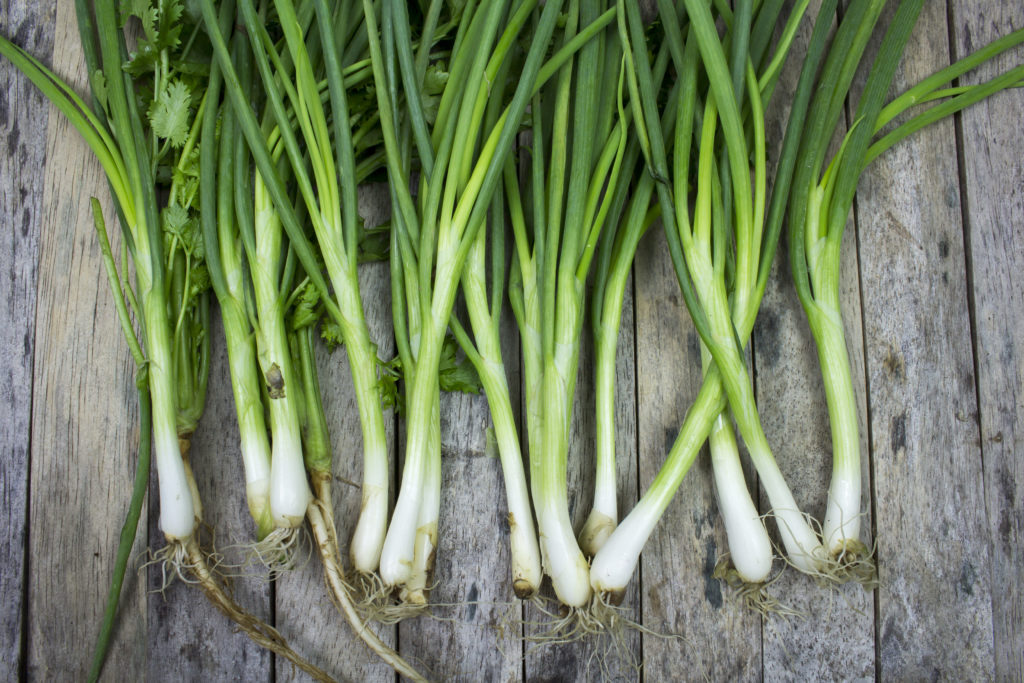
- Green onions: 50 days to harvest; 16 plants per square foot.
- Radishes: 25 days to harvest; 16 plants per square foot.
- Beets: 45 days to harvest; 9 plants per square foot.
Step 7: Combat pests. Flea beetles, snails, and slugs are common salad garden pests. Flea beetles can leave small holes in leaves; snails and slugs will chew leaves usually from the leaf edges inward. A floating row cover of spun polyester anchored around the edges with boards or soil will exclude flea beetles, snails, and slugs. Rabbits, voles, and birds can be excluded by placing bird netting across the planting bed.
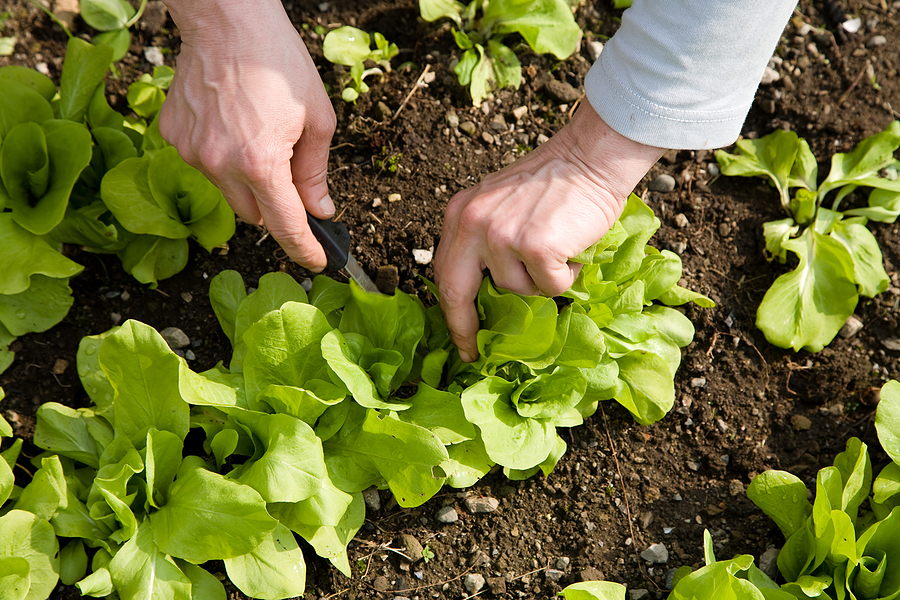
Step 8: Harvest. Harvest salad greens with scissors just above the soil line. Many greens are cut-and-come-again—meaning new leaves will sprout from the same just a few weeks after leaves are harvested. Most salad greens will keep producing until either a hard frost comes in autumn or winter or until extra warm weather arrives in spring. If a hard freeze is forecast, cover your greens with a clear plastic sheeting tunnel to keep them warm and producing; if hot weather is forecast in spring, harvest before the heat hits otherwise greens will bolt and set seed—which leaves greens bitter tasting. Where freezing weather is common, protect greens by planting them under the protection of a plastic tunnel; that way you can grow greens through the winter.
Step 9: Serving. For the best flavor serve salad greens the same day you harvest them. Rinse greens thoroughly to wash away soil and grit. A salad spinner is a convenient way to clean and dry greens. Press greens between paper towels to absorb excess moisture before serving.
Step 10: Next season. When the salad greens growing season is ended, add aged compost or aged manure to the planting bed or container to renew nutrients. If you grow salad greens in small containers, it’s probably best to simply use a new planting mix each season. For large garden beds, plant a cover crop of buckwheat (sow spring to midsummer), annul ryegrass (sow spring through fall), or winter peas (sow in fall or early spring) to return nitrogen to the soil.
Also of interest:
Garden Planning Books at Amazon: