Grow Potatoes in Pots and Grow Bags: Seven Easy Steps
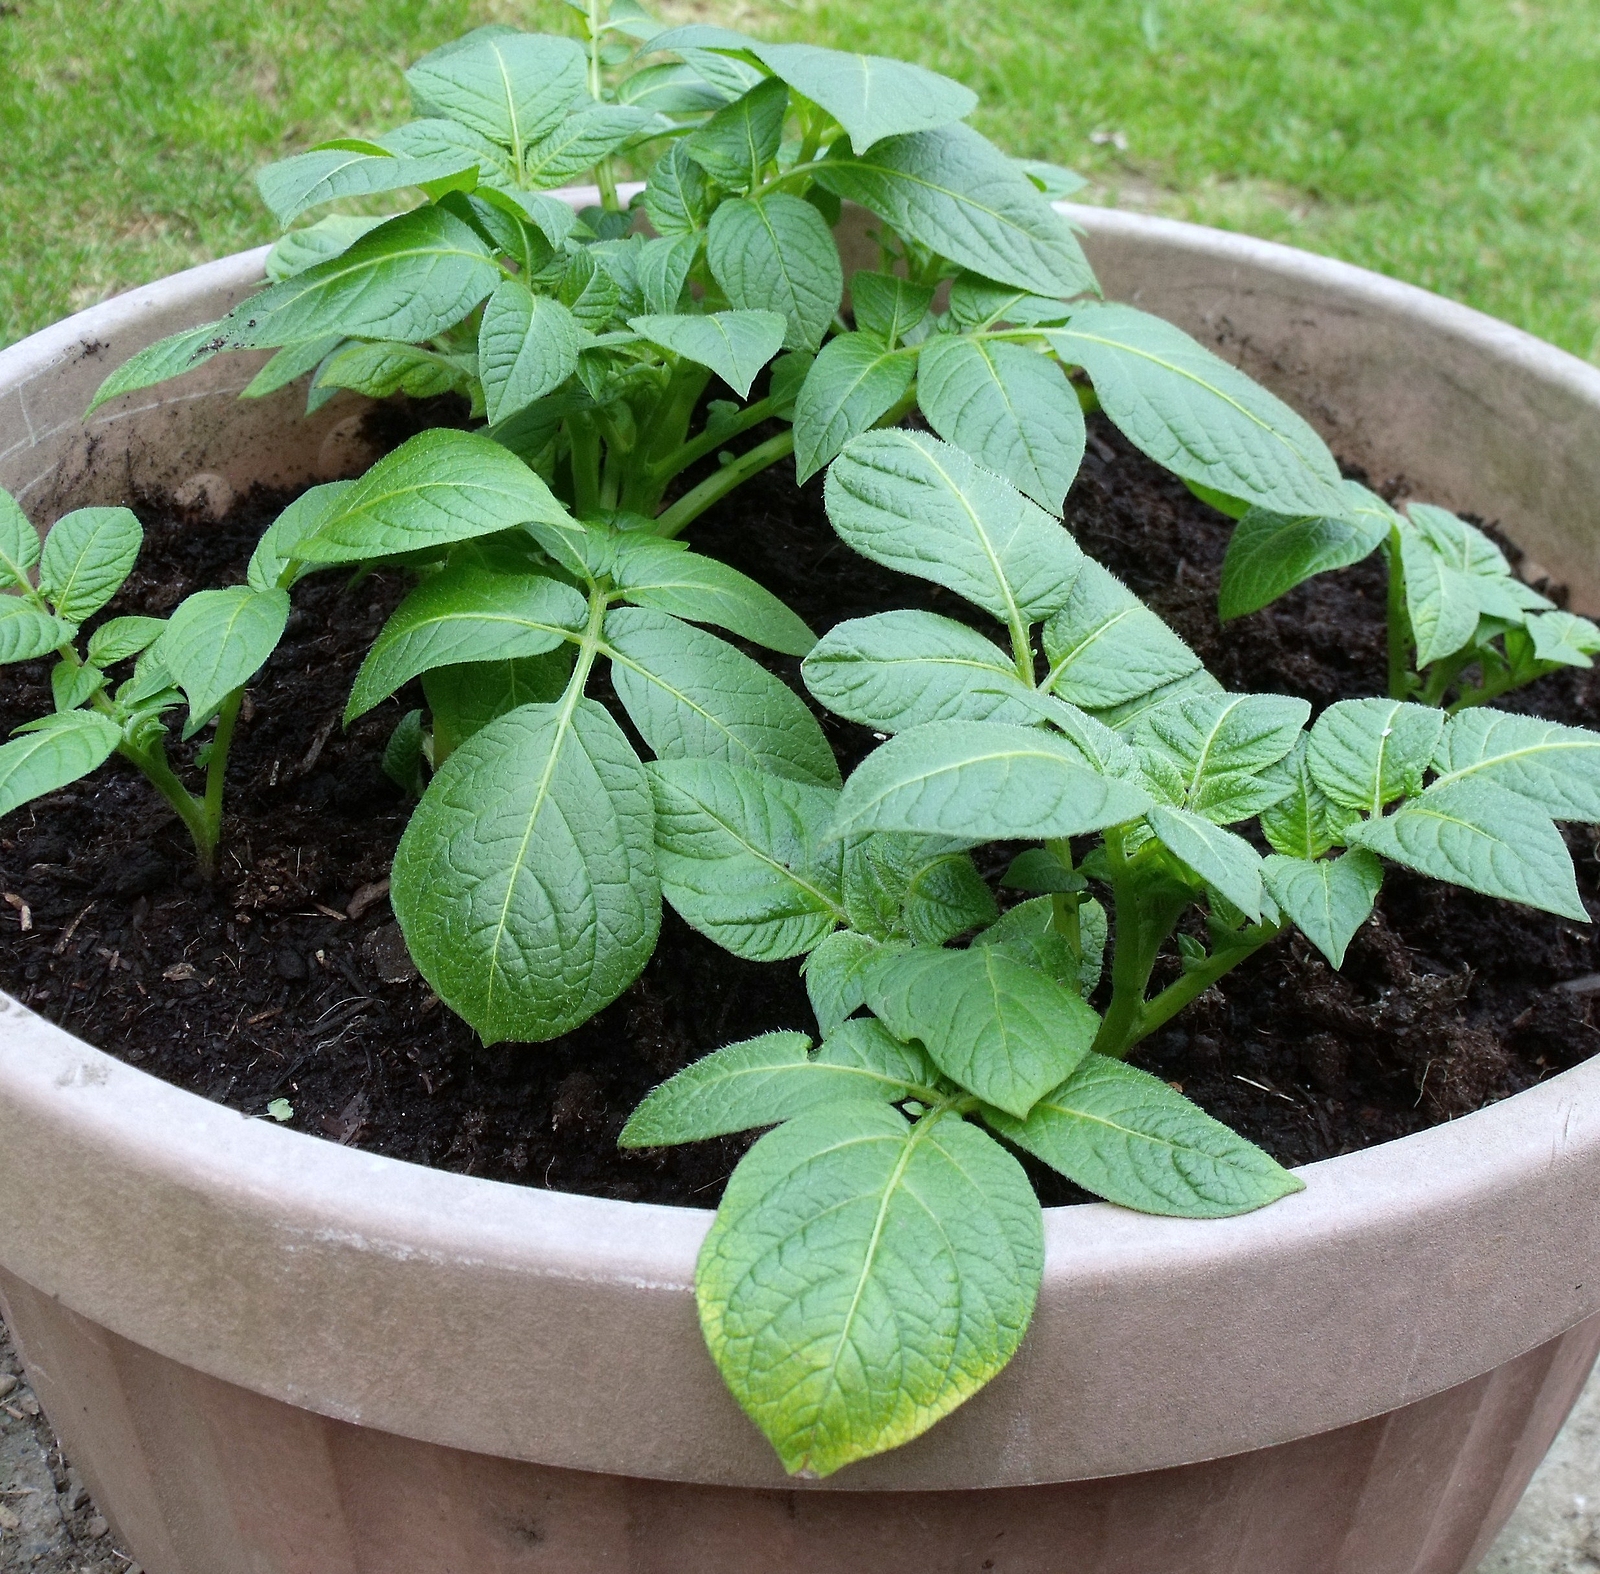
Growing potatoes in pots, grow bags, and containers is an excellent way to produce fresh, homegrown spuds without the need for a large plot of land. Growing potatoes in pots and containers is a great option for small gardeners, and the results can be very rewarding. With a little care and attention, you can enjoy fresh and delicious potatoes from your very own patio or balcony.
In this article, we will guide you through seven easy steps to grow potatoes in containers, from choosing the right container to harvesting your crop. For those who want to skip the weeding, digging, and other work that comes with traditional gardening, we’ll share some expert tips and tricks to help you produce a bountiful harvest. Keep reading to learn the seven steps to grow potatoes in pots and containers.
Step #1: Choose the Right Container
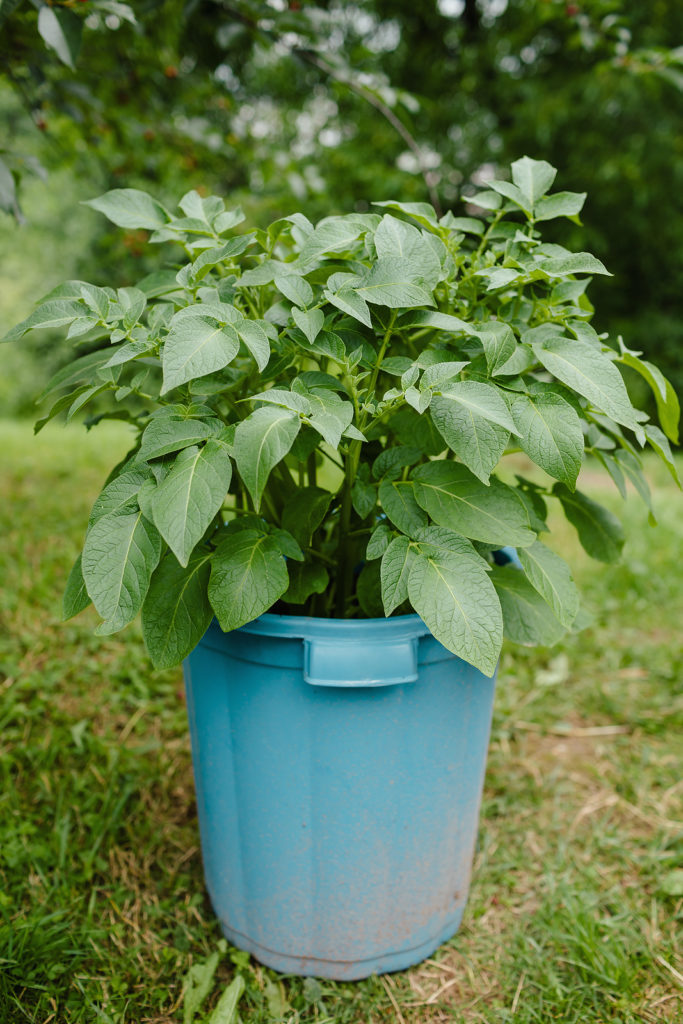
When choosing a pot or container, make sure to get the right size. Choosing the right container is important for growing potatoes as it can affect their growth and yield. One of the most popular options is a standard garden pot, but it’s essential to make sure the pot provides enough space for your potatoes to grow. A small container can limit the growth of the roots and lead to smaller potatoes.
A 10-gallon pot or container is the minimum size recommended, but a 15-gallon or 20-gallon container is ideal. It is best to go for a container that is at least 18 inches deep and has a diameter of 16-18 inches. A container of this size will provide enough space for the potato plants to grow and develop healthy roots. However, if you have a smaller container, limit the number of potato plants accordingly to avoid overcrowding. Too small a container will result in small potatoes, whereas a very large container will require more soil and will be challenging to move if needed.
Once you have chosen the right size, the next step is to choose the right material. The container you choose must be non-toxic and have drainage holes at the bottom. You can use any material to make the container, such as fabric bags, plastic bins or barrels, wooden boxes, or even old tires. Ensure that the material you choose does not emit any toxic substances that can harm the plants.
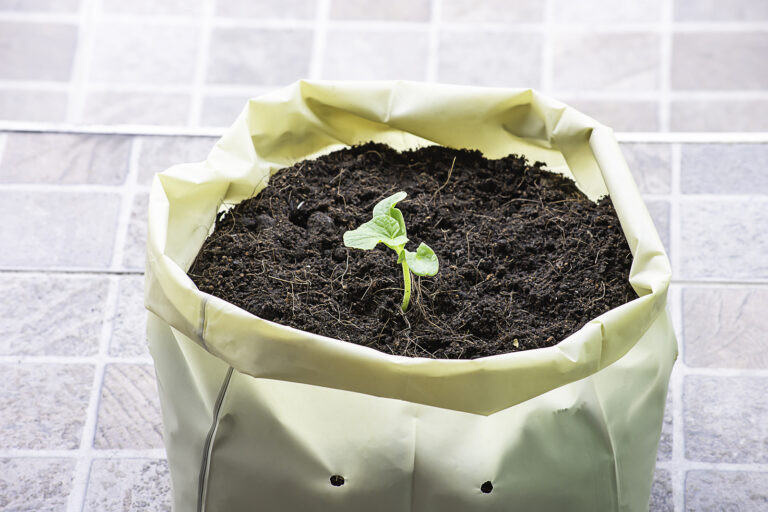
A popular potato-growing choice for balcony and patio gardens is fabric grow bags. Grow bags are made of fabric specifically designed for gardening. Grow bags come in various sizes and shapes and can hold one or more plants. They are breathable, allowing for proper air circulation and drainage, and promoting healthy root development. Potato bags come in various sizes and can hold multiple seed potatoes at a time. They also have drainage holes at the bottom to ensure that excess water drains out, preventing soil saturation and root rot. Another advantage of using grow bags is that they can be moved easily, which is particularly helpful during the colder seasons when you want to bring your container-grown plants indoors. Remember, the size of the container is important because it determines the yield of your potato crop.
Terracotta pots, plastic grow bags, and even old buckets can be used to grow potatoes. A large plastic container, such as a trash can or recycling bin, can be modified to grow potatoes.
Make sure the container you use is properly drained. If drain holes aren’t present, add holes. Drill or poke multiple holes at the bottom for proper drainage, and create additional drainage holes along the sides, to prevent overwatering.
Step #2: Prepare the Soil
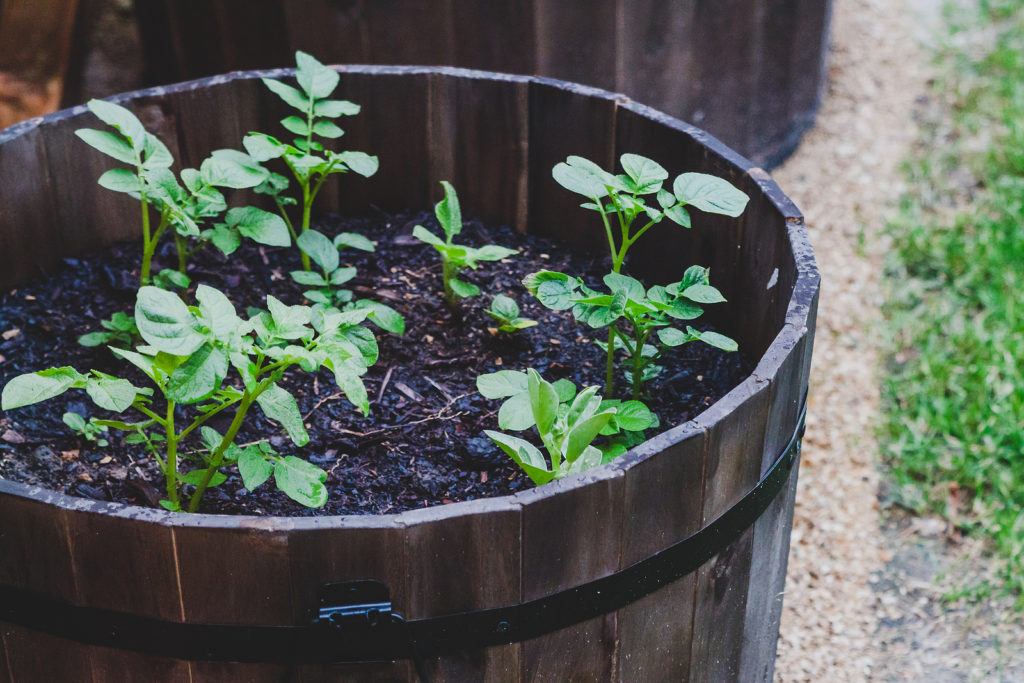
Now it’s time to add soil to the container. Fill the container with a good quality soil mixture that is loose and well-draining and has a pH level of 5.5-6.5. A mixture of aged compost, pulverized topsoil, and a combination of worm castings, spent coffee grounds, and perlite soil can be a perfect combination. You can also use a commercial potting mix formulated for growing vegetables. Commercial potting soil is ideal for container gardening as it is light, airy, and contains the necessary nutrients your plants need to grow.
Potatoes need well-draining soil for good growth, so make sure the organic matter in your potting soil includes humus-rich aged compost. Again, ensure that there are enough drainage holes at the bottom of your container to prevent the soil from waterlogging, which can cause root rot.
Potatoes need a lot of nutrients, so it is essential to use fertilizer alongside the potting soil. Add a slow-release or organic fertilizer to the potting soil to ensure your potatoes receive the necessary nutrients they need throughout the growing season. Many commercial potting soils contain slow-release fertilizers. Check the bag for nutrients added.
Step #3: Choose the Right Type of Seed Potato
Choosing the right variety of potatoes is crucial when it comes to container gardening. Potatoes come in three main types: early, mid-season, and late. Early varieties mature in 60-90 days, while mid-season and late varieties require up to 120 days to mature.
Decide how you plan to cook the potatoes you grow. There are low-starch, medium-starch, and high-starch potato varieties. There are also all-purpose potato varieties. Low- and medium-starch potatoes keep their shape and remain creamy and toothy when boiled. High-starch potatoes will swell and puff up when baked; they will be light, dry, and delicate. (A high-starch potato submitted to the rigors of boiling will explode and turn inside out in boiling water.)
Learn about potato varieties: Plant the Right Potatoes for the Way You Cook
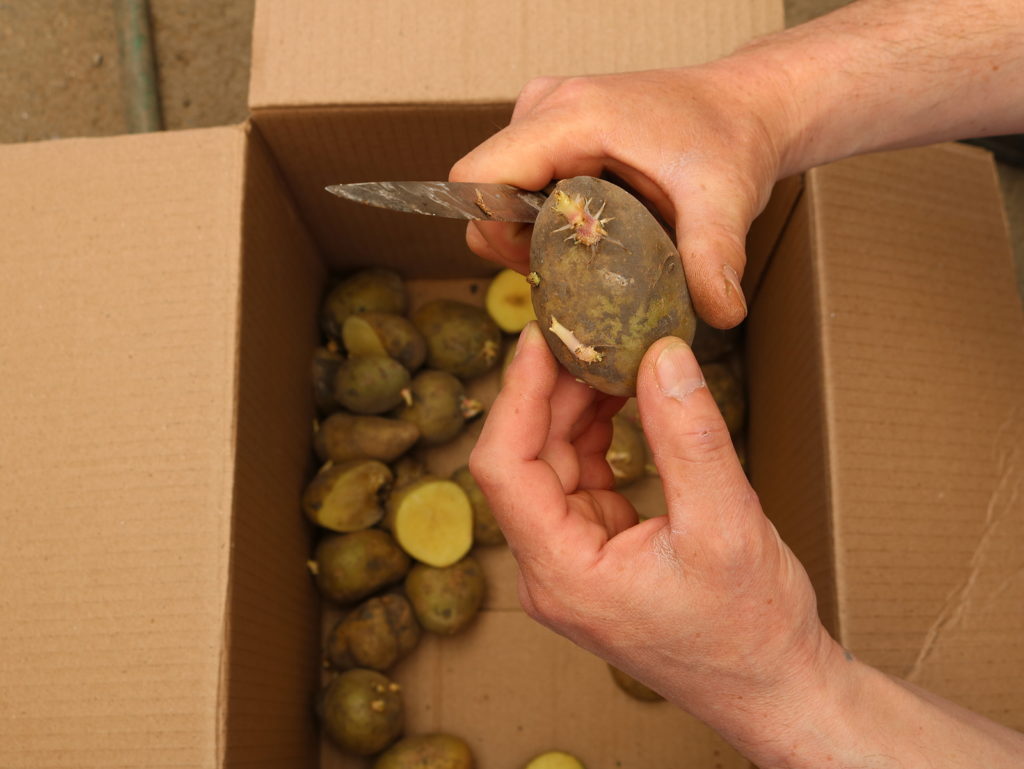
Potatoes are grown from other potatoes. You can plant seed potatoes, small whole potatoes, or pieces of potatoes. The whole potato or cut piece has several recessed, dormant buds on its surface–these dormant buds are called “eyes”. When conditions are right, the buds will sprout and develop into independent plants. It is best if the seed potato or piece you plant has at least two or three “eyes”.
Choose seed potatoes that are certified disease-free. All certified seed potatoes start as disease-free clones. This ensures the potatoes you plant begin life with no disease. Field-grown potatoes are susceptible to many diseases. To counteract this plant breeders have developed ways of producing disease-resistant miniatures specifically for use in reproduction. These are certified disease-free seed potatoes.
You should know that supermarket potatoes may not be suitable for planting as seed potatoes. Often they are treated with a chemical to inhibit sprouting (which is not good in supermarkets), so even if you did cut them up and plant them they would never grow well.
Step #4: Prepare and Plant the Seed Potatoes
Small seed potatoes can be planted whole, but larger ones should be first cut into pieces that have at least one “eye” or recessed dormant bud—three or four eyes are optimal. The pieces should be blocky, about the size of a large ice cube. The ideal piece weighs about 2 ounces. Each seed potato or piece contains starch necessary for a new sprout to grow.
Cut the seed potatoes into two-inch pieces and allow them to dry in the open air for 24 to 48 hours before planting. Allowing pieces to dry before planting will help prevent rot. If you plant seed potatoes or pieces that have already begun to sprout, be very careful not to break off the sprouts.
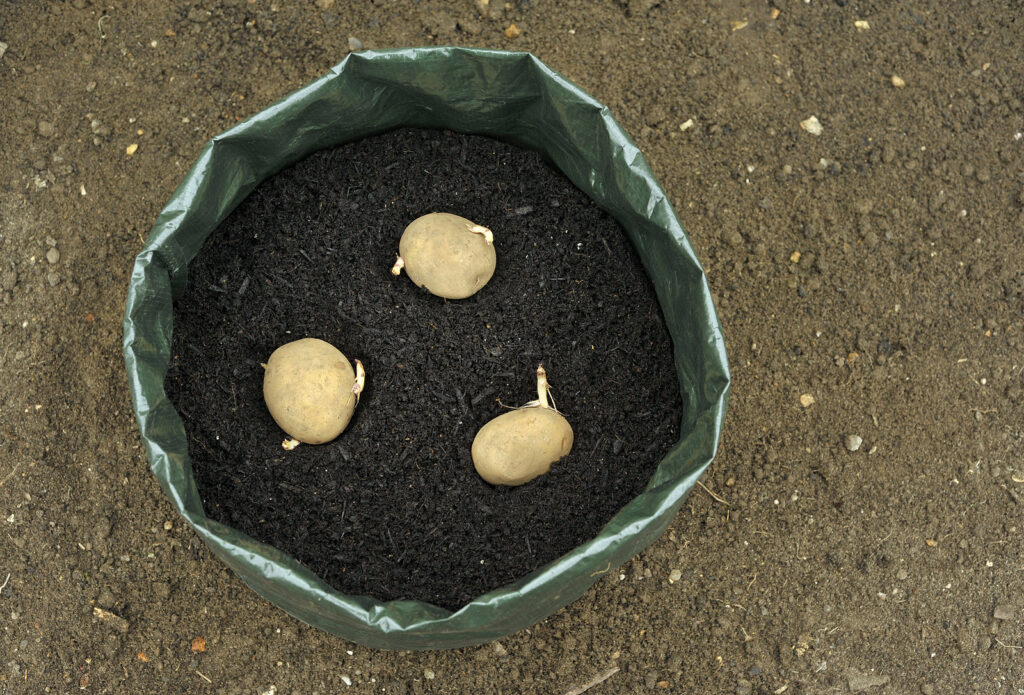
Once the seed potatoes are ready, plant them in the soil mix. Moisten the soil and compost mix thoroughly. Fill the container about one-third full with potting mix. Lay the seed potatoes or potato segments on top, 5 to 6 inches apart and 4 inches from the edge of the container, with the eyes or sprouts facing up. Cover each seed potato or piece with 2 inches of soil. After planting, water the container thoroughly.
When the leaves start to appear, add more soil to cover the lower leaves, leaving only the top two inches visible.
Step #5: Water, Feed, and Care for the Potatoes
Potatoes need full sun and regular watering, especially during the blooming stage. Make sure the pot, grow bag, or container is placed where it gets at least 8 hours of direct sunlight each day. Use a cart or dolly to move the container to full sun if it is too heavy to lift.
As the potatoes grow, water them regularly and fertilize them with a balanced fertilizer every four to six weeks. When the plants reach six inches tall, add more soil mix around the plant leaving only the top two inches visible. Do this until each plant reaches the top of the container.
Water your potato plants well during the growing season, ensuring that the soil is consistently moist but not overly wet.
Step #6: Hilling Your Potato Plants
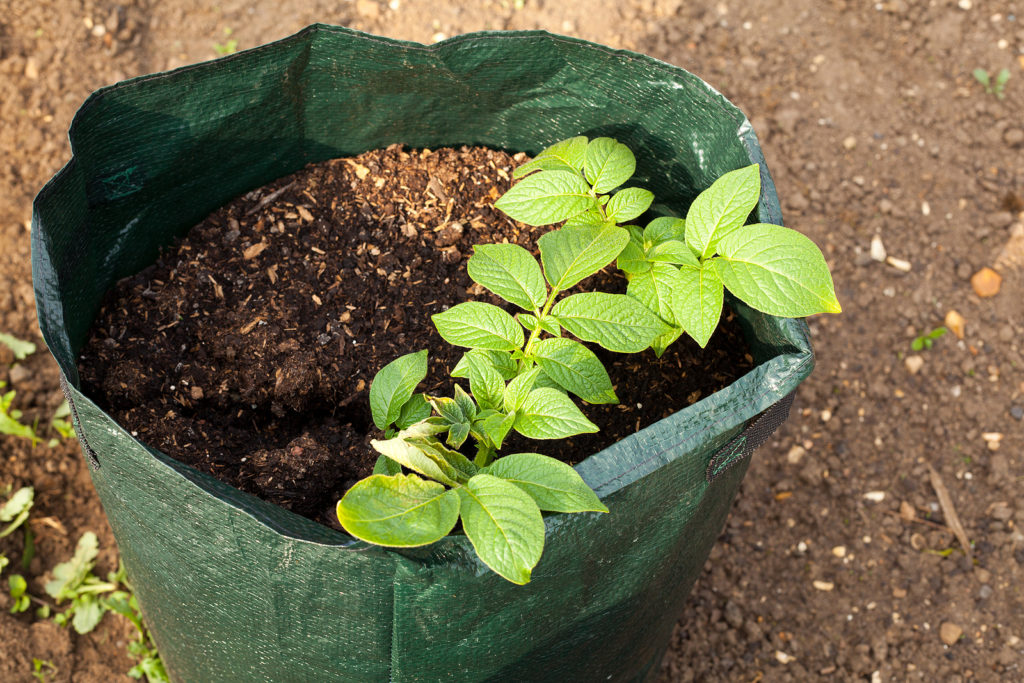
As your plants begin to grow, you need to “hill” them by mounding soil around the base of the stem. Hilling helps to protect the developing potato tubers from sunlight, which can turn them green, and from insects or disease.
When the plant stems and leaves reach six inches tall, add more soil mix around the plant leaving only the top two inches visible. Adding soil is called “hilling”—if you were growing potatoes in the open garden, you would scoop or move soil up around each plant creating a small hill. Do this in a container by adding soil to the container. Hill each plant until it reaches about 1 inch below the rim of the pot or container; leave room for watering. You can let the plants grow some more, then add some soil around them, remembering to leave a lower perimeter for watering.
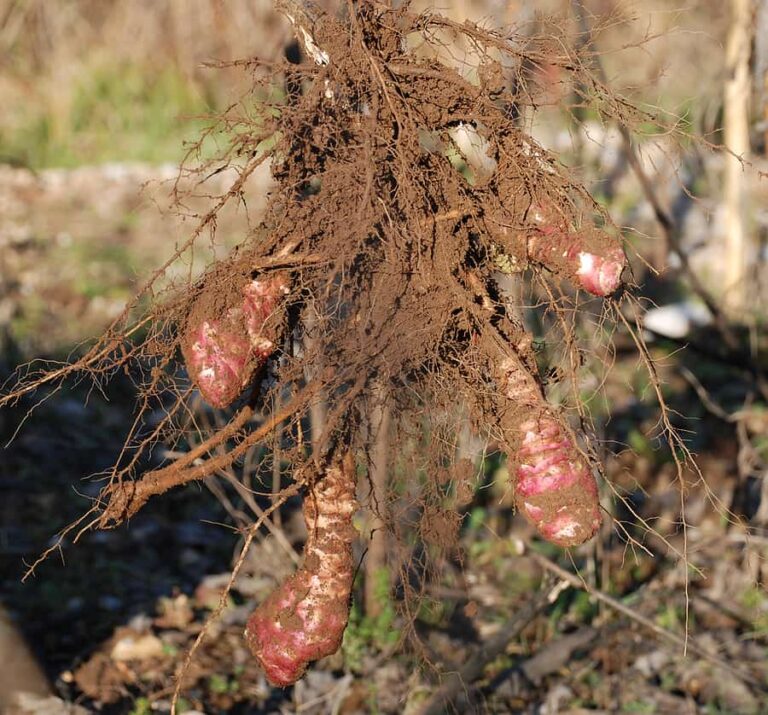
Potato tubers grow from the buried stem. Potatoes grow above the planted seed potato. Tubers grow the length of the underground stem, starting at the bottom all the way to the uppermost section of the stem that is buried. Hilling is important to increase the number of tubers available for harvest.
Adding soil or compost to the container to keep the tubers covered prevents them from being exposed to sunlight. Tubers exposed to sunlight will become green. Green potatoes contain high levels of a toxin, solanine, which can cause nausea, headaches, and neurological problems. Hilling potatoes is important.
Step #7: Harvesting Your Potatoes
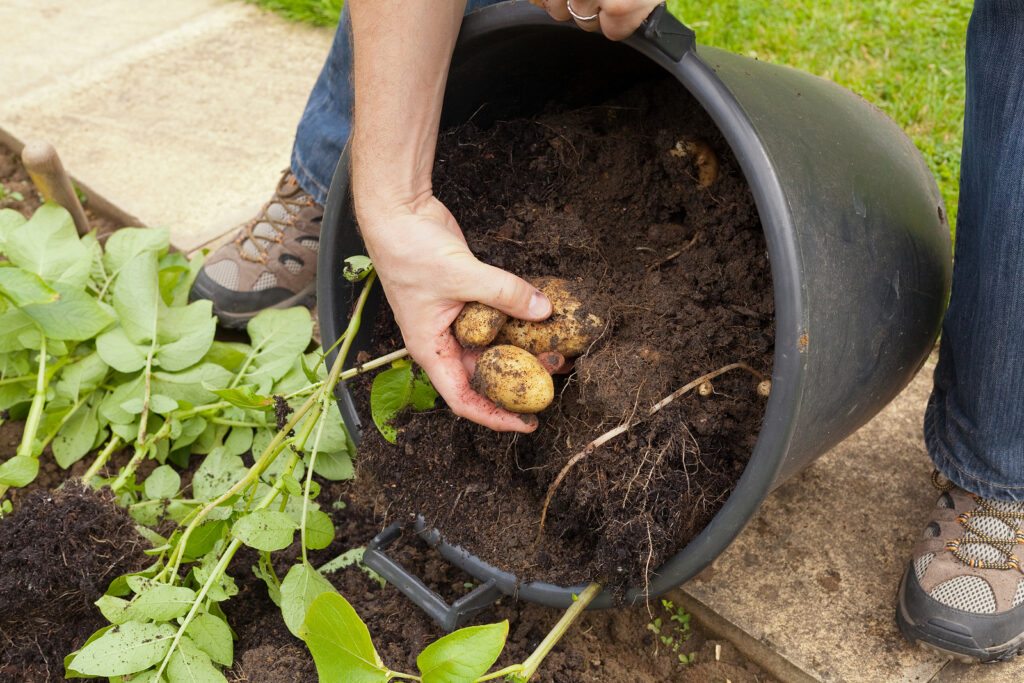
The first tubers are ready for harvesting about two months after planting. A sure sign that harvest is near is when plants start to flower, except that some types of potatoes don’t make flowers at all.
You can begin harvesting when flowers appear or if two months have gone by since planting, just reach down close to the stem as far as you can reach and feel for anything that is round. When you feel tubers, you can begin to harvest.
For larger tubers, simply wait until the plant’s foliage yellows and dies back. Tubers continue to store starch and enlarge even as the tops die back. You can harvest potatoes when they are the size you want. When you find one potato of eating size, there will be others nearby.
Potato Growing Frequently Asked Questions
Q: When is the right time to plant potatoes?
A: Plant potatoes when the soil temperature is at least 50°F. Potatoes grow best when the air temperature is between 60 and 65°F. The traditional time to plant potatoes is in spring as soon as the soil can be worked, about two to four weeks before the last expected frost.
Q: Do spring-planted potatoes need protection from the cold?
A: Spring-planted potatoes grow best in beds or containers covered with plastic or mulch. Keep containers or beds covered with compost or straw until plants emerge. Protect newly emerged plants from frost and insects by covering the planting bed with a floating row cover. Remove the cover 3 to 4 weeks after leafy growth appears.
Q: When should I plant potatoes for a fall harvest?
A: Potatoes for fall harvest are planted in summer. Plant fall harvest potatoes early enough that tubers can mature before the first frost.
Q: Can I grow potatoes in winter?
A: In mild winter regions, potatoes can be planted in fall or winter whenever the ground is workable.
Q: How many days are needed to grow potatoes?
A: New or baby potatoes (called “earlies”) are harvested early in the season 75 to 90 days after planting. Main-crop or mature potatoes require 135 to 150 days to harvest.
Potato Growing Hub
Start here: The Ultimate Potato Growing Guide: From Seed to Harvest
🥔 Varieties & Planting Prep
- Best Potato Varieties for Different Cooking Uses – Detailed profiles on varieties for boiling, baking, mashing, and roasting.
- Guide to Fingerling Potatoes: Growing, Cooking, and Varieties – Spotlight on fingerlings with care tips and culinary uses.
- How to Prepare and Cut Seed Potatoes for Planting – Step-by-step guide to maximize yield and reduce disease risk.
- Seed Potato Starting Tips – Ready your seed potatoes and plant
🌱 Planting & Early Growth
- How to Grow Potatoes in Containers: A Complete Guide – Soil, container size, watering, and harvesting tips for small-space growers.
- Grow Potatoes in Pots and Grow Bags: Seven Easy Steps
- 6 Easy Steps to Grow Organic Potatoes
- Companion Planting with Potatoes: What to Grow Together and Avoid – Maximize garden health and productivity through smart companion planting.
- Growing Potatoes in Mild Winter and Tropical Climates – Specific tips for successful potato cultivation in warmer regions.
- How to Identify Potato Growth Stages and Troubleshoot Problems – Recognize each growth phase and manage issues at every stage.
🌿 Care & Maintenance
- How and When to Hill Potatoes for Bigger Yields – Detailed instructions and timing for hilling to support tuber development.
- Watering Potatoes: Best Practices for Healthy Growth – Provide consistent moisture without risking rot or stress.
- Common Potato Pests, Disease, and Problems: Organic Solutions – Identification and natural control strategies for common pests.
- Crop Rotation Strategies for Potatoes to Prevent Soil-Borne Diseases – Plan your garden for long-term soil health and disease prevention.
🧺 Harvest & Storage
- Harvesting Potatoes: Signs of Maturity and Techniques to Avoid Damage – Know when potatoes are ready and how to harvest carefully.
- How to Harvest and Stoe Potatoes – Ideal temperature, humidity, and storage environments to keep potatoes fresh.
🍽️ Cooking & Kitchen Insights
- Testing Potato Starch Levels: Why It Matters and How to Do It – Understand starch content to choose the right potato for each dish.
- Seven Ways to Cook and Serve Potatoes – Easy ways to serve your potato harvest.
- How to Cook New Potatoes with No Recipe – Here’s how to get those little spuds on the table fast.
Potato articles at Harvest to Table:
How to Plant and Grow Potatoes
6 Easy Steps to Grow Organic Potatoes
Grow Potatoes in Pots and Grow Bags: Seven Easy Steps
Seven Ways to Cook and Serve Potatoes
How to Cook New Potatoes with No Recipe
How to Make Seasonal and Flavorful Potato Salad
Yellow Potato Side Dish and Soup
Ham, Potato, and Cheese Gratin
Potato Growing Problems Troubleshooting
Colorado Potato Beetle Organic Pest Control
Garden Planning Books at Amazon:

