Tilling, Digging, and Forking the Vegetable Garden
Once you have decided on a site for your vegetable garden and know what kind of soil you are working with and what amendments can make it better, it will be time to work the soil, to prepare for planting.
Digging and tilling are not necessary for fertile well-structured soils. Good soils can be lightly forked or cultivated to suppress weeds, but soil where compost and humus are added regularly and where earthworms are active requires little deep digging or tilling.
Tools for Vegetable Gardeners at Amazon:
- A.M. Leonard Straight Rake with Ash Handle
- All-Steel Nursery Spade with D-Grip Handle
- 4-Tine Spading Digging Fork with D-Handle
- Digital Soil pH Meter Outdoors Greenhouse
- Earthwise Handheld Electric Fertilizer Spreader
Where soil is poor or heavy with clay and there is no sign of earthworms at work, digging, forking, tilling, and cultivating can improve soil structure if aged compost is added to the soil at the same time. But even where the soil is poor, tilling and deep digging just once will likely be enough to put the soil on the road to improvement.
Know What to Plant This Week
Every week I answer the gardener's most important question: what should I plant now? Get seasonal planting advice free — or go Pro for my full Soil Temperature Garden Report, with soil temperature, moisture, weather trends, and crop-by-crop recommendations.
The top inches of soil
Restrict tilling and digging to the top 6 to 8 inches (15-20 cm) of soil in most gardens. There is little value in digging deep and lifting nutrient-poor and compacted subsoil to the surface. A better course is to amend the topsoil by sheet composting and allow the subsoil to improve itself over time. Tilling and digging can harm earthworms and beneficial microorganisms; more than 80 percent of soil microorganisms live in the top 6 inches (15cm) of soil and more than 60 percent live in the top 3 to 4 inches (7-10cm); so it’s important to avoid digging too deep and disturbing the good things going on in your garden soil.
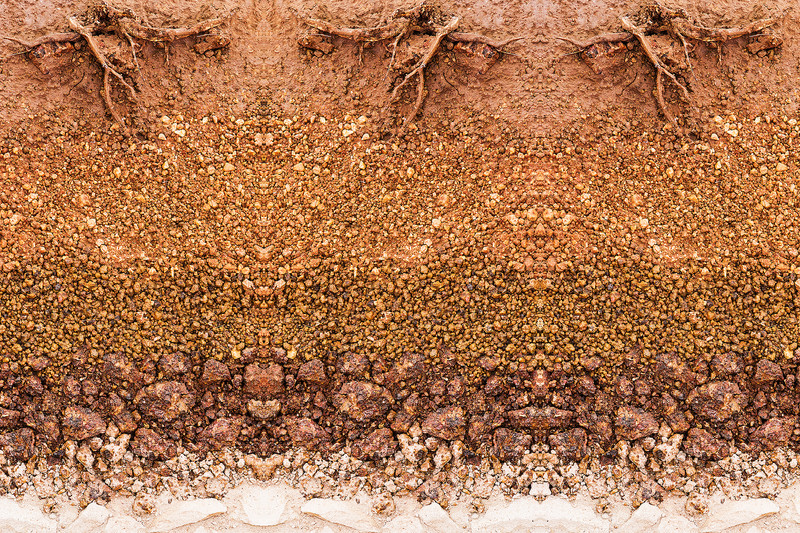
However, if your garden site is problematic: rocky, dense with clay, or very sandy, you will likely need to dig and perhaps double dig or use a rototiller the first time you prepare the garden. Remove all rocks, stones, pebbles, and debris from where you intend to plant. If you dig down and hit “hardpan”—that is nearly cement-like clay or soil—you will want to loosen or punch through the problematic layer.
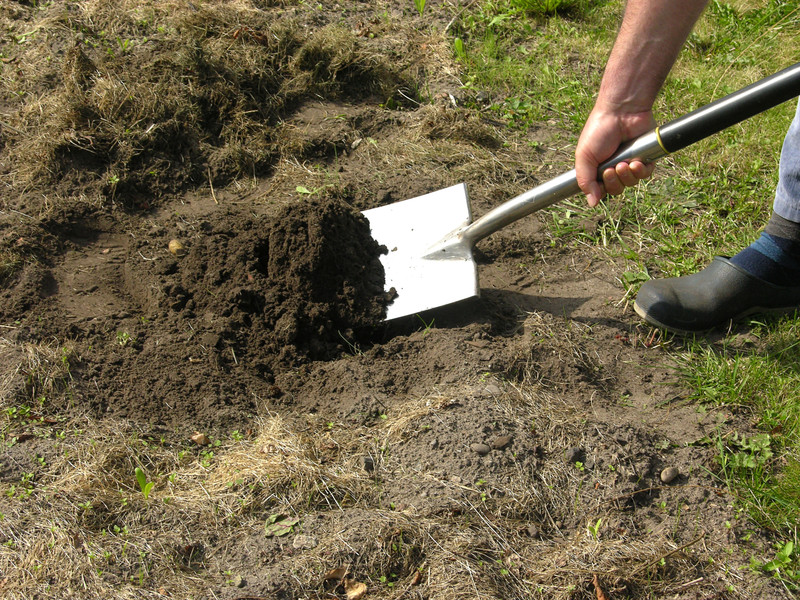
Double digging
Double digging is one way to prepare a problematic site. You will only need to double-dig a planting bed once. Dig down the length of a shovel blade—about 12 inches (30cm)–and turn the soil. As you do, remove rocks, stones, pebbles, and other debris in the soil. Move that soil to the side of the planting bed. Now dig down another shovel blade deep and turn the soil again. That is double-digging; you have turned the soil to 24 inches (61cm) deep. Once the soil is double dug, add aged compost and manure to the planting bed. Then turn the first layer of soil back into the bed and add more aged compost and manure.
Double digging is a one-time sweat equity investment. You only need to do it once. In the years to come, you will add aged compost and manure to the bed by sheet composting. You will never need to dig deep again. Now the planting bed is ready for plants and beneficial soil microorganisms and worms.
How to double dig
Double digging is used by some gardeners to improve soil structure and fertility where vegetables have never been planted before.
Where the soil is particularly poor, or rocky, or where there is hardpan (nearly impenetrable ground) double digging can be used once to jump-start the garden. Where the site is problematic chances are worms and soil microorganisms are simply not at work; double digging can actually improve the site and make it hospitable for worms and microorganisms.
Here’s how double-digging works:
- Layout the new garden site with stakes and twine or mark the perimeter of the site with a garden hose.
- Soak the soil several days in advance and a day or two later remove weeds or grass from the site.
- Begin digging at one end of the garden; dig a one-foot wide, one-foot deep trench. Place the topsoil you remove on a tarp or in a wheelbarrow.
- Loosen the subsoil at the bottom of the trench with a spading fork.
- Spread an inch or two of compost, chopped leaves, or rotted manure on the exposed subsoil.
- Begin turning the next one-foot-wide section of topsoil onto the subsoil in the first trench; remove rocks and stone as you go. Add aged compost to lighten heavy soil.
- Loosen the subsoil in the second trench with the garden fork or use a pry bar if you hit the hardpan then top with compost or rotted manure just as you did in the first trench.
- Continue to double-dig the entire new planting bed systematically.
- Use the reserved topsoil from the first trench to fill the last trench; again, mix it with aged compost.
- Spread an inch of compost over the entire turned bed and use a spading fork to work the compost into the top 4 to 6 inches of soil.
- If you are digging in the fall, leave the surface of the garden rough-turned so that winter freezing and thawing will further break up the soil. If you are digging in spring, use a metal rake to smooth the surface before planting.
- Always allow the garden to dry before digging.
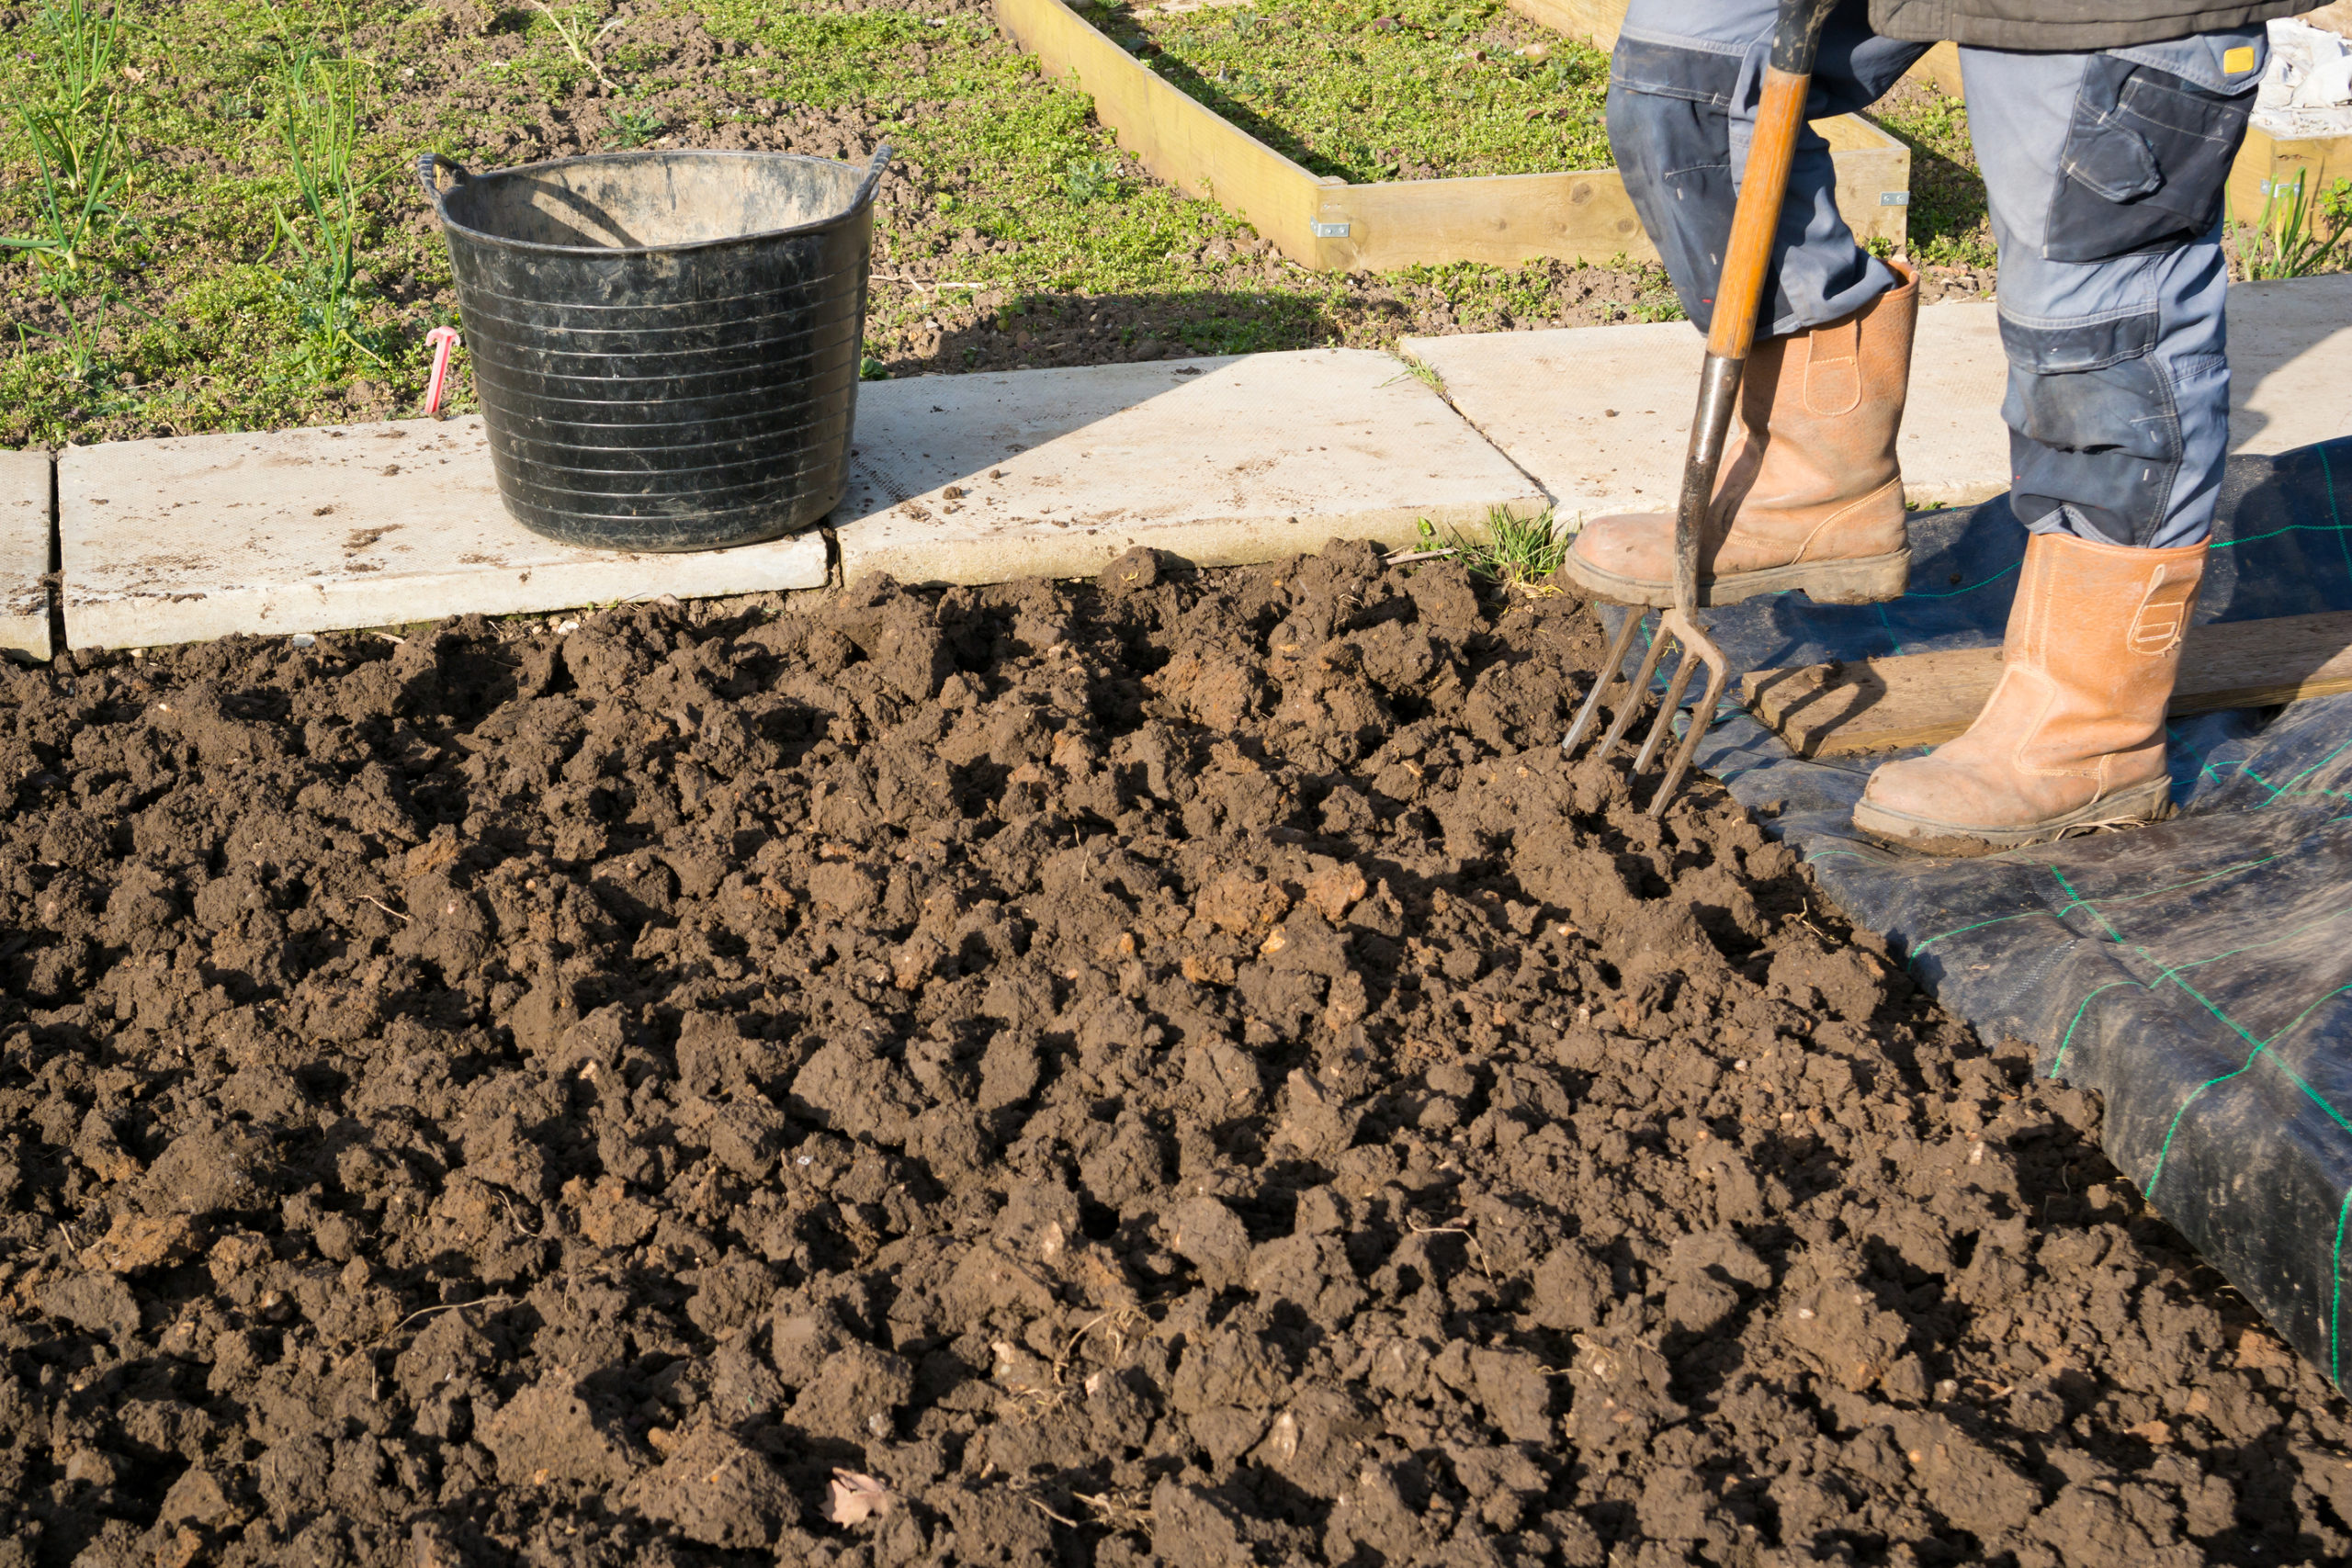
Forking not digging
Definitely avoid tilling or digging when the soil is very wet or very dry. Soil that is worked wet will compact harming soil structure, and dry soil can turn to fine dust when tilled.
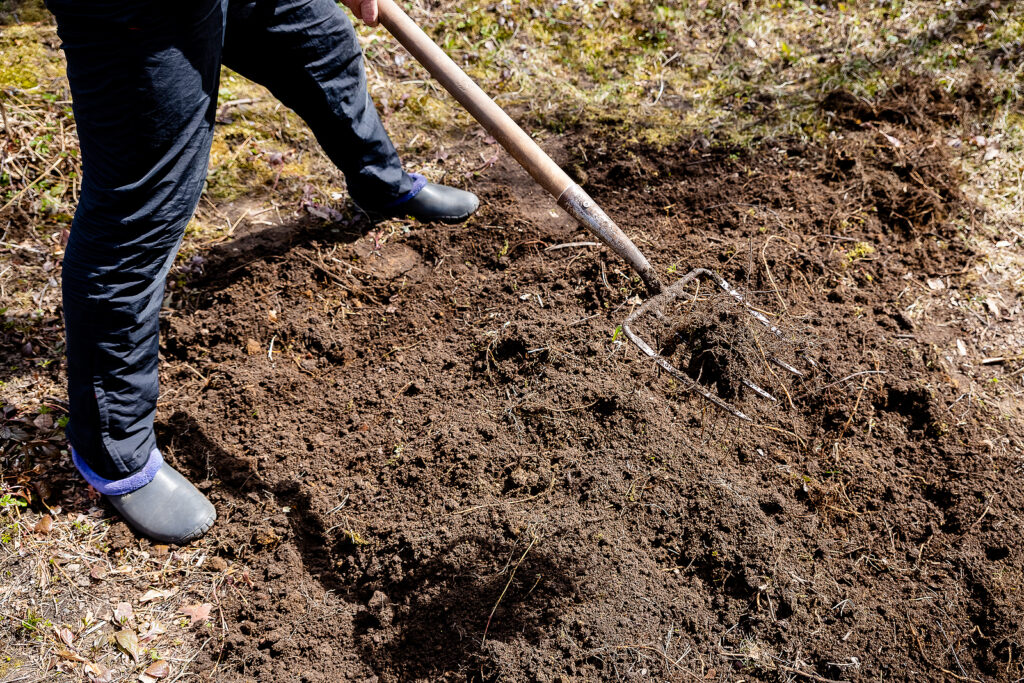
Forking, not digging, is the best way to work the soil once it has been improved. Use a garden fork with stiff tines to loosen the soil before you add aged compost and other organic amendments on a regular basis.
Related articles of interest:
No Dig, Light Dig Vegetable Garden Preparation
Making Compost for Your Vegetable Garden
Improving Garden Soil with Organic Amendments
Garden Planning Books at Amazon: