No Dig (No Till), Light Dig Vegetable Garden Preparation
The no-dig or light-dig garden — also called no-till or light-till — preparation method calls for spreading soil amendments across planting beds and allowing rain, wind, and soil organisms to naturally carry the amendments and their nutrients down into the soil. The no-dig, light-dig method is an alternative to turning the soil with a tiller or spade.
Lightly turning planting beds with a garden fork, and amending the soil well in advance of planting gives rain and wind as well as soil organisms like bacteria, fungi, nematodes, and worms time to break down soil amendments and release nutrients that plants use to grow.
Tools for Vegetable Gardeners at Amazon:
- A.M. Leonard Straight Rake with Ash Handle
- All-Steel Nursery Spade with D-Grip Handle
- 4-Tine Spading Digging Fork with D-Handle
- Digital Soil pH Meter Outdoors Greenhouse
- Earthwise Handheld Electric Fertilizer Spreader
No-dig (no-till) preparation method
It is not necessary to use a mechanical tiller or double dig by hand for most home garden planting beds each year. You may want to double dig or use a rototiller to work new ground the first year especially if the soil is heavy clay, but even that is not always necessary. Loosing difficult soil with a garden fork and spreading a couple of inches of aged compost or manure across the bed is more than enough work to prepare most gardens for planting.
The no-dig method calls for “sheet composting” not digging the garden bed. Sheet composting means spreading several inches of aged compost and manure across the garden planting area once or twice a year and allowing rain and wind to work it into the soil, This method saves the gardener’s back and does not disturb the habitat of garden microorganisms at work in the soil.
Begin the no-dig (no-till), light-dig process early
Begin the process of preparing and reinvigorating last season’s seedbeds and planting beds early in the season before you plan to plant. You can even prepare to plant in autumn ahead of winter. Set aside a few hours over several weeks to visit and re-visit the garden to make sure beds are prepared and renewed. Preparation can begin as soon as the soil has dried and is workable.
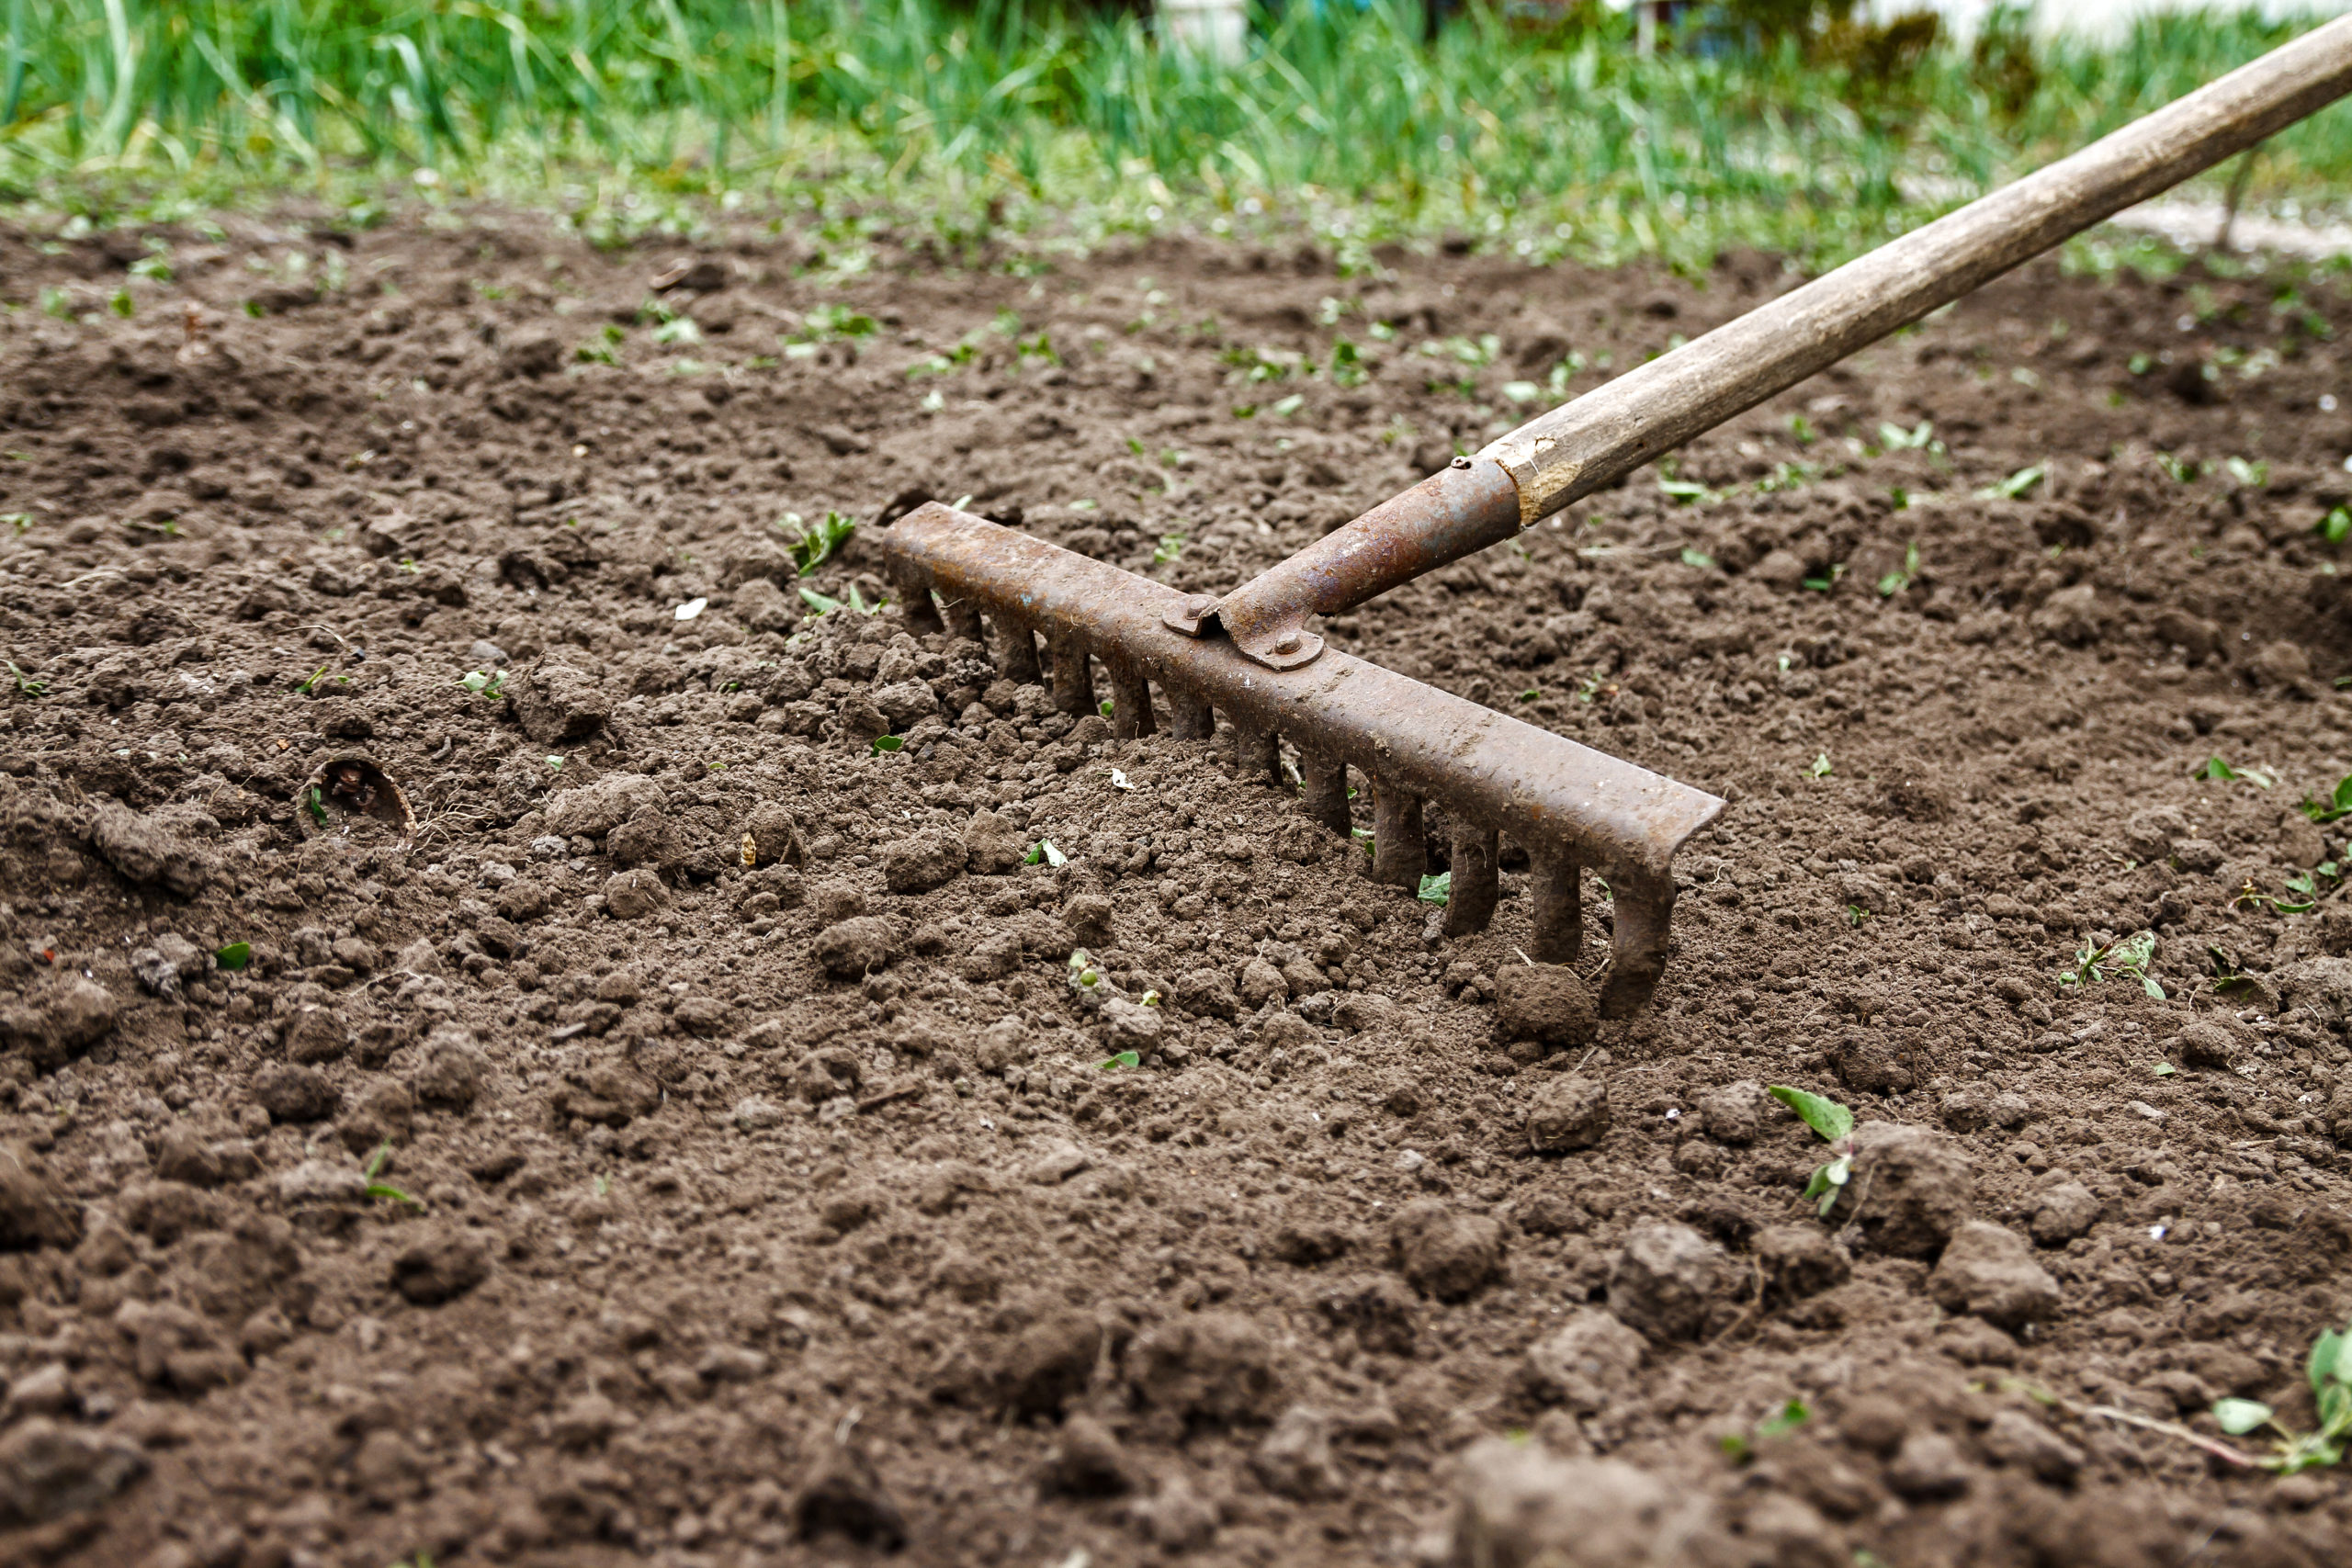
Vegetable plants have fine roots that are too weak to penetrate hard soil. Prepare the vegetable garden for planting by breaking up lumps of soil and adding compost and manure. Leave enough time for snow or rain or irrigation and wind to work soil amendments into the ground.
Sheet composting
Using the no-dig method, an inch or two of aged compost or organic commercial planting mix is spread across the soil once or twice a year. This is called sheet composting. Sheet composting will save your back from the work of deep digging. Sheet composting does not disturb the habitat of garden worms and soil microorganisms–which are essential to good garden soil. Worms and microorganisms are left to do the work of soil improvement, naturally turning the compost you spread on top of the soil into humus and improving soil structure and moisture retention.
The benefits of no digging and mulching can be slow in gardens where there is little topsoil or where the soil is compacted or heavy with clay. Lean, heavy, and compacted soils may need forking or spading once to simply break the soil surface. After that, the addition of an inch or two of aged compost and manure two or three times will be enough to improve the soil.
If you use the no-dig sheet composting process, begin preparing last season’s planting beds a month or two or more before you plan to plant. Prepare the vegetable garden for planting by breaking up lumps of soil then adding compost and manure leaving enough time for snow or rain or irrigation and wind to work the amendments into the ground.
No-dig (no-till) method in five steps
Follow these steps to prepare planting beds for the new season without much digging:
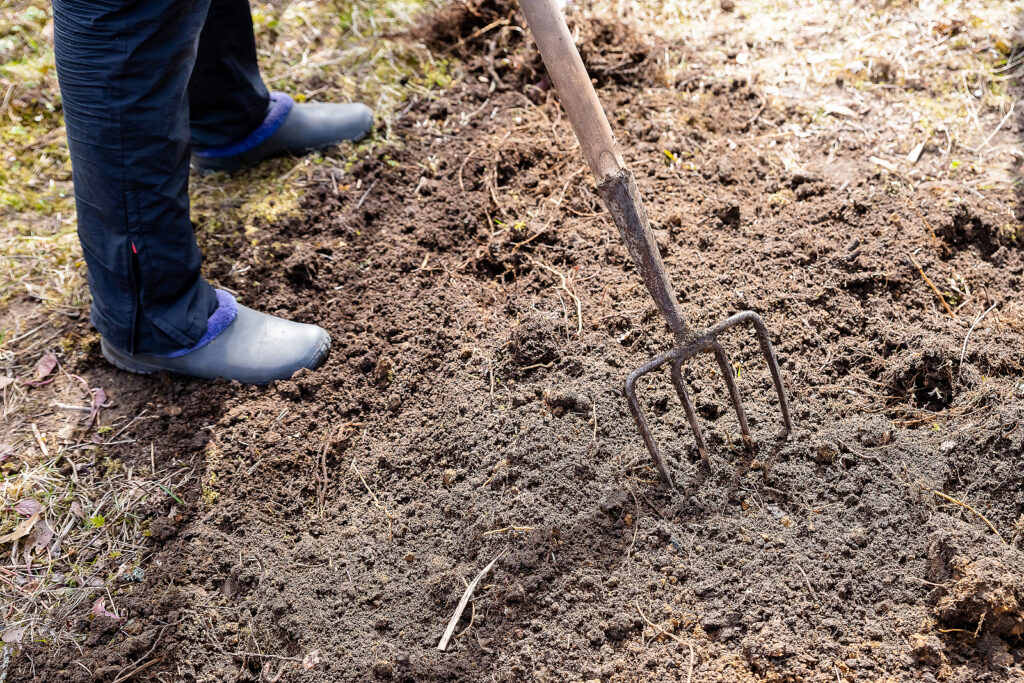
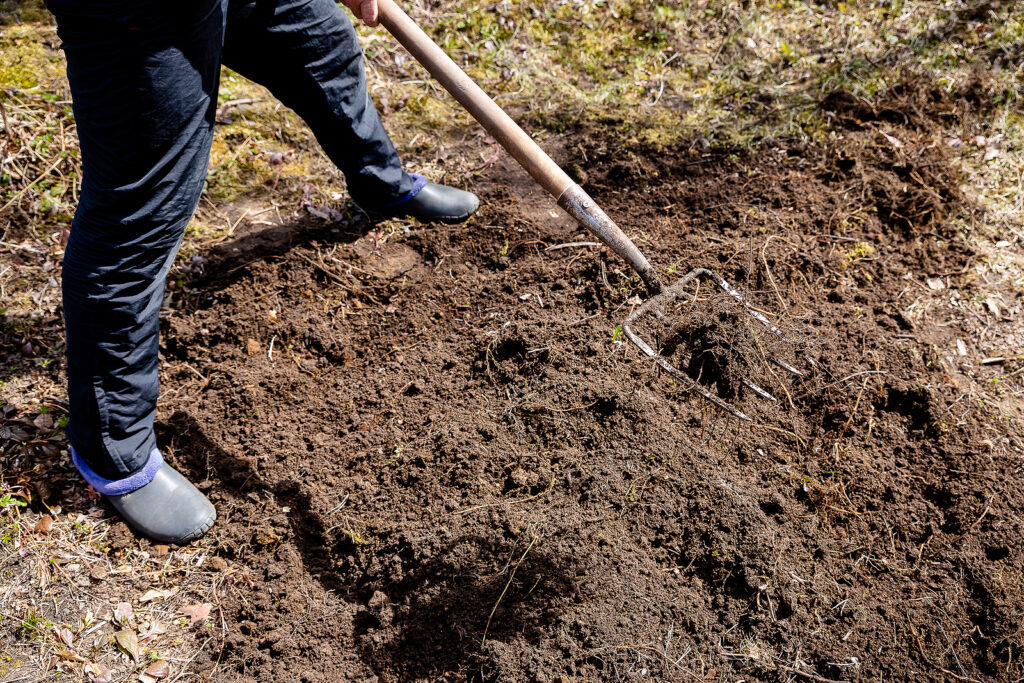
- Use a garden fork–not a spade or rototiller–to loosen compacted soil in planting beds or to break up surface clods. You can do this in the fall, late winter, or very early spring. Avoid working in planting beds when they are too wet; you will inadvertently compact the soil; plant roots can’t thrive in compacted soil.
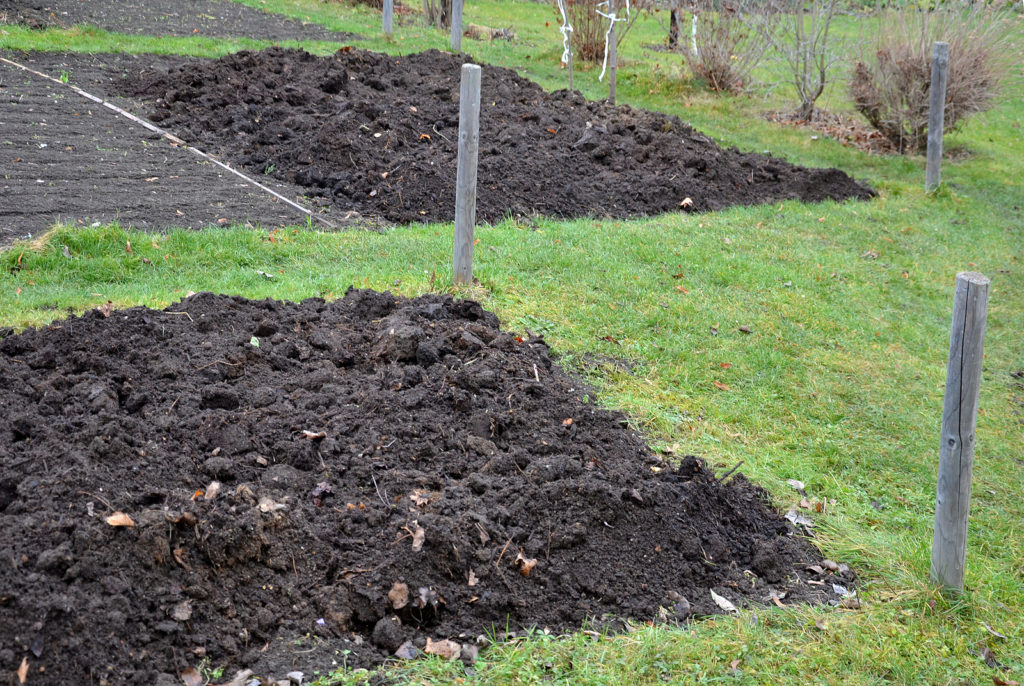
- Spread 2 to 4 inches (5-10cm) of aged compost across the planting bed; or spread 1 inch (2.5cm) of well-rotted manure and 1 or 2 inches of aged compost across the bed. Let wind and rain work the soil amendments into the bed for a few weeks or even month or two. Let worms and soil microorganisms break down the compost and manure.
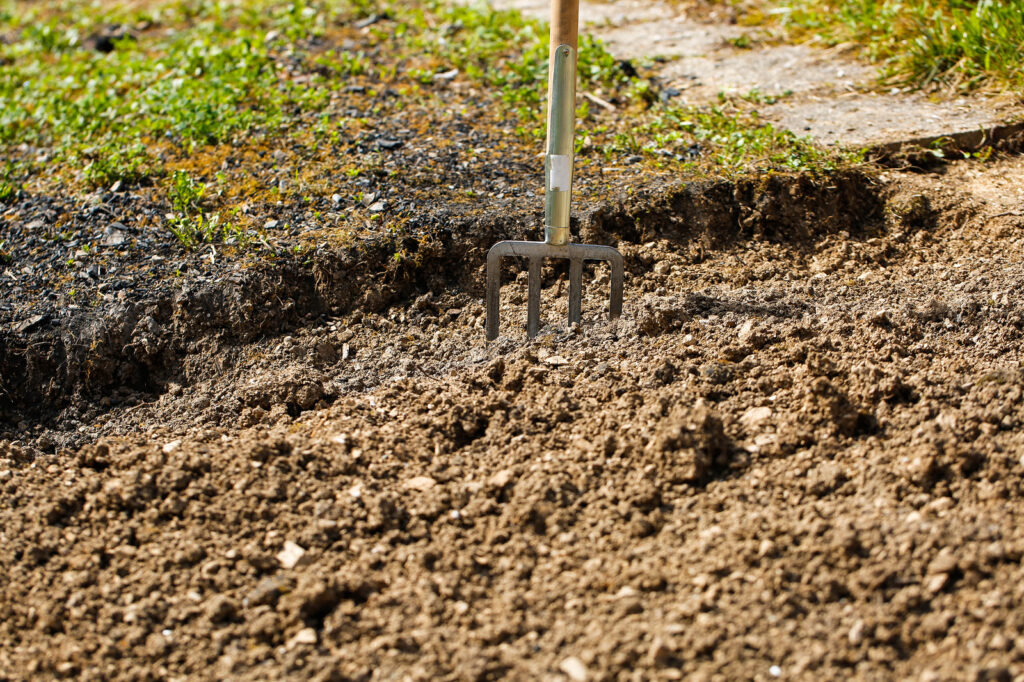
- If you use a garden fork just lightly turn the compost and manure under after it has sat a couple of weeks. Do not over-turn planting beds; too much digging can harm the microenvironment where soil organisms live.
- If you use a tiller, run the blades slowly so that the soil life is not overly disturbed or harmed.
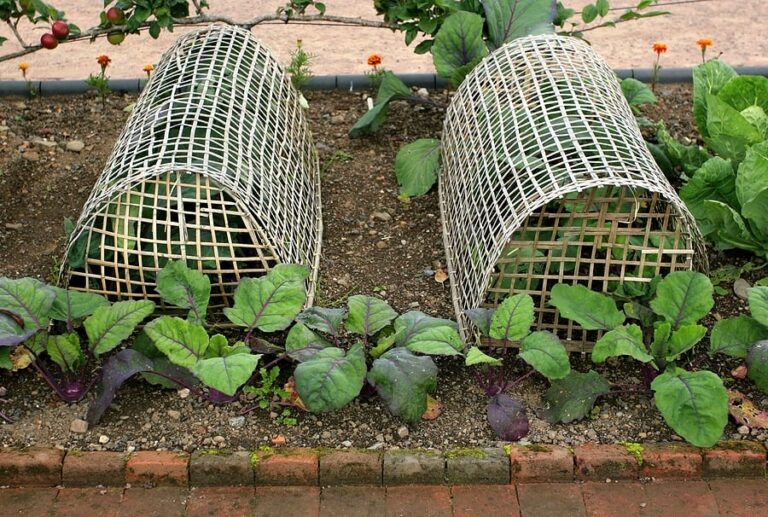
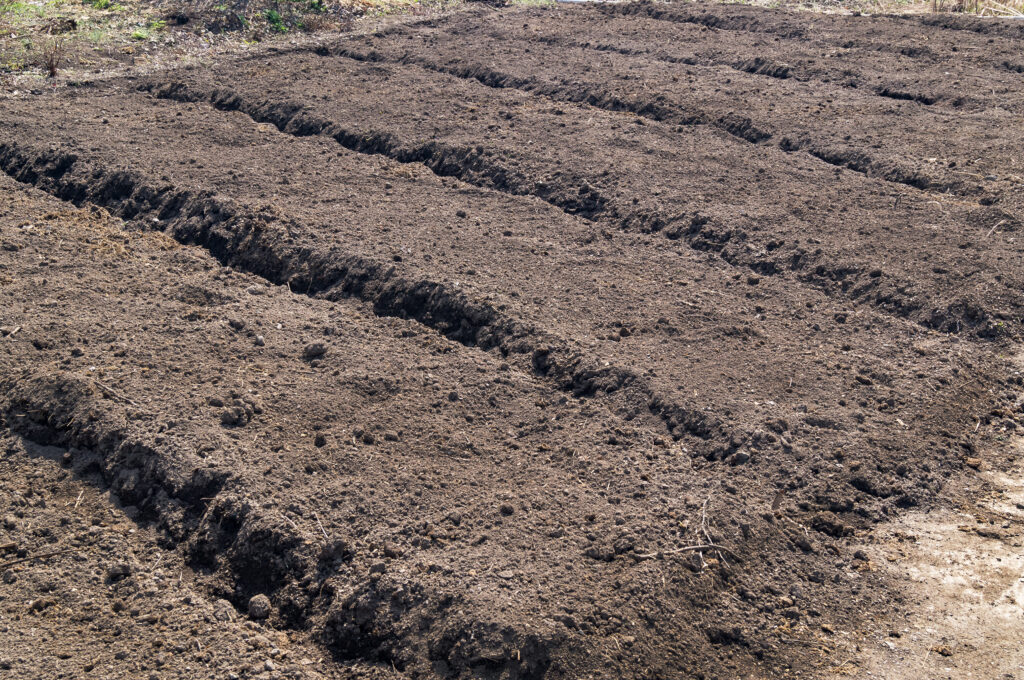
- Mulch: Once the planting bed has been prepared, add another inch or two of aged compost or organic mulch across the bed. This will prevent the soil from losing moisture and protect the bed from air temperatures too cold or too warm until you plant.
How to create a new planting bed using the no-dig (no-till) method
A no-dig, no-till garden bed can be made by laying down layer upon layer of organic materials that will decompose themselves into a nutrient-rich planting bed for vegetables. This no-dig, no-till method has been the basis of Chinese vegetable gardening for thousands of years; it is known as sheet composting and more recently has been dubbed lasagna gardening.
Sheet composted garden planting beds are quickly draining and fast warming in spring for an early start to the growing season. They are much like unframed raised beds rising from 4 to 10 inches or more above the surrounding ground. Such beds formed from raw organic materials—dry leaves, grass clipping, and the like–require about three or so months for composting and settling.
New no-dig (no-till) planting bed in three steps
Step one: Choose a spot for your planting bed that is relatively flat. It makes no difference if the ground has been worked or is fallow or if there is lawn or weeds growing there. Cover the soon-to-be planting bed with eight to ten sheets of newspaper or a single layer of corrugated cardboard. (Avoid newsprint or cardboard that uses colored ink or has a waxy surface—inks and wax can be toxic.) Soak the newsprint or cardboard with water so that it won’t fly away; this will begin the composting process.
Below the newsprint, weeds, and grass will be quickly smothered and begin to break down adding nitrogen necessary for composting; as well, earthworms will aid decomposition and will be attracted to the wet darkness. No digging or tilling is necessary to prepare the ground for this start.
Step two: Next, lay down several layers or “sheets” of organic materials—each layer to be one to four inches thick. Use the same “greens” and “browns” organic materials you would place in a compost pile: “greens” for composting are fresh, moist materials including grass clippings, fruit, and vegetable scraps, coffee grounds, tea bags, tea leaves, weeds that have not gone to seed, seaweed, and kelp, and spent blooms and trimmings from the garden; “browns” for composting are dry materials including dry leaves, pine needles, straw, aged manure, and shredded newsprint or paper.
Greens are rich in nitrogen; browns are rich in carbon. The carbon-to-nitrogen ratio ideal for composting is 30:1; this can be achieved by alternating browns and greens in nearly equal parts, but most home composters find great success by adding half again to nearly twice the amount of browns as greens.
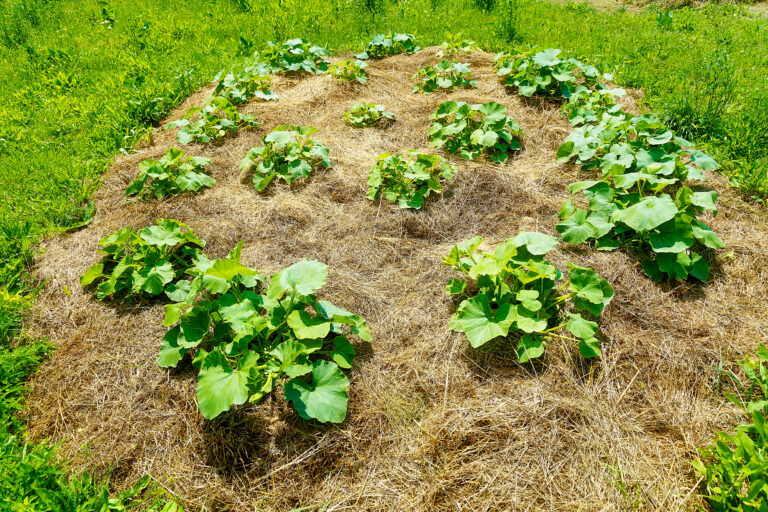
The height to start your no-dig, no-till layered bed should be from two to three feet; a bed this high will “cook down” or decompose to a raised mound of dark rich soil 10 to 12 inches high, more than sufficient root space for most vegetable crops.
You can make a layered bed at any time, but in the warmer part of the year microorganisms that decompose organic materials are most active and the composting process is accelerated. Allow three to four months depending upon daytime temperatures for your layered bed to decompose into rich, black humus, an ideal soil for vegetable growing. If you intend to plant in the bed sooner, add 3 to 6 inches of aged compost, planting mix, or topsoil across the top of the bed right away. This will give seeds and seedlings a home to start as the layered organic materials beneath them decompose.
Step three: Plant in the layered bed just as you would any other raised or mounded bed. The layered planting bed will be nutrient-rich, and moisture-retentive but well-drained, and will require little weeding. All home vegetable crops should find more than enough soil depth in the layered planting bed for root growth and abundant production. After your first harvest, you can add a new layer of compost to your raised bed; adding a new one or two-inch “sheet” or layer of compost to the bed twice a year will keep it nutrient rich. There will be no need to ever dig or till the bed.
No-dig, no-till gardening has been practiced for centuries. The New England gardener Ruth Stout wrote several books on this gardening method in the 1950s and 1960s. More recently the garden writer Patricia Lanza re-popularized the concept in a book called Lasagna Gardening.
Related articles of interest:
Tilling, Digging, and Forking the Vegetable Garden
Making Compost for Your Vegetable Garden
Improving Garden Soil with Organic Amendments
Vegetable Plant Nutrients: Sources and Deficiencies
Garden Planning Books at Amazon: