Microclimates in the Vegetable Garden: How to Use Them to Your Advantage
Sharing is caring!
A microclimate is a small area with slightly different temperature or climate than the surrounding larger area. Every garden has microclimates; microclimates can be created by hills and low spots, structures and fences, and even the shade of trees or tall plants.
You can use the microclimates in your garden to help vegetables produce a little bit better—a little faster, a little bigger, even a little tastier.
If you treat your garden as one uniform space, you’re missing one of the most powerful yield tools available.
After 30+ years growing vegetables in Sonoma Valley—raised beds, mounded rows, containers, and in-ground systems—I’ve learned this:
Know What to Plant This Week
Every week I answer the gardener's most important question: what should I plant now? Get seasonal planting advice free — or go Pro for my full Soil Temperature Garden Report, with soil temperature, moisture, weather trends, and crop-by-crop recommendations.
👉 Every garden is multiple climates in disguise.
These small, localized conditions are called microclimates, and they can dramatically change how plants grow—even just a few feet apart.
Once you learn to see them, you stop fighting your garden and start using it strategically.
Table of Contents
ToggleWhat a Microclimate Actually Is
A microclimate is a small area where conditions differ from the surrounding garden.
These differences can include:
- Temperature
- Wind exposure
- Soil moisture retention
- Sun intensity
- Heat reflection from structures
👉 In simple terms: your garden is not one environment—it’s several.
Why Microclimates Matter So Much
Two identical plants can perform very differently depending on where they’re placed.
One might:
- Flower earlier
- Grow faster
- Produce more fruit
While another:
- Lags behind
- Stresses in heat or wind
- Produces less overall yield
👉 The difference is not the plant—it’s the location.
Common Microclimates in Home Gardens
Most gardens naturally contain several predictable zones.
1. Warmest Zones
Usually found:
- Against south-facing walls
- Near stone, brick, or concrete
- In raised beds that heat quickly
Best for:
- Tomatoes
- Peppers
- Eggplant
- Basil
- Melons
👉 These areas extend your growing season.
2. Cool Zones
Typically:
- North-facing areas
- Shaded corners
- Spots with morning-only sun
Best for:
- Lettuce
- Spinach
- Cilantro
- Cool-season crops in transition periods
👉 These areas reduce heat stress in warm weather.
3. Wind-Exposed Zones
Often:
- Open garden edges
- Elevated beds
- Gaps between structures
Effects:
- Faster soil drying
- Increased transpiration stress
- Reduced pollination efficiency
👉 Wind increases water demand significantly.
4. Protected Zones
Found near:
- Fences
- Hedges
- Dense plant groupings
Benefits:
- Stabilized temperatures
- Reduced moisture loss
- Better early fruit set
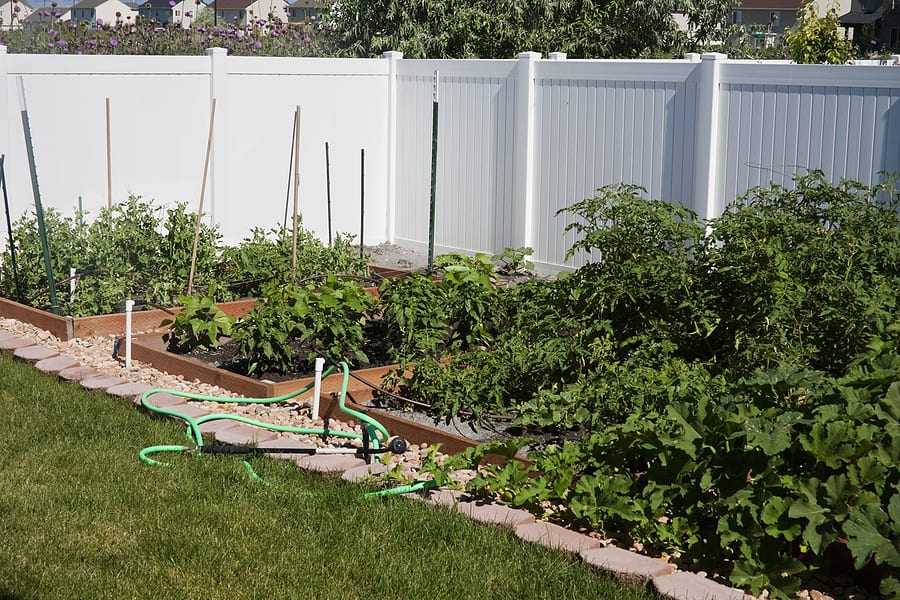
👉 These are often the most productive spots in the garden.
How to Identify Your Microclimates
You don’t need tools—just observation.
Look for:
- Which beds dry fastest
- Where plants flower earliest
- Where growth is consistently strongest
- Which areas lag behind
👉 Patterns emerge within a single season.
Here’s How to Map Your Microclimates
Map the microclimates in your garden by noting where the sun shines most, where shadows fall and when and where breezes blow and where they don’t. Look for natural low and high spots that may stay cooler or warmer than the surrounding area. In the cool time of the year, note where patches of snow and frost disappear first and where they linger.
Take into consideration surrounding structures—a house, a shed, fences, or walls. Wood and stone structures absorb the sun’s heat during the day and release it back into the garden at night. Gardens on the south and west side of structures get the most sun each day and will warm more quickly. An east-facing garden will get the first sun each day, but can be in shadows by afternoon. North facing gardens get the least sun and stay cooler year round. North-facing slopes are cooler than south-facing slopes which also will be drier.
Cold air moves to the lowest spot in a garden—expect cool temperatures and frost to linger in low spots. A fence without an opening at the bottom of a slope can trap cold air.
Wind and breezes will increase heat loss in a garden. Winds can stress plants and slow down their development; too much wind can dessicate plants. Look for natural windbreaks when planning a garden—trees and trees lines, large shrubs and hedges that keep winds from reaching vegetable planting beds and drying them out. Consider planting natural windbreaks when planning your garden.
How to Use Microclimates Strategically
1. Match Crops to Conditions
Don’t force crops into the wrong environment.
- Heat lovers → warmest zones
- Leafy greens → cooler, shaded zones
- Fruiting crops → stable, protected zones
👉 Right plant, right place = higher yield with less effort.
2. Extend Your Season
Microclimates let you grow beyond normal timing.
- Start warm crops earlier in heat-retaining spots
- Protect cool crops longer in shaded areas
- Bridge seasonal transitions
3. Reduce Stress Automatically
Instead of correcting problems later:
- Place sensitive crops in stable zones
- Avoid wind exposure for flowering plants
- Use structures for protection
👉 Prevention is more effective than correction.
4. Improve Water Efficiency
Microclimates directly affect irrigation needs.
- Hot, exposed beds dry faster
- Protected beds retain moisture longer
- Containers behave differently than ground soil
👉 One watering schedule never fits all zones.
How to Alter Microclimates to Benefit Vegetable Crops
Locate your vegetable garden where it is not shaded by buildings or trees. Place the garden at least 20 feet away from tall trees that will cast shadows and compete for water and nutrients.
Avoid low spots that are slow to dry in the spring. Cold air will collect in these spots.
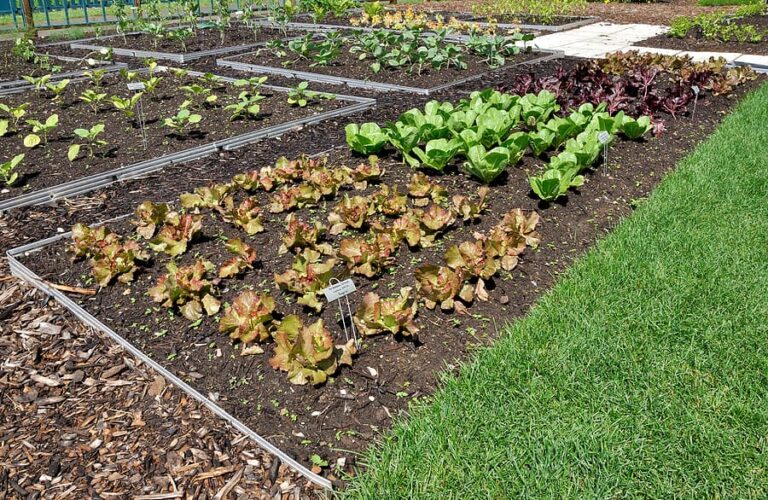
On slight slopes run rows at right angles to the slope so that each crop gets maximum sun exposure. Where slopes are steep let rows follow the contour or terrace the garden.
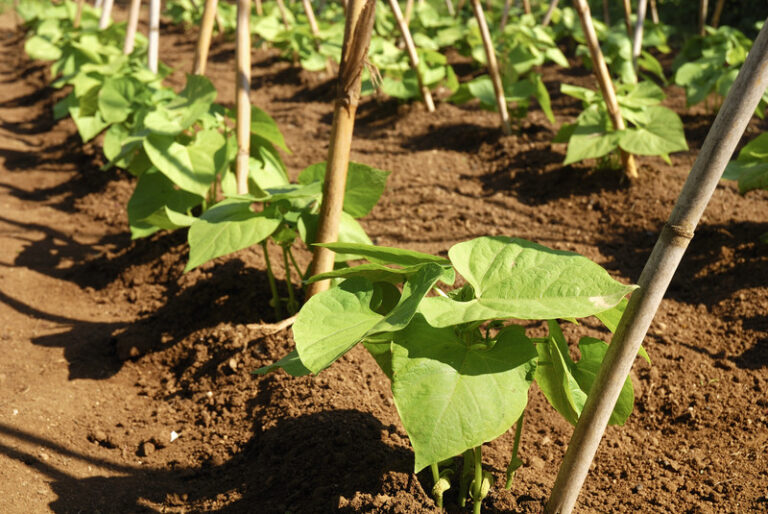
Crops that thrive on heat such as tomatoes, peppers, eggplants, and beans should be planted in south-facing or west-facing gardens or in rows that run north and south. Heat-loving crops can be planted close to walls and fences that absorb heat during the day and reflect it back into the garden at night.
Use stone, brick, and gravel pathways to capture the sun’s heat during the day and release it slowly into the garden at night. Stone and gravel paths can surround mounded or raised beds for crops that demand warmth and heat.
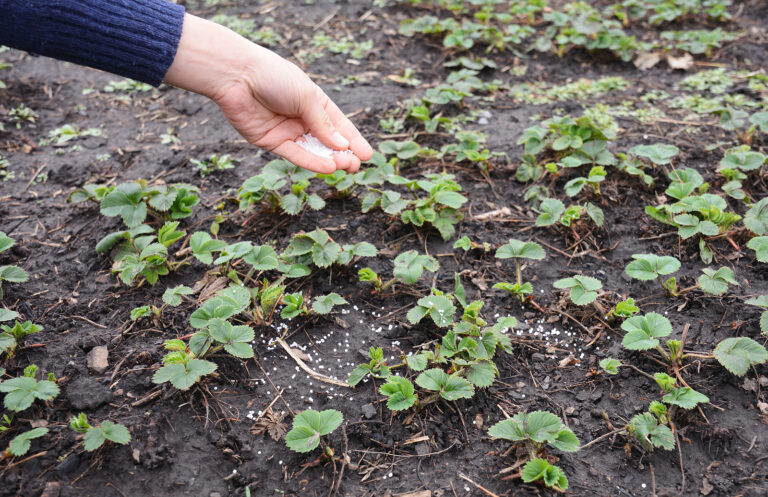
Create a thermal mass for crops to change the microclimate and aid plant growth; gallon milk containers filled with water can soak up the sun’s warmth in the day and keep plants warm at night.
Where gardens are exposed to breezes and winds, create natural windbreaks by planting dense trees such as conifers or create seasonal windbreaks by planting sunchokes, sunflowers, or corn on the windward side of the garden. If planting is not an option, create windbreaks for individual plants by propping up shingles, sheets of plastic, or staking bottomless sacks around plants.
Use cooler and warmer spots in the garden to your advantage. Cool and shady areas can be planted with salad greens and root crops during the summer. Interplant crops averse to too much sun or heat in the shadows of taller crops.
Attach shade cloth or lattice to hoops or frames above crops that want cooler temperatures during the summer. Plant leafy crops in east-facing gardens during the summer; they will be shaded in the warmest part of the day.
Review your garden’s microclimate map each season to see if there have been changes.
My Field Observation
In my own garden, microclimates often matter more than variety selection.
I’ve seen:
- Tomatoes in warm corners produce weeks earlier
- Beans in wind-exposed beds struggle consistently
- Herbs thrive longer in partial protection zones
👉 The plant doesn’t change—the environment does.
Takeaway
Microclimates are not a complication—they are an advantage.
Once you recognize them, you can:
- Increase yield without expanding space
- Reduce plant stress naturally
- Improve timing and harvest consistency
- Work with your garden instead of against it