Spring Salad Garden Growing Tips
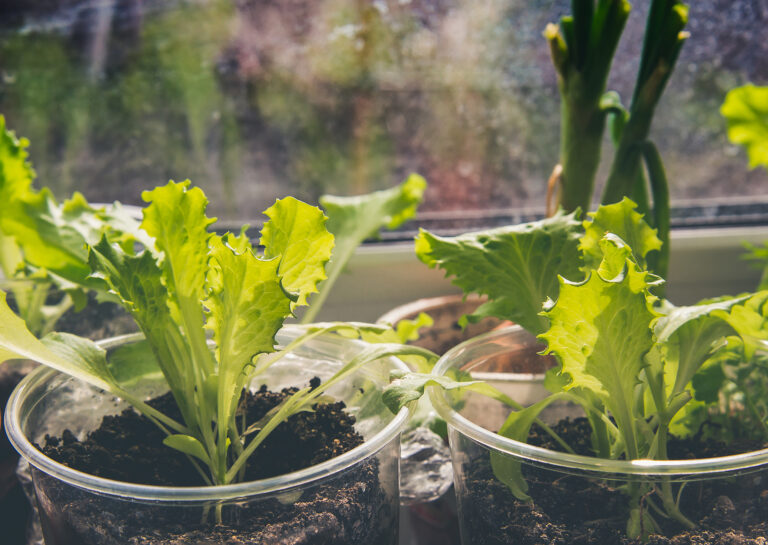
 Spinach, baby chard, and crisp lettuce are easy-to-grow spring salad greens.
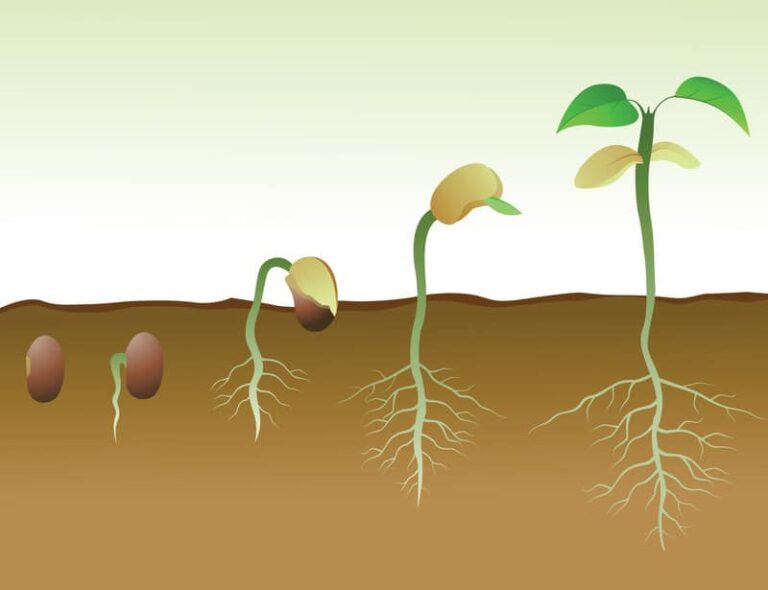
When to plant and soil temperature are the keys to spring vegetable gardening. Greens—arugula, beet greens, collards, kales, and lettuce–are foundation crops for early spring because they germinate in chilly temperatures.
Greens will take longer to grow in early spring than in late spring or fall because the soil is still cool, but you can easily be harvesting salad greens before other seeds can go in the ground.
Here are six salad garden growing tips for spring:
Tip One: Check seed packets for the germination soil temperature range of the seeds you want to sow. Use a soil thermometer to check the soil temperature in your garden. Take the soil temperature down 3 or 4 inches and do this 3 or 4 days in a row to be sure you have a consistent reading. If you don’t have a soil thermometer, sow seed when the soil is workable—not frozen, not too wet, it should form a clump in your closed hand and the soil clump should easily fall apart when your hand opens.
Tip Two: Warm the soil before sowing your greens. If the soil does not freeze deeply where you live, you can sow early spring seeds under row covers or plastic tunnels. If the soil freezes deeply where you live, start spring seeds in cold frames. (Sow in coldframes as soon as the soil is warm enough.) Grow greens in raised beds. The soil temperature in raised beds will be about 5 degrees warmer than adjacent soil. To get a very early start in the garden lay plastic mulch or sheeting over planting beds at least a week before sowing seed: black plastic sheeting will warm the soil 5°F. Clear plastic sheeting will warm the soil by 8°-14°F—however, the light will allow weeds to germinate as well so you may want to pluck the weeds before sowing your greens.
Tip Three: Know the average last frost date in your area (you can find it online or ask at a nearby garden center), then count back 8 weeks and mark your calendar. That is when should you start seeds indoors. Greens seedlings can be transplanted to the garden 4-5 weeks before the last expected frost (or earlier if you protect them with row covers or plastic tunnels). Before setting indoor-started seedlings outdoors, harden them off by gradually introducing them to outdoor temperatures for several hours over several days. Once your outdoor soil temperature matches the soil germination temperature you found on the seed packets, you can direct seed in the garden. Direct-seed every two to three weeks in get a continuous harvest of greens throughout the spring. Starting seeds indoors will allow you to jump-start your harvest schedule by two to three weeks.
Tip Four: If you fear a short spring—that is day and night temperatures rising quickly—where you live, plant only varieties of greens that are bolt-resistant, that is plants with a tolerance for warmer weather. Greens often bolt (send up seed stalks) when daytime temperatures reach the mid-70°sF. If you expect temperatures to be cool and then very warm and then cool again, choose bolt resistant varieties that can grow in warmer weather. Seed packets will tell you if the variety you are choosing can tolerate warm temperatures and is bolt resistant.
Tip Five: Protect spring greens with row covers, cloches, or coldframes. Protection will allow greens to grow stress free—not having to respond to stress caused by erratic temperatures, wind, hard rain, frost, or other weather. Putting protection in place will only take a few minutes but will give long stress relief to your plants. If you cover plants, be sure to monitor their water needs—the soil can dry out under cover—and temperature; vent or open your covering when ambient temperatures rise. Don’t allow the temperature under cover to rise above 70°F when growing greens. When temperatures settle later in spring, you can remove crop protection.
Tip Six: Harvest your greens when they taste the best. Taste-test your greens at different sizes to determine what size is tastiest to you. When greens reach 2 to 4 inches tall, you can begin harvesting individual leaves. When they are 6 inches tall or so, you can harvest the whole plant. You can harvest greens cut-and-come-again by gently grasping individual leaves and using a sharp knife to cut all but ½-1 inch of the leaves just above the crown of the plant. As long as you don’t damage the crown, new leaves will grow to replace the ones you harvest. You should be able to get two to five harvests from greens using the cut-and-come-again harvest method.