Common Potato, Pests, Diseases, and Problems: Organic Solutions
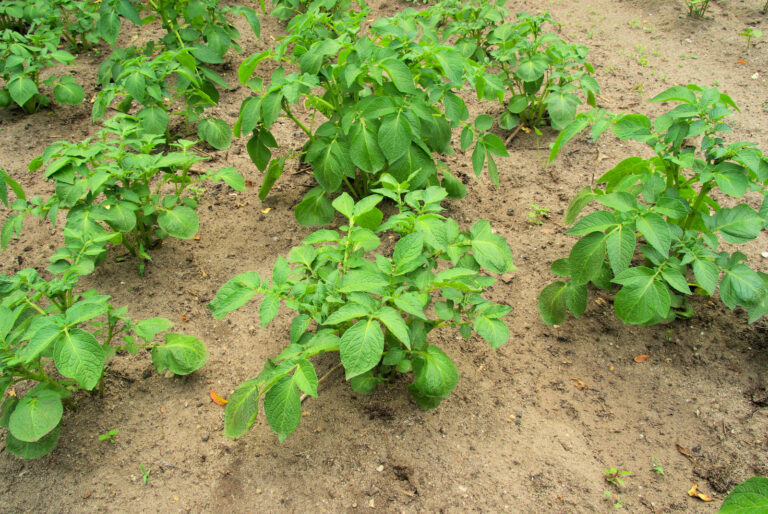
Potato growing success can be had with well-drained, deep, sandy loam containing plenty of humus paired with cool, moist conditions.
Plant potatoes in early spring after the danger of frost has passed. Use disease-free seed potatoes; cut each potato so that two eyes are on each piece.
Even under these ideal growing conditions, potatoes are not always problem free. Potatoes are susceptible to a host of setbacks.
Here is a list of possible potato-growing problems matched with cures and controls:
Young plant problems
Plants do not emerge after planting seed pieces
Most store-bought potatoes are treated to prevent sprouting. Plant only certified seed potatoes. Cut seed potatoes when sprouts form, two eyes on each piece, and plant immediately. Plant when the soil has warmed to 45°F or greater.
Young plants are eaten or cut off near the soil level
Cutworms are gray grubs ½- to ¾-inch long that can be found curled under the soil. They chew stems, roots, and leaves. Place a 3-inch paper collar around the stem of the plant. Keep the garden free of weeds; sprinkle wood ash around the base of plants. Use oak leaf mulch. Companion plant tansy between rows.
Young sprouts fail to grow or die back
Blackleg, black scurf, or frost damage. Blackleg is a bacterial disease that leaves sprouts rotting at soil level–“blacklegs.” Black scurf is a fungal disease; stems will have brown sunken spots below the soil level. Remove infected plants and destroy infected tubers. Frost damage follows a frost; wait until after the last frost to plant.
Leaf problems
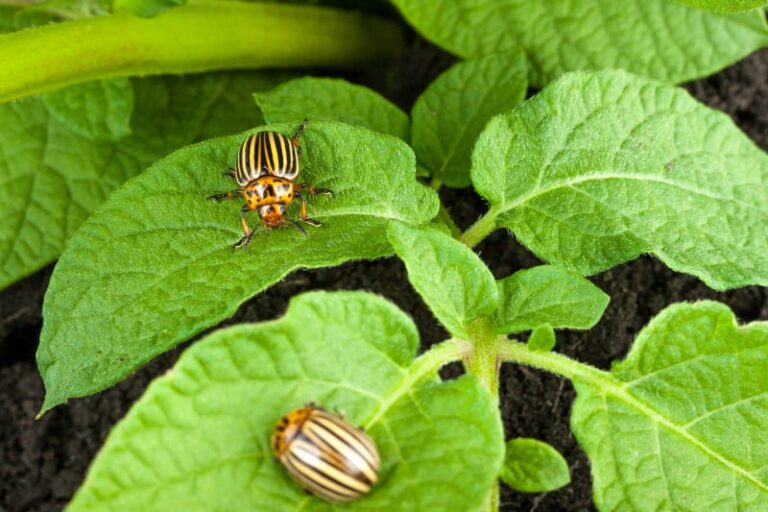
Large holes in leaves, leaves, and shoots are stripped
Colorado potato beetle is a humpbacked yellow beetle ⅓ inch long with black stripes and an orange head. Handpick off beetles. Keep the garden free of debris. Spray with a mixture of basil leaves and water. Companion plant with eggplant, flax, or green beans.
Leaves are yellowish and slightly curled with small shiny specks
Potato aphids are tiny, oval, pinkish to greenish pear-shaped insects that colonize the undersides of leaves. They leave behind sticky excrement called honeydew which can turn into a black sooty mold. Spray away aphids with a blast of water from a garden hose. Use insecticidal soap.
Tiny shot-holes in leaves; small bumps or corky spots on tubers
Flea beetles are tiny bronze or black beetles a sixteenth of an inch long. They eat small holes in the leaves of seedlings and small transplants. The larvae feed on tubers. Peel away tuber damage. Pick beetles off the plant. Spread diatomaceous earth or wood ashes around seedlings. Cultivate often to disrupt the life cycle; spade deeply in early spring. Keep garden clean
Leaves are chewed
Blister beetles are long, slender reddish-bronze-colored beetles with red-coppery legs that feed on leaves. They secrete oil that can cause the skin to blister. Wear gloves and handpick them from leaves and destroy them.
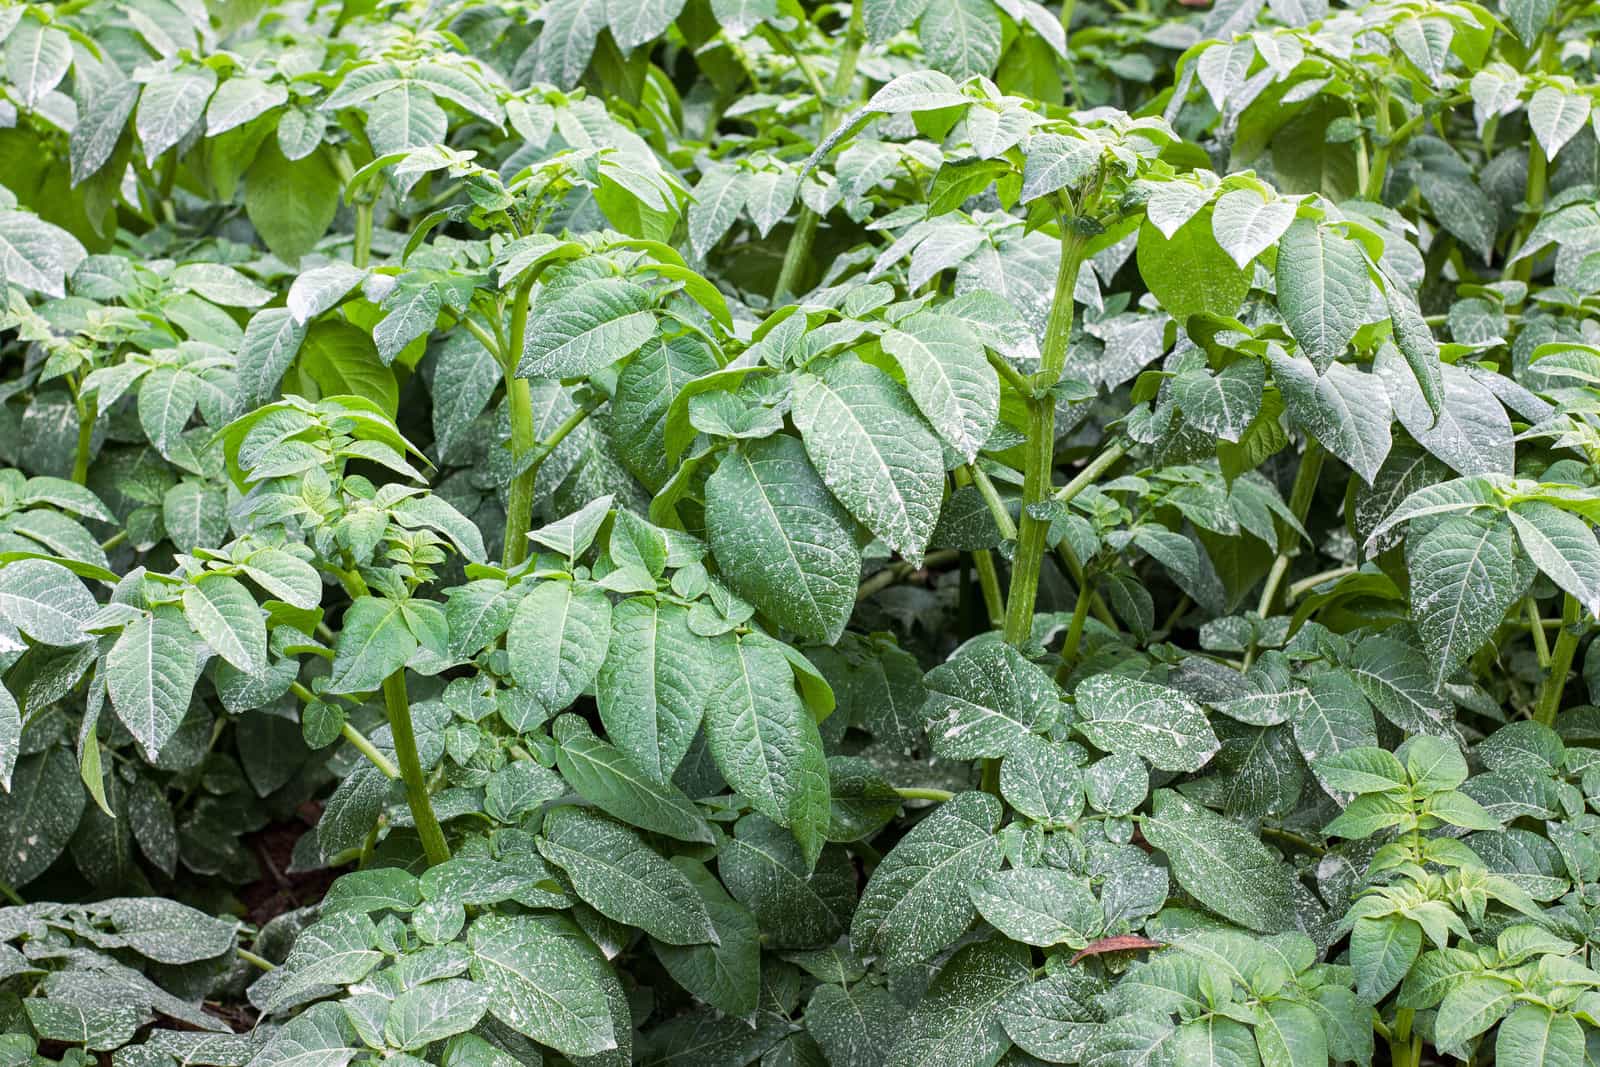
Coarse white speckling or stippling on the upper surface of leaves; leaf margins turn brown; leaves appear scorched and wilted
Leafhoppers are green, brown, or yellow bugs to ⅓-inch long with wedge-shaped wings. They jump sideways and suck the juices from plants. Use insecticidal soap. Cover plants with floating row cover to exclude leafhoppers.
Leaves and stems have irregular grayish-brown water-soaked spots or rings; gray-white growth appears on the underside of leaves
Tubers have brown-purple surface scars; tubers rot in storage. Late blight is caused by a fungus that infects potatoes, tomatoes, and other potato family members. It favors high humidity and temperatures around 68°F. Keep the garden free of all plant debris and avoid overhead irrigation. Remove volunteer potatoes before planting. Plant certified seed potatoes and resistant varieties such as Kennebec, Cherokee, and Plymouth. Keep tubers covered with soil. Cut vines 1 inch below the soil surface and remove vines 10 to 14 days before harvest. Do not harvest under wet conditions.
Leaves curl upward: older leaves turn yellow, then brown; young leaves show purple margins
Nodes and petioles are enlarged. Tubers may be visible. The plant may turn brown and dry. Potato psyllid is light gray-green to dark brown or black-winged insects about the size of an aphid; they are flat and disk-like before plumping up at maturity. They inject a toxin into leaves as they feed causing the plant to yellow. Use yellow sticky traps to control psyllid.
Leaves turn pale green, yellow, or brown; dusty silver webs on the undersides of leaves and between vines
Spider mites suck plant juices causing stippling. Spray away with a blast of water or use insecticidal soap or rotenone. Ladybugs and lacewings eat mites.
Leaves are mottled and become crinkled
The Mosaic virus is transmitted by aphids. Control aphids with pyrethrum or rotenone. Plant disease-free seed potatoes. Plant disease-resistant varieties: Chippewa, Katahdin, Kennebec, Monona, and Snowflake.
Gray blotches on older leaves; tunneling in leaves
Potato tuberworms are small caterpillars, the larvae of a moth that lays eggs on foliage. They tunnel through the interior of leaves. Handpick and destroy. Hill up soil over tubers to keep worms from reaching tubers.
Whole plant problems
Plants are green-topped, with no tubers
Temperatures are too warm. Potatoes require cool nights below at about 55°F for good tuber formation. Plant so that tubers mature in cool weather.
Spindly cylindrical stems
Witches bloom is a viral disease transmitted by leafhoppers. Stems are elongated and plants set many small tubers. The plant is mostly leafy growth; leaves roll up and have yellow margins. Destroy diseased plants. Plant disease-free seed potatoes. Control leafhoppers.
Stems have irregular dead streaks
Manganese levels in acid soils may be high. Test the soil. Apply lime if the manganese level is high. Grow resistant varieties: Canso, Green Mountain, McIntyre.
Plants stunted; yellowish-black streaks inside stems
Fusarium wilt is a soil fungus that infects plant vascular tissue, especially where the soil is warm. Fungal spores live in the soil. Remove and destroy infected plants. Rotate crops. Plant certified disease-free potatoes. Plant disease-resistant varieties: Irish Cobbler, Kennebec.
Leaves turn yellow and then brown from the bottom up; plants lose vigor; plants appear stunted; stems, roots, and tubers have tunnels
Wireworms are the soil-dwelling larvae of click beetles; they look like wiry-jointed worms. Check the soil before planting; flood the soil if wireworms are present. Wireworms can live in the soil for up to 6 years. Remove infested plants and surrounding soil.
Leaves yellow between veins; leaf margins brown and curl upward; stem base becomes dark brown, black, and slimy; tubers become slimy brown-black at the stem end
Blackleg is a fungal disease. Add organic matter to the planting bed; make sure the soil is well-drained. Plant certified disease-free potato tubers. Rotate crops. Cover seed potatoes shallowly for quick emergence.
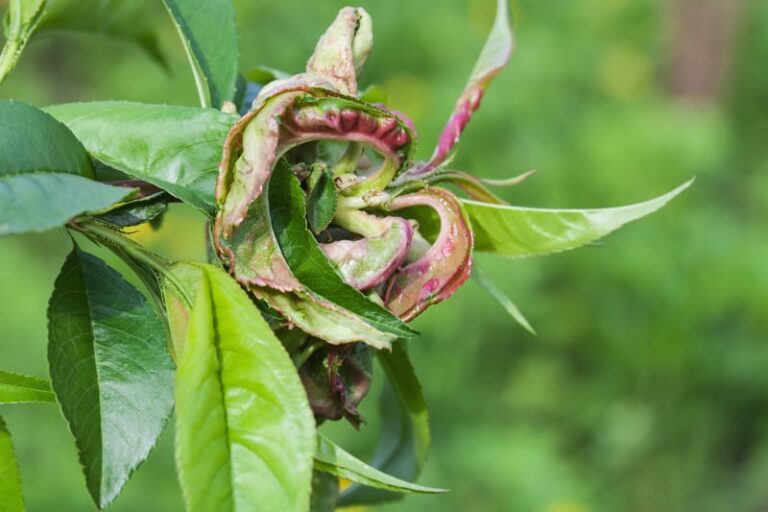
Young leaves fail to enlarge, new leaflets roll upward and turn reddish-purple color, or the topmost leaves, become yellow
Potato purple-top wilt is synonymous with aster yellow; it is a viral disease spread by leafhoppers. Plant certified disease-free seed potatoes. Remove and destroy diseased plants. Keep the garden clean of plant debris. Control leaf-hoppers.
Lower leaves cup or roll, lose their dark green color and become streaked and leathery; brown speckling at the stem end of tubers
The potato leafroll virus is transmitted primarily by aphids. Control aphids. Remove diseased plants and weeds. Spray with pyrethrum or rotenone. Plant certified seed potatoes. Do not save potatoes from infected crops. Plant disease-resistant varieties: Cherokee, Houma, Merrimack.
Leaf and tuber problems
Leaves yellow and margin roll; plants are stunted and dwarfed; tuber is malformed and cracks
Potato yellow dwarf virus is transmitted by leafhoppers. Destroy diseased plants and control leafhoppers. Plant disease-free seed potatoes.
Leaf tips and margins yellow, gradually brown, and die; tubers have irregular brown spots throughout the flesh
Lack of moisture or inconsistent moisture during hot, dry weather. Place 2 to 3 inches of organic mulch across the planting bed to conserve soil moisture. Deep water potatoes for 2 to 3 hours at a time; do not water again until the soil has dried to a depth of 4 to 8 inches.
Older leaves yellow and die; brown streaks on lower leaves stems split lengthwise; stem end of tubers discolored around eyes
Verticillium wilt is caused by a soil fungus. It favors cool soil and air temperatures. Avoid planting where tomatoes, potatoes, peppers, eggplant, and cucumber family plants have been recently growing. This disease is most evident in hot weather when the plant is loaded with fruit and water is short. Plant disease-resistant varieties: Houma, Cariboo, Red Beauty. Bacterial wilt also can cause these symptoms; black-brown ooze seeps from cut stems.
Leaves turn light green, wilt, then dry; tubers turn watery and brown
Plants and tubers are exposed to the hot sun and dying winds after cloudy weather. Screen plants during extremely hot weather. Do not leave tubers in the hot sun.
Stems at soil level are covered with purplish, dirty grey fungus; foliage curls and turns pinkish to yellowish; dark brown or black masses on tubers
Black scurf or Rhizoctonia is a fungal disease that favors warm soil. Remove infected plants and plant debris that harbor fungal spores. Rotate crops. Be sure transplants are not diseased. Rotate crops regularly. Solarize the soil in late spring or summer. Black scurf is resting spores; peel away spores before using the potato.
Irregular black and brown spots to ½ inch in diameter appear on lower leaves and stem; leaves turn yellow to brown; tubers may have brown, corky, dry spots
Early blight is a fungal disease spread by heavy rainfall and warm temperatures. It is seen near the end of the season when vines near maturity. Keep weeds down in the garden area; they harbor fungal spores. Destroy infected plants. Avoid overhead watering.
Leaves yellow between veins and leaves curl upward; shoot tips are stunted; cut stems reveal a white ooze; cut tubers reveal a yellow to light brown ring of decay
Bacterial ring rot. Discard all infected tubers and plants. Plant certified seed stock; plant whole small potatoes instead of seed potatoes. Practice crop rotation. Plant disease-resistant varieties: Merrimack, Saranac, Teton.
Tuber problems
Tiny bumps on tubers, brown spots on tuber flesh
Nematodes are microscopic worm-like animals that live in the film of water that coats soil particles; some are pests, and some are not. Pest root nematodes feed in roots and can stunt plant growth. They are more common in sandy soils. Rotate crops. Solarize the soil with clear plastic in mid-summer.
Tubers have brown streaks and roots are growing from inside tubers
Nutsedge is a perennial weed that grows in many potato-growing regions. The weed’s rhizomes will penetrate potato tubers. Keep potato plantings free of nutsedge. Nutsedge tends to grow in areas that are not well drained.
Pink areas around the eyes of tubers
Pinkeye occurs on tubers in wet soil. The cause of pinkeye is not known. Plant in well-drained soil.
Marble-sized potatoes grow directly from potato eyes
Cell sap is concentrated in tubers. Store seed potatoes in a cool, dark place. Plant seed potatoes later in the season.
Rough, scabby, or corky spots on the surface of tubers
Scab is caused by a soilborne bacterium. The disease can be cosmetic. Modify soil to a pH of 4.8 to 5.2; work sulfur into the soil to make it slightly acidic and reduce disease. Plant disease-resistant varieties: Alamo, Arenac, Cherokee. If a scab occurs, change varieties next year. Use long rotations.
Green tubers
Tubers have been exposed to the sun during growing or after digging; the sun causes tubers to form chlorophyll green spots. Keep growing tubers covered with soil. Do not eat green sections of potato tubers they contain toxins; cut away the green sections before using. Store potatoes in complete darkness.
Tubers are knobby-shaped. Inconsistent moisture, erratic watering, alternating wet and dry conditions
Tuber growth is uneven. Keep soil evenly, and moist. Slow, deep water for 2 to 3 hours; do not water again until the soil has dried to a depth of 4 to 8 inches. Mulch to conserve soil moisture. Plant potatoes closer together. Avoid planting knobby varieties.
Cavities at the center of the potato, hollow center
A hollow heart occurs when potatoes grow too fast because as a result of too much water or too much fertilizer. A cavity can be discolored and lined with powdery decay, and verticillium fungus. Cut away the brown areas before using. Fertilize plants early when tubers are about to form. Avoid planting varieties that develop hollow hearts: Chippewa, Katahdin, Mohawk, Irish Cobbler, Sequoia, Russet, White Rose.
Large shallow holes in tubers
Grayish white grub is the larvae of the Japanese beetle, a shiny metallic green, copper-winged beetle to ½-inch long. Grubs feed on potato tubers. Cut away damaged areas and use the rest of the tuber. Handpick grubs and beetles. Use pheromone traps to control beetles. Spray with pyrethrum or rotenone.
Rotten tubers
Bacterial soft rot enters tubers wounded by tools insects or disease. The vascular bundles in leaves stems, and tubers turn black and bad smelling. Rot can not be cured. Plant potatoes in well-drained soil. Remove and destroy infected tubers. Remove all plants and plant debris at the end of the season. Promote good drainage by adding aged compost and organic materials to planting beds. Avoid overhead watering. Rotate crops.
Sulfur applied to the garden may reduce rots. Protect tubers from injury.
Potato growing success tips
Planting
Grow potatoes in full sun. Potatoes require well-drained soil rich in organic matter. Prepare planting beds with aged compost. If drainage is an issue, plant potatoes in raised beds. Plant seed potatoes are grown specifically for crop growing. Keep the base of potato plants and tubers shielded from light and pest injury; use soil or mulch to cover plants. Plant seed potatoes in a 4-inch-deep trench and cover the seed with 2 inches of soil; as the plants grow continue to hill up loose soil around the plant eventually mounding the plants. An alternative planting method is to set seed potatoes on the soil surface and cover them with mulch–shredded leaves or straw. Continue to add mulch as plants grow through the season always keeping tubers well covered. This method can be used where the soil is heavy, clay-like, and not well-drained; however, the yield will be less.
Planting time
Potatoes grow best where the soil temperature is at least 50°F. Potatoes are usually planted in spring as early as 3 weeks before the last expected frost. Planting time can vary to avoid hot, dry conditions and to minimize disease and pest problems.
- In cooler summer regions, plant one potato crop in mid-spring for late summer harvest.
- In moderate-temperature summer regions, plant one crop in late spring or midsummer for fall harvest. If you plant in midsummer, choose an early harvest variety.
- In long warm and humid summer regions, plant three crops: one in late winter for a late spring harvest; a second fast-maturing crop in mid-spring; and a third late summer crop for a fall harvest.
- In regions where there is little or no frost, plant in fall when the heat subsides for a late spring harvest (plants will go dormant in winter and begin growing again in early spring).
- In mild winter and desert regions, plant in the fall for spring harvest, or plant an early-harvest variety in early spring.
Care
Potatoes are shallow-rooted and require consistent, even watering from planting time until tubers are fully developed. Do not let the soil go dry during the growing season. When the foliage starts to yellow at the end of the growing season, stop watering so that the tubers do not rot. Keep tubers well covered with soil or mulch from planting to harvest; light, temperature fluctuations and exposure are responsible for many potato diseases and pest problems. Crop rotation will shield potatoes from many soilborne diseases and pests.
Harvest
Harvest “new potatoes”–young, small tubers–when plants are blooming; lift the full plant and its tubers. Mature potatoes can be harvested when vines die back on their own; if vines do not die back, cut the vines at soil level 2 weeks before you want to lift the tubers–this will cause the tubers to harden.
Potato Growing Hub
Start here: The Ultimate Potato Growing Guide: From Seed to Harvest
🥔 Varieties & Planting Prep
- Best Potato Varieties for Different Cooking Uses – Detailed profiles on varieties for boiling, baking, mashing, and roasting.
- Guide to Fingerling Potatoes: Growing, Cooking, and Varieties – Spotlight on fingerlings with care tips and culinary uses.
- How to Prepare and Cut Seed Potatoes for Planting – Step-by-step guide to maximize yield and reduce disease risk.
- Seed Potato Starting Tips – Ready your seed potatoes and plant
🌱 Planting & Early Growth
- How to Grow Potatoes in Containers: A Complete Guide – Soil, container size, watering, and harvesting tips for small-space growers.
- Grow Potatoes in Pots and Grow Bags: Seven Easy Steps
- 6 Easy Steps to Grow Organic Potatoes
- Companion Planting with Potatoes: What to Grow Together and Avoid – Maximize garden health and productivity through smart companion planting.
- Growing Potatoes in Mild Winter and Tropical Climates – Specific tips for successful potato cultivation in warmer regions.
- How to Identify Potato Growth Stages and Troubleshoot Problems – Recognize each growth phase and manage issues at every stage.
🌿 Care & Maintenance
- How and When to Hill Potatoes for Bigger Yields – Detailed instructions and timing for hilling to support tuber development.
- Watering Potatoes: Best Practices for Healthy Growth – Provide consistent moisture without risking rot or stress.
- Common Potato Pests, Disease, and Problems: Organic Solutions – Identification and natural control strategies for common pests.
- Crop Rotation Strategies for Potatoes to Prevent Soil-Borne Diseases – Plan your garden for long-term soil health and disease prevention.
🧺 Harvest & Storage
- Harvesting Potatoes: Signs of Maturity and Techniques to Avoid Damage – Know when potatoes are ready and how to harvest carefully.
- How to Harvest and Stoe Potatoes – Ideal temperature, humidity, and storage environments to keep potatoes fresh.
🍽️ Cooking & Kitchen Insights
- Testing Potato Starch Levels: Why It Matters and How to Do It – Understand starch content to choose the right potato for each dish.
- Seven Ways to Cook and Serve Potatoes – Easy ways to serve your potato harvest.
- How to Cook New Potatoes with No Recipe – Here’s how to get those little spuds on the table fast.
Potato articles at Harvest to Table:
How to Plant and Grow Potatoes
6 Easy Steps to Grow Organic Potatoes
Grow Potatoes in Pots and Grow Bags: Seven Easy Steps
Seven Ways to Cook and Serve Potatoes
How to Cook New Potatoes with No Recipe
How to Make Seasonal and Flavorful Potato Salad
Yellow Potato Side Dish and Soup
Ham, Potato, and Cheese Gratin
Potato Growing Problems Troubleshooting
Colorado Potato Beetle Organic Pest Control
Vegetable Garden Diseases Problem Solver
Vegetable Garden Organic Weed Control
Garden Planning Books at Amazon:

