How to Thin Vegetable Seedlings
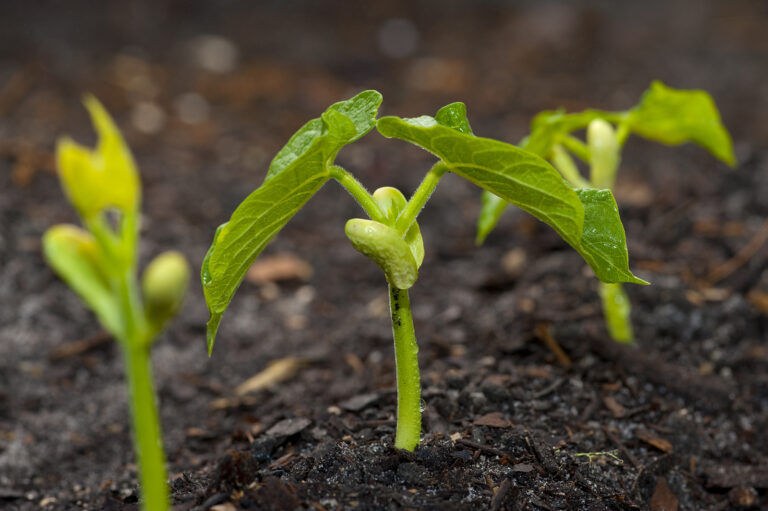
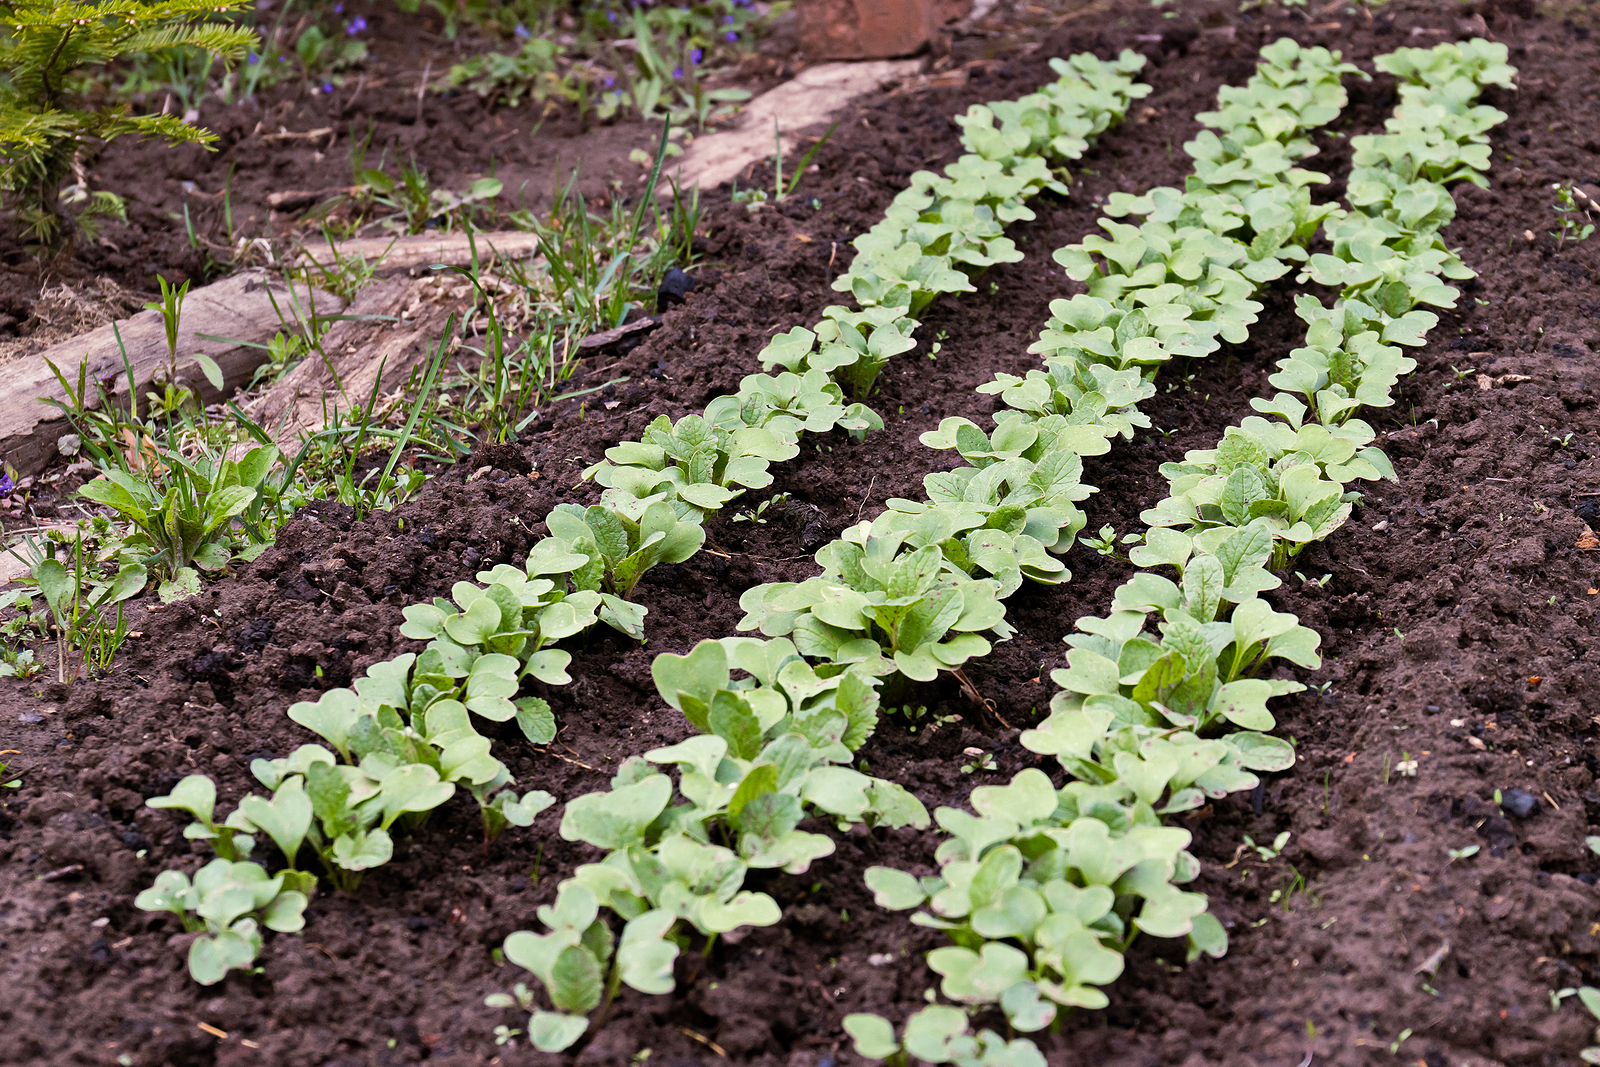
Thin vegetable seedlings to ensure the full, healthy growth of remaining plants. Crowded seedlings can become stunted and have an increased susceptibility to diseases and pests.
When to thin vegetable seedlings
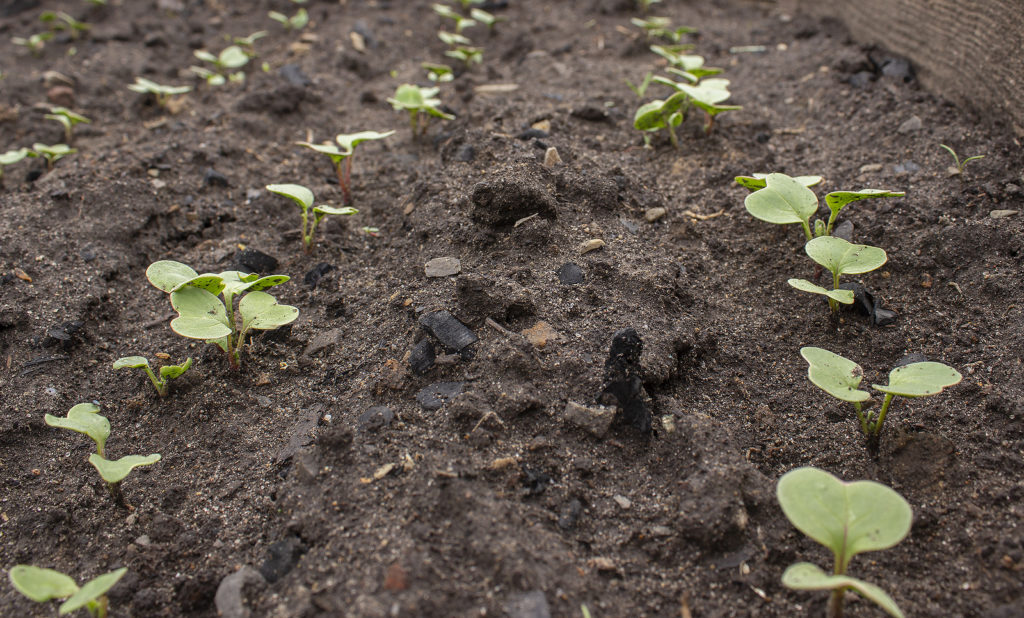
Begin thinning as soon as seedlings are large enough to handle. Snip or nip away seedling tops at ground level. The roots you leave behind will quickly decompose, adding nutrients to the soil.
Thin seedlings in the cool of the day or an hour or so after they have been watered; the seedlings will be plump with moisture.
How to thin seedlings
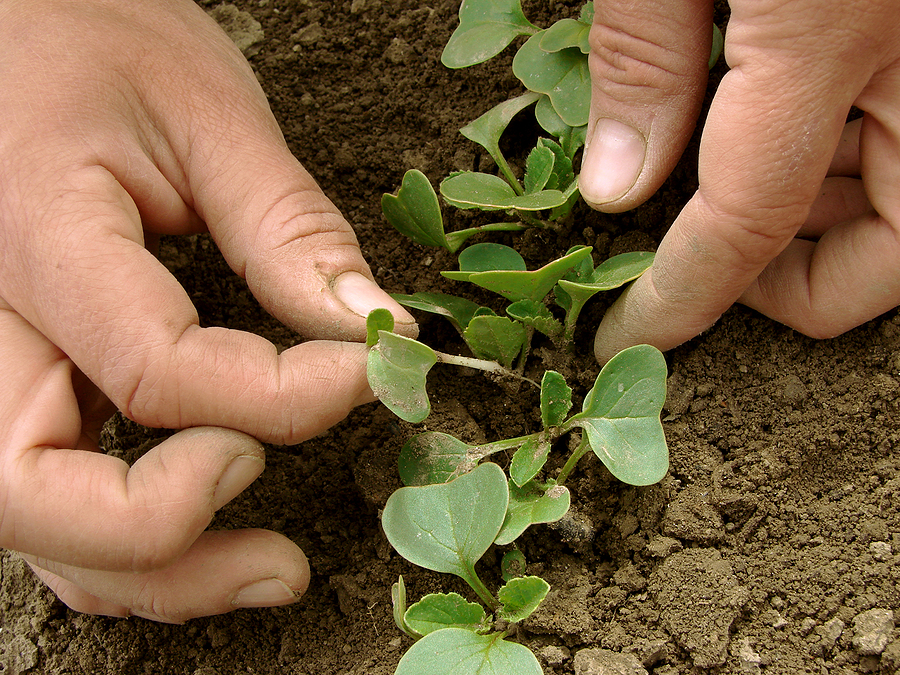
To thin seedlings use garden scissors to snip off the top of the weakest or most closely crowded. An alternative is to nip off seedlings using your fingernails. Snip seedlings at the soil level.
Snipping away seedling tops rather than pulling them up root and all will leave the remaining seedlings to root fully and grow strong. The objective of thinning is to leave the remaining seedlings undisturbed.
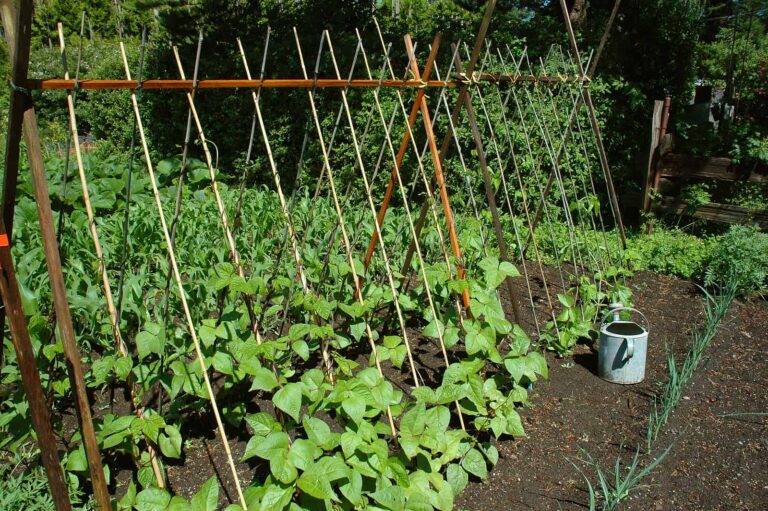
Remove intermediate seedlings first. When thinning, keep in mind the space each plant will need to spread and grow to maturity. You may need to thin the seedlings of seed broadcast across a planting bed more than once.
Gently firm the soil around the remaining seedlings.
Remove thinnings from the garden; bury them in the compost pile or place them in the trash. The smell of thinnings can attract the plant’s pests to the remaining seedlings.
How to avoid thinning seedlings
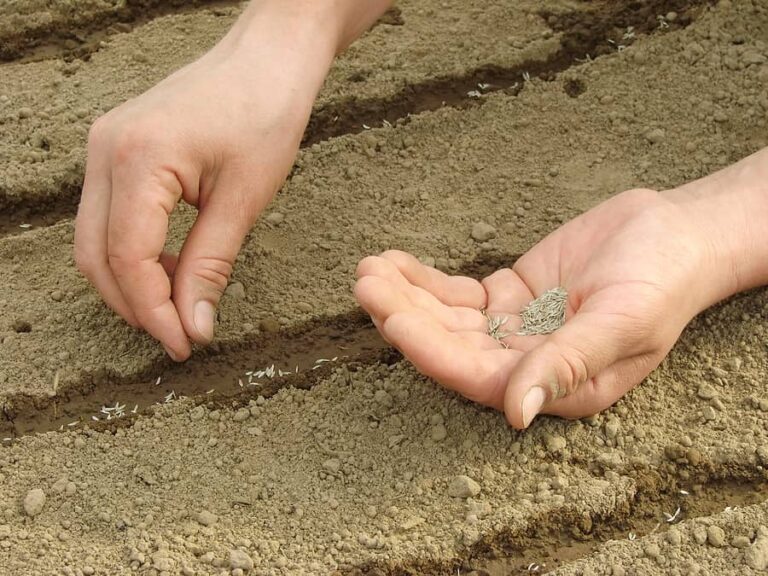
To avoid thinning, sow seeds evenly, seed by seed. This can be difficult to do with very small seeds like carrots, lettuce, radishes, and beets. For very tiny seeds, you can spend more to get pelleted seeds (seeds coated with an inert material) or seed tape (seeds embedded into soluble tape) which are prepared specifically for easy sowing. An alternative is to mix tiny seeds with fine, washed sand and sow using a salt shaker or seeder.
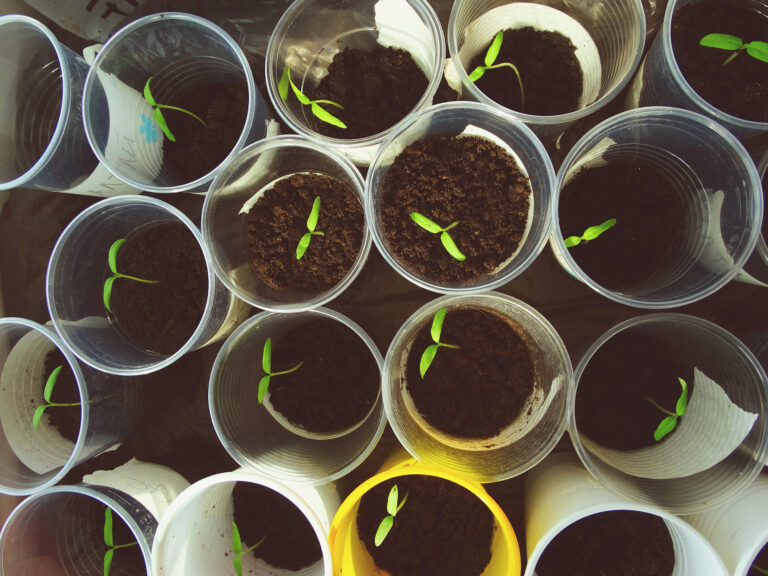
Transplanting seedlings
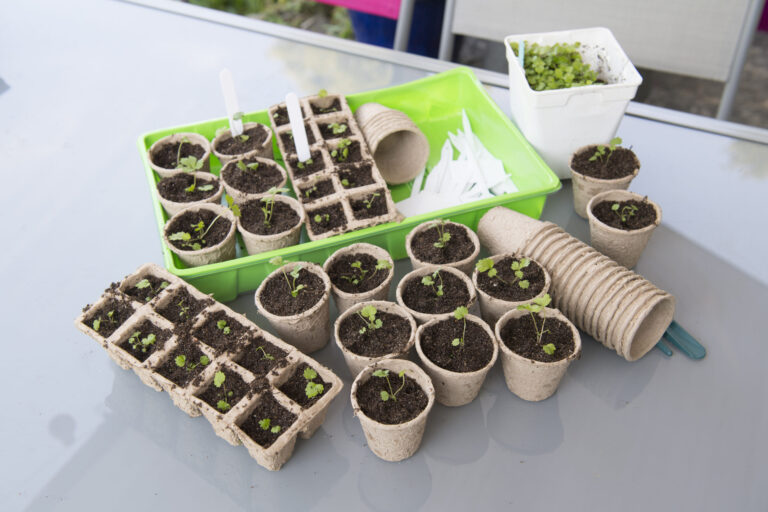
If you don’t want to sacrifice seedlings, you can reduce seedling crowding by lifting and repotting seedlings once they have developed a second set of true leaves—usually two to three weeks after germination. Gently lift each seedling using a toothpick or pencil teasing the roots free. Lift seedlings by a leaf to avoid crushing the stems.
Support the seedling and its root ball until you set them into the new container. Firm soil around the transplant and water it in place to grow on. Be sure to firm the soil around the seedlings left in the seedbed.
Seed Starting & Propagation Learning Hub
Start here — Seed Starting Basics: A Complete Beginner-to-Advanced Guide for Indoor and Outdoor Seed Starting
Seed Starting Fundamentals
- Seed Starting Guide
- Starting Plants from Seed
- Vegetable Seed Starting Indoors and Out
- How to Start Seeds Indoors Step-by-Step
- Starting Vegetables Indoors: 15 Varieties for Success
- Vegetable Seed Germination
- How to Read a Seed Packet
Planning & Timing
- Seed Starting Calendar: When to Start Seeds Indoors and Outdoors
- Spring Outdoor Seed Sowing Schedule
- Seed Catalog Guide: How to Choose the Best Seeds for Your Garden
- Vegetable Seed Buyer’s Guide
Seed Starting Tools, Supplies & Setup
- Essential Seed Starting Supplies
- Seed Starting Mix Buyer’s Guide
- How to Make Your Own Seed Starting Mix
- Seed Starting Tray Buyer’s Guide
- Peat Pot Buyer’s Guide
- Seedling Heat Mat Buyer’s Guide
- Best Lights for Starting Seeds Indoors (and How to Use Them for Strong, Compact Seedlings)
- Lights to Grow Plants: Choose the Right Light
Seedling Care, Troubleshooting & Success Tips
- Troubleshooting Seed Starting Problems: Leggy Seedlings, Damping Off, Weak Growth, and More
- How to Avoid Leggy Seedlings When Starting Indoors Under Lights
- Seed and Seedling Failure Troubleshooting
- Vegetable Seedling Protection
- How to Thin Vegetable Seedlings
Related article:
Spring Outdoor Seed Sowing Schedule
Seed and Seedling Failure Troubleshooting
Garden Planning Books at Amazon:
- Vegetable Garden Almanac & Planner
- Kitchen Garden Grower’s Guide Vegetable Encyclopedia
- Vegetable Garden Grower’s Guide
- Tomato Grower’s Answer Book