How to Can Green Snap Beans for Beginners
Snap beans, also known as green beans or string beans, are a versatile and nutritious vegetable that can be preserved through canning to enjoy year-round. If you’re new to canning, this guide will walk you through the basics of safely and effectively canning snap beans at home. Let’s get started!
Why Can Snap Beans?
Canning is an excellent way to preserve your snap beans while maintaining their flavor and nutritional value. Whether you have an abundant harvest from your garden or a great deal at the farmer’s market, canning ensures that you can enjoy fresh-tasting beans long after the growing season has ended.
What You’ll Need
Before you start, gather the necessary supplies and ingredients:
Equipment:
- Pressure canner (snap beans are a low-acid food and require pressure canning for safety)
- Mason jars (pint or quart size)
- Lids and bands (new lids are required; bands can be reused)
- Jar lifter
- Funnel
- Bubble remover or spatula
- Clean towels
- Large pot for boiling water
Ingredients:
- Fresh snap beans (about 1 pound per pint jar or 2 pounds per quart jar)
- Non-iodized salt (optional, for flavor)
- Water (for blanching and canning)
Step 1: Preparing the Snap Beans
- Select Fresh Beans: Choose crisp, tender snap beans without blemishes or signs of spoilage.
- Wash and Trim: Rinse the beans thoroughly under running water. Trim off the ends and cut the beans into your preferred size (usually 1- to 2-inch pieces).
Step 2: Preparing the Jars
- Clean the Jars: Wash the jars, lids, and bands with hot soapy water. Rinse well.
- Sterilize the Jars: Place the jars in boiling water for 10 minutes or run them through a dishwasher on the sterilize cycle.
- Keep Warm: Leave the jars in hot water until you’re ready to fill them to prevent cracking when adding hot food.
Step 3: Filling the Jars
- Blanch the Beans: Blanch the snap beans in boiling water for 3 minutes, then drain. This step helps preserve color and texture.
- Pack the Jars: Using a funnel, tightly pack the blanched beans into the jars, leaving 1 inch of headspace at the top.
- Add Salt (Optional): If desired, add ½ teaspoon of non-iodized salt per pint jar or 1 teaspoon per quart jar for flavor.
- Add Hot Water: Pour boiling water over the beans, maintaining the 1-inch headspace.
- Remove Air Bubbles: Use a bubble remover or spatula to release any trapped air. Add more water if necessary to maintain headspace.
- Wipe the Rims: Clean the jar rims with a damp towel to ensure a proper seal.
- Seal the Jars: Place the lids on the jars and secure them with the bands, tightening them to fingertip tightness.
Step 4: Pressure Canning
- Prepare the Canner: Add 2 to 3 inches of water to the pressure canner. Place the jars on the canner rack.
- Seal the Canner: Lock the lid in place according to the manufacturer’s instructions.
- Vent the Canner: Heat the canner until steam escapes steadily for 10 minutes. Then, close the vent.
- Process the Jars:
- Process pint jars for 20 minutes and quart jars for 25 minutes at the pressure recommended for your altitude (consult your canner’s manual or a trusted resource like the USDA guidelines).
- Cool the Canner: Turn off the heat and let the canner cool naturally until the pressure drops to zero. Do not force the lid open.
- Remove the Jars: Carefully lift the jars out with a jar lifter and place them on a towel to cool for 12 to 24 hours.
Step 5: Checking and Storing the Jars
- Check the Seals: Once the jars have cooled, press the center of each lid. It should not flex up and down. If a lid hasn’t sealed, refrigerate the jar and use it within a week.
- Label and Store: Label the jars with the date and contents. Store in a cool, dark place for up to 12 months.
Tips for Success
- Always follow tested canning recipes and guidelines to ensure safety.
- Do not skip the pressure canning step; boiling water baths are not sufficient for low-acid foods like snap beans.
- Inspect your pressure canner before use to ensure it’s functioning correctly.
Canning snap beans is a rewarding process that allows you to enjoy your harvest long after the season ends. With these simple steps, even beginners can preserve beans safely and confidently.
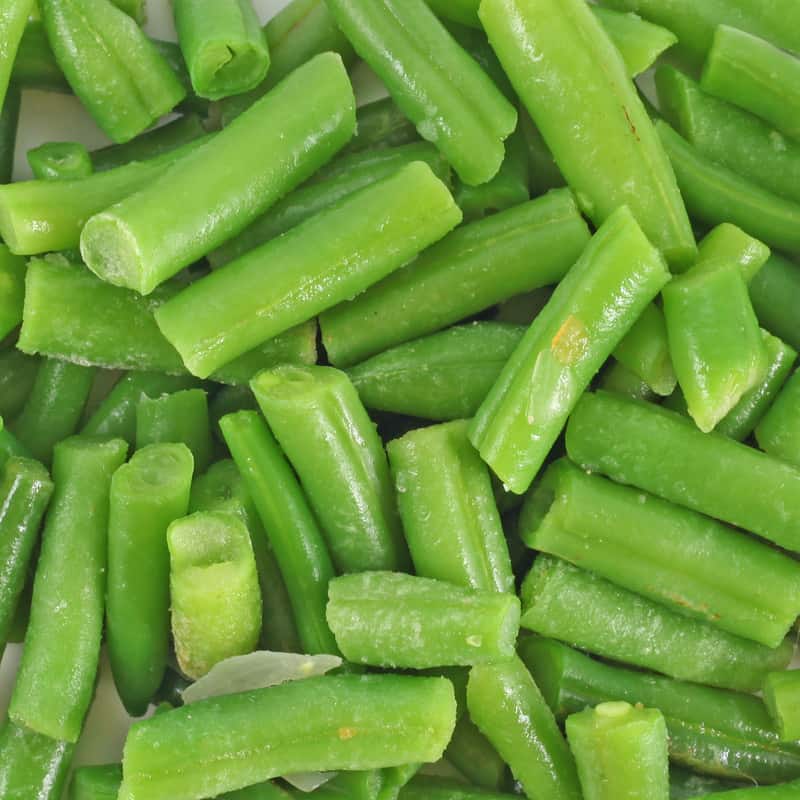
Green beans are easy to can. You pick them, quickly snap or cut them in half or short pieces, simmer them for four minutes or less, pack them in jars, and process them in the canner for less than half an hour.
Canned beans are delicious and versatile; they can be served as a side dish or included in a salad or casserole.
Select fresh green beans which are young, tender, smooth, and crisp. Beans should snap easily and be free of blemishes and spots. You want to avoid shriveled, discolored, or fibrous pods. The seeds of young beans will not be bulging through the pod; these will be the most tender—and flavorful.
The best practice is to can beans immediately after they have been picked, but beans will keep in the refrigerator for up to 3 days without losing too much crispness or flavor.
Canned Green Beans
Ingredients
- You will need about 1 to 1½ pounds of fresh picked beans for each quart jar.
Instructions
- Wash and heat the jars and scald the lids.
- Wash and rinse and the beans in several changes of cool water; lift the beans out of water and drain.
- Snap off the stems and tops (fresh beans will snap easily). You can leave the pointy end of the bean if you like—this gives a restaurant finish to whole beans. Most hybrid beans are now stringless, but remove the strings if present.
- There are several ways to prepare the beans for canning: (1) Simply leave the beans whole; (2) Snap the beans in half; (3) Cut or break the beans into uniform pieces, 1- to 2-inch pieces; (4) “French” cut the beans lengthwise on a diagonal.
- Prepare only enough beans for one canner load at a time.
- Pack whole or cut beans into jars either hot or raw. Hot pack: Blanch the beans in boiling water or broth for 1 to 4 minutes to wilt. For every 3 cups cut beans, bring 2 cups water to a boil. Remove the beans from the cooking water (reserve the cooking water). Fill hot jars with hot beans, shaking the jar to pack fairly tightly. (Optional: add ½ teaspoon salt to pint jars; add 1 teaspoon salt to quart jars.) Stand whole beans on ends or pack cut beans to the jar shoulder. Pour hot cooking liquid over beans, leaving 1 inch headspace. Raw pack: Fill jars with cut beans no longer than 1 inch. Shake the jars to pack fairly tightly. Pack the jars up to the jar shoulders. (Add salt as above if you like.) Cover the beans with hot water or broth, leaving 1 inch headspace.
- Run a thin non-metallic spatula utensil around the inside of the jar to allow air to escape. Press on beans to release trapped air.
- Wipe sealing edge of jars with a clean, damp, lint-free cloth. Position flat lids over the tops of jars and hand-tighten screw bands.
- Place jars on a rack in a pressure canner. Adjust the water level in the canner following manufacturer’s instructions and lock the lid. Adjust the heat to medium-high and bring the water to a boil. Leave the vent open until steam has escaped for 10 minutes. Then put weigh on the vent.
- Bring pressure to 10 pounds for altitudes of 1,000 feet or less. Maintain pressure to process pint jars for 20 minutes and quart jars for 25 minutes. Check you altitude and manufacturer’s instruction for variations.
- Turn off heat; let pressure return to zero. Once the gauge shows 0 pressure wait 2 minutes then unlock and remove the canner lid. Wait 10 minutes before lifting the hot jars from the canner and place them on a clean towel or rack. Do not re-tighten screw bands.
- Let the jars cool to room temperature. This may take from 12 to 24 hours. Remove and store the screw bands and check the lids for a seal by pressing on the center of each lid. If the lid does not flex, you have a good vacuum seal.
- Wipe and label sealed jars. Store in a cool, dark place.
Related articles:
How to Plant and Grow Snap Beans
How to Harvest and Store Snap Beans
Bean Growing Problems: Troubleshooting
Five Ways to Quick Cook and Serve Snap Beans
How to Can Green Snap Beans for Beginners
Cooking and Serving Yard-Long Beans
How to Grow Chickpeas and Garbanzo Beans

