Beginner’s Guide to Canning Peppers
Can sweet bell peppers and chile peppers—which can be sweet or hot–preserve your summer harvest? Can peppers after deciding if you want to preserve sweet or heat or a combination of the two?
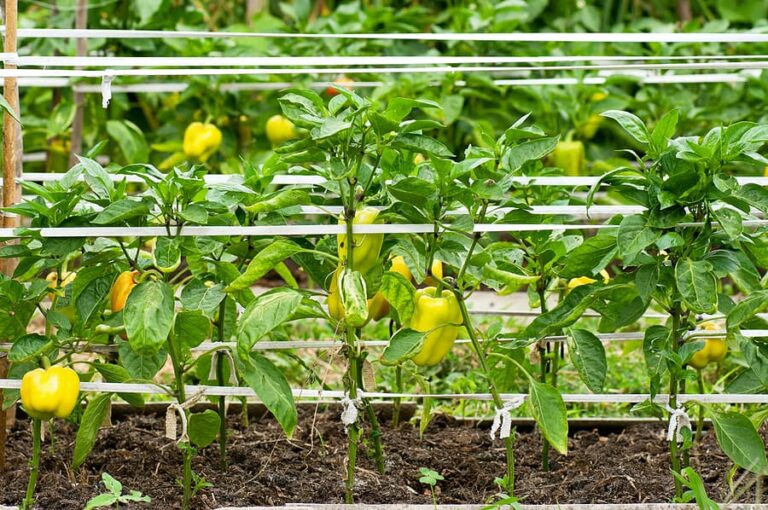
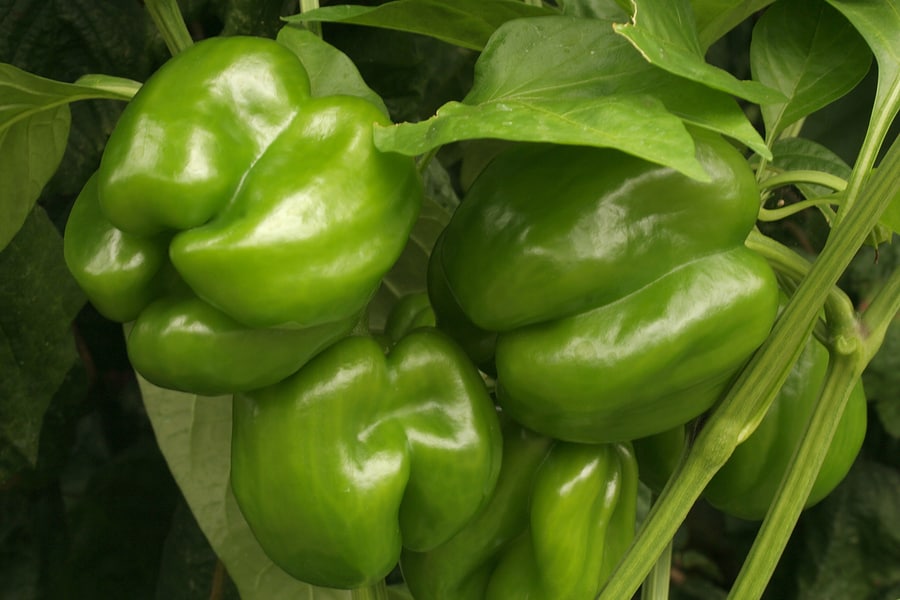
Sweet green, yellow, orange, or red bell peppers are large and thick-fleshed. They have a sweet, crisp flavor.
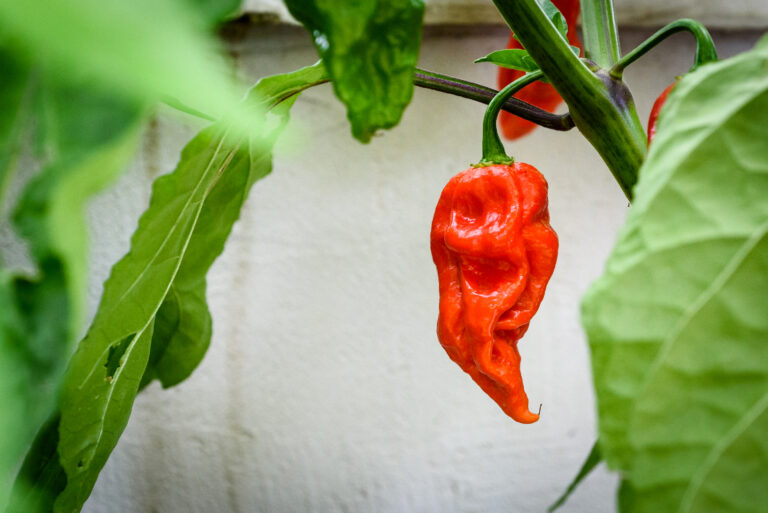
Chile peppers—such as Anaheim, yellow banana, Hungarian, or jalapeño–are rated by their degree of heat, which is determined by the amount of capsaicin they contain. Chile peppers can range in heat from mild to blistering hot.
You will need 2 to 3 pounds of peppers to yield 1 quart of canned peppers (that’s about 8 large banana chile peppers).
How to can sweet and chile peppers
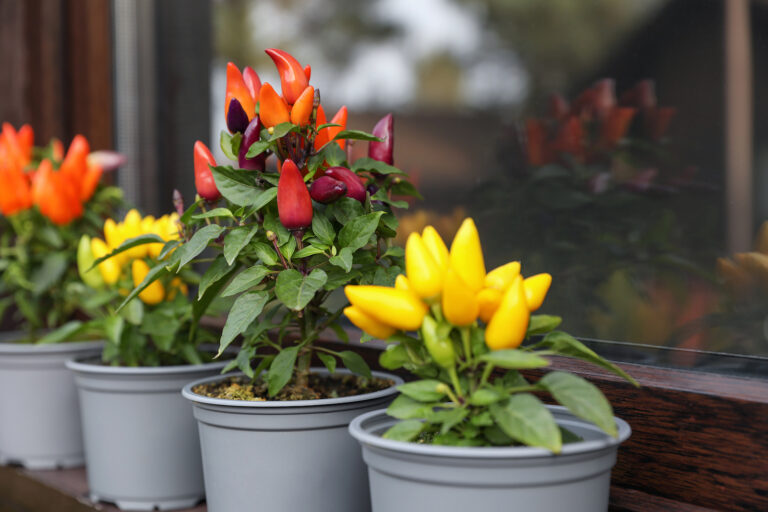
1. Choose peppers that are firm with clear, bright skin. Do not use soft, bruised, or diseased peppers. Most bell peppers mature green to yellow to orange to red; some hybrids mature yellow, orange, purple, or chocolate
If you choose hot peppers wear plastic gloves while preparing them or wash your hands thoroughly with soap and water after handling hot peppers. Avoid touching your face after handling hot peppers. (Chile peppers such as jalapeños contain oils that can burn skin and eyes.)
2. Wash the peppers under running water. Cut out the stem end of each pepper and remove the core, seeds, and membranes. (The white pith or membranes of chili peppers contain the greatest amount of heat-producing capsaicin; be very careful not to touch your face.)
3. Quarter or halve large peppers. Small peppers can be left whole if you like. Hot chile peppers can be sliced into rings.
4. Prepare to remove the skins of the peppers by blistering or scorching the peppers: Place the quartered or halved peppers cut sides down in a shallow pan or on a baking sheet lined with foil in a hot 400°F to 450°F oven or broiler until the skins blister or are slightly scorched, about 6 to 8 minutes or perhaps longer. (You can also place the peppers on a wire mesh over a hot burner on a gas or electric stove to blister the skins.)
5. Allow the peppers to cool: place them in a pan and cover with a damp cloth or place them in a clean brown paper bag. (If you are in a hurry you can lunge the peppers into cold water.) After several minutes, the peppers will be cool enough to handle and peel. Use a paring knife to gently peel off the skins.
6. Pack the cooled peppers into sterilized jars; don’t pack them too tight. Pack the peppers up to the shoulder of the jar.
7. Add ½ teaspoon of salt to each pint jar, if desired. Add 1½ teaspoons processed lemon juice to pint jars. (Add 1 teaspoon salt and 1 tablespoon lemon juice to quarts.)
8. Pour fresh boiling water over the peppers leaving about ½ inch head space.
9. Wipe jar rims and adjust and apply the lids and ring bands. Seal.
10. Recommended process time:
Dial-gauge pressure canner: process pints or half-pints for 35 minutes at 11 pounds PSI 0-2000 feet altitude, 12 pounds 2001-4,000 feet altitude, 13 pounds 4,001-6,000 feet altitude.
Weighted-gauge pressure canner: process pints or half-pints for 35 minutes at 10 pounds PSI 0-1,000 feet altitude, 15 pounds above 1,000 feet altitude.
Once you turn off the heat, allow the pressure to return to zero for at least 2 minutes before opening the canner then wait 10 minutes to remove the jars from the canner. Let the jars cool to room temperature; this will take 12 to 24 hours.
11. Wipe and label the sealed jars and store them in a cool, dark place.
Pepper articles at Harvest to Table:
How to Grow Sweet Bell Peppers
How to Plant and Grow Hot Chili Peppers
Six Tips to Grow Peppers for Flavor
7 Tips for Growing Peppers in Pots
How to Harvest and Store Peppers
Five Ways to Cook and Serve Sweet Peppers
Five Ways to Cook and Serve Chili Peppers
Beginner’s Guide to Canning Peppers
Pepper Growing Problems Troubleshooting
Mid-Season Pepper Problems Cures
Epsom Salt, Milk, and Organic Fertilizers for Tomatoes and Peppers

