Seed Starting Basics: A Complete Beginner-to-Advanced Guide for Indoor and Outdoor Seed Starting
Starting vegetables from seed is one of the most rewarding and cost-effective ways to grow a productive garden. With the right timing, tools, and know-how, you can raise strong, healthy seedlings indoors or sow directly outdoors for vigorous plants all season long. After more than 30 years of starting seeds year-round in Sonoma Valley—indoors under lights, in raised beds, mounded beds, and containers—I’ve learned the essential steps that guarantee success.
This guide is the foundation of the entire Seed Starting Learning Hub (see all of the Hub posts listed below). Whether you’re new to gardening or looking to sharpen your skills, start here.
Why Start Vegetables from Seed?
Starting from seed gives you:
- More variety: Hundreds of options you won’t find as transplants.
- Healthier plants: You control soil, temperature, light, and spacing.
- Earlier harvests: Start cool-season crops early indoors and transplant.
- Cost savings: A packet of seeds goes much further than nursery starts.
And perhaps most importantly: you gain a deeper understanding of how plants grow.
Seed Starting Indoors: When and Why to Use This Method
Indoor seed starting is ideal when you need a head start on the season—or when weather is too cold for direct sowing.
After decades of starting seedlings indoors for spring planting, here are the crops I consistently begin under lights:
Best Vegetables to Start Indoors
- Tomatoes
- Peppers
- Eggplants
- Basil
- Broccoli
- Cauliflower
- Cabbage
- Kale
- Lettuce
- Onions (from seed)
- Herbs (most)
Warm-season crops need heat to germinate and time to mature. Cool-season crops benefit from early indoor growth so they’re ready to transplant as soon as the soil can be worked.
What You Need for Indoor Success
From my experience, these essentials make the biggest difference:
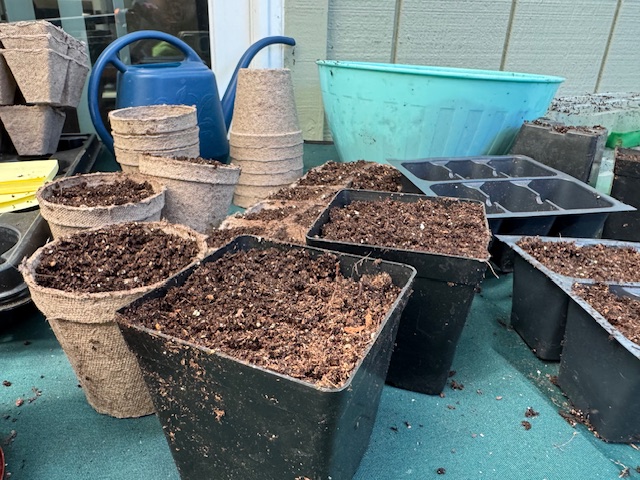
- Seed starting mix — fine-textured, sterile, moisture-retentive.
- Cell trays or pots — with good drainage and bottom-watering capability.
- Grow lights — kept 2–4 inches above seedlings to prevent legginess.
- Heat mat (optional) — speeds germination for warm-season crops.
- Humidity dome — for germination, removed once seedlings emerge.
- Consistent moisture — moist, never soggy.
My Indoor Seed Starting Method
- Fill trays with moist seed-starting mix.
- Sow seeds at the recommended depth (usually 2–3 times the seed’s diameter).
- Cover lightly and mist.
- Place trays on a heat mat until germination for warm crops.
- Move under lights immediately when sprouts appear.
- Keep lights close and run them 14–16 hours per day.
- Bottom-water to avoid damping-off disease.
- Thin seedlings to the strongest plant once true leaves appear.
After 30+ years, this method consistently produces sturdy, compact seedlings ready for transplanting.
Seed Starting Outdoors: When and Why to Direct Sow
Outdoor seed starting—direct sowing—means planting seeds right where they will grow. Many vegetables resent transplanting or simply grow better when started outdoors in native soil.
Best Vegetables to Direct Sow Outdoors
In my Sonoma garden, I always direct sow:
- Beans
- Peas
- Corn
- Cucumbers
- Melons
- Squash (summer and winter)
- Beets
- Carrots
- Radishes
- Turnips
- Spinach
- Swiss chard
- Arugula
- Cilantro and dill
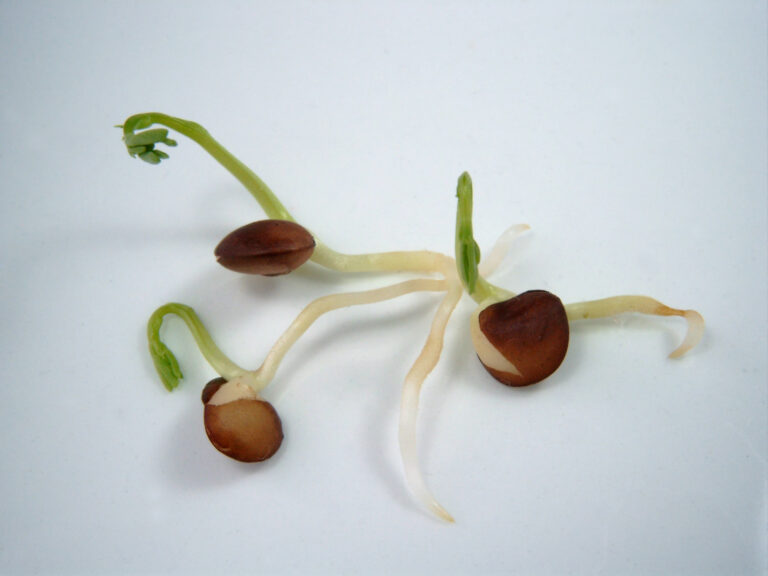
Direct sowing avoids transplant shock and lets these crops establish strong taproots.
Outdoor Sowing Essentials
Through years of practice, these steps ensure reliable germination:
- Prepare the soil well — loose, crumbly, and free of clods or crusting.
- Rake smooth and water the bed before planting.
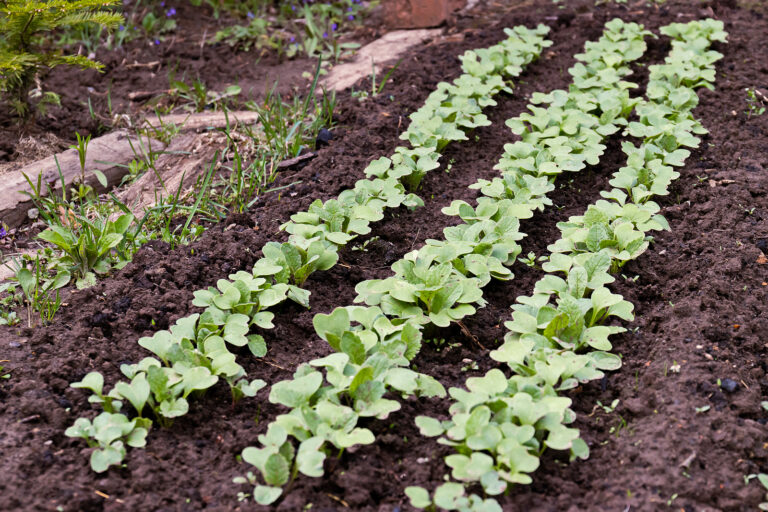
- Mark rows or furrows to keep sowing even.
- Sow seeds at the correct depth for fast, even germination.
- Keep soil moist — a light mulch or row cover helps retain moisture.
- Use shade cloth during hot spells to protect emerging seedlings.
- Protect from birds and critters with row covers when needed.
My Outdoor Starting Tip
In Sonoma’s dry summers, I often lay a wooden board or shingle over freshly seeded rows for 2–4 days. This prevents crusting and keeps the soil moist. As soon as I see germination, I remove the board.
Should You Start Seeds Indoors or Outdoors?
Use this quick decision guide:
Start Indoors If:
- The crop needs a long growing season
- The weather is too cold for germination
- You want extra-early harvests
- You need precise temperature and moisture control
Direct Sow Outdoors If:
- The crop grows a taproot
- It dislikes root disturbance
- Soil warms early in your climate
- The crop germinates quickly (radishes, beans, greens)
When in doubt: look at the seed packet’s “indoors/outdoors” recommendations and match them to your climate and frost dates.
Timing: The Critical Key to Seed Starting Success
Starting seeds too early leads to weak, leggy seedlings. Starting too late delays your harvest.
For accuracy:
- Know your last spring frost date.
- Know your first fall frost date.
- Work backward using your seed packet’s recommendations.
I’ve created a complete Seed Starting Calendar to help with timing—linked from this Hub.
Caring for Seedlings: Light, Water, and Airflow
Strong seedlings depend on consistent care.
Light
- Keep lights 2–4 inches above seedlings.
- Run them 14–16 hours per day.
Water
- Bottom-water to reduce disease risk.
- Keep soil evenly moist, not saturated.
Airflow
- Use a small fan to strengthen stems.
- Remove humidity domes after germination.
Good airflow has prevented countless damping-off cases in my own greenhouse.
Troubleshooting: Avoiding Common Seed Starting Problems
Leggy Seedlings
Cause: insufficient light, too much heat, or overcrowding.
Fix: lower lights, reduce temperature, space seedlings.
Damping-Off
Cause: overwatering, poor airflow, contaminated soil.
Fix: bottom-water, improve ventilation, use sterile mix.
Slow or Uneven Germination
Cause: incorrect temperature or planting depth.
Fix: use a heat mat for warm-season crops; recheck depth.
Seedling Collapse or Wilting
Cause: underwatering or overwatering.
Fix: consistent moisture; check drainage.
My Seed Starting Philosophy
After starting thousands of seeds every year in my Sonoma Valley garden, my core belief is this:
Seed starting is simple when you understand what the seed needs.
Warmth → Moisture → Light → Airflow.
Give each in the right balance, and the seed will do the rest.
What to Read Next
To continue your seed starting journey, explore these guides from the Seed Starting Learning Hub:
- Essential Seed Starting Supplies
- Seed Starting Mix Buyer’s Guide
- Seed Starting Calendar: When to Start Seeds Indoors and Outdoors
- Vegetable Seed Starting Indoors and Out
- How to Avoid Leggy Seedlings Indoors Under Lights
- Troubleshooting Seed Starting Problems
Seed Starting & Propagation Learning Hub
Start here — Seed Starting Basics: A Complete Beginner-to-Advanced Guide for Indoor and Outdoor Seed Starting
Seed Starting Fundamentals
- Seed Starting Guide
- Starting Plants from Seed
- Vegetable Seed Starting Indoors and Out
- How to Start Seeds Indoors Step-by-Step
- Starting Vegetables Indoors: 15 Varieties for Success
- Vegetable Seed Germination
- How to Read a Seed Packet
Planning & Timing
- Seed Starting Calendar: When to Start Seeds Indoors and Outdoors
- Spring Outdoor Seed Sowing Schedule
- Seed Catalog Guide: How to Choose the Best Seeds for Your Garden
- Vegetable Seed Buyer’s Guide
Seed Starting Tools, Supplies & Setup
- Essential Seed Starting Supplies
- Seed Starting Mix Buyer’s Guide
- How to Make Your Own Seed Starting Mix
- Seed Starting Tray Buyer’s Guide
- Peat Pot Buyer’s Guide
- Seedling Heat Mat Buyer’s Guide
- Best Lights for Starting Seeds Indoors (and How to Use Them for Strong, Compact Seedlings)
- Lights to Grow Plants: Choose the Right Light
Seedling Care, Troubleshooting & Success Tips