How to Start Artichokes From Seed: Indoor Sowing, Transplanting, and Timing
Starting artichokes from seed is easier than most gardeners think—and it gives you access to more varieties, stronger plants, and earlier harvests. After growing artichokes for decades in my year-round Sonoma garden, I’ve learned that success comes down to three essentials: early indoor sowing, strong transplant preparation, and good timing based on your climate.
This guide walks you step-by-step through the process, with practical insights based on long experience growing artichokes in raised beds and wide rows.
Why Start Artichokes From Seed?
While many gardeners rely on nursery plants, growing from seed offers several advantages:
- Better variety selection (Green Globe is reliable; Imperial Star and Tavor are excellent for one-season production)
- Stronger, better-rooted plants
- Cost savings for multiple plants
- Earlier production when started indoors
In my own garden, seed-started artichokes consistently settle in more quickly and produce earlier than purchased starts.
Indoor Sowing: When and How to Start Artichokes From Seed
Best Time to Start Seeds Indoors
Artichokes need a long head start.
- Start seeds 8–12 weeks before your last frost date.
In Sonoma Valley, I begin them indoors in late January to mid-February.
Seed Starting Setup
You don’t need anything fancy—just:
- A seed tray or 3–4 inch pots
- Sterile seed-starting mix
- Bottom heat (a heat mat helps germination)
- Bright light (a sunny window or grow lights)
Sowing Depth and Conditions
- Sow seeds ¼ inch deep.
- Keep soil at 70–80°F for best germination.
- Germination takes 7–14 days.
After sprouting, move seedlings to bright light and keep soil evenly moist—but never soggy.
Growing Strong Seedlings
To ensure sturdy artichoke transplants:
- Thin to one seedling per pot
- Brush your hand over seedlings daily or use a small fan for airflow
- Water deeply but infrequently
- Fertilize lightly with diluted organic fish or kelp once seedlings have 2–3 true leaves
Preparing Seedlings for the Outdoors
Hardening Off
Artichokes need time to adjust before planting outside.
- Begin hardening off 10–14 days before transplanting.
- Start with 2 hours outdoors in filtered light and gradually increase exposure.
Hardening prevents sunburn, wind stress, and transplant shock—common issues I see when gardeners rush the process.
Transplanting Artichokes Outdoors
Ideal Planting Window
Artichokes love cool weather to get established.
- Transplant 2–4 weeks before your last frost if spring weather is mild.
- In mild-winter climates like Sonoma Valley, you can transplant as early as late February.
Choosing the Right Site
Artichokes need:
- Full sun (6+ hours)
- Deep, loose, fertile soil
- Excellent drainage
- Plenty of space
Plant crowns high to avoid rot in wet soils.
Spacing
Give each plant room to grow:
- 3–4 feet apart in all directions.
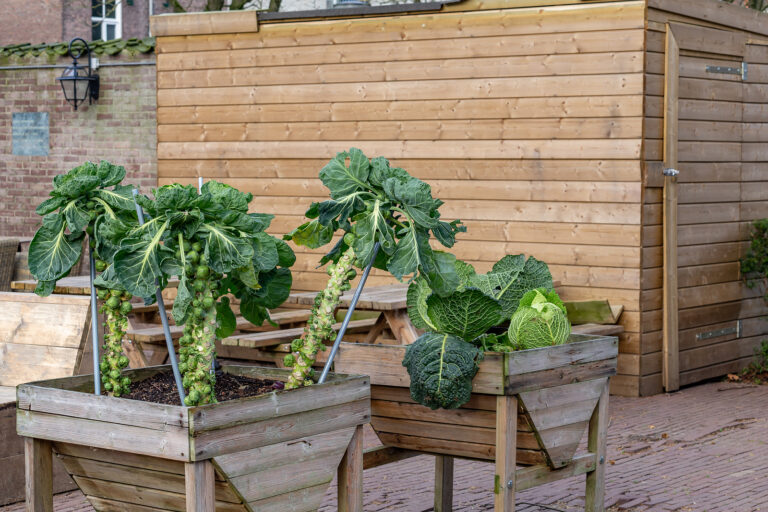
In my wide-row beds, artichokes become architectural centerpieces—tall, sculptural, and productive.
How to Plant
- Dig a hole twice the width of the pot.
- Mix compost into the top 6 inches of soil.
- Plant at the same depth as the seedling pot.
- Water deeply after planting.
- Mulch immediately to conserve moisture and prevent weeds.
Timing Tips for Bigger, Earlier Artichokes
Timing is one of the most important factors when growing from seed. These guidelines come directly from years of trial and error in a mild-winter climate:
Cold Exposure Stimulates Earlier Buds
Artichokes produce earlier and more reliably if young plants experience two weeks of cool temperatures (40–50°F).
This “vernalization” signals the plants to bud in their first year.
Heat Slows Growth
Once temperatures regularly exceed 85°F, growth slows.
This is why early planting matters—plants must size up before summer heat.
Perennial vs. Annual Production
- In mild areas, artichokes behave like short-lived perennials.
- In cold climates, treat them as annuals and choose varieties bred for one-season production (Imperial Star, Tavor).
Watering, Feeding, and Care After Transplanting
Watering
Artichokes like consistent moisture:
- Deep watering 1–2 times per week is ideal.
- Mulching keeps the soil cool—a necessity in summer.
Feeding
Every spring and midsummer:
- Add 1–2 inches of compost around the base.
- Use fish emulsion or kelp every 3–4 weeks in the active growing season.
Pest Notes
Artichokes are remarkably trouble-free, though aphids and snails can appear.
Use strong sprays of water for aphids and hand-pick snails early in the season.
When to Expect Your First Harvest
With proper timing:
- Seed-grown artichokes can produce in their first year.
- Buds typically form in late spring to early summer.
Harvest when buds are tight and plump; once they begin to open, texture declines.
Final Thoughts
Starting artichokes from seed gives you stronger plants, earlier harvests, and varieties that local nurseries rarely carry. With the right timing and careful indoor preparation, artichokes reward you with heavy, beautiful buds and long-lived plants that become a staple of the regenerative garden.
Artichoke Learning Hub
Start here: How to Plant and Grow Artichokes: A Complete Guide – Full overview combining planting, care, and tips.
1. Planning and Varieties
- Best Artichoke Varieties for Home Gardeners – Choose the right variety for your climate and garden space.
- The Best Growing Conditions for Artichokes: Climate, Soil, and Sun Requirements – Understand the ideal environment for strong growth.
- The Best Companion Plants for Artichokes – Maximize productivity and garden health through smart plant pairings.
2. Starting Artichokes
- How to Start Artichokes From Seed: Indoor Sowing, Transplanting, and Timing – Begin your artichokes indoors for an early start.
- How to Plant Artichokes the Right Way: Soil Prep, Spacing, and Transplant Tips – Ensure proper planting for vigorous growth.
- When to Plant Artichokes in Your Garden: Cool-Season Timing for Every Climate – Align planting with seasonal windows.
- Artichoke Planting Calendar: Month-by-Month Guide – Reference for planting, care, and expected harvest times.
3. Care and Maintenance
- How to Water and Fertilize Artichokes for Big, Tender Buds – Ensure strong growth and large, flavorful buds.
- Artichoke Care Throughout the Season: Pruning, Mulching, and Overwintering Tips – Seasonal care strategies for healthy plants.
- How to Overwinter Artichokes for Bigger Harvests Next Year – Protect crowns for larger next-season yields.
- How to Grow Artichokes in Containers: Soil Mix, Pot Size, and Seasonal Care – For gardeners with limited space.
- Artichokes Growing Problems: Troubleshooting – Identify and solve common issues for healthier plants.
4. Harvesting, Storing, and Cooking
- How to Harvest and Store Artichokes – Timing and methods for picking tender buds.
- How to Store and Preserve Artichokes: Refrigeration, Freezing – Extend freshness and flavor post-harvest.
- How to Cook and Serve Artichokes – Turn your harvest into delicious dishes.