Growing Swiss Chard in Containers: Seven Easy Steps
Growing vegetables in containers has become increasingly popular, especially for those who have limited space or want portability. Swiss chard, also known as silverbeet or spinach beet is a nutrient-packed leafy green that is easy to grow.
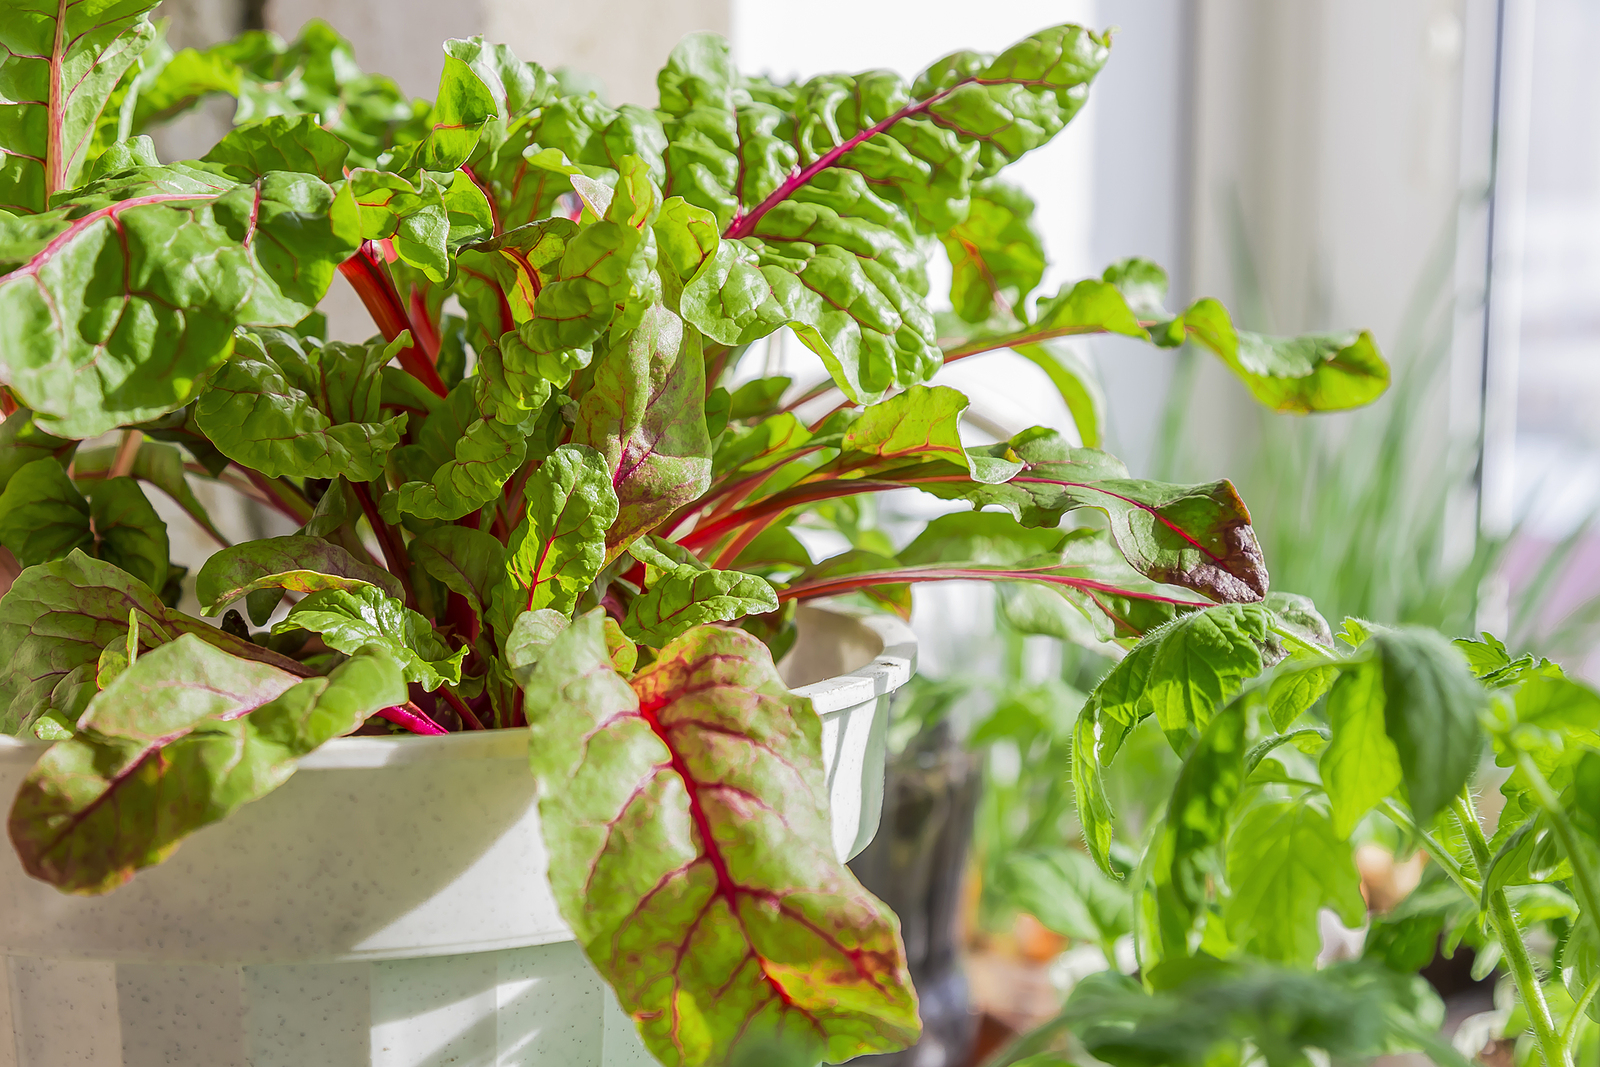
Swiss chard is an ideal vegetable to grow in containers because it has a shallow root system and grows well in a variety of growing conditions. Swiss chard is an ideal vegetable for growing on a small balcony, a small patio, or even in window pots or pots on a windowsill.
Swiss chard is a nutritious leafy green vegetable. So if you’re limited on space and looking to grow your own fresh greens—Swiss chard is a great choice.
Swiss chard grows to just 12 to 16 inches tall and perhaps half to three-quarters as wide. From seed, it’s ready for harvest in less than two months—45 to 55 days after sowing.
You can harvest Swiss chard all at once, or cut and come again—meaning you take just a leaf or two, whatever you need for a meal and then let the plant grow on until you want to harvest another leaf or two—in the meantime, the plant is growing new leaves. And, of course, you can harvest the entire plant all at once if you like.
Swiss chard can be eaten raw or cooked. You can use it in any way you would use spinach.
So, let’s take a look at how to grow Swiss chard in containers in seven easy steps.
Step #1: Choose a container
Firstly, you’ll need a pot. You can use plastic, terracotta, or ceramic pots. You can use wooden tubs or boxes or window boxes. You can use fabric grow bags.
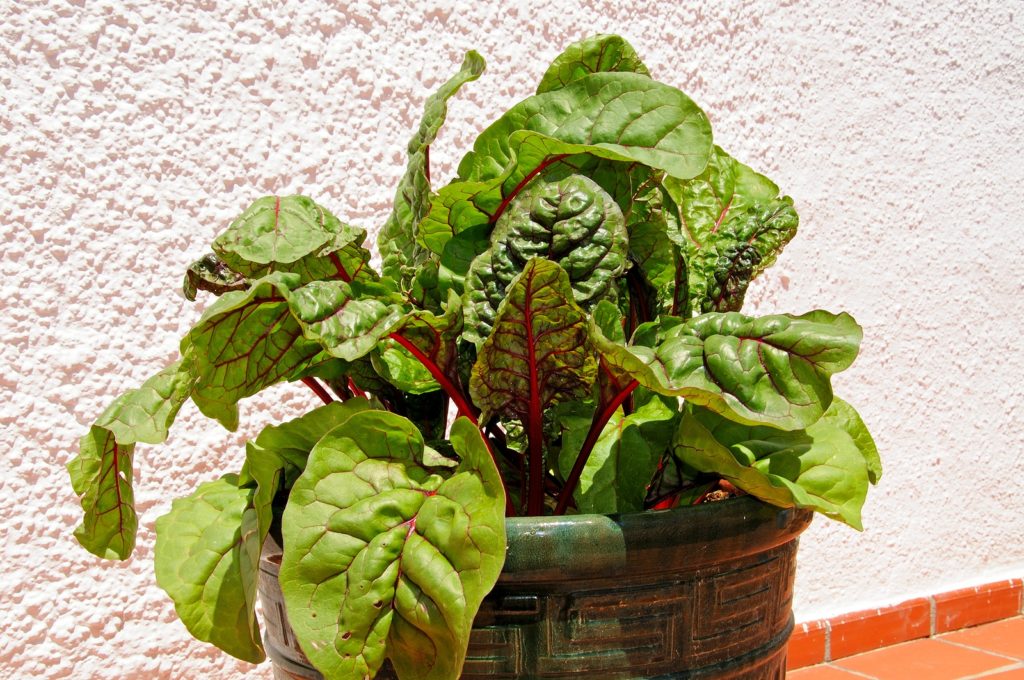
Swiss chard requires a container that is at least 12 inches deep and 12 inches wide—not large at all. Two pots of Swiss chard can keep you in chard for an entire season.
A 3 or 5-gallon nursery pot will work great for a single chard plant. A 10-gallon pot will allow you to grow two chard plants.
Growing Swiss chard in grow bags is a perfect solution for those who have limited garden space or live in areas with poor soil conditions. Grow bags are advantageous because they are lightweight, portable, and provide better drainage than traditional pots.
Whatever container you choose, you’ll want drainage holes in the bottom that allows excess water to escape and prevents root rot.
Step #2: Prepare the soil
Once you have your container, it’s time to fill it with a potting mix—leave about three inches of space from the top of the container. You want a potting mix that contains organic matter such as aged compost and worm castings, as well as vermiculite and perlite. A commercial potting soil formulated for vegetables is ideal. A commercial mix that includes a slow-release organic fertilizer means you won’t have to feed the plants through the growing season.
Of course, you can make your own potting mix with equal parts aged compost, pulverized topsoil, spent coffee grounds, worm castings, and perlite. Avoid using only soil from the garden; it will compact in a container and will hold more water than a potting mix.
Add potting mix to the container, about three inches from the top of the container. Once the soil is in the container, moisten it lightly with water. Place the container in a sunny location, a spot that gets 6 to 8 hours of direct sun each day/
Step #3: Select a Swiss chard variety to grow
Now, it’s time to select the variety of chard you want to grow. Here are four favorite Swiss chard varieties:
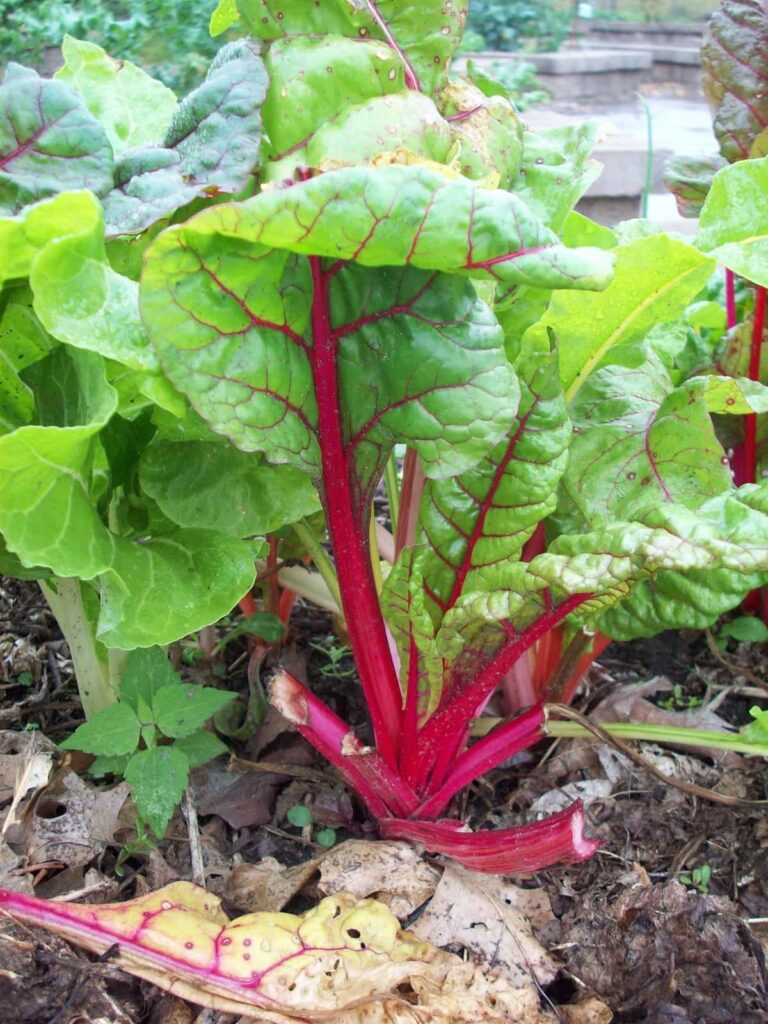
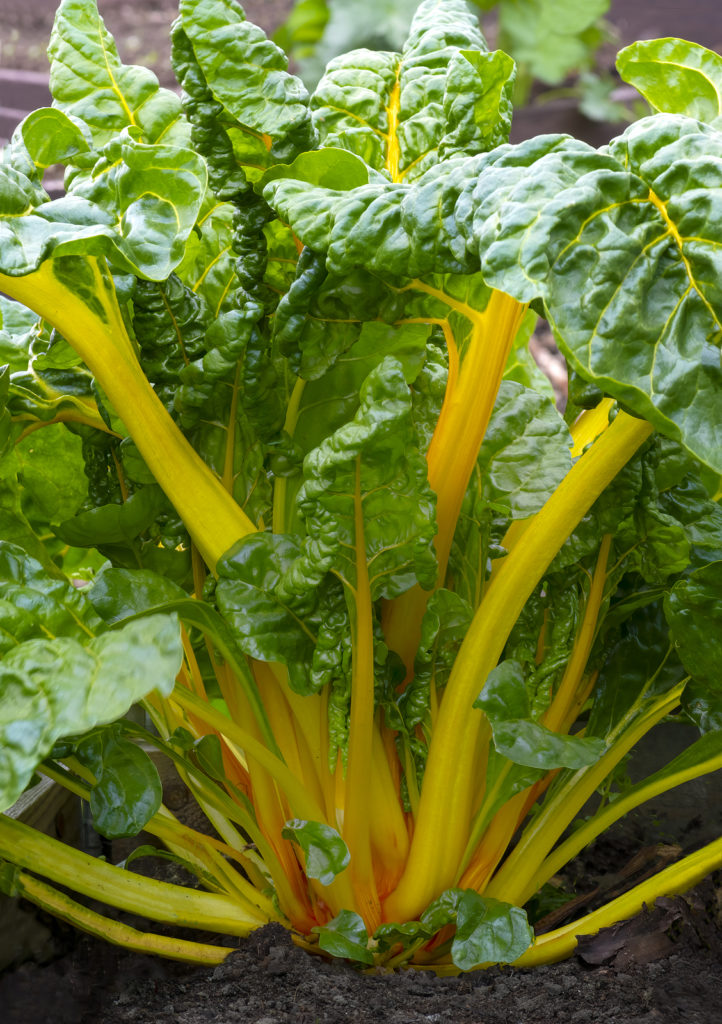
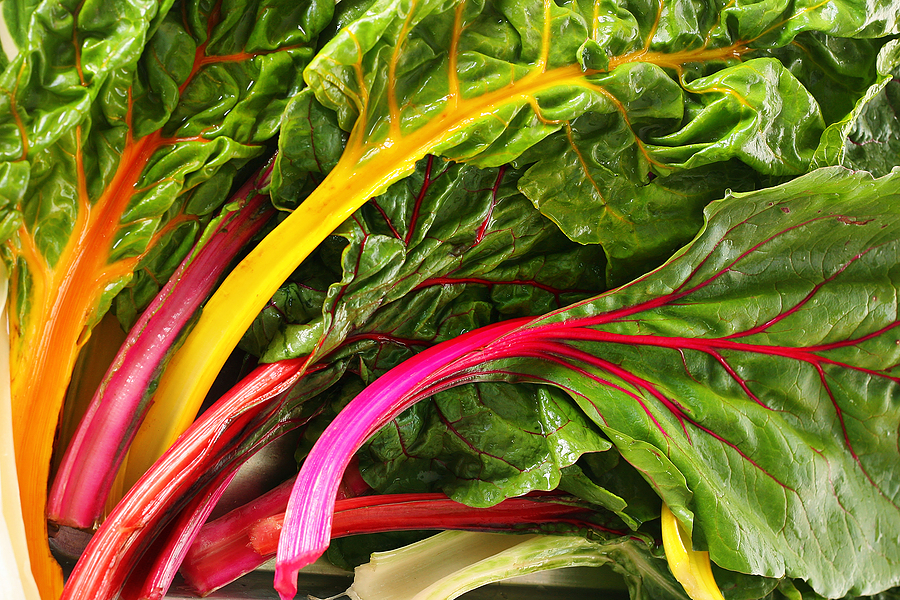
Rainbow Chard: Rainbow chard is a popular variety that is known for its colorful stems. The stems come in a range of colors, including yellow, pink, and red, which make a stunning addition to any patio, balcony, or garden. This variety is also rich in vitamins A, C, band K.
Fordhook Giant Chard: Fordhook Giant is a classic variety that is known for its large, crinkled leaves and thick white stems. This variety is a favorite of gardeners because it is easy to grow and has a milder flavor compared to other chard varieties. It is also an excellent source of vitamins A, C, and K.
Green Chard: Green chard is the original variety of Swiss chard and is a classic choice for gardeners. It has dark green leaves and white stems and has a more potent, strong flavor compared to other varieties. It is a rich source of vitamin K and is a great choice for those who want to add some extra nutrition to their meals.
Bright Lights Chard: Bright Lights is known for its colorful stems and leaves, which range from yellow and orange to pink and purple. It is a rich source of vitamins A, C, and K and is an excellent choice for those who want to add some color to their garden and diet.
Once you have selected the chard you want to grow it’s time for–
Step #4: Plant the Swiss chard
Sow Swiss chard seeds at a depth of about one inch. Sow two seeds in a container that is 12 inches wide and deep. Make a slight depression in the soil and sow the seed. Cover the seeds lightly with soil and lightly firm the soil with the palm of your hand. Water the seeds again and place the container in a sunny spot. Keep the soil moist by watering or spritzing the soil as needed, but be careful not to overwater.
In about 10-14 days, you’ll see the sprouts breaking through the soil, and from there, the chard leaves will develop quickly.
If you’re growing multiple plants, space the seeds or seedlings about 8 to 10 inches apart. This allows the roots to access water and nutrients effectively. Seedlings should be planted slightly deeper than their original containers.
Make sure not to grow multiple chard plants too close together, overcrowding plants can lead to disease and insect issues, so ensure that each plant has enough space to grow.
Growing from seed, you’ll want to thin the seedlings. Once the seedlings reach 1 to 2 inches tall, remove the weakest plant.
Step #5: Water, fertilize, and care for your plants
Swiss chard needs a sunny location to grow strong– a minimum of 6 hours per day, 8 hours is better.
Ensure that the soil remains consistently moist, but not waterlogged. Water whenever the soil feels dry to the touch. Each plant should have 8 to 12 inches in each direction to grow to maturity.
As the plants grow taller, adding more soil at the base of each plant provides support and prevents the plants from falling over.
To ensure your Swiss chard grows healthy and strong, it’s important to feed it the right fertilizer. Swiss chard is a heavy feeder. If your potting soil did not have an organic fertilizer, you should feed chard with a balanced fertilizer every 2 to 3 weeks. Select a good quality fertilizer that’s high in nitrogen. You can use a liquid or granular fertilizer and apply it in accordance with the manufacturer’s instructions.
Again, monitoring soil moisture when growing Swiss chard in containers. Swiss chard needs consistent watering to encourage healthy growth and prevent wilting. Check the soil moisture daily by sticking your finger into the soil up to the second knuckle. If the soil feels dry, water the plant thoroughly until water begins to drain from the bottom of the grow bag. Be sure to avoid overwatering as this can lead to root rot and other plant diseases.
Step #6: Harvest chard
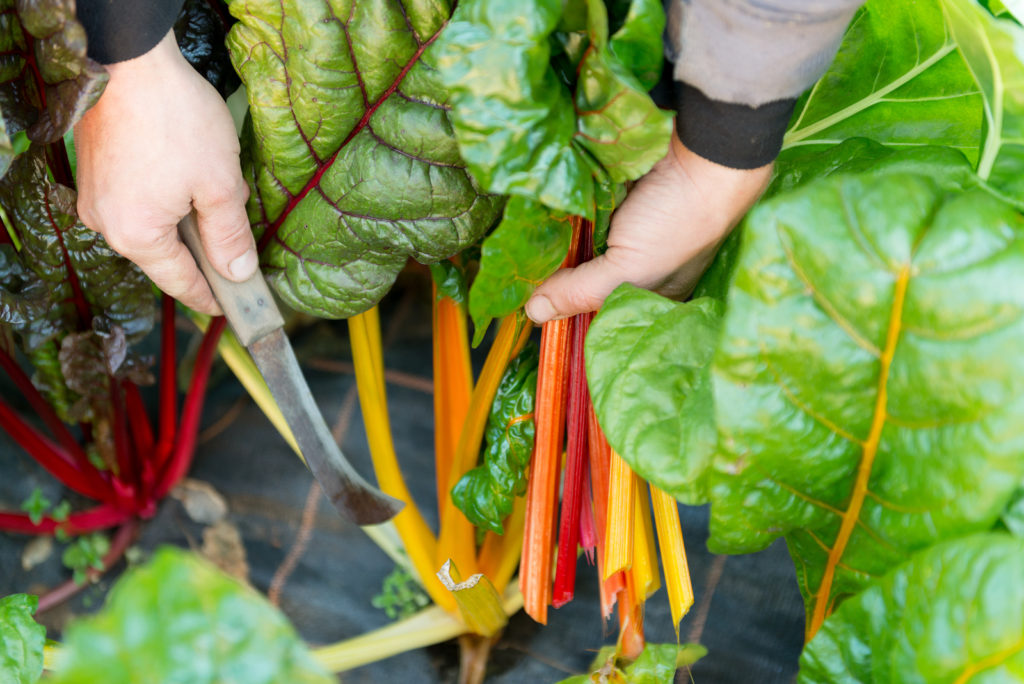
Harvest your Swiss chard when the leaves are mature, but not too large. Harvest the outer leaves of Swiss chard when they are around 6 to 8 inches long. This encourages the plant to produce new leaves and prolongs the growing season. To harvest the leaves, gently tug at the base of the leaf, pulling it away from the plant. Again, you can harvest just the leaves you need for a meal; this is called harvesting cut-and-come-again. Plants harvested cut and come again will produce new leaves through the season. One plant can be productive for all or most of the season.
Step #7: Swiss chard in the kitchen
Swiss chard is a versatile plant that can be used in a variety of recipes, from salads to sautés to soups. Because chard can be prepared in many ways, it is a favorite among home cooks and professional chefs alike.
Here are two tasty ways to prepare and cook Swiss chard.
Sauté Swiss chard
First, wash and dry the Swiss chard thoroughly. Remove the leaves from the stems and chop the stems into bite-sized pieces. Set the leaves aside for the moment.
To sauté Swiss chard, heat olive oil or butter in a skillet over medium heat. Add the chopped stems along with garlic and sauté for 3 to 5 minutes or until the chard stems become slightly tender. Then add the chard leaves to the skillet and cook for another 2 to 3 minutes or until the leaves are wilted. Sprinkle with salt and pepper to taste.
Roast Swiss chard
Another great way to prepare Swiss chard is by roasting it. Preheat the oven to 400 degrees F. Spread the chopped chard stems on a baking sheet and drizzle with olive oil. Roast for 10 to 15 minutes or until the stems are tender. Add the chard leaves to the baking sheet and roast for an additional 3 to 5 minutes or until the leaves are crispy. Season with salt and pepper to taste.
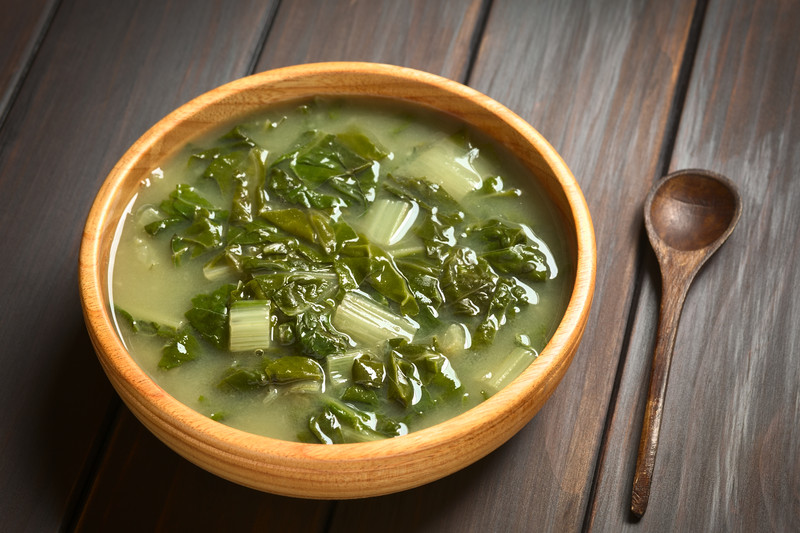
Swiss chard can also be used in soups and stews. Simply chop the leaves and stems and add them to your favorite soup or stew recipe for added nutrition and flavor.
Whether you choose to sauté Swiss chard, roast it, or add it to a soup or stew, Swiss chard is a versatile and healthy addition to any dish.
🌿 Swiss Chard Learning Hub
Start here: The Ultimate Chard Growing Guide: From Seed to Harvest
✅ Planting & Seasonal Timing
- Swiss Chard Seed Starting Tips
- How to Grow Swiss Chard Year-Round in Mild Climates
- When to Plant Swiss Chard for Spring, Summer, and Fall Harvests
- Succession Planting Swiss Chard for Continuous Harvests
- Growing Swiss Chard in Containers
✅ Growing Techniques
✅ Care & Maintenance
- Watering Swiss Chard: How Much and How Often
- Why Is My Swiss Chard Wilting? Common Growing Problems and Fixes
- How to Keep Swiss Chard From Getting Bitter
✅ Pests & Diseases
✅ Harvesting & Use
- How to Harvest and Store Swiss Chard
- Five Ways to Cook Swiss Chard
- How to Harvest Swiss Chard So It Keeps Growing
✅ Varieties & Selection
- Best Swiss Chard Varieties for Colorful Garden Beds
- Top Swiss Chard Varieties for Small-Space Gardens and Containers
✅ Companion Planting & Rotation
- What to Plant With Swiss Chard (And What to Avoid)
- Crop Rotation Tips for Swiss Chard: What to Plant Before and After
Swiss chard articles at Harvest to Table:
How to Plant and Grow Swiss Chard
Swiss Chard Seed Starting Tips
Growing Swiss Chard in Containers
How to Harvest and Store Swiss Chard
Five Ways to Cook and Serve Swiss Chard
Beets and Swiss Chard Growing Problems Troubleshooting
Garden Planning Books at Amazon:

