Growing Chickpeas in Raised Beds
Chickpeas thrive in well-drained soil, making raised beds an ideal option for home gardeners. After decades of growing legumes in raised beds, wide-row plots, and Mediterranean-style gardens, I’ve found that proper soil preparation, spacing, and care dramatically improve yields and plant health. Raised beds warm faster in spring, improve drainage, and reduce soil compaction—all critical for chickpeas. This guide shares experience-backed strategies to grow productive, healthy chickpea crops in raised beds.
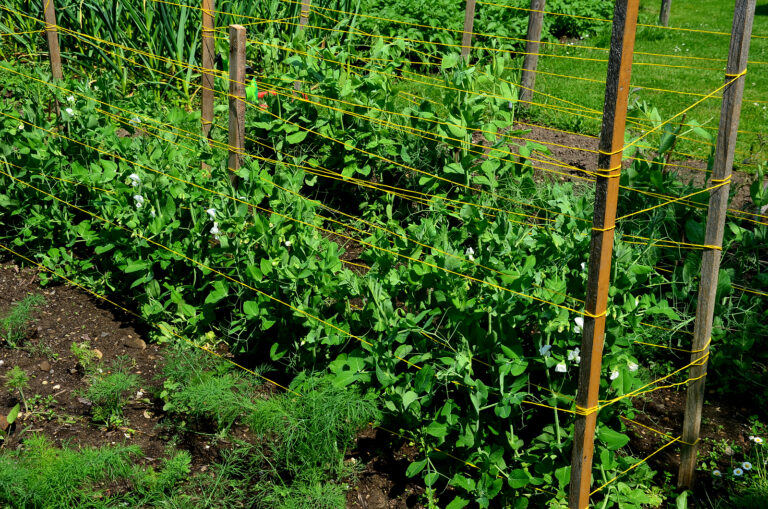
Why Raised Beds Are Ideal for Chickpeas
- Better Drainage: Chickpeas dislike waterlogged soil. Raised beds allow excess water to drain quickly.
- Warmer Soil: Beds warm earlier in spring, enabling earlier planting and faster germination.
- Reduced Compaction: Loose soil promotes deep taproot development and better nutrient uptake.
- Ease of Maintenance: Weeding, harvesting, and pest monitoring are simpler in elevated beds.
Preparing Your Raised Bed for Chickpeas
1. Soil Composition
- Chickpeas prefer loamy, moderately fertile soil with good drainage.
- Ideal pH: 6.0–7.0.
- Amend soil with 1–2 inches of compost to improve structure and fertility.
- Avoid excessive nitrogen—legumes fix their own nitrogen.
2. Bed Dimensions
- Standard width: 3–4 feet, height: 8–12 inches.
- Ensure 6–8 inches spacing between plants in rows and 18–24 inches between rows for airflow.
- Narrow beds allow easy access from both sides without stepping on soil.
3. Planting
- Direct sow seeds 1–2 inches deep in early spring after the last frost.
- Optional: Pre-soak seeds for 12–24 hours to improve germination.
- Keep soil consistently moist until seedlings emerge.
Watering Chickpeas in Raised Beds
- Early growth: water lightly but consistently to keep soil evenly moist.
- Vegetative stage: deep watering once every 5–7 days.
- Flowering/pod set: reduce watering slightly—overwatering can cause flower drop.
- Raised beds dry faster, so monitor soil frequently during heatwaves.
Mulching and Maintenance
- Apply 1–2 inches of light mulch after seedlings reach 6–8 inches tall.
- Mulch retains moisture, suppresses weeds, and moderates soil temperature.
- Keep mulch away from plant crowns to prevent rot.
- Regular weeding prevents competition and reduces pest habitat.
Pest and Disease Prevention
- Raised beds improve airflow, reducing fungal diseases.
- Check regularly for aphids, cutworms, and leaf miners.
- Rotate crops: avoid planting legumes in the same bed more than once every 3–4 years.
- Remove plant debris promptly to prevent overwintering pests and pathogens.
Harvesting from Raised Beds
- Green chickpeas: harvest tender pods 60–70 days after planting.
- Dried chickpeas: harvest when pods turn tan and rattle in the pod, typically 90–120 days.
- Raised beds make it easy to monitor pod maturity and harvest efficiently.
Final Thoughts
Growing chickpeas in raised beds offers multiple advantages: improved drainage, faster warming soils, easier maintenance, and healthier plants. By preparing well-drained, fertile soil, spacing plants properly, watering strategically, and managing pests, you can achieve abundant harvests of both fresh green pods and dried beans. Raised beds make chickpea cultivation accessible, productive, and enjoyable for gardeners in a variety of climates.
Chickpea Learning Hub
Start Here / Overview
- Mastering Chickpeas: Planting, Growing, and Harvesting Tips
- How to Plant, Grow, and Harvest Chickpeas (Garbanzo Beans): The Complete Guide
Planning & Planting
- Best Chickpea Varieties to Grow: Kabuli, Desi, Black, and Specialty Types
- Short-Season Chickpeas: Best Varieties and Tips for Cooler Climates
- When to Plant Chickpeas: Temperature, Frost Windows, and a Month-by-Month Calendar
- How to Start Chickpeas From Seed: Indoors, Outdoors, and Spacing Tips
- Can You Grow Chickpeas in Containers? What Works—and What Doesn’t
- Growing Chickpeas in Raised Beds
- Best Companion Plants for Chickpeas (and What to Avoid)
Care & Maintenance
- How to Water and Feed Chickpeas for Maximum Pod Production
- Chickpea Care Guide: Weeding, Mulching, Trellising, and Seasonal Maintenance
Pests, Diseases & Troubleshooting
- Chickpea Pests: Identification, Prevention, and Organic Controls
- Chickpea Diseases and How to Prevent Them: Blight, Mosaic, Anthracnose & More
- Troubleshooting Chickpeas: Why Plants Fail, Don’t Flower, or Don’t Make Pods
Harvesting & Post-Harvest
- Harvesting Chickpeas: Fresh Green Pods vs. Dried Beans
- How to Store and Preserve Chickpeas: Fresh, Dried, Canned, or Frozen
Cooking & Enjoying