How to Cure Garlic for Long-Term Storage
Curing garlic is an essential step to ensure your harvest lasts for months without losing flavor or texture. After decades of growing garlic in California’s Central Valley and Sonoma Valley, I’ve refined a simple, effective curing process that consistently produces bulbs that store well.
Why Cure Garlic?
- Preserves Flavor and Texture: Proper curing concentrates flavors while keeping cloves firm.
- Prevents Rot and Disease: Reduces moisture content, preventing mold and fungal issues.
- Extends Shelf Life: Well-cured garlic can last 6–9 months, depending on variety and storage conditions.
🌱 Gardener’s tip: Softneck garlic generally stores longer than hardneck varieties, but all benefit from proper curing.
Step-by-Step Guide to Curing Garlic
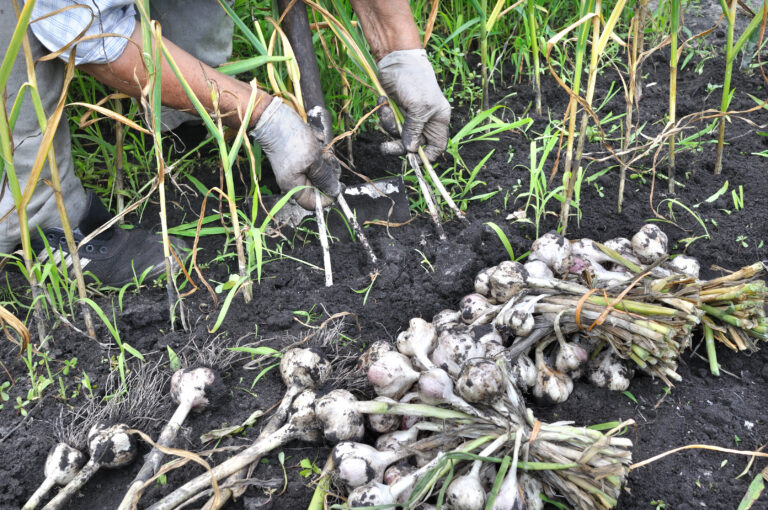
1. Harvest Properly
- Wait until ½–¾ of the leaves have yellowed.
- Lift bulbs gently with a fork or trowel; avoid bruising or cutting cloves.
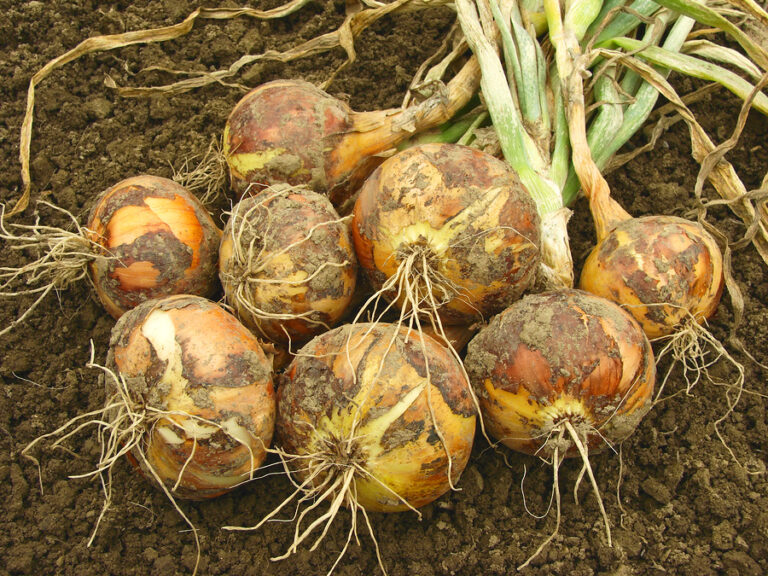
2. Clean Bulbs
- Brush off excess soil; do not wash bulbs as moisture can cause rot.
- Trim long roots slightly but leave most leaves intact for curing.
3. Choose a Curing Location
- Dry, well-ventilated, and shaded area is ideal (barn, shed, or covered porch).
- Avoid direct sunlight, which can scorch bulbs.
- Maintain temperature 60–70°F (15–21°C).
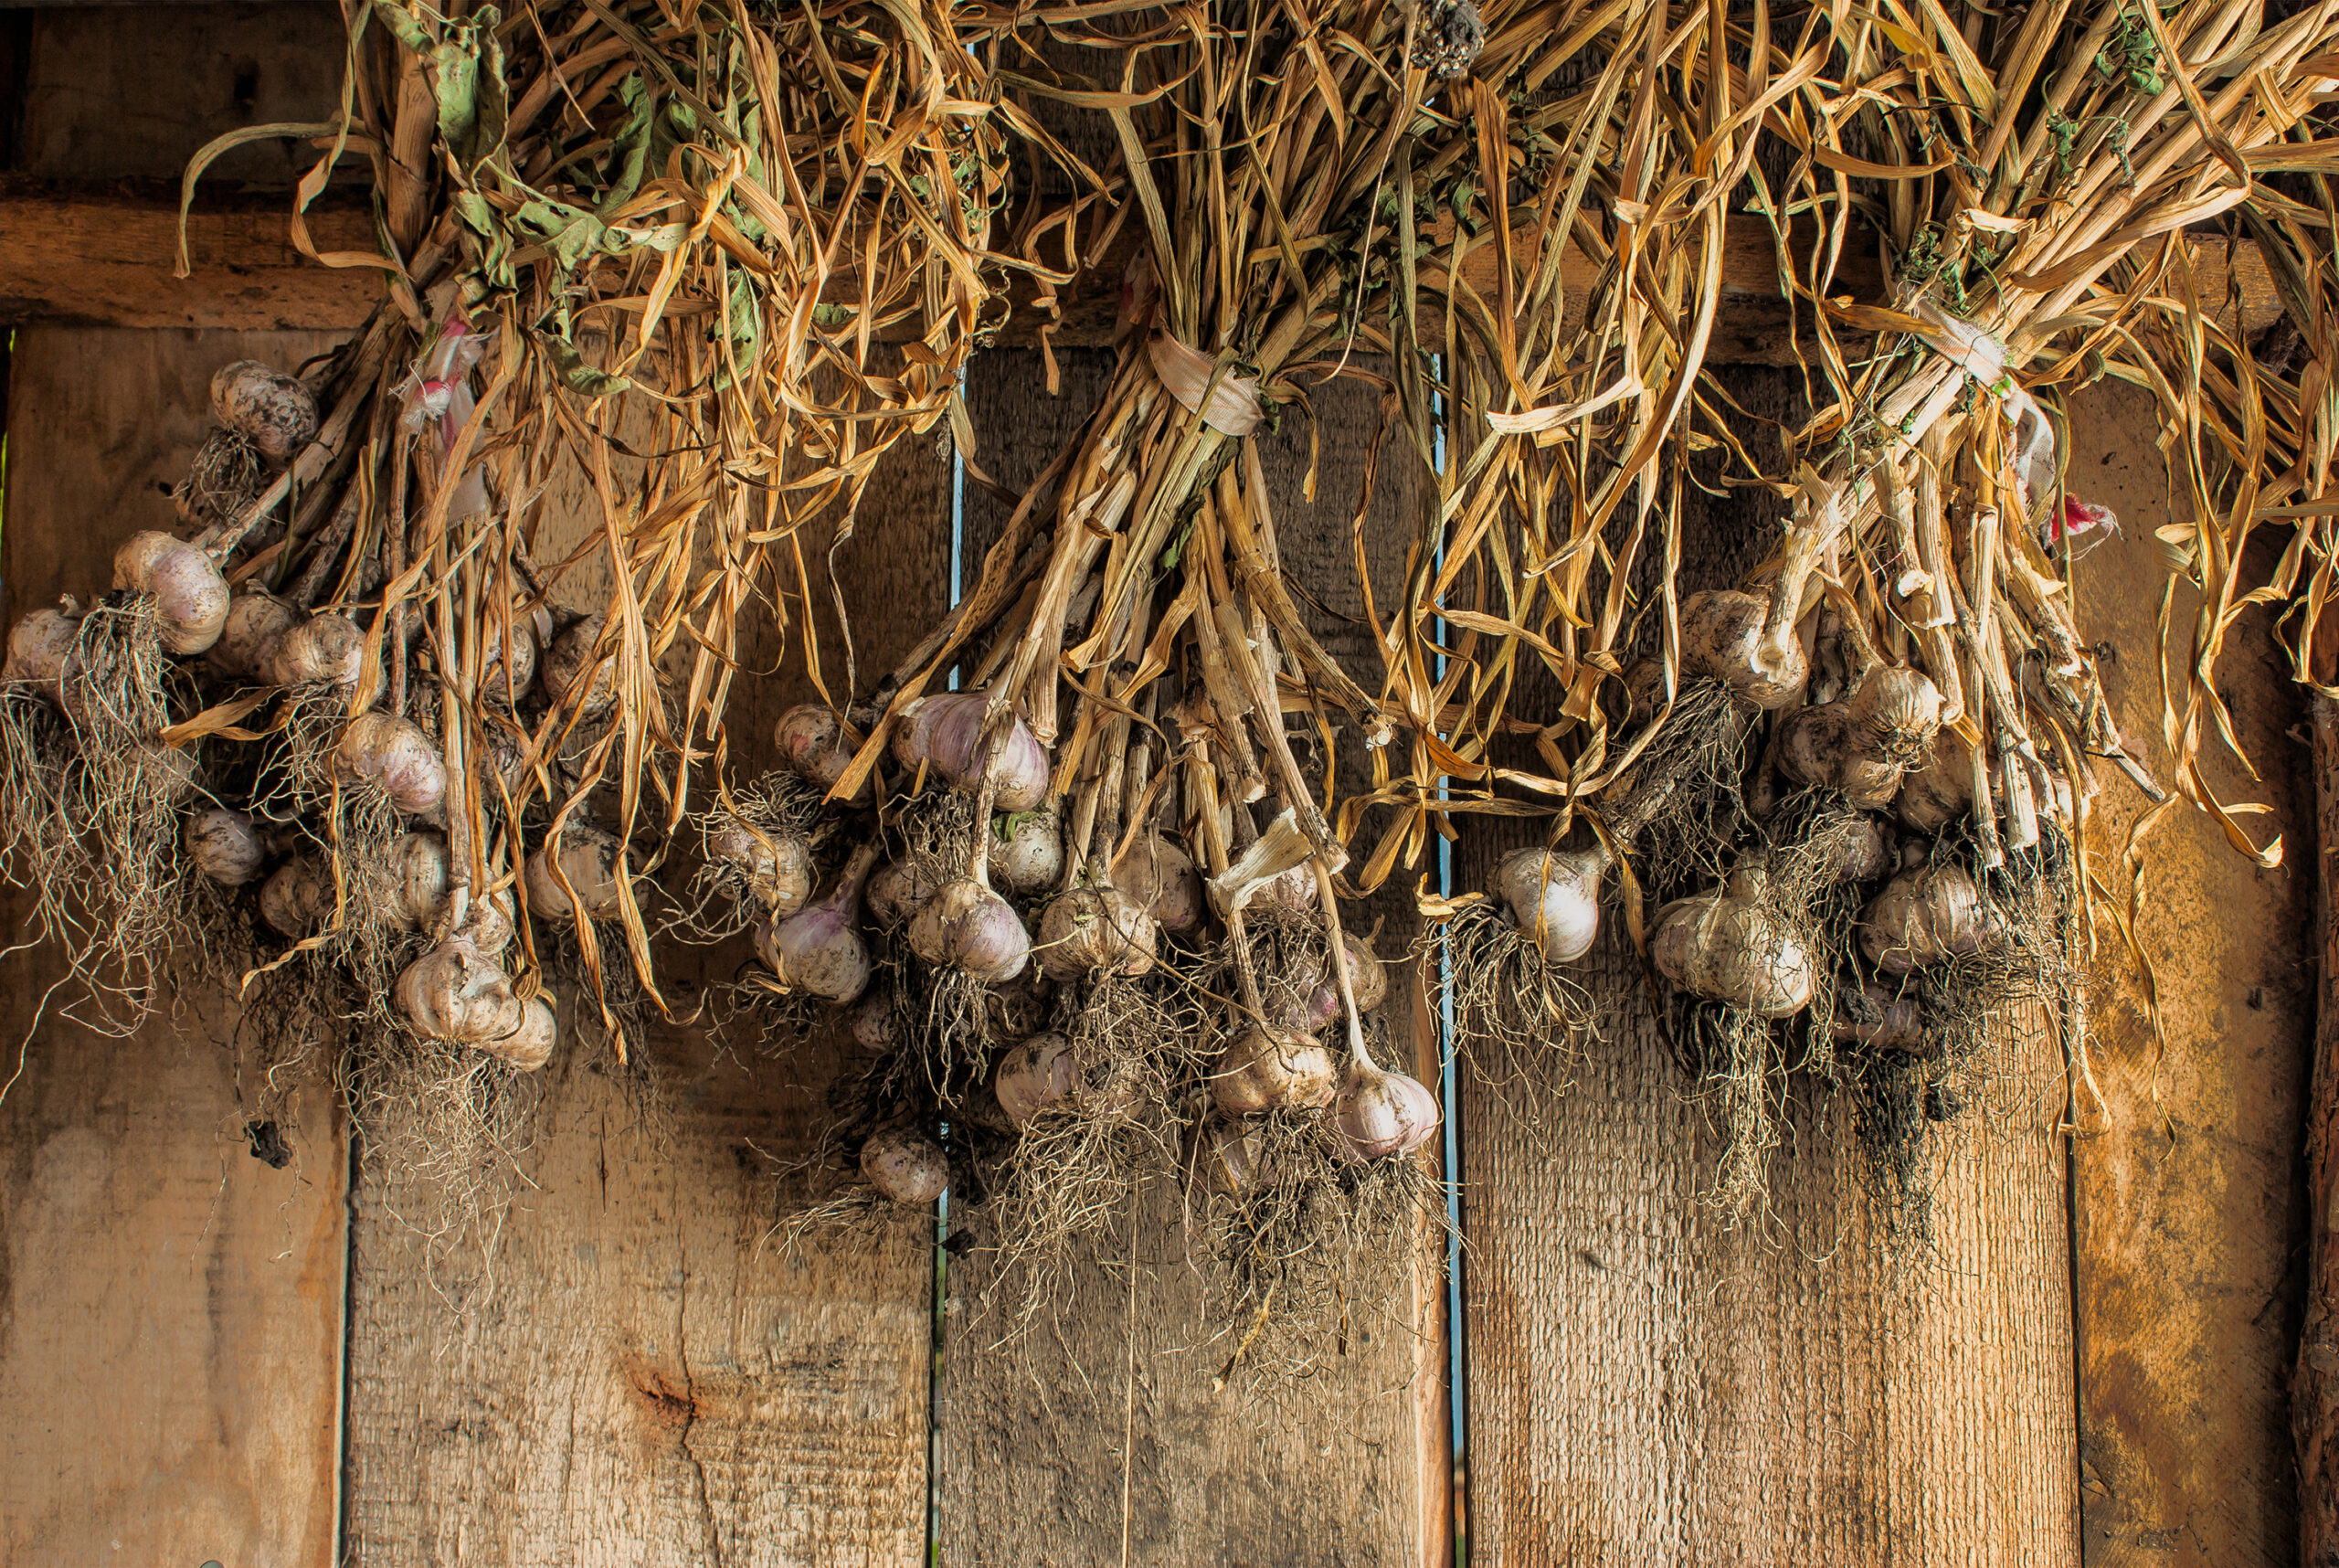
4. Curing Methods
| Method | Description | Duration |
|---|---|---|
| Hanging Bundles | Tie 5–10 bulbs together by leaves; hang from rafters | 2–3 weeks |
| Mesh Baskets / Racks | Spread bulbs with space between for airflow | 2–3 weeks |
| Screen or Rack | Lay bulbs in single layer with good ventilation | 2–3 weeks |
5. Checking Readiness
- Bulb skins are papery and dry, cloves feel firm.
- Leaves and stems are completely dry; necks should snap easily.
After Curing: Storage
- Trim roots and leaves, leaving about 1 inch of stem.
- Store in a cool, dry, dark place (50–60°F / 10–15°C) with good air circulation.
- Avoid storing in plastic bags; use mesh, paper bags, or hanging baskets.
🌱 Gardener’s note: In my Sonoma Valley garden, properly cured softneck garlic stores up to 9 months, while hardneck varieties last around 6 months.
🌱 Bottom line: Proper curing ensures garlic retains flavor, firmness, and shelf life. Follow these steps for a successful, long-lasting harvest.
Garlic Curing Guide Chart
| Step | What to Do | Key Tips | Timing |
|---|---|---|---|
| 1. Harvest | Lift bulbs when ½–¾ leaves are yellow | Use a fork, avoid bruising bulbs | Based on maturity |
| 2. Clean | Brush off soil, trim roots slightly | Don’t wash; keep stems and leaves attached | Same day |
| 3. Location | Choose shaded, dry, ventilated space | Avoid sun; ideal temp 60–70°F (15–21°C) | Immediately |
| 4. Arrange Bulbs | Hang bundles, spread on racks, or mesh bags | Ensure airflow around bulbs | 2–3 weeks |
| 5. Check Dryness | Skins papery, necks snap, stems dry | Test a few bulbs before trimming | End of curing |
| 6. Store | Trim roots & stems; keep in cool, dry space | Mesh bags, baskets, or paper bags | 6–9 months |
🌱 Gardener’s tip: Hanging garlic in small bundles of 5–10 bulbs cures them evenly and prevents mold from poor airflow.
Garlic Growing Hub
Start here: The Ultimate Garlic Growing Guide: From Seed to Harvest
🌱 Garlic Planting & Timing Clusters
- Garlic Plant Starting Tips: How to Get Going
- When to Plant Garlic: Fall vs. Spring Compared
- Garlic Planting Calendar by Zone (Month-by-Month Guide)
- Ideal Soil Temperature for Planting Garlic and Why It Matters
- Climate Guide: Growing Garlic in Warm vs. Cold Regions
🧄 Garlic Types & Varieties Clusters
- Softneck vs. Hardneck Garlic: Key Differences for Gardeners
- Best Softneck Garlic Varieties for Home Gardens
- Best Hardneck Garlic Varieties for Flavor and Storage
- Rocambole Garlic: What It Is and How to Grow It
- Elephant Garlic: Tips for Planting and Harvesting Giant Bulbs
🌿 Growing & Care Clusters
- Proper Garlic Spacing for Bigger Bulbs
- How to Water Garlic the Right Way
- Fertilizing Garlic: Feeding Tips Bigger, Healthier Bulbs
- Essential Garlic Care: From Planting to Harvest
- Best Companion Plants for Garlic (And What to Avoid)
- How to Grow Garlic in Containers: Step-by-Step Guide
🐛 Pests & Disease Clusters
🌾 Harvest & Storage Clusters
- How to Tell When Garlic Is Ready to Harvest
- How to Harvest and Store Garlic
- How to Cure Garlic for Long-Term Storage
- Best Ways to Store and Preserve Garlic at Home
🍳 Kitchen & Use Clusters
- Garlic Cooking and Severing Ideas for Your Harvest Table
- Fresh Garlic vs. Stored Garlic: Flavor and Cooking Differences
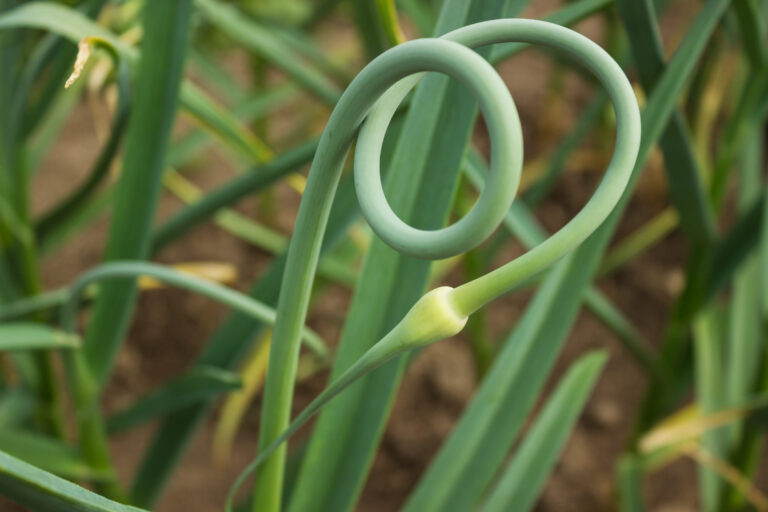
- Garlic Scapes: What They Are and How to Use Them
- Leeks vs. Green Onions vs. Garlic: What’s the Difference