How to Prepare Garden Beds for Spring
Spring bed preparation is one of the most important steps toward a productive growing season. Whether you garden in raised beds, mounded beds, or in-ground beds, the goal is the same: start the season with loose, fertile, well-drained soil that supports strong roots and healthy plant growth.
Here’s how I prepare my beds each spring after gardening year-round in Sonoma Valley and tending both raised and in-ground systems for more than three decades.
1. Start With a Quick Soil Assessment
Before touching the beds, I look at the soil after winter:
- Moisture: Soil should crumble rather than smear—never work soil that’s too wet.
- Texture: Has rain compacted the top layer? Is there crusting?
- Organic matter: Are there earthworms, fungal threads, decomposed mulch layers?
- Weeds: What has germinated during winter?
This 2-minute assessment tells me how much prep each bed needs.
2. Clean Up—But Don’t Overdo It
Spring cleanup is about making space for new growth without disturbing the soil unnecessarily.
I remove:
- Old crop residue thicker than a pencil
- Diseased leaves or stems
- Large weeds
I keep:
- Small roots from previous crops (they decompose and feed microbes)
- Partially broken-down mulch
- Undisturbed soil layers
This light-touch cleanup preserves soil structure and life.
3. Loosen the Top Few Inches (Without Deep Digging)
To refresh compacted or crusted soil, I lightly loosen just the top 2–3 inches using a rake or hand fork.
My goals are:
- Break surface crusts
- Increase airflow
- Prepare a smooth seedbed
I avoid deep turning, which disrupts soil biology and brings weed seeds to the surface.
4. Add Compost—The Foundation of Spring Soil Prep
Every spring bed gets a fresh layer of compost:
- 1–2 inches for in-ground beds
- 2–3 inches for raised beds (since they settle more)
- 1–2 inches on mounded beds, maintaining the mound’s shape
Benefits of spring compost:
- Feeds soil organisms
- Improves moisture retention
- Balances nutrients
- Creates a soft, workable planting surface
I spread compost evenly and gently rake it level.
5. Add Targeted Amendments Based on Crop Needs
Spring is the time to adjust nutrient levels for the season ahead. I keep amendments simple and crop-focused:
- All-purpose organic fertilizer (lightly mixed into the top 1 inch)
- Worm castings for seed rows or transplant holes
- Kelp meal for root development and stress resistance
- Lime or sulfur only if past results indicate a pH shift is needed
I avoid over-amending—healthy soil with strong biology needs far less fertilizer than most gardeners expect.
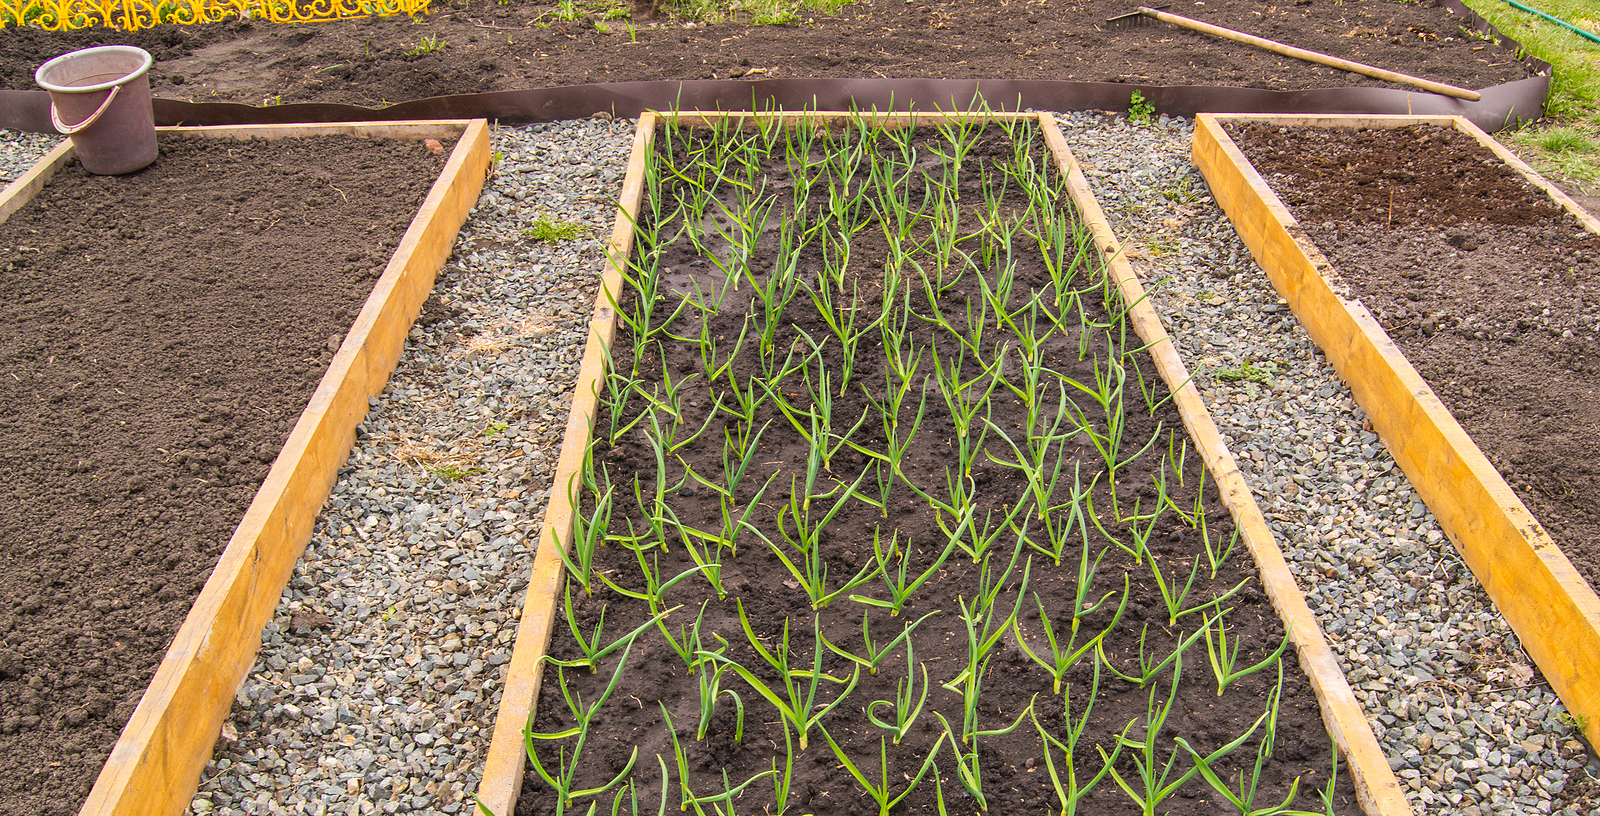
6. Prepare Each Bed Type Correctly
Raised Beds
Raised beds lose height each year as organic matter breaks down, so I:
- Add 2–3 inches of compost
- Rebuild corners or edges if winter rain has washed soil outward
- Rake the surface smooth
- Top off with extra soil mix only if the bed has settled significantly
Raised beds warm faster in spring, so they’re often the first I plant.
Mounded Beds
Mounded beds are excellent for drainage and early warmth. To prep them:
- Add compost, then reshape the mound
- Maintain a wide, flat top for planting
- Smooth and gently slope the sides to hold structure
- Rake lightly to create a level seedbed
Mounded beds are especially useful where soils stay cool or heavy into spring.
In-Ground Beds
In-ground beds are the most traditional and versatile. In spring, I:
- Add compost to restore fertility
- Loosen only the top 2–3 inches
- Re-establish clean edges between the bed and the pathway
- Ensure the bed surface is slightly raised above the path for drainage
In-ground beds warm more slowly but hold moisture longer into summer.
7. Water the Bed Before Planting
Pre-watering helps compost settle and creates even moisture for seeds and transplants.
- If the soil is dry, I water deeply.
- If winter rains kept the soil wet, I water lightly or skip entirely.
Moist, settled soil roots plants faster than dry soil that’s watered after planting.
8. Add Mulch or Wait—Depending on the Crop
Mulch timing depends on what I’m planting:
Add mulch immediately for:
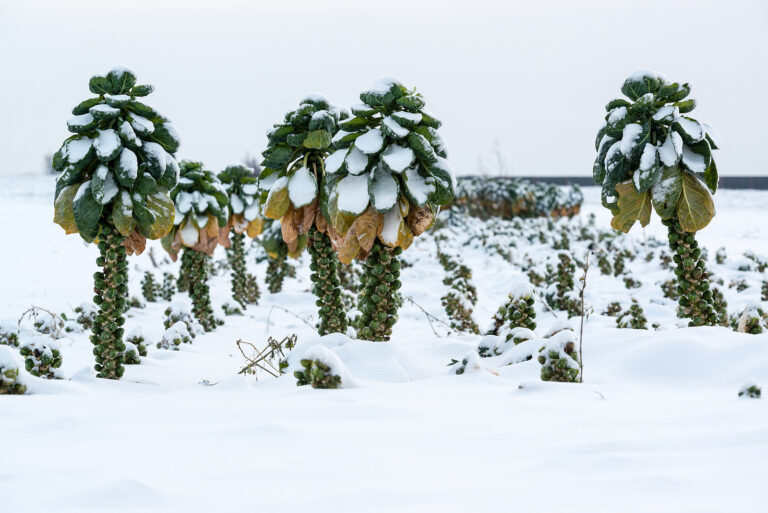
- Brassicas
- Onions and leeks
- Potatoes
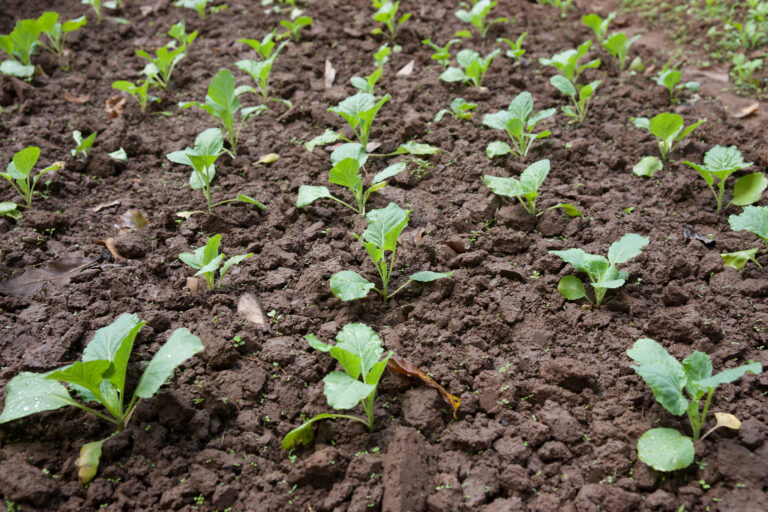
- Transplanted greens
Delay mulch for:
- Direct-sown small seeds (carrots, lettuce, turnips)
- Early spring seeds that need warm soil
- Beds that need to dry and warm slightly
I use straw, chopped leaves, or compost-as-mulch depending on the crop.
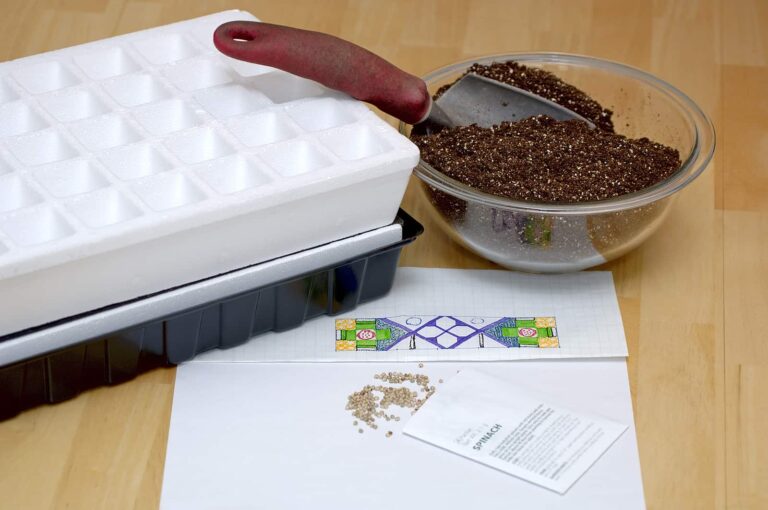
9. Final Step: Map Out Your Spring Plantings
Before I plant, I walk the beds and assign each one to a crop family:
- Brassicas
- Alliums
- Roots
- Solanums
- Cucurbits
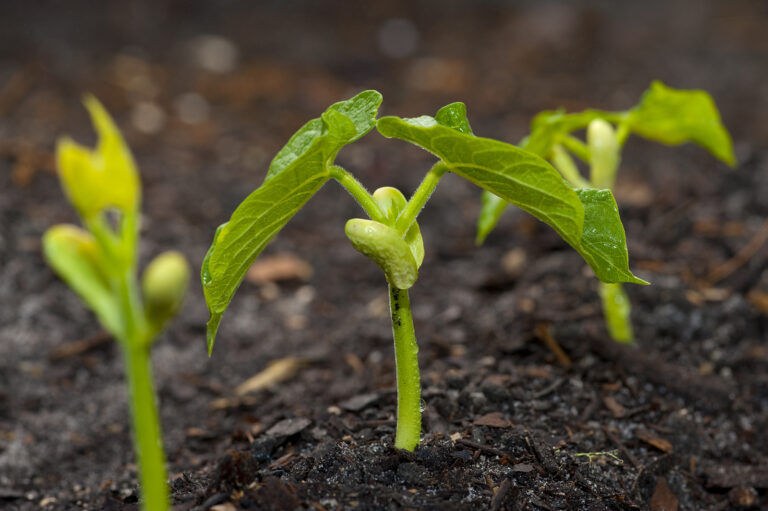
- Legumes
- Greens
This simple rotation helps keep pests down and soil balanced.
I note each bed’s plan in a garden notebook so I can track performance through the season.
Final Thoughts
Preparing garden beds for spring is about working with the soil rather than against it. When I start the season by refreshing organic matter, repairing the bed’s structure, and creating a loose, fertile surface layer, everything that follows—planting, watering, growth, and harvest—is easier and more abundant