How to Build Lasagna Garden Beds: Step-by-Step Guide to No-Dig (No-Till), Fertile Gardening
Lasagna gardening, also called sheet composting, is a no-dig/no-till method for creating fertile, rich garden beds by layering organic materials directly on the soil. Instead of tilling or digging, you build the soil from the top down—like making a lasagna. Over time, these layers decompose, feeding microbes, worms, and plants while reducing weeds and improving water retention. Lasagna beds are ideal for home gardeners seeking productive, low-maintenance gardens with minimal soil disturbance.
Why Lasagna Beds Work
- Mimic natural forest floors
- Gradually build nutrient-rich soil
- Suppress weeds with layers of organic matter
- Retain moisture and reduce watering needs
- Attract beneficial soil organisms that aerate and enrich soil
- Allow planting without digging or tilling
Lasagna beds are particularly useful for new gardens, raised beds, poor or compacted soils, and no-till systems.
Materials You’ll Need
Lasagna beds require alternating layers of “browns” and “greens”:
- Browns (carbon-rich):
- Cardboard or newspaper (moistened)
- Dry leaves
- Straw or hay
- Wood chips (aged)
- Greens (nitrogen-rich):
- Vegetable scraps
- Grass clippings
- Coffee grounds
- Garden trimmings
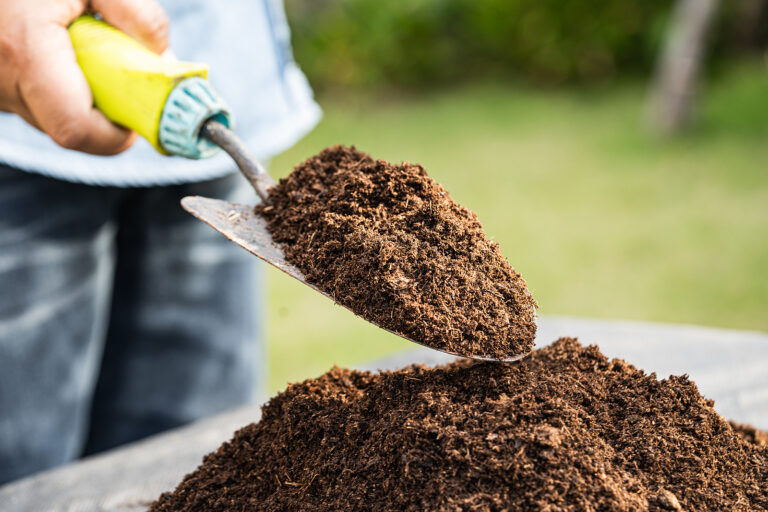
- Optional: Finished compost to boost fertility in initial layers
Step-by-Step Guide to Starting a Lasagna Garden Bed
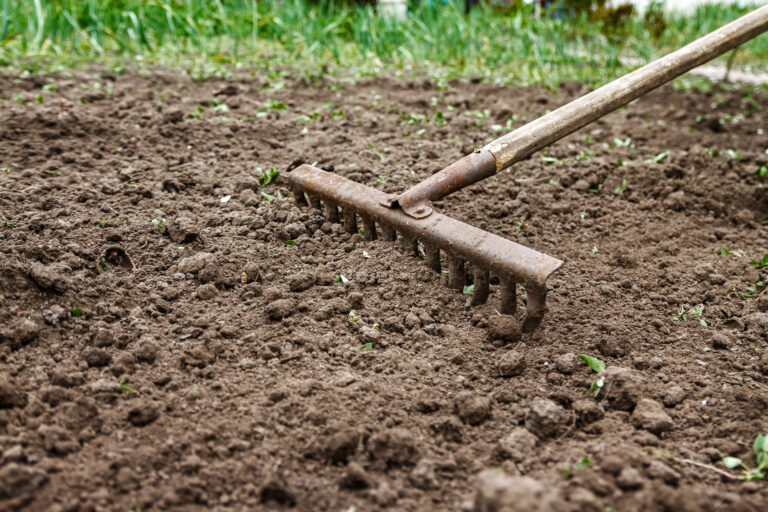
1. Choose Your Location
- Pick a sunny, level spot with good drainage.
- Mark your bed dimensions and pathways.
2. Prepare the Base Layer
- If starting on grass or sod, lay 2–4 layers of cardboard or newspaper directly on top.
- Overlap edges to suppress weeds.
- Moisten thoroughly to start decomposition.
3. Add the First Brown Layer
- Spread a 2–4 inch layer of dry leaves, straw, or wood chips over the cardboard.
4. Add the First Green Layer
- Spread 1–2 inches of vegetable scraps, grass clippings, or other nitrogen-rich material.
5. Alternate Layers
- Continue layering brown and green materials, keeping layers 2–4 inches thick.
- Aim for 5–10 total layers, ending with a brown layer to reduce odor and prevent pest attraction.
6. Water Thoroughly
- Moisten each layer lightly as you build the bed.
- The bed should stay damp but not soggy.
7. Let It Settle
- Wait 2–4 weeks (or longer) before planting to allow decomposition to begin.
- Cover with mulch if desired to retain moisture.
8. Planting
- Pull back mulch or top layer to insert seeds or seedlings.
- Replace mulch after planting to continue suppressing weeds and conserving moisture.
Tips for Success
- Chop larger materials into smaller pieces to speed decomposition.
- Keep beds well-watered during dry periods.
- Add compost between layers for faster soil fertility.
- Use lasagna beds for vegetables, herbs, flowers, or perennial starts.
- Over time, beds will naturally sink as materials decompose—add more layers annually.
Benefits of Lasagna Gardening
- Minimal labor—no tilling required
- Reduces weed growth
- Improves soil structure and fertility
- Conserves moisture, reducing watering needs
- Encourages healthy microbial life and earthworms
- Flexible for new or poor soil areas
Lasagna garden beds are a practical, beginner-friendly, no-dig/no-till solution for creating nutrient-rich soil while saving labor and protecting soil life. Once established, they continue to feed plants naturally and improve every season.