Growing Annual Flowers for Summer Bloom
Annual flowers grow from seed, reach full maturity, flower, and produce seed in one year or less—then they die. Many annuals seem to be perennials; they seem to live on form year to year, but in reality, they self-sow (that is they drop seed) that germinates and grows the next year.
Annuals come to use form almost all parts of the world. Most are very adaptable. Choose the right ones for your garden and they can provide colorful blooms and fragrance from early spring to late fall.
Some annuals are excellent in beds or borders, either massed by themselves, in varied combinations, as fillers among perennials, or to follow spring-flowering bulbs. Others are trailing and are suitable for screens, window boxes, and hanging baskets. Still, others can be used as edging or in rock gardens. Of course, many are invaluable as cut flowers.
Annuals can be divided into three classes: hardy, half-hardy, and tender. Here’s what that means:
- Hardy annuals can withstand a light spring frost and can, therefore, be started from seed sow in the open as soon as the soil can be worked.
- Half-hardy annuals, which require a long season to attain maturity, and therefore must be given an early start indoors or under glass.
- Tender annuals, which require a still early start in the greenhouse, hotbed, or indoors and which cannot be transplanted to the open until the ground is warm and all danger of frost is over.
Growing hardy annual flowers
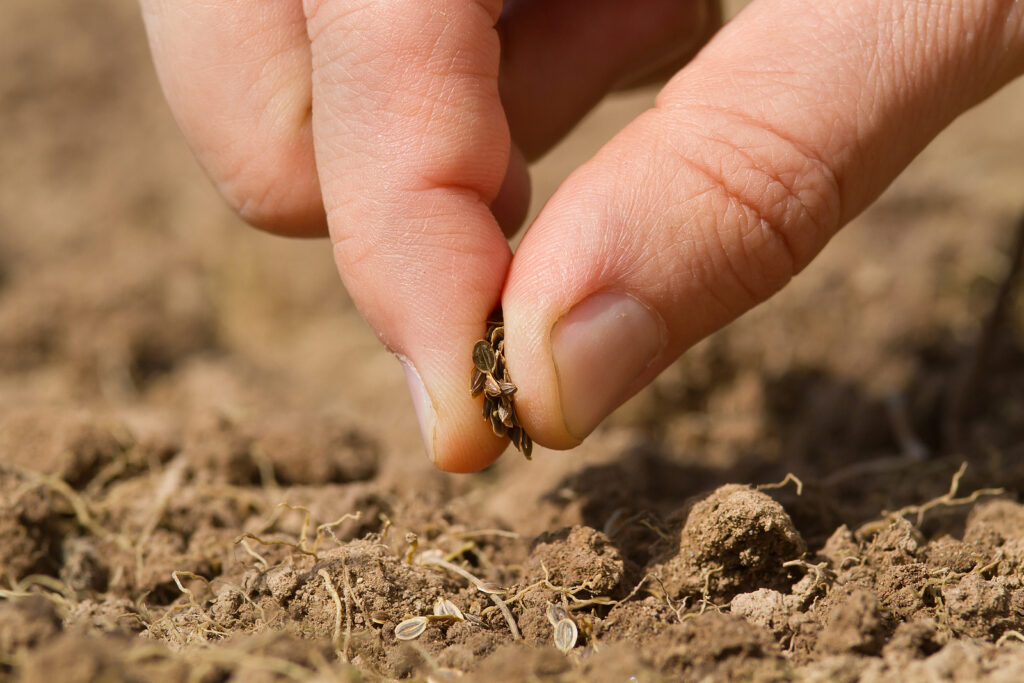
The seed of hardy annuals sown in the open garden should be planted in well-prepared loamy soil into which aged compost and well-rotted manure has been dug the fall before. The surface soil should be so light and fine that the tender seedlings may penetrate it easily. If the soil is stiff, or heavy, a mixture of sand or any sort of humus will help lighten the texture. Little, if any, commercial fertilizer is need with the exception of perhaps bonemeal.
Annuals that can be seed sown outdoors in early spring include:
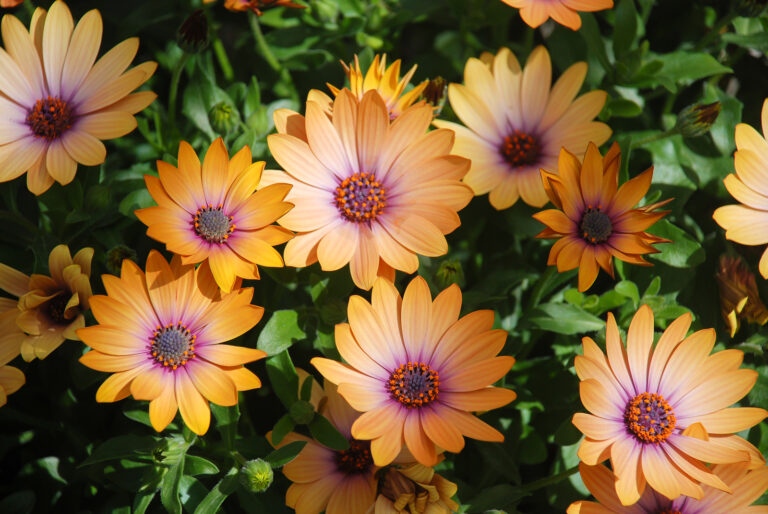
- African daisy (Arctotis and Dimorphotheca)
- Alyssum
- Anchusa capensis
- Baby’s Breath
- Bartonia
- Bachelors Button
- Cacalia
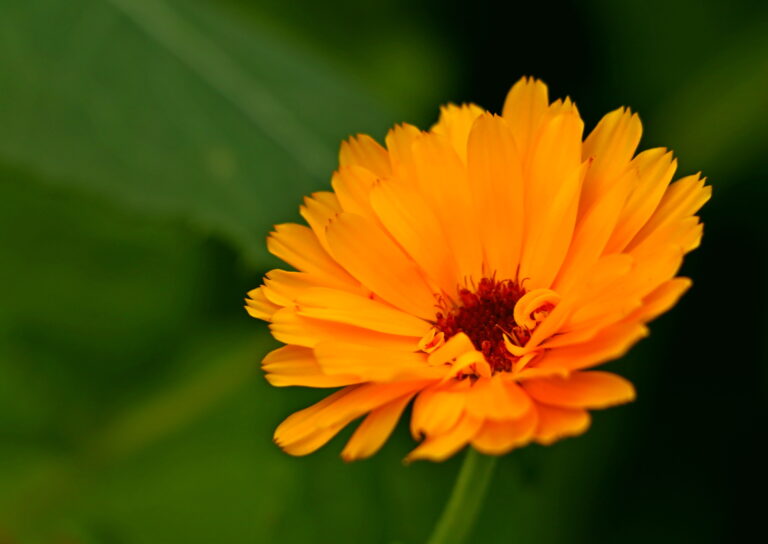
- Calendula
- California Poppy
- Calliopsis
- Candytuft
- Celosia
- Chinese Delphinium
- Clarkia
- Cosmos
- Dianthus
- Euphorbia
- Evening-primrose
- Evening Stock
- Gaillardia
- Gilia
- Globe-amaranth
- Godetia
- Kochia
- Larkspur
- Leptosyne
- Lupine
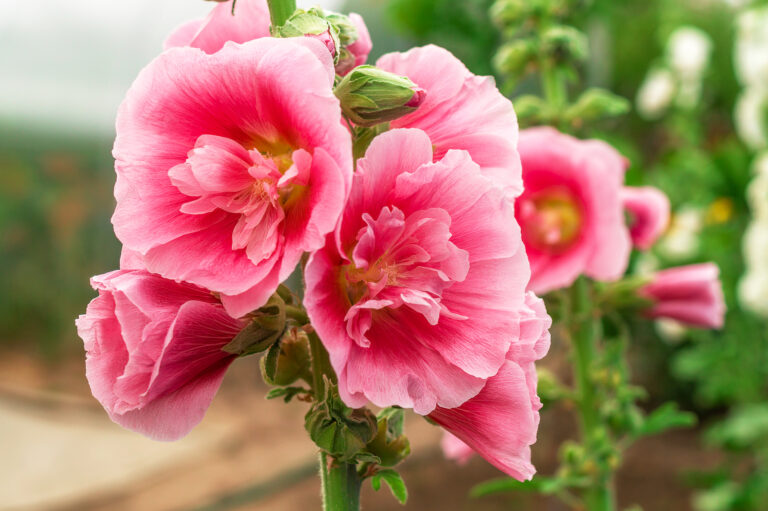
- Mallow
- Marigold
- Nigella
- Pansy
- Petunia
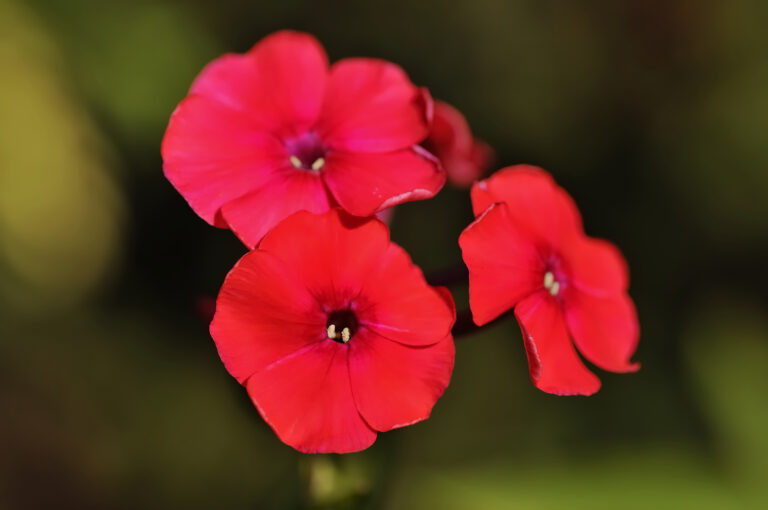
- Phlox
- Poppy, Asian and Shirley
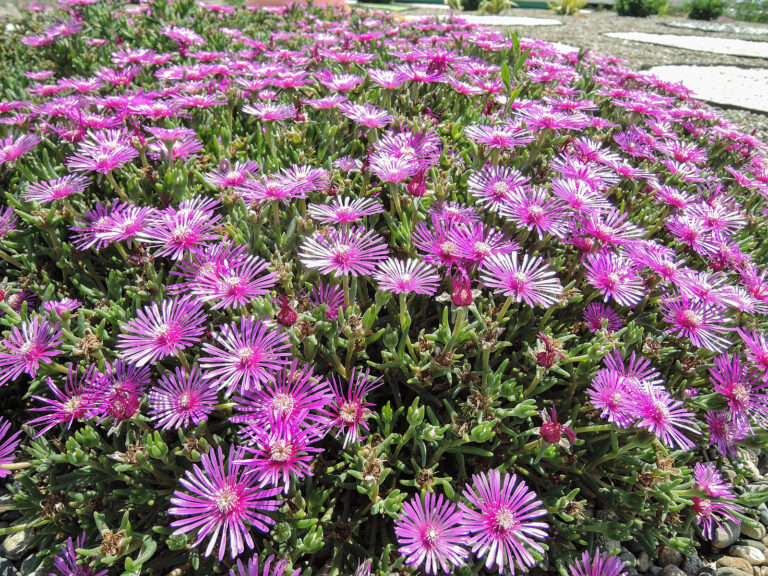
- Portulaca
- Prickly Poppy
- Scabiosa
- Sunflower
- Sweet Pea
- Verbena
- Viscaria
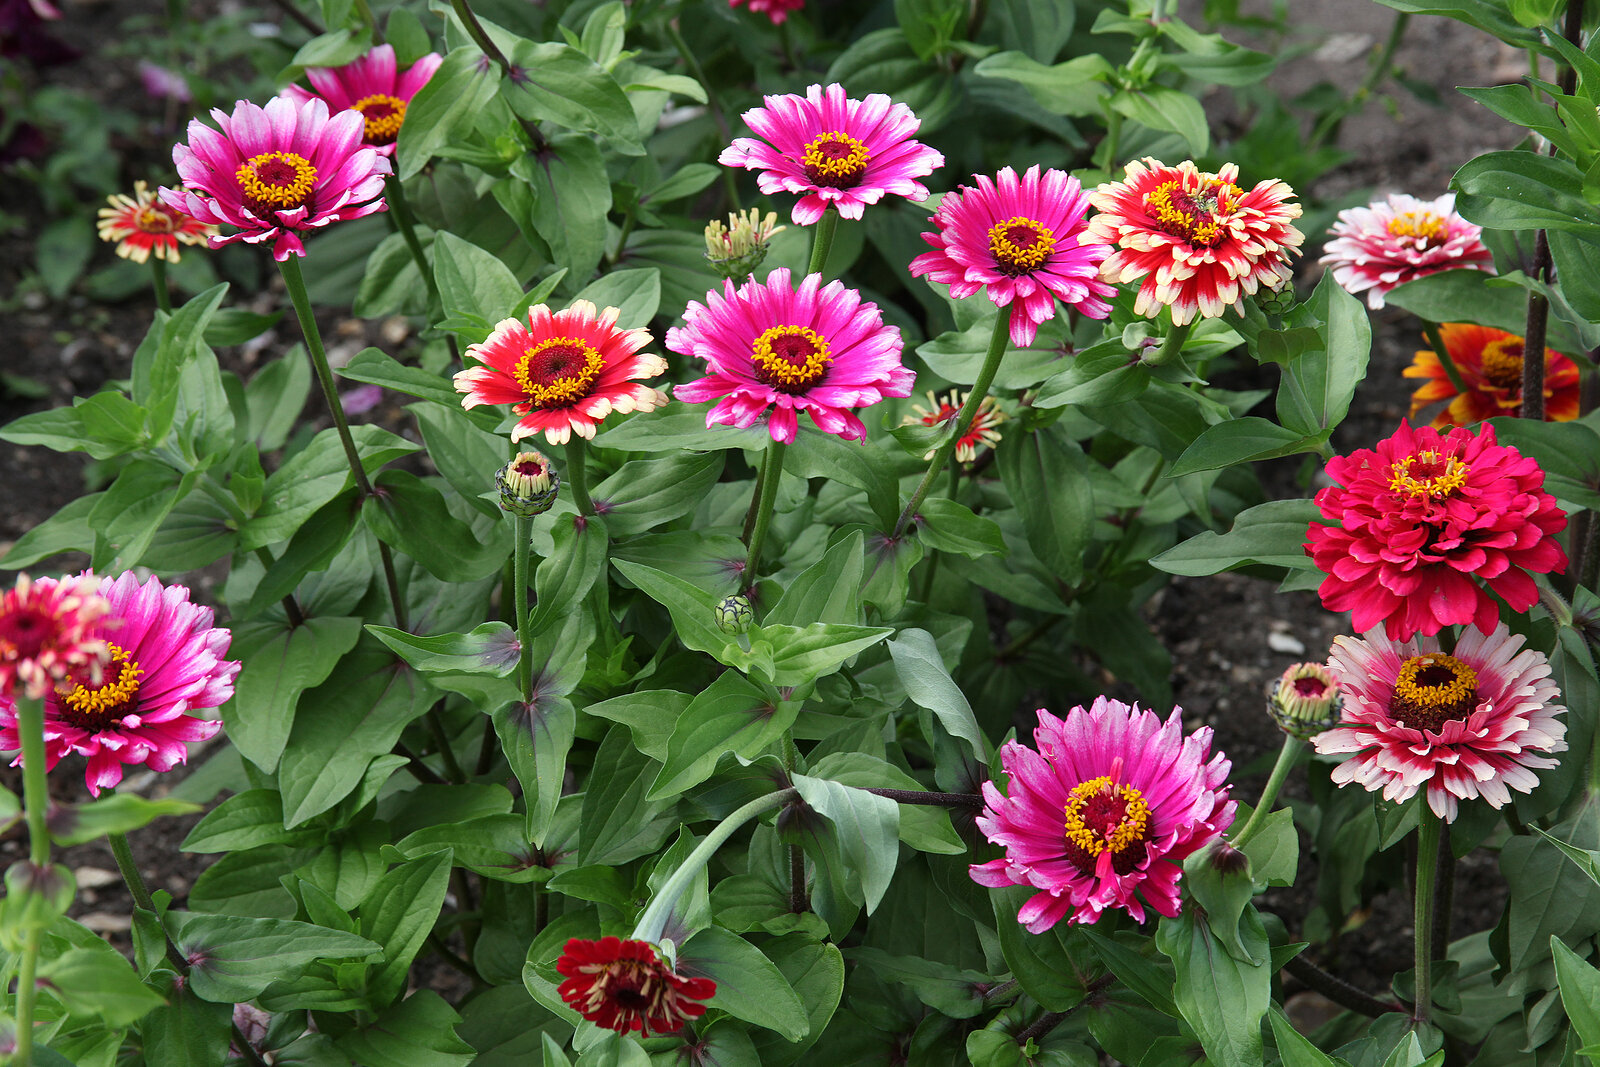
- Zinnia
Some of the above annuals resent transplanting and should, if possible, be planted in the spot where they are to grow. Among them are California Poppy, Lupine, Mallow, Mignonette, Poppy, and Sweet Pea.
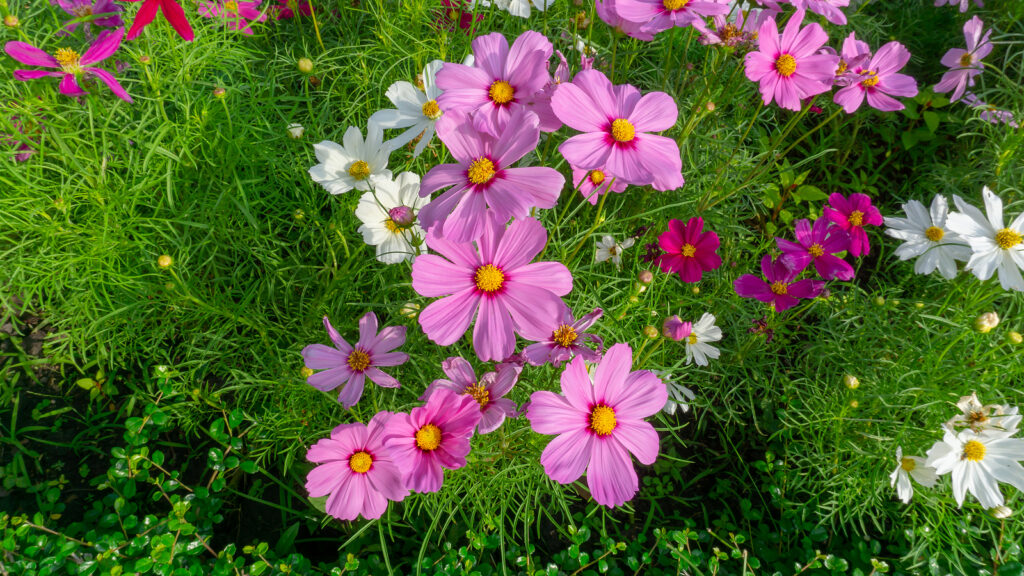
Growing half-hardy and tender annual flowers
Annuals not listed as hardy are half-hardy or tender. Half-hardy and tender annuals are best started in the greenhouse or indoors until about two weeks after the last frost in spring when they can be direct sown in the garden.
Starting half-hardy and tender plants undercover—in the greenhouse or indoors–before the last frost allows them to gain size and maturity before they are transplanted to the garden. When annuals are started in a greenhouse or indoors they will be ready to make a significant statement in the garden at planting out time.
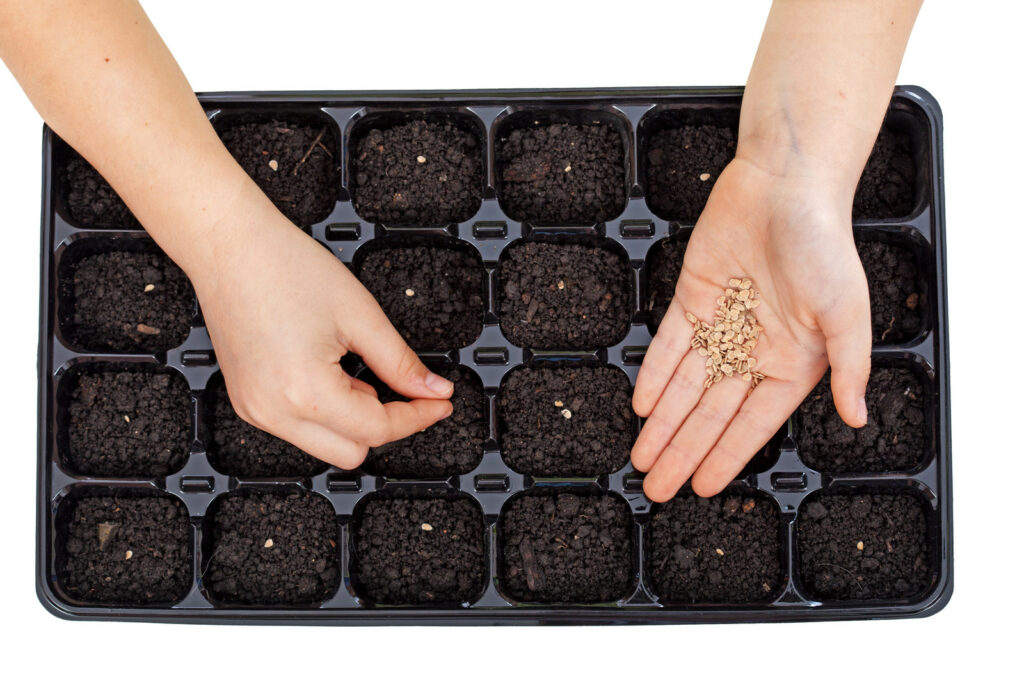
Seed starting annual flowers step-by-step
- Sow seeds in a seed-starting mix or well-pulverized soil. You can make your own seed starting mix using equal parts finely sifted garden loam, humus, and sand.
- Scrub used pots or flats clean; soak them in a solution of 1-part bleach to 9-parts water. Let the containers fully dry.
- Fill the containers with starting mix leaving room for watering at the top.
- Set or scatter the seed thinly over the surface of the soil mix. In large containers or flats, sow the seed in rows 1 inch (2.5cm) apart.
- Fine seed should be pressed into the soil but not covered; it can also be covered with moist burlap. Larger seed should be covered according to their size—about as deep as their diameter is a common rule.
- Water with a fine mist.
- Place a piece of glass or plastic over the top of the container. Shade the glass with a piece of paper until germination takes place, then the paper and glass should be removed and the container brought into full sunlight.
- As soon as several true leaves have appeared, seedlings will benefit from being potted up—place individually in the next largest pot or container. Use a wooden garden label or an old kitchen fork to lift individual seedlings out of the seed starting container and transplant them to the next container. These transplants will grow compact and sturdy instead of tall and spindly as they would if left in a crowded row.
- Plants should be acclimatized to the outdoors (called “hardening off”) before being transplanted to the garden; set them outdoors for an hour the first day and then an additional hour each day for about a week before transplanting them into the garden.
- Keep seedling evenly moist; the soil should not be wet or dry.
- Young plants and the spot they will be transplanted into should be watered several hours before they are moved.
- Set plants in the garden far enough apart to allow them to develop without crowding.
Also of interest:

