

From the Garden
-
How to Grow Texas Bluebonnet – Lupinus

Texas Bluebonnet, Lupinus texensis, bears blue, pealike flowers in midsummer. Flowers are borne on long, graceful spikes from 1 to 3 feet tall. Bluebonnets are a good fit for meadows and long drives. They quickly reseed and naturalize. Get to know Texas Bluebonnet Where to plant Texas Bluebonnet When to plant Texas Bluebonnet Planting and […] More
-
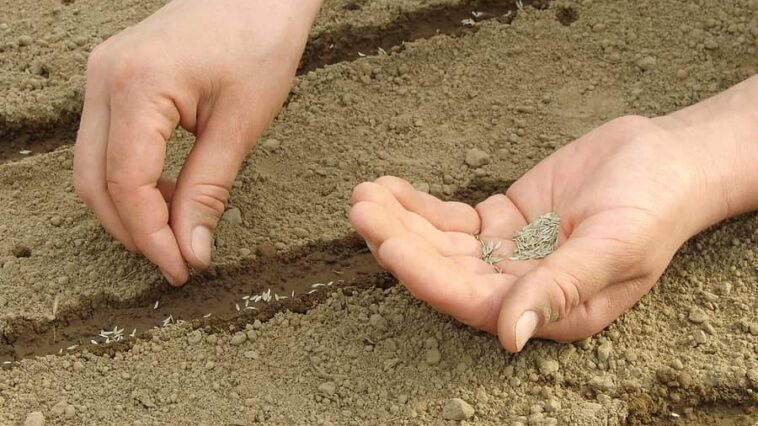
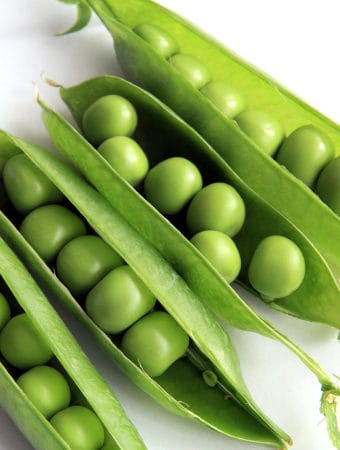
How to Plant and Grow Peas

Peas are a cool-weather crop; they must mature in cool weather. Grow peas in spring and sometimes autumn in cold-winter regions. Grow peas during the winter and early spring in mild-winter regions. Peas mature in about 60 days. Time your pea planting so your pea harvest comes during cool weather. That means planting peas in […] More
-
How to Plant, Grow, and Harvest Radishes

Radishes are one of the easiest crops to grow. The radish is a cool-weather crop. Harvest radishes in spring or fall for the best flavor and texture. Radish is ready to eat as few as three weeks after sowing seeds. It is easy to understand why radishes are a favorite of home gardeners. Spring radishes […] More
-
How to Grow Sweet Woodruff — Galium

Galium — commonly called sweet woodruff– is a carpet-like, spreading perennial with emerald-green leaves and a froth of starry white blooms that appear from late spring to midsummer. Sweet woodruff is a good choice for a shade or woodland garden. It can tolerate dry soil under a large tree. Galium will grow in just about […] More
-
How to Plant, Grow, and Harvest Parsley
Parsley is a biennial herb usually grown as an annual. There are two types of parsley: curly-leaf parsley has finely divided, ruffled leaves and grows from 8 to 12 inches tall; flat-leaf parsley has flat, bright, green leaves that resemble a celery stalk and grows 18 to 24 inches tall. Flat-leaf parsley is also called […] More
-
How to Grow Soybeans

Soybeans are bushy, free-branching, warm-weather annuals. There are more than 10,000 soybean cultivars. Seeds can be smaller than a pea or as large as a kidney bean. Soybeans grow 12 to 36 inches (30-91cm) tall. Stems and leaves are hairy. The flowers are white with lavender shading. Pods grow 1 to 4 inches (2.5-10cm) long […] More


How To Grow Tips
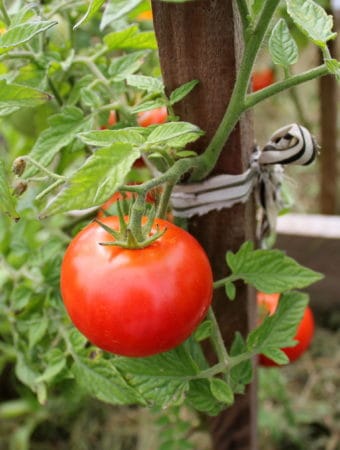
How To Grow Tomatoes
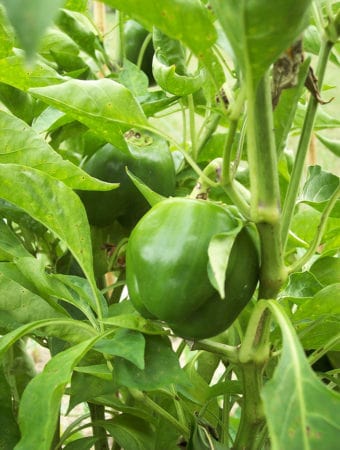
How To Grow Peppers
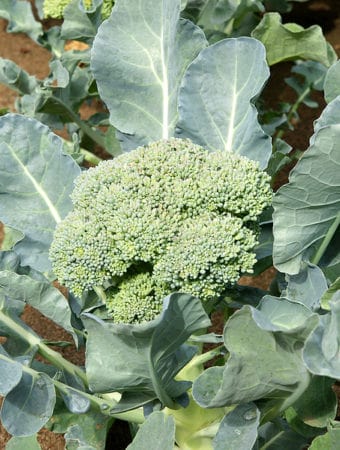
How To Grow Broccoli
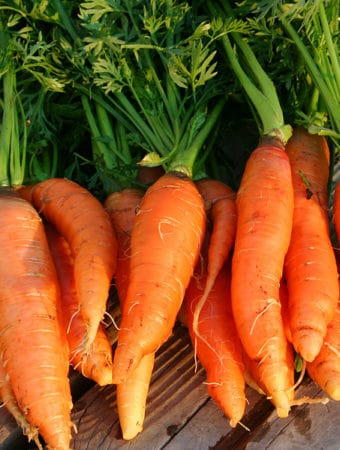
How To Grow Carrots
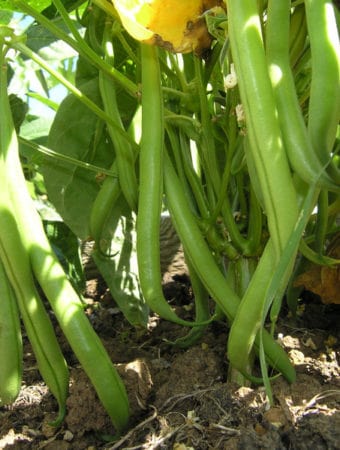
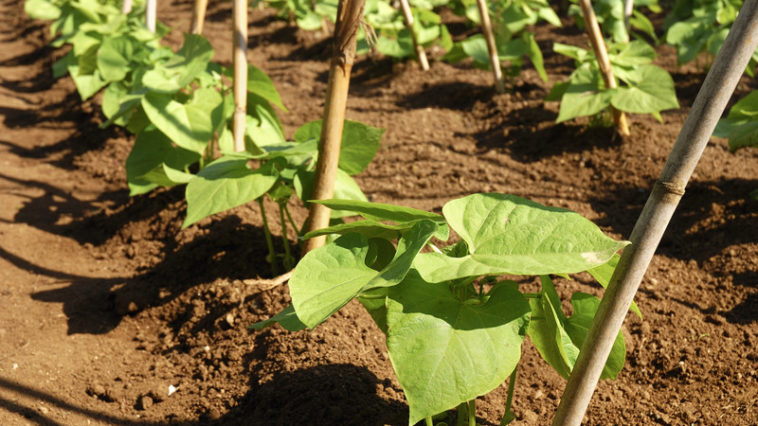
How To Grow Beans
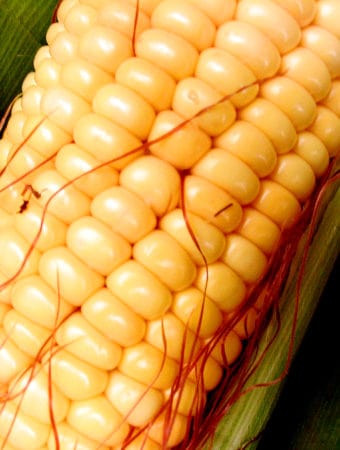
How To Grow Corn
How To Grow Peas
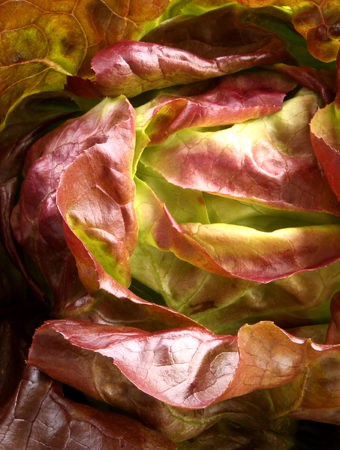
How To Grow Lettuce
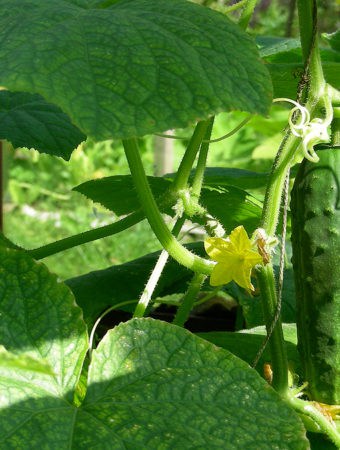
How To Grow Cucumbers
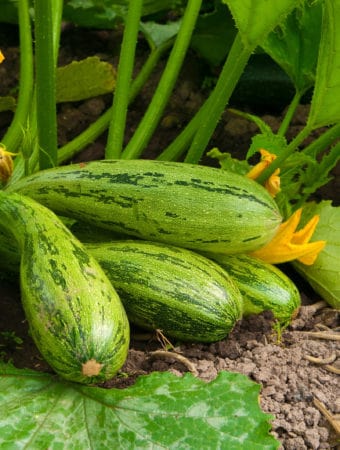
How To Grow Zucchini and Summer Squash
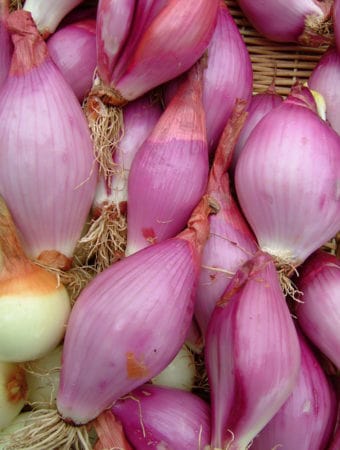
How To Grow Onions
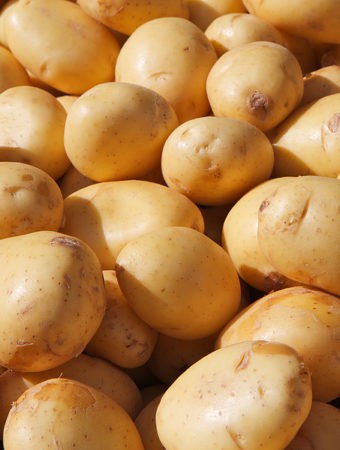
How To Grow Potatoes