10 Steps to Grow a Bumper Pepper Crop
To get a bumper crop from your pepper plants, you must dedicate yourself to helping the plants thrive. Pepper plants are more temperamental than tomatoes—they demand warm temperatures, even soil moisture, feeding, and support—literally.
Here are 10 steps that will all but guarantee sweet and hot pepper growing success. (But don’t turn your back on peppers for more than a day or two, things can go wrong quickly.)
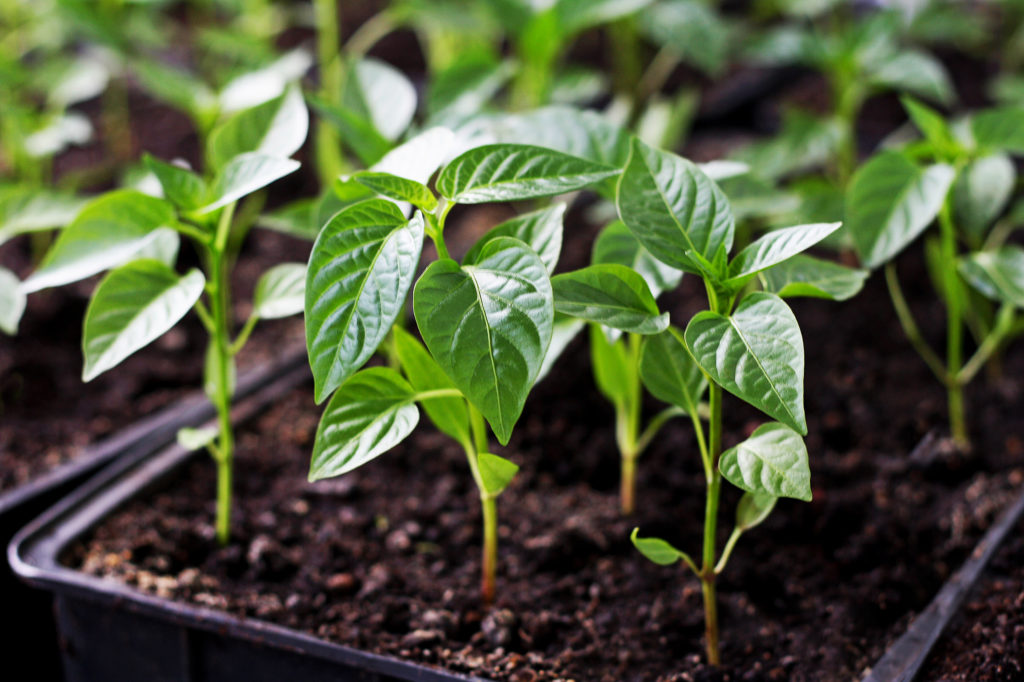
Step 1: Start peppers from seed early in spring
Start pepper seeds indoors 8 to 10 weeks before the last spring frost. (If you are not sure when the date of the average last frost is in your area, ask at a nearby garden center.) Sow three to four pepper seeds per pot then make sure the seeds stay warm; place your seed-starting containers on a seed heating mat or on top of the refrigerator. Make sure the indoor temperature averages 70°F/21°C during the day and 65°F at night. When seedlings have grown two sets of true leaves; cut the weakest seedlings off at soil level with a pair of garden scissors leaving one strong seedling per pot. Don’t plan to transplant peppers into the garden until two weeks after the last frost.
Step 2: Give peppers rich garden soil
Peppers want organically rich, well-drained soil. Add plenty of aged compost to the planting bed in advance of planting. If you have clay or sandy soil, turn the compost under with the turn of a shovel. If rain or irrigation water sits for more than an hour on the surface of your garden, your soil is not well-draining, and it will be better to plant your peppers in a raised bed. At transplanting time, add a shovelful of compost to the planting hole; you can also boost phosphorus in the soil (which is important for fruit formation) by adding a handful of bone meal to the hole as well.
Step 3: Warm the soil and prepare peppers for the outdoors
Peppers are highly susceptible to transplant shock. Two weeks before transplanting peppers into the garden, cover planting beds with black plastic to pre-warm the soil. One week before setting transplants into the garden begin to harden them off; set the plants outside in a warm, sheltered place for one, then two, then three, and more hours each day in the week before transplanting. Bring them indoors at night. This will give peppers a chance to prepare for their life outdoors.
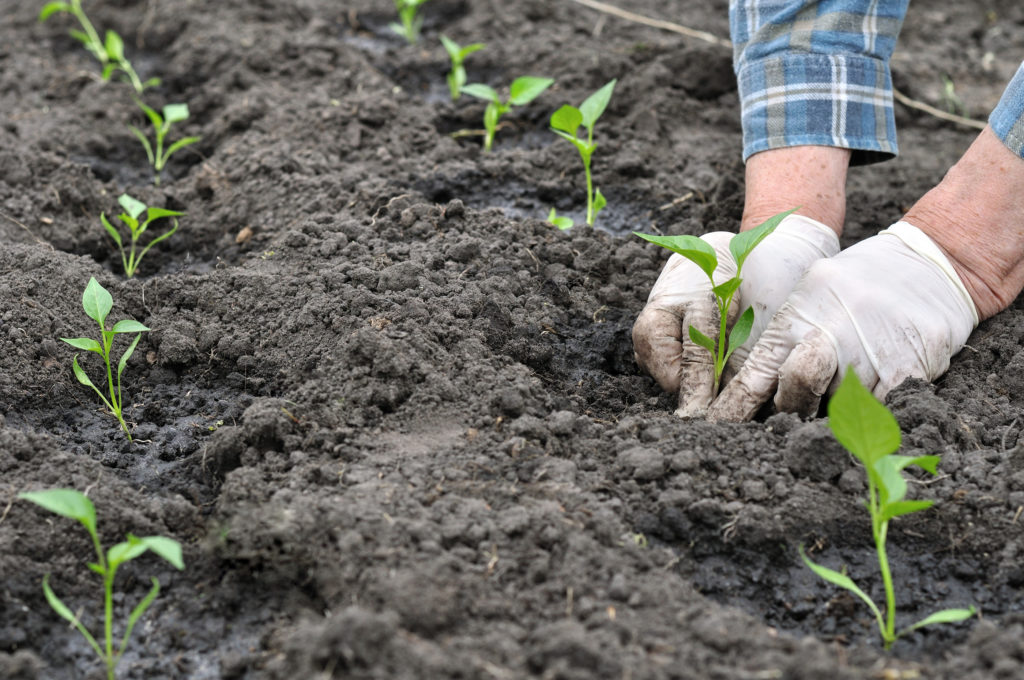
Step 4: Transplant peppers when the weather is warm
Transplant peppers into the garden only after the soil has warmed to 65°F or warmer. Pepper plants transplanted to the garden before the soil has sufficiently warmed will not grow well; they will never do as well as transplants set in the garden after the soil temperature has warmed to at least 65°F. As a general rule, transplant peppers into the garden two weeks after it’s safe to set tomatoes in the garden. Set transplants at the top of their root ball; do not bury the stem of peppers as you might a tomato plant; peppers can’t form roots along the stem-like tomatoes.
Step 5: Give peppers plenty of sun
Peppers require full sun and warm soil to grow well. Give peppers 8 hours of sun each day. Keep pepper plants sheltered from prevailing breezes.
Step 6: Give peppers moist soil
Keep the soil evenly moist as peppers grow for the best yield. Do not let the soil dry more than an inch below the surface; peppers are shallow-rooted and cannot tap moisture reserves deep in the soil. Maintain even water from flowering until harvest. You can intensify flavor, by reducing—but not stopping—watering a week or two before harvest.
Step 7: Feed peppers
Pepper plants will almost always benefit from extra nutrients. Add a fish meal to the soil at planting time (follow the instructions on the box). Side-dress peppers with aged compost or a time-release organic fertilizer (5-10-10) when the plant sets flowers—side-dress means spreading aged compost or fertilizer around the base of the plants and watering it in. When fruits form, drench the soil with fish emulsion or kelp meal every 3 to 4 weeks.
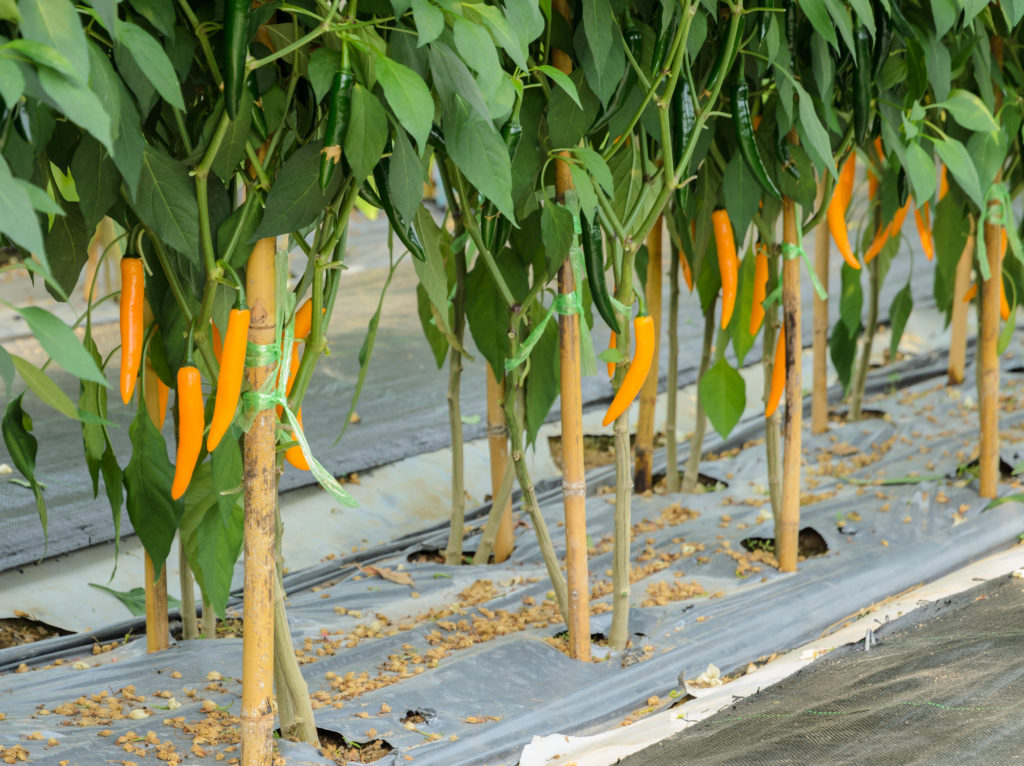
Step 8: Support peppers
Pepper plants greatly benefit from support. Pepper plant branches can be brittle, unlike tomato plant branches. Branches can snap when the fruit grows too heavy, so support the plant; use cages or stakes or string corrals. Put cages, stakes, and other supports in place at transplant time; don’t wait until the plant begins to lean sideways with fruit.
Step 9: Protect peppers from chilly weather
If the weather turns cool once peppers are in the garden, you must protect them. If nighttime temperatures dip below 60°F/15°C, protect pepper plants with medium-weight row covers or plant blankets. Be sure to remove covers when temperatures rise; temperatures higher than 90°F/32°C can cause blossoms to drop and fruit to sunburn.
Step 10: Harvest peppers at the right time
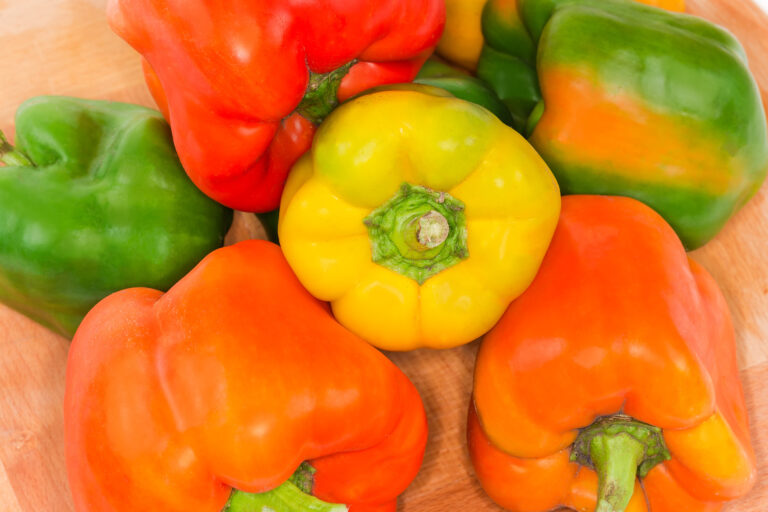
To increase the yield, pick peppers just before they are ripe—just before they turn their final color; this will allow the plant to redirect nutrients and energy to new flower buds and smaller fruits still on the plant allowing them to mature. Pick sweet peppers before they fully change color and let the change color indoors. Let hot peppers ripen to full color on the plant.
Sweet bell peppers produce green fruit in 50 to 60 days from transplanting; they will be ripe and colorful—red, orange, yellow, purple, or chocolate brown—about 80 days from transplanting. Some hot peppers such as Habanero require 100 days to produce ripe fruit. Hot peppers like sweet peppers ripen to a specific color—check the seed packet or plant label for the color the pepper is supposed to be when it is ripe.
🌶 Peppers Growing Hub
Start here:
- How to Plant and Grow Hot Peppers: A Gardener’s Guide to Spicy Success
- How to Grow Sweet Peppers: A Gardener’s Guide to a Bountiful Harvest
Getting Peppers Started (general prep)
- Seed Starting Peppers: Proven Method for Strong, Healthy Plants
- Soil Preparation for Peppers: The Secret to Strong Roots and Big Harvests
- Best Hot Pepper Varieties to Grow for Salsas, Sauces, and Drying
- Best Sweet Pepper Varieties to Grow
- World’s Hottest Peppers You Can Grow in Your Garden
- The Science of Pepper Heat: Understanding Scoville Units
- Growing Peppers Indoors Under Lights
- Companion Planting with Peppers: Best and Worst Neighbors in the Garden
Planting & Growing Peppers
- When and How to Transplant Pepper Seedlings Outdoors
- 10 Steps to Grow a Bumper Pepper Crops
- How to Grow Hot Peppers in Containers: Tips for Small Spaces
- 7 Tips for Growing Peppers in Pots
- How to Grow Colored Bell Peppers: How to Get Reds, Yellows, and Oranges
- Cross-Breeding Hot Peppers at Home: A Beginner’s Guide
- How to Water & Fertilize Sweet Bell Peppers for Maximum Yield
- Pruning Pepper Plants for Healthier Growth and Bigger Harvests
- Six Tips to Grow Peppers for Flavor
- Pepper Season Extension & Overwintering: How to Keep Plants Producing Longer
Pepper Care & Troubleshooting
- Pepper Pests, Diseases, and Problems—How to Fix Them Naturally
- Caring for Peppers: Mid-Season Problem Cures
- How to Increase the Heat of Hot Peppers Naturally
- Overwintering Pepper Plants Indoors
- How to Overwinter Pepper Plants in Any USDA Zone
Harvesting & Preserving Peppers
- When to Harvest Hot Peppers for Maximum Heat
- How to Harvest Sweet Peppers for the Best Flavor
- How to Preserve Hot Peppers: Drying, Fermenting & Pickling
- How to Ripen Green Peppers Indoors
- Saving Pepper Seeds for Next Year’s Crop
Cooking & Using Peppers
- Preparing and Serving Sweet Peppers – Harvest to Table
- Five Ways to Cook and Serve Chili Peppers
- Stuffed Peppers: Best Varieties for Cooking
- Cooking with Hot Peppers: Flavor & Safety Tips
- How to Handle Hot Peppers Without Burning Your Skin
Garden Planning Books at Amazon: