How to Grow Peppers in Containers for Beginners (Step-by-Step for Strong, Productive Plants)
Growing peppers in containers is one of the easiest ways to get a reliable harvest—even if you’re brand new to gardening.
I’ve grown peppers in raised beds and containers for many years in Sonoma Valley, and I can tell you this: peppers actually perform extremely well in pots when you give them warmth, steady water, and enough root space.
The biggest mistake beginners make is treating peppers like tomatoes. They’re related—but peppers are more sensitive to temperature swings, inconsistent watering, and small containers.
Let’s walk step by step so you can grow healthy, productive container peppers from start to finish.
Know What to Plant This Week
Every week I answer the gardener's most important question: what should I plant now? Get seasonal planting advice free — or go Pro for my full Soil Temperature Garden Report, with soil temperature, moisture, weather trends, and crop-by-crop recommendations.
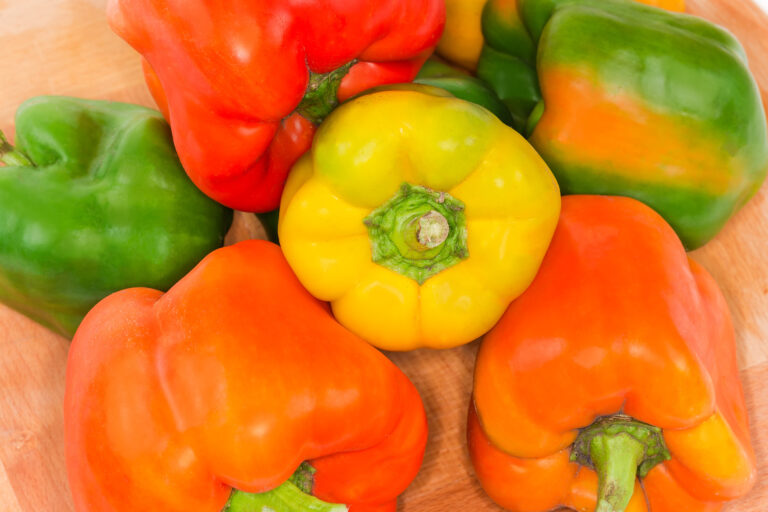
Step 1: Choose the Right Pepper Variety (This Matters More Than You Think)
Not all peppers behave the same in containers.
Best beginner-friendly peppers:
- Bell peppers (sweet peppers)
- Jalapeños
- Banana peppers
- Poblano peppers
- Compact hot pepper varieties (like serrano)
My insight:
In my experience, smaller-fruited peppers are more reliable and earlier producing in containers than large bell peppers in cooler springs.
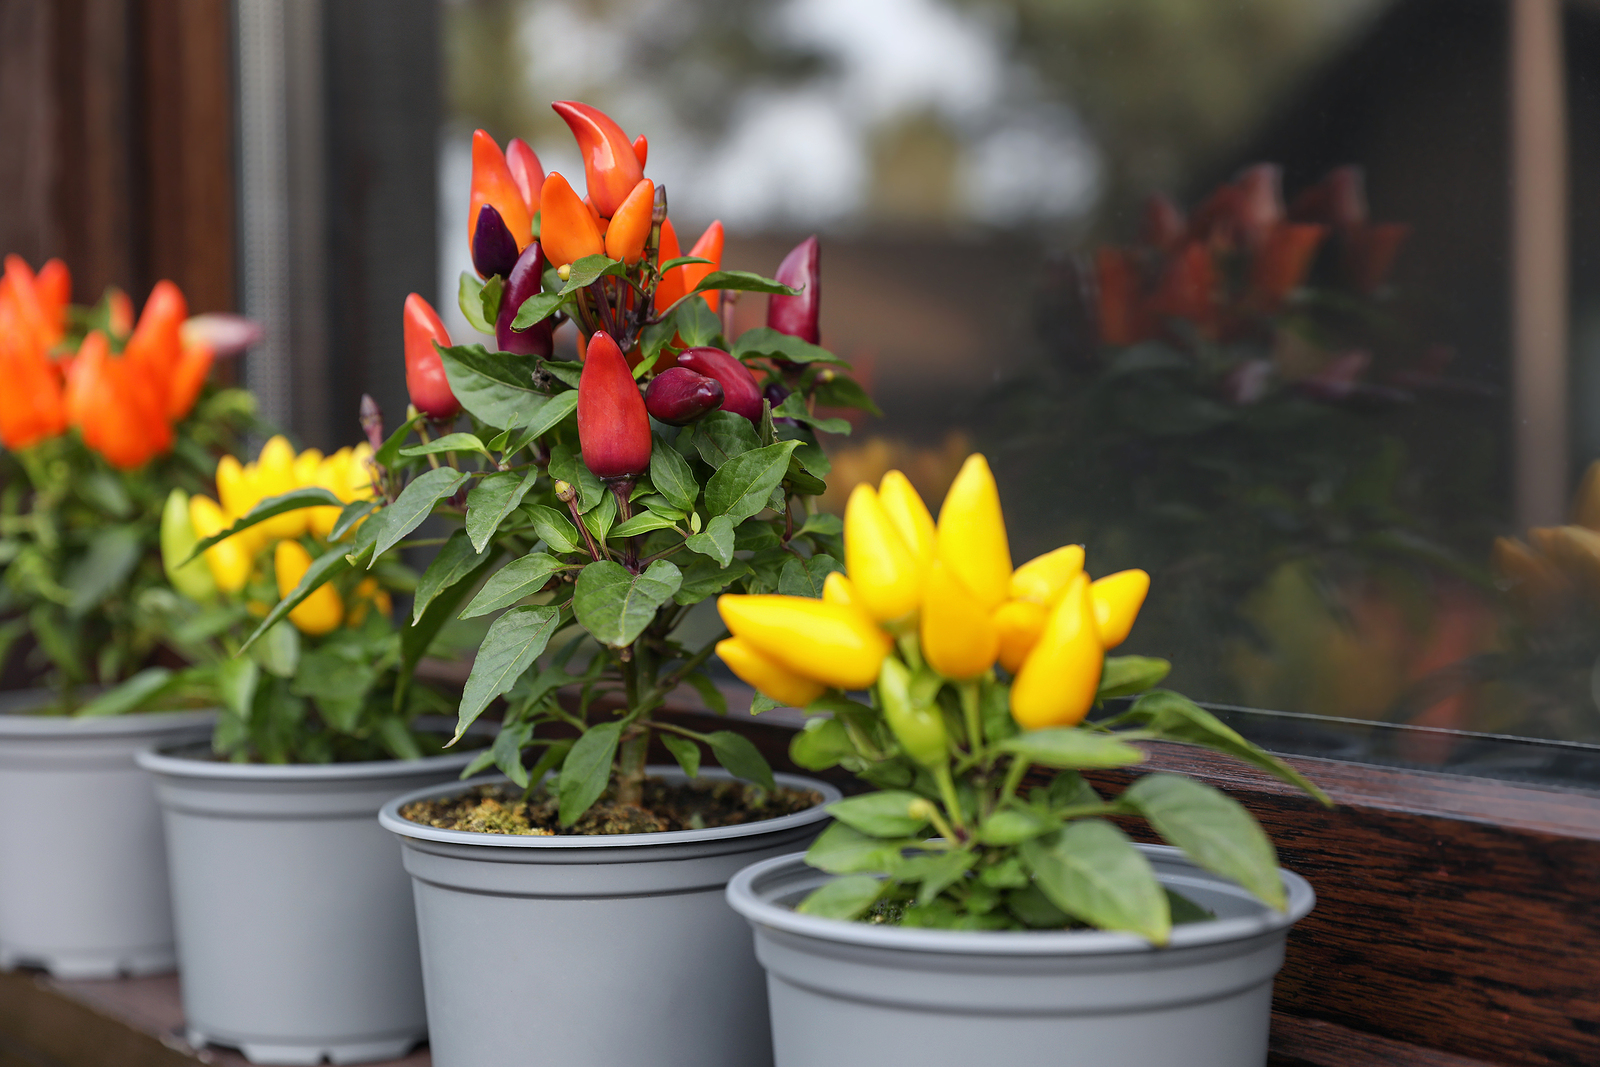
Step 2: Choose the Right Container Size
Pepppers need more root space than most beginners expect.
Minimum sizes:
- 5–7 gallon: small peppers (tight but workable)
- 10–15 gallon: ideal for most peppers
- 15+ gallon: best for large bell peppers and heavy production
Why size matters:
- Bigger root zone = more fruit
- Small pots = stunted growth and blossom drop
- Consistent moisture = fewer stress problems
👉 Helpful Amazon search links:
Step 3: Use High-Quality Potting Mix (Never Garden Soil)
Peppers in containers need a light, well-draining mix.
What to look for:
- Organic potting soil
- Good aeration (perlite or similar)
- Moisture retention without sogginess
Why this matters:
Heavy soil suffocates pepper roots and slows growth dramatically.
👉 Helpful Amazon search links:
Step 4: Plant Deep and Handle Roots Gently
Peppers don’t need deep stem burial like tomatoes—but they do need careful handling.
How to plant:
- Keep root ball intact
- Set plant at same depth as nursery pot
- Firm soil gently around roots
My insight:
I’ve found peppers recover faster when roots are disturbed as little as possible during transplanting.
Step 5: Full Sun and Warmth Are Critical
Peppers are warm-weather crops.
They need:
- 6–8+ hours of direct sunlight
- Consistent warm temperatures
- Protection from cold nights
What happens in cool conditions:
- Slow growth
- Blossom drop
- Delayed fruiting
👉 Helpful Amazon search links:
- Garden cloches for warmth
- Floating row covers
Step 6: Water Consistently (But Don’t Overwater)
This is where most container pepper problems start.
What happens with poor watering:
- Too dry → blossom drop
- Too wet → yellowing and root stress
Best practice:
- Water deeply
- Let top inch dry slightly between watering
- Avoid constant soggy soil
👉 Helpful Amazon search links:
Step 7: Feed Regularly for Strong Production
Container peppers are heavy feeders during fruiting.
Feeding schedule:
- Start feeding 2–3 weeks after transplant
- Feed every 10–14 days during production
What to use:
- Balanced fertilizer early
- Higher potassium during flowering/fruiting
👉 Helpful Amazon search links:
Step 8: Support Plants as They Grow
Even compact peppers can become heavy with fruit.
Support options:
- Small cages
- Stakes with ties
- Tomato-style supports
👉 Helpful Amazon search links:
Step 9: Mulch the Container Surface (Underrated Step)
Mulch helps stabilize container conditions.
Benefits:
- Reduces water evaporation
- Keeps roots cooler in heat
- Improves consistency
👉 Helpful Amazon search links:
Step 10: Watch for Common Pepper Problems
Watch for:
- Blossom drop (temperature stress)
- Yellowing leaves (watering imbalance)
- Slow fruiting (low light or cool temps)
My insight:
In my garden, most pepper issues trace back to temperature swings and inconsistent watering—not disease.
My Experience
After decades of growing peppers in raised beds and containers, I’ve found that success comes down to three things:
- Warm soil and air temperatures
- Consistent moisture (not extremes)
- Enough container space for roots
Once those are stable, peppers become one of the most productive container crops in the home garden.
🧰 Recommended Container Pepper Setup (Buying Guide)
This simple setup prevents most beginner mistakes.
🪴 Containers
- 10–15 gallon grow bags or pots
🌱 Soil
- Organic potting mix for vegetables
💧 Watering Control
- Soil moisture meter
- Drip irrigation kit for containers
🌿 Feeding
- Organic pepper fertilizer
🪵 Support
- Small tomato cages or plant stakes
👉 This setup removes guesswork and dramatically improves early success rates.
Related Posts You May Find Helpful
- How to Grow Tomatoes in Containers (Step-by-Step)
- Why Are My Seedlings Leggy? (Causes and Fixes)
- Why Are My Young Plants Yellow? (Causes and Fixes)
- Seeds Not Germinating? 7 Reasons Your Garden Isn’t Sprouting
Frequently Asked Questions
Can peppers grow well in containers?
Yes—peppers are one of the best container vegetables when grown correctly.
What size pot is best for peppers?
10–15 gallons is ideal for most varieties.
Why are my pepper plants not producing fruit?
Usually temperature stress, inconsistent watering, or too little sun.
How often should I water container peppers?
Typically every 1–3 days depending on heat and pot size.
Do peppers need a lot of fertilizer?
Yes—especially during flowering and fruiting stages.
The Bottom Line
Growing peppers in containers is simple once you get the fundamentals right:
- Right container size
- Warm, sunny location
- Consistent watering
- Regular feeding
- Light support
Get those dialed in, and container peppers can be highly productive all season long—even for beginners.