How to Grow Collard Greens in Containers: Tips for Success
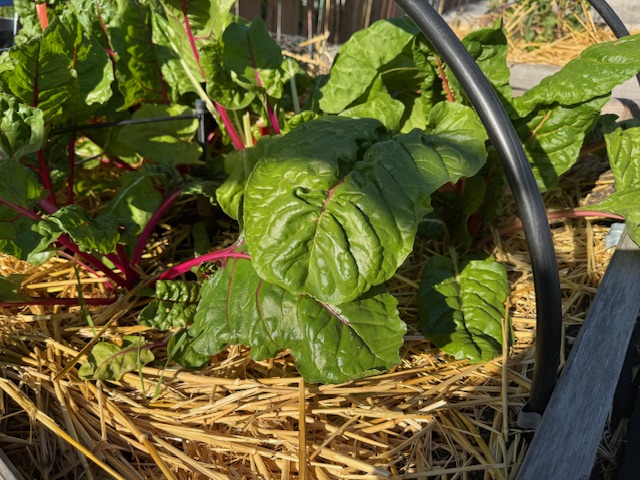
Collards are a nutritious, leafy green that thrive in both cool and warm seasons. Growing them in containers is a great option if you have limited garden space, want to extend the season, or prefer an easier way to control soil quality and pests. With the right setup and care, you can enjoy tender, flavorful collard leaves right from your patio, balcony, or deck.

1. Choose the Right Container
- Size: A 5-gallon pot is the minimum for one collard plant. Bigger is better—aim for a container 12–16 inches wide and deep.
- Material: Plastic retains moisture well; fabric grow bags offer better drainage and root aeration.
- Drainage: Ensure the container has drainage holes to prevent waterlogging and root rot.
2. Use Quality Soil
- Mix: Use a high-quality potting mix enriched with compost. Avoid garden soil—it compacts in containers.
- pH: Collards prefer a slightly acidic to neutral pH (6.0–6.8).
- Nutrients: Add a slow-release vegetable fertilizer or compost before planting.
3. Planting Collards
- Seeds or Transplants: You can start from seed directly in the container or use healthy transplants.
- Spacing: One plant per 12–16-inch pot, or 2–3 plants in a 20–24-inch container.
- Depth: Plant seeds ¼–½ inch deep; thin seedlings to final spacing once they have two sets of leaves.
4. Light Requirements
- Full Sun: Collards grow best with at least 6–8 hours of direct sunlight daily.
- Partial Shade: In hot climates, provide afternoon shade to reduce heat stress and prevent bolting.
5. Watering Tips
- Consistency: Keep soil evenly moist—do not allow it to dry out completely.
- Deep Watering: Water until moisture drains from the bottom of the pot.
- Frequency: In hot weather, daily watering may be needed; in cooler conditions, water every 2–3 days.
6. Feeding for Leafy Growth
- Initial Fertilizing: Mix a balanced fertilizer into the soil at planting.
- Ongoing Feeding: Every 2–3 weeks, apply a liquid fertilizer high in nitrogen to encourage leaf production.
- Organic Options: Use compost tea or fish emulsion for steady growth.
7. Pest and Disease Control
- Common Pests: Watch for aphids, cabbage worms, and flea beetles. Handpick pests or use insecticidal soap.
- Container Advantage: Moving the container can help avoid pest hotspots.
- Diseases: Prevent fungal issues by watering at soil level and spacing plants for airflow.
8. Harvesting Tips
- Timing: Begin harvesting when leaves are large enough to eat, usually 6–8 weeks after planting.
- Method: Pick outer leaves first, allowing inner leaves to keep growing.
- Continuous Harvest: Regular picking encourages more growth and extends the season.
9. Extending the Season
- Cool Weather: Collards tolerate frost and taste sweeter after cold nights—keep them going into late fall or even winter in mild climates.
- Hot Weather: Provide shade cloth or move pots to cooler spots to grow collards in summer.
Final Tip: Growing collards in containers gives you flexibility—move them for sun, shade, or protection, and enjoy fresh greens almost year-round.