Grow 20 Herbs for Cooking
No cook should be without these twenty versatile, aromatic, and savory herbs. These herbs offer simple ways to bring flavor and aroma to many delectable dishes.
Herbs for cooking are plants whose leaves, seeds, fruits, flowers, or other parts are used fresh or dried for flavoring food. (A spice–broadly speaking–denotes a flavoring derived from the seed, fruit, bark, or other parts of a plant grown in warm, tropical regions.) A “potherb” is a plant you cook in a pot.
The surest way to ensure you are using the freshest herbs is to grow them yourself. Herbs generally grow well with little care. All they need is good loose soil and a sunny spot close to your kitchen.
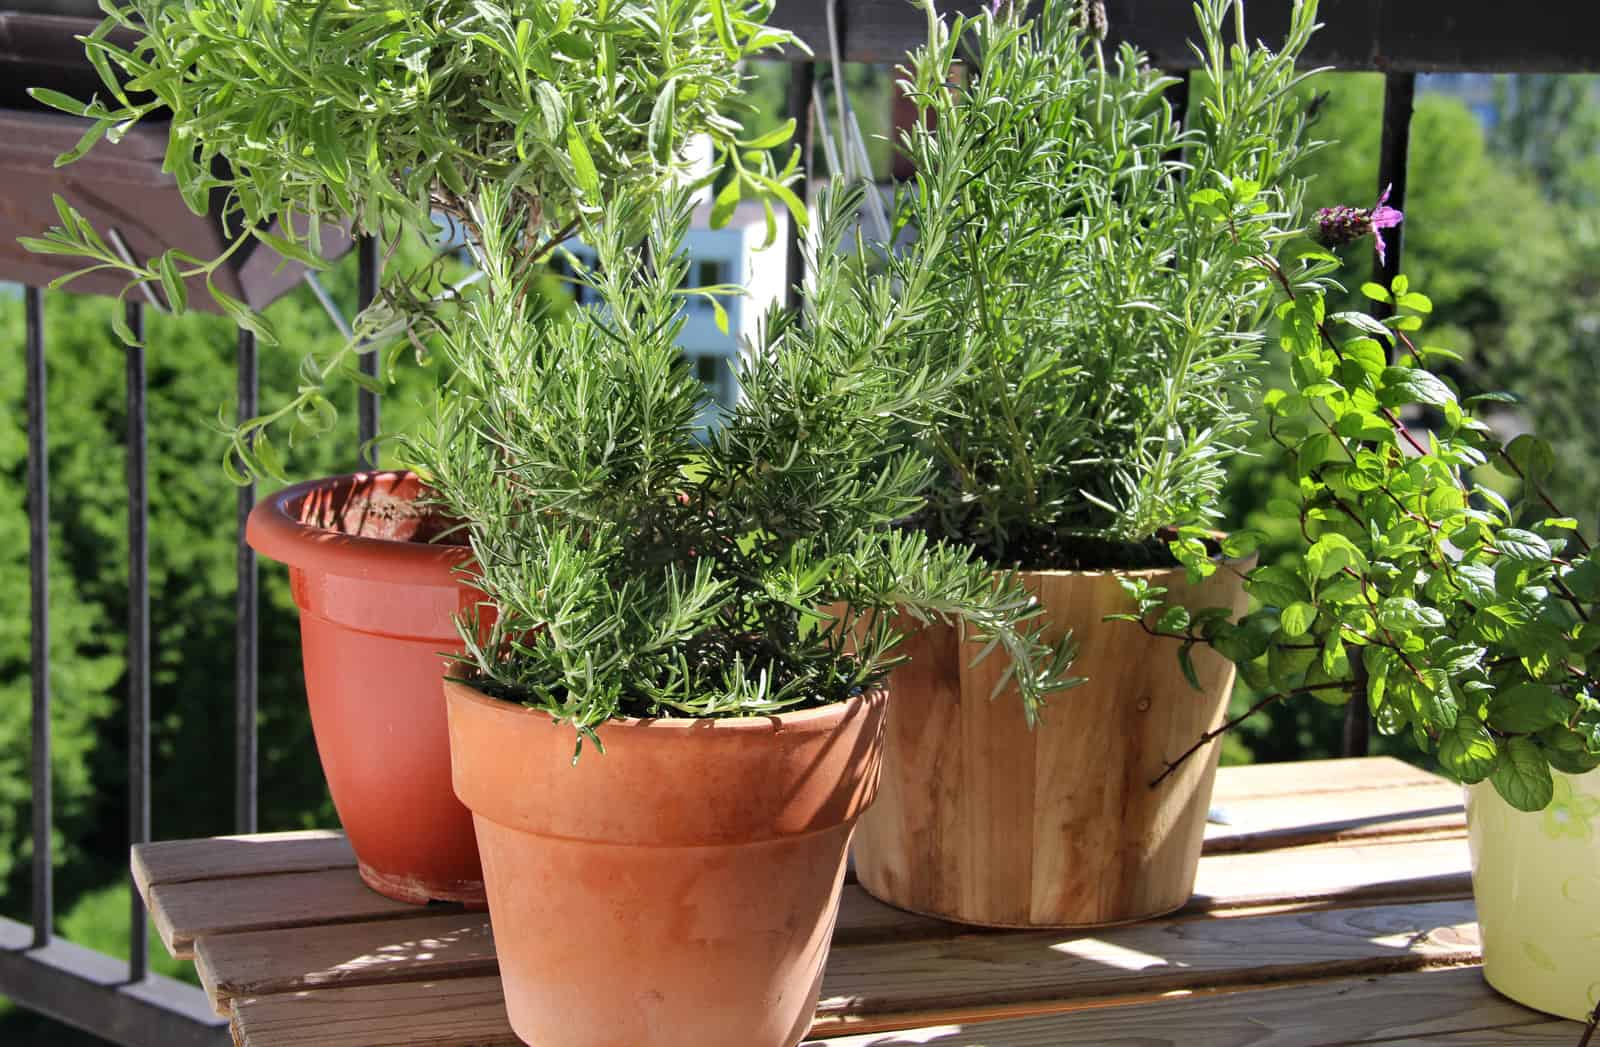
Nearly all of the herbs for cooking can be grown equally well in the garden or on a kitchen windowsill. Here are twenty herbs for cooking followed by growing tips.
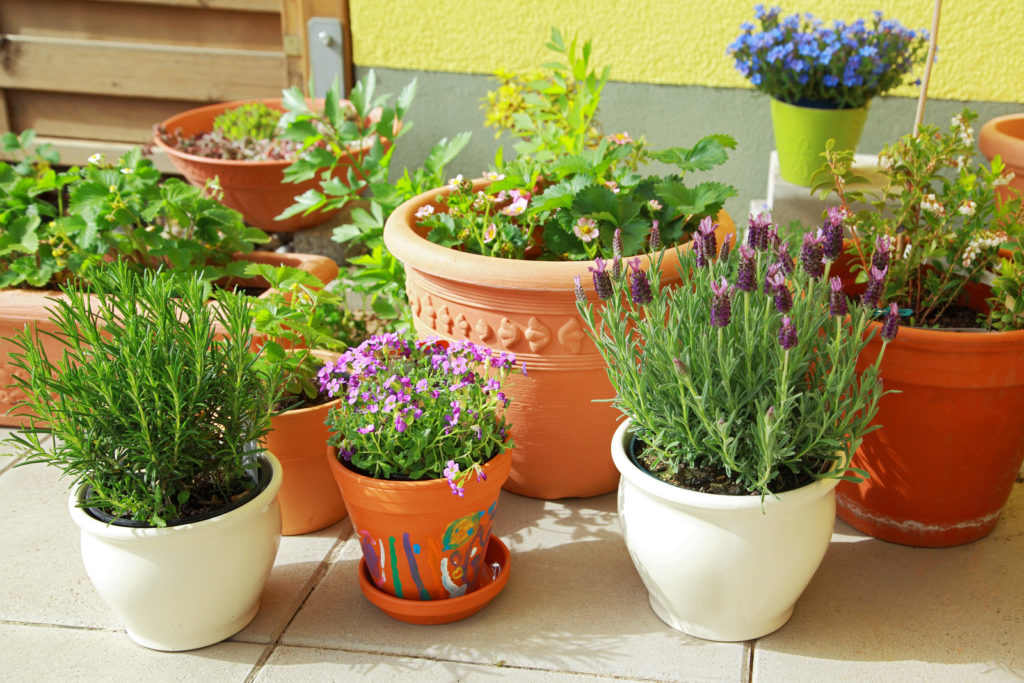
20 easy-to-grow herbs for cooking
Here are 19 commonly used herbs for cooking; the annuals listed (see the note in the Description) here can be grown in containers indoors. Click on the herb name in red for more growing information.
Anise
Use licorice-flavored anise seeds for cookies, candy, meat, and soup; leaves for stews, salads, and meat.
- Description: Annual. Lower leaves oval, serrated edges, small yellowish-white flowers, low-spreading plant 18-24 inches high.
- Grow: Best to sow in place, thin to 6-8 inches apart, in full sun. Slow growing.
- Harvest: Harvest seed about 1 month after flowers bloom.
Sweet basil
Use basil leaves in tomato dishes, pesto, spaghetti sauce, soups, vegetables, and stews.
- Description: Annual. Leafy, light green foliage, spikelets of tiny flowers 20-24 inches high. Compact bush form to 12 inches high.
- Grow: Easy to grow. Sow seeds in place after the last frost or start inside and transplant; full sun; space 12 inches apart. Pinch tips to grow bushy.
- Harvest: Harvest leaves just before flowering begins; cut plants 4-6 inches above the ground.
Borage
Use cucumber-flavored borage leaves in salads, flowers in soups, and stews.
- Description: Annual. Coarse, rough 4- to 6-inch long, gray-green leaves, light blue flowers in clusters, 12-36 inches high.
- Grow: Sow seeds in place; difficult to transplant; space 12 inches apart in sun or filtered sun.
- Harvest: Harvest young leaves before flowers open.
Caraway
Use caraway seeds to flavor bread, cheese, cakes, salads, soups, and salads.
- Description: Biennial. Carrot-like leaves, creamy to greenish-white, carrot-like flowers, 8-20 inches high.
- Grow: Sow seeds in place, space 8 to 10 inches apart.
- Harvest: Harvest leaves when mature; seeds will form the second season; harvest a month after flowering.
Chervil
Use fresh or dried chervil leaves in salads, soups, fish, poultry, and vegetable dishes. Use in sauces: béarnaise, vinaigrette, rémoulade, sauce verte.
- Description: Annual. Fernlike foliage turns pink in fall, small white flowers in clusters, 18 inches high.
- Grow: Sow seeds in place or start indoors in pots, keep the soil moist, partial shade, and space 6 inches apart. Easy to grow indoors, does not require direct sun.
- Harvest: Pick leaves just before flowering. Tender leaves may be dried.
Chives
Chives give an onion/garlic flavor to salads, soups, eggs, sauces, and sandwiches. Make chive butter
- Description: Perennial. Onion-like leaves, lavender flowers, 10 inches high.
- Grow: Grow from seeds or divide the clumps; full sun; space 5 inches apart. Will grow in the kitchen window
- Harvest: Clip leaves close to the ground.
Cilantro – Coriander
These two herbs are grown from the same plant. The leaves are known as cilantro; the seeds are known as coriander. Use cilantro leaves similar to parsley in fish dishes, soups, curries, and Mexican dishes. Use crushed coriander seeds in pastries, sauces, curries, and shellfish platters.
- Description: Annual. Oval leaves with serrated edges, small pinkish-white flowers in clusters, 12 to 30 inches high. The odor of the plant may be offensive to some.
- Grow: Easy to grow. Sow seeds in place in early spring; full sun or filtered shade; thin to 6-10 inches apart.
- Harvest: Pick leaves when plants are 4 to 6 inches tall. Fresh leaves are called cilantro. Harvest seeds called coriander in midsummer when they begin to turn brown.
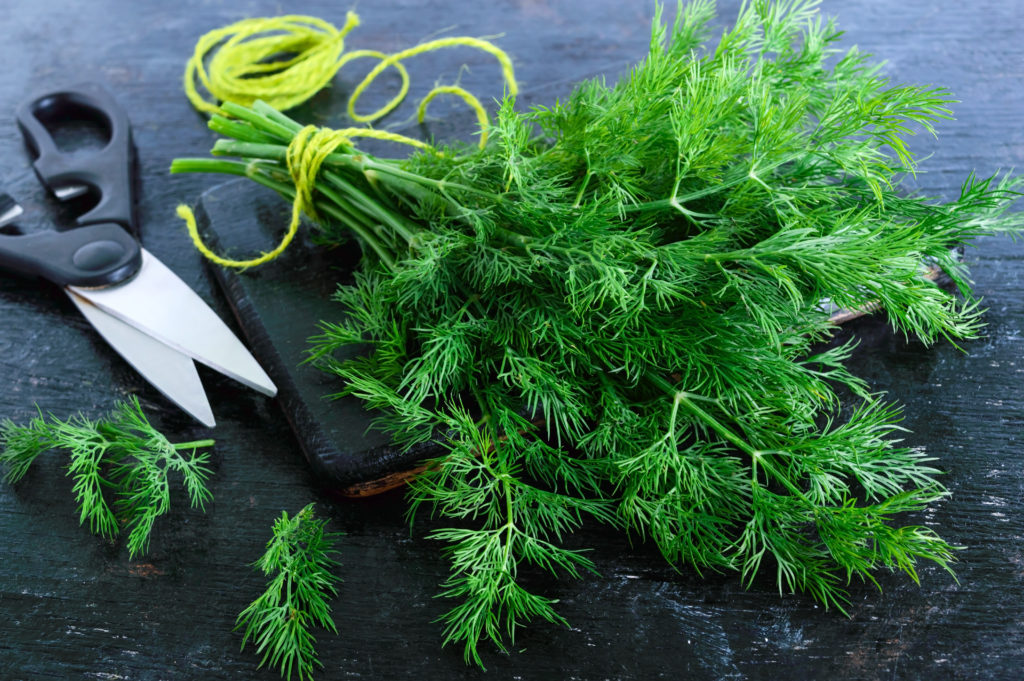
Dill
Use slightly bitter dill seeds in pickles, sauces, meats, and salads. Dill weed (the plant’s leaves) is used as a bouquet in salads, potatoes, tartar sauce, and butter dishes.
- Description: Annual. Tall plant with light green, feather-like, foliage, flowers in open heads, 24-40 inches tall.
- Grow: Sow seeds in place in spring; full sun; well-drained soil; thin to 12 inches.
- Harvest: Pick fresh leaves when flowers open; gather seeds when brown.
Sweet fennel and common fennel
Sweet fennel and common fennel are two different plants. Use licorice-flavored fennel seeds in bread, cheese spreads, vegetable dishes, and potatoes. Drop a few seeds in vinegar.
- Description: Perennial. Tall plant to 5 feet. Bright-green hollow stems with feathery leaves and a flat cluster of yellow-golden flowers.
- Grow: Sow in place; full sun; thin to 12 inches apart; stake when tall.
- Harvest: Pick stems just before flowers bloom. Seeds can be dried.
Garlic
Garlic is most commonly used as a condiment or seasoning. Use garlic as a flavoring agent in vinaigrettes, soups, vegetables, meats, stews, and marinades.
- Description: Cool-season perennial. Grows 12 to 24 inches tall. Solid, narrow, strap-shaped stalks atop an underground round bulb; the bulb is divided into a cluster of individual cloves.
- Grow: Sow cloves 2 inches deep; plant outdoors from late summer to autumn.
- Harvest: Harvest the summer after planting when tops have begun to yellow and dry. Cure bulbs for 3 to 4 weeks.
Sweet marjoram
Sweet-spicy marjoram leaves complement the flavor of salads, omelets, eggs, vinegar, rub on pork, and veal; use like oregano.
- Description: Small, oval leaves, knot-like clusters of flowers, 12-24 inches high.
- Grow: Perennial treated as an annual. Sow seeds in place or start indoors and transplant when the danger of frost is past.
- Harvest: Harvest young at any time, mature leaves before flowers bloom.
Oregano
Use dried or fresh oregano leaves in tomato sauces, beans, cheese, soups, roasts, and vegetable dishes such as zucchini.
- Description: Perennial. Shrub-like plant with dark, oval leaves, pale pink flowers, 24 inches high.
- Grow: Start seeds indoors or divide already established plant; plant in full sun; thin to 10 inches apart. Grows well in containers.
- Harvest: Gather fresh leaves as needed; leaves can be dried.
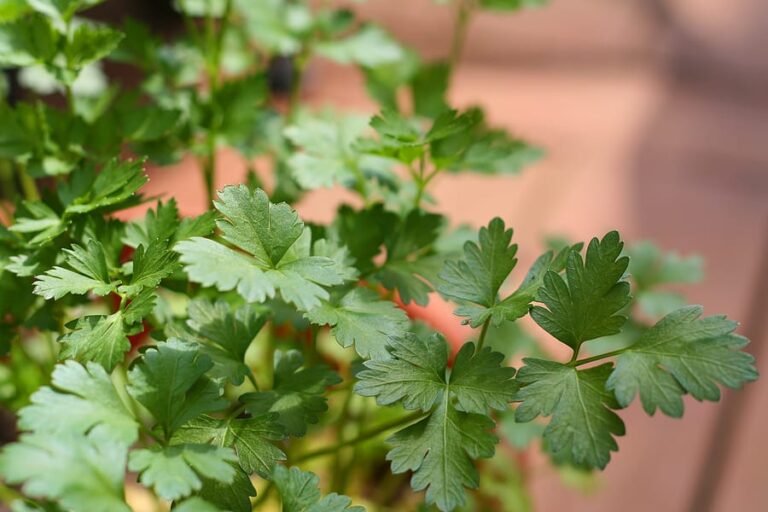
Parsley
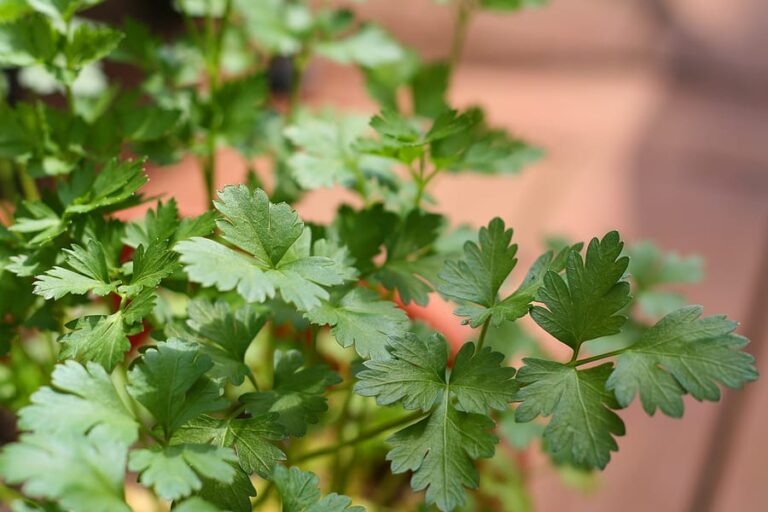
Use parsley as a garnish, whole leaves, or minced.
- Description: Biennial. There are several varieties: curled, plain, and Italian. Dark green curled or plan leaves, 5-6 inches high.
- Grow: Biennial. Soak seeds in warm water 24 hours before planting; plant in partial shade; thin to 6-8 inches apart.
- Harvest: Pick from first-year plants, good-sized, not yellow, leaves when needed. Leaves can be dried.
Peppermint
Use peppermint leaves in tea, jelly, sauces; sprigs in sauces, and summer drinks.
- Description: Perennial. Bush-type plant with tiny purple flowers, 18 to 36 inches tall.
- Grow: Start from root divisions or cuttings, space 8-10 inches apart; sun or shade. Contain spreading by growing in containers. Renew every 3 to 4 years. Harvest: Cut springs or leaves frequently.
Rosemary
Sprinkle fresh or dried rosemary leaves on lamb, pork, veal, sauces, and soups. Use as a rub for veal, lamb, and chicken.
- Description: Perennial. Leaves needle-like and glossy green, lavender-blue flowers, plant in a dry, sunny location; pinch often to train to 36 inches tall or lower.
- Grow: Propagate from slips or seeds.
- Harvest: Gather leaves and sprigs as needed.
Sage
Use fresh or dried sage leaves for stuffings, rabbits, chicken, roast turkey, baked fish, pork chops and meats, eggs, or vegetables. Slightly bitter flavor.
- Description: Perennial. Shrub-like plant with gray leaves, and purple flowers, 18 inches high, or more.
- Grow: Start from seeds or stem cuttings or divide established plants; full sun; space 30 inches apart. Slow to begin growing. Renew every 3 to 4 years.
- Harvest: Harvest leaves before flowering. Cut back after blooming.
Summer savory
Use summer savory leaves in salads, soups, eggs, dressings, poultry dishes, fish, and with vegetables. Goes well with beans
- Description: Annual. Small, gray-green leaves, with purple and white flowers, 18 inches high.
- Grow: Sow seeds in place after danger of frost is past; full sun; space 6-8 inches apart. Easy to grow.
- Harvest: Gather leaves before flowering.
Spearmint
Use spearmint as a garnish on fresh fruits, ices, and summer drinks.
- • Description: Perennial. Reddish stems, crinkled and pointed leaves, lavender flowers in spikes 12-24 inches high.
- • Grow: Start from root division or cutting; sun or shade; space 8-10 inches apart. Renew every 3 to 4 years.
- • Harvest: Cut springs or leaves frequently.
French tarragon
Use tarragon leaves for fish, shellfish, poultry, veal, meat, eggs, and vegetables; salads, sauces, and marinades.
- Description: Perennial. Dark green leaves, very small, clustered white flower; grows to 24 inches high.
- Grow: Start from cuttings, root pieces, or seeds; can take partial shade; space 12 inches apart. Protect in cold-winter regions.
- Harvest: Gather leaves before flowering.
Thyme
Use thyme leaves in soups, gumbos, chowder, salads, omelets, vegetables, and meat; it has a warm, clove-like flavor.
- Description: Perennial. Common thyme has small gray-green leaves, and purple flowers in spikes, 8-12 inches high. Lemon thyme has golden-green leaves and a yellow scent with pinkish flowers.
- Grow: Start from seeds indoors or in place; propagate from cuttings, space 10-12 inches apart; prefers dry soil and full sun. Renew every 3 to 4 years.
- Harvest: Clip off tops when the plant is flowering.
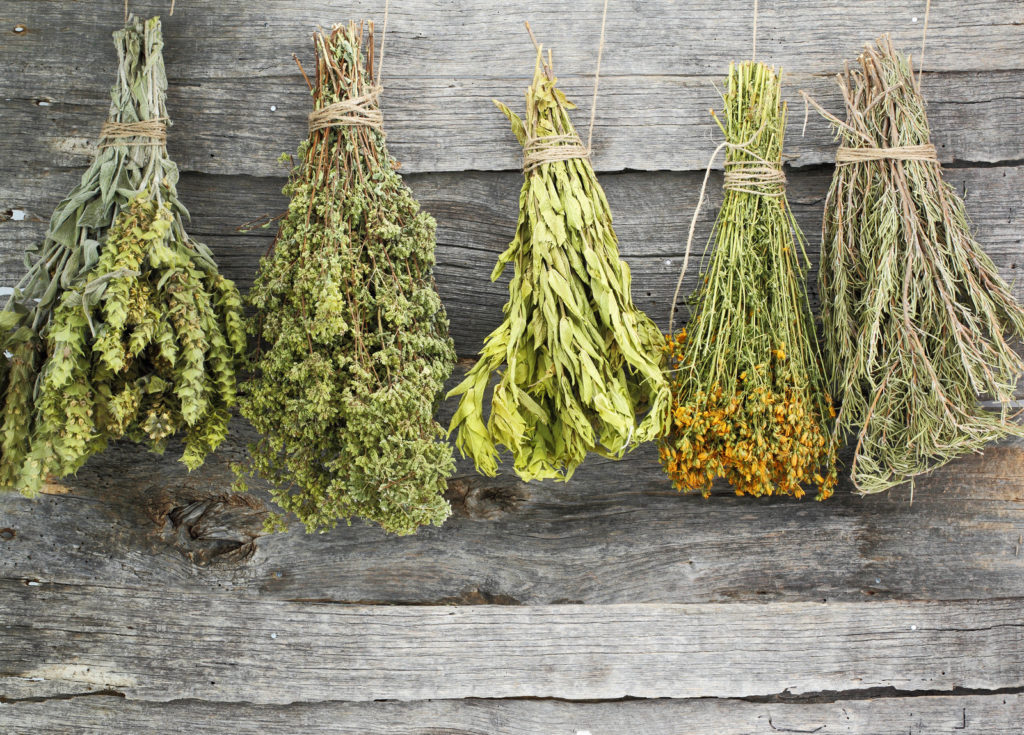
How to dry herbs for kitchen use
The herbs you grow and dry yourself will be far superior to those you buy packaged. Herbs with woody stems and thick or tough leaves are best for drying and holding their flavor—thyme, rosemary, oregano, sage, and lemon verbena are good choices.
(Herbs with soft leaves and stems such as basil, dill, parsley, chervil, and marjoram lose most of their flavor when dried; soft-leaved and stemmed herbs are best chopped and frozen with a little water or oil in ice-cube trays.)
Herb leaves and small flower heads for drying are best and most flavorful when plants reach maturity–usually just before flower buds open. That is when the essential oil in leaves is most concentrated. Pick herbs for drying early in the day.
Air drying, dehydrator drying, microwave drying, and oven drying are relatively easy. The key to herb drying, no matter the method you choose, is to dry the herb completely leaving no moisture behind to host mold in storage.
Prepare herbs for drying
Clip stems with leaves for drying then rinse them under gently running water to remove dust and insects. Press the herbs to dry between two paper towels. Remove any dead or discolored stems or leaves before drying.
How to air dry herbs
This method works well for herbs with long stems.
- Tie the herbs in small bunches by the end of the stems—use kitchen twine or string.
- Suspend them upside down by their stems; tie them to a cross string or line that will hold the weight of several bunches.
- Hang them in the kitchen, garden shed, or attic–anywhere where the temperature is warm and air circulation good.
- Hanging bunches upside down—leaves down—will cause the flavoring oils from the stem to concentrate in the leaves.
- Leaves should dry in 5 to 10 days; when they crumble between your fingers easily, they are dry.
- To avoid herbs gathering dust or insects while air drying, place a small paper bag around the leaf ends of each bunch and tie the bag securely. Poke several half-inch holes in the bag to ensure air circulation and label each bag. Roll the bag between your fingers gently and the leaves will crumble and fall to the bottom of the bag when dry—as will seed pods.
- Be sure leaves are completely dry or they will mold in storage.
How to tray or screen dry herbs
This method works well for herbs with large leaves or flowers.
- Use a tray or section of a clean window screen to dry herbs with large leaves, large flowers, or seed pods.
- Elevate the tray or screen on wooden blocks in a clean, warm location where there is plenty of air circulation.
- Wash the herbs and cover them with cheesecloth to keep off dust and insects.
- Turn the herbs over every day or two until they dry evenly.
How to oven-dry herbs
- Place the herbs one layer deep on an oven rack or screen.
- Set the oven temperature below 100°F (40°C) and prop the oven door open to allow moisture to escape.
- Check the herbs for drying at 5 to 10-minute intervals until they are dry; it will be difficult to maintain an even low temperature for even drying; essential oils are easily lost using this method.
How to microwave dry herbs
This method works well for small quantities of herbs.
- Microwave drying is well suited to small quantities of herbs.
- Place cleaned leaves and sprigs between a double layer of paper towels.
- Microwave herbs on high for 2½ minutes then check to see if stems and leaves are dry.
- If not dry, microwave an additional 30 seconds and check again and repeat until dry.
Drying herbs in a dehydrator
- Place herbs on a drying tray in a preheated dryer with the thermostat set for 90° to 100°F (about 35°C).
- Drying will occur in 2 to 3 hours.
Testing herbs for dryness
Herbs are dry when the leaves easily crumble and stems are brittle and break when bent. You can double-check for dryness by placing herbs in an airtight container for several days. If condensation appears on the inside of the container, dry the herbs longer.
Packaging dry herbs
Place dried herbs in any container that excludes air, light, and moisture; air and light will result in loss of flavor; moisture can result in caking and loss of color. Dark-colored jars with airtight lids work best. Avoid paper or cardboard containers that will absorb essential oil and do not protect herbs from air and moisture.
Storing dry herbs
Store dried herbs in a cool place–60°F (15°C) or lower; this will help them hold their color and flavor. Properly stored herbs will keep for six months to a year. For full flavor, avoid crushing or grinding herbs until just before using.
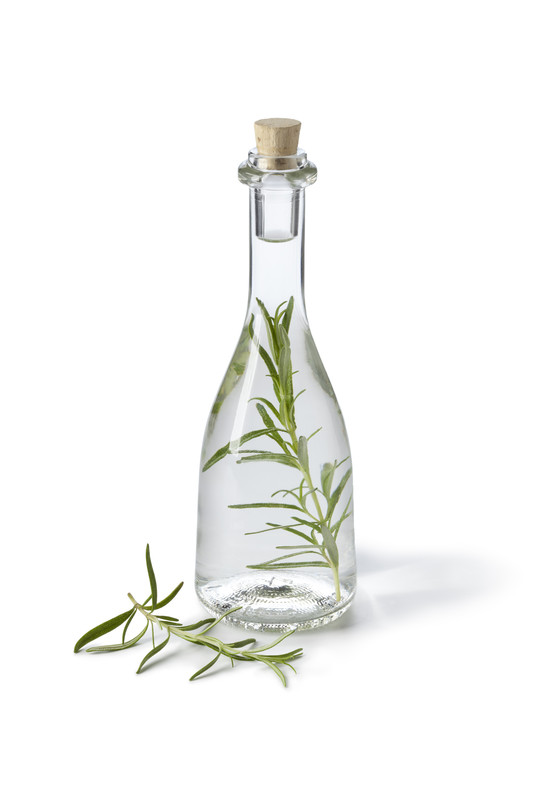
How to make herb-flavored vinegar
Add herbs to wine or cider vinegar to make herb-flavored vinegar.
Basil, chervil, chives, dill, garlic, marjoram, mint, rosemary, sage, and tarragon are ten common herbs well-suited for making flavored vinegar.
Use herb-flavored vinegar in salad dressings, marinades, flavoring soups, or in almost any dish where you would use unflavored vinegar. Just taste to be sure the marriage of flavors is right.
White-wine vinegar infused with tarragon or shallots is the perfect ingredient in dressings for bold greens such as arugula, chicory, or romaine. Use tarragon vinegar in potato salad. Blend herb-flavored white wine vinegar with oil, cream, and seasonings to toss in a chicken or seafood salad.
Herbs to use with white-wine vinegar are the leaves of basil, salad burnet, sweet marjoram, rosemary, French tarragon, and thyme.
Use herb-flavored red wine vinegar to add a depth of flavor to marinades, stews, or meat dishes. Also, use red-wine vinegar with leaf lettuce, and use garlic-infused red-wine vinegar in a red cabbage salad.
Herbs to use with red-wine vinegar are dill seeds, fennel seeds, garlic cloves, and sage leaves.
Mint vinegar is a good match for a fruit salad. Use the leaves of English mint with cider vinegar.
Homemade vinegar will store in the refrigerator for up to 3 months.
How to make herb vinegar from leaves
- For every 4 cups of vinegar, you will need 2 cups of leaves. Pick herb leaves in the morning after the dew has lifted to ensure the essential oils are still concentrated in the leaves.
- Place the leaves loosely packed in a wide-mouthed jar—stems and flowers can go in with the leaves. (Or blend the leaves gently for a few seconds at low speed in the blender, or you can macerate them with a pestle and mortar before you put them in the jar.)
- Pour the vinegar at room temperature over the leaves. You can also bring the vinegar to a boil before pouring it over the herbs.
- Place the jar in a warm place and stir daily for 10 days. (Or you can cover the jar and leave it in a dark place for one to two months.)
- Strain out the leaves through a fine cheesecloth or fine sieve.
- Strain the infusion one more time through filter paper.
- Pour the infusion through a funnel into sterile bottles, add a fresh sprig of the herb so that the herbed vinegar is easily identifiable, and cork securely. Use clear glass to show off the color of the vinegar.
How to make herb vinegar from seeds
- For each 4 cups of vinegar, you will need 2 to 3 tablespoons of seeds.
- Bruise the seeds with a pestle and mortar or in a blender.
- Put the seeds in a wide-mouthed jar.
- Warm the vinegar and pour onto the seeds.
- Place the jar in a warm place and stir daily for 10 to 14 days. (Or you can cover the jar and leave it in a dark place for one to two months.)
- Strain off the seeds, using a fine cheesecloth or fine sieve.
- Run the infusion one more time through a filter paper.
- Pour the infusion through a funnel into sterile bottles and cork securely. Label the bottles.
How to make garlic vinegar
- Squash garlic cloves with the flat of a kitchen knife.
- Pour room-temperature vinegar over the cloves and let sit for 1 day, but not longer or the vinegar may be too pungent.
- Strain through a filter paper.
- Pour into a sterile bottle and cork securely. Label the bottle.
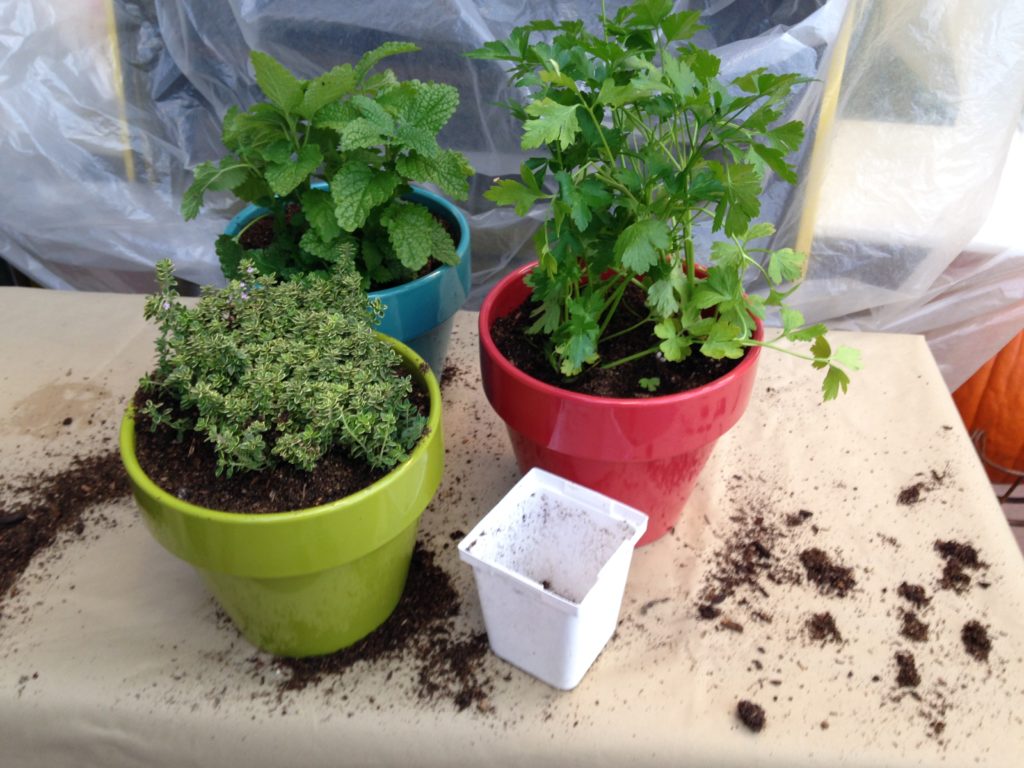
Herb growing tips
- Annual and biennial herbs are easily grown from seed but are often readily available as the plant starts at garden centers. Perennial herbs are often started from divisions or cuttings.
- Plant annual and biennial herbs as you would vegetables, in spring or summer.
- Plant perennial herbs in spring or fall.
- Be sure to give herbs room to mature so that they do not crowd their neighbors.
- Plant herbs that easily spread–such as mint–in containers.
- Keep herbs evenly moist and the planting beds well-weeded.
- Growing herbs in containers. Annual herbs are easily grown indoors on a windowsill.
- Place potted herbs in a window that gets at least 5 hours of sun each day; the optimal indoor growing temperature is 65° to 70°F.
- Plant herbs in a container at least 6 to 12 inches deep.
- Use a soilless potting mix that is light and well-drained; this will help avoid soilborne diseases.
- Water evenly and lightly. Herbs do not grow well in wet soil.
- Use a fertilizer only labeled for edibles.
- Snip or pinch plants regularly to encourage full, bushy growth. Never harvest more than one-third of the plant.
- Avoid using pesticides on herbs; spray away pests with water whenever possible.
- Harvest herbs when they are full-flavored.
Planning an herb garden
The best way to plan your herb garden is to make a list of the herbs you regularly use. You can do this by taking inventory of the herbs in your kitchen cabinet.
The best location for an herb garden is right outside the kitchen door–or in a bright kitchen window. Herbs do not require a lot of space; you can include them in a flower border if space is limited.
Annual herbs–which complete their life cycle in one season–are best set apart from biennial herbs which live for two seasons and perennial herbs which live for three or more years.
Plan to get your herb garden going early in the season so that you can make full use of the plants you grow. Many herbs are harvested before they flower; these herbs may be ready for the kitchen in just a month or so.
Growing herbs in the garden. Most herbs require 6 hours of sunlight per day and well-drained, moderately rich, well-cultivated soil. Be careful not to over-fertilize herbs or they will grow tall and leggy.
Related articles:
Best Herbs for Container Growing
Planning the Home Fruit Garden
Garden Planning Books at Amazon:
- Vegetable Garden Almanac & Planner
- Kitchen Garden Grower’s Guide Vegetable Encyclopedia
- Vegetable Garden Grower’s Guide
- Tomato Grower’s Answer Book

