Collard Greens Care and Maintenance: Step-by-Step Guide
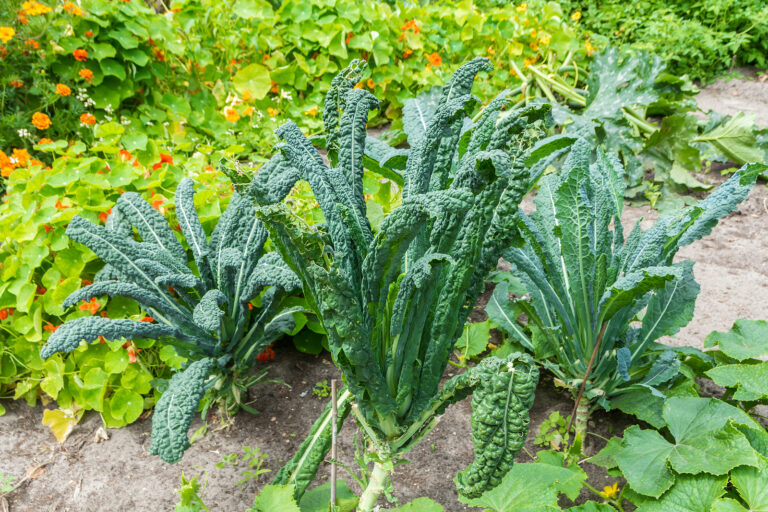
Proper care and maintenance are crucial to growing robust collard greens. With over 30 years of gardening experience in California’s Central Valley and Sonoma Valley, I’ve learned that consistent attention to soil, water, nutrients, and pest management makes the difference between struggling plants and abundant harvests. In this step-by-step guide, I’ll walk you through everything you need to keep collards healthy and productive.
Step 1: Watering
Collards need consistent moisture for tender, flavorful leaves. Aim for about 1 to 1.5 inches of water per week. Use drip irrigation or soaker hoses to keep water at the roots and avoid wetting leaves, which can encourage disease. Mulching with straw or shredded leaves helps retain soil moisture and keeps weeds down.
Tip from experience: Deep, infrequent watering encourages stronger roots than shallow, frequent watering.
Step 2: Fertilizing
Collards are heavy feeders and benefit from nitrogen-rich fertilizers. Apply:
- Before planting: Incorporate compost or aged manure into soil.
- During growth: Side-dress with compost or organic fertilizer every 4–6 weeks.
I’ve found that using a balanced approach—organic soil amendments plus light supplemental feeding—yields larger, greener leaves without stressing the plants.
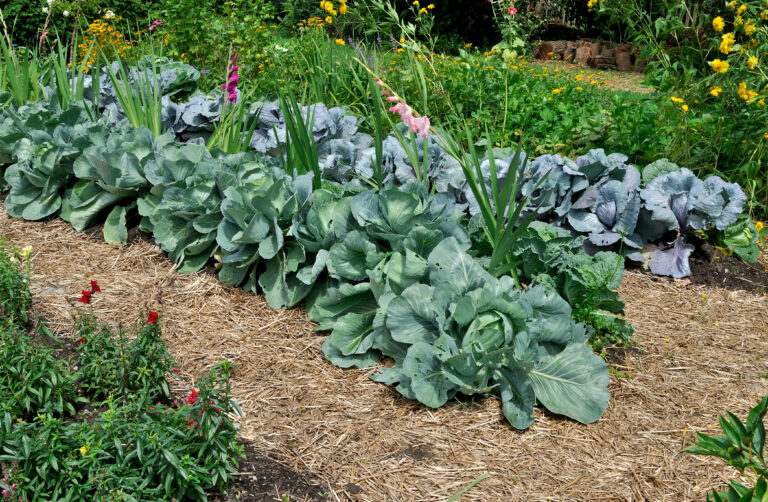
Step 3: Mulching and Weeding
A 2–3 inch layer of mulch helps:
- Conserve soil moisture
- Suppress weeds
- Keep soil temperature stable
Remove weeds regularly to reduce competition for nutrients and water. In my experience, keeping the base of the plant weed-free improves airflow and reduces pest pressure.
Step 4: Pruning and Blanching
- Remove lower yellowing leaves to maintain airflow and reduce disease risk.
- Blanching (covering selected leaves with a sleeve or wrap) can improve flavor and tenderness.
I often leave outer leaves for harvest while pruning inner leaves to maintain plant health and promote continuous growth.
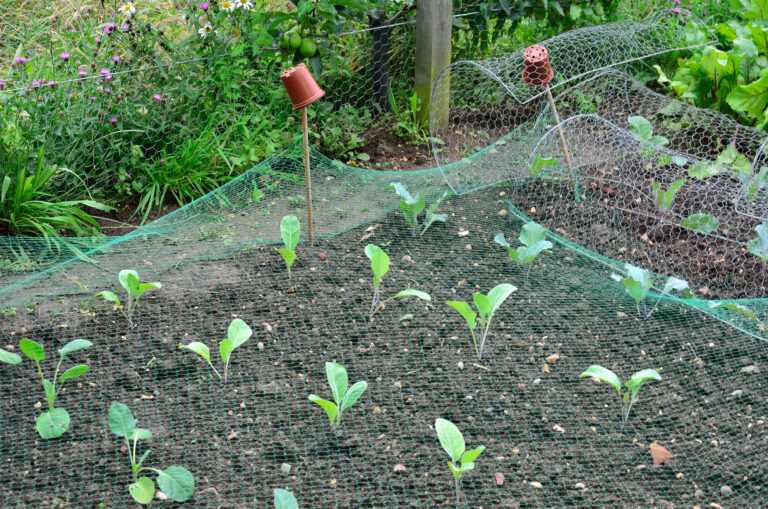
Step 5: Pest and Disease Management
Collards can attract:
- Flea beetles
- Aphids
- Cabbage worms
Use row covers, natural insecticidal soaps, and companion planting to protect plants. Rotating crops and maintaining healthy soil reduces disease risk, something I’ve relied on for decades to prevent black rot, downy mildew, and clubroot.
Step 6: Harvesting and Ongoing Care
- Begin harvesting outer leaves first, leaving the center to grow.
- Check regularly for pests and remove damaged leaves.
- Continue feeding lightly and maintaining soil moisture for a steady harvest.
From my experience, collards that receive consistent care will continue producing for months, even into light frosts.
My Experience
Caring for collard greens requires attention to watering, feeding, mulching, pruning, and pest management. Following these steps—backed by decades of hands-on gardening experience—ensures strong, productive plants with tender, flavorful leaves that can feed your family all season long.
Collard Greens Care & Maintenance Checklist
✅ Watering
- Provide 1–1.5 inches per week (drip irrigation or soaker hoses preferred).
- Water in the morning to reduce disease risk.
- Mulch to retain moisture.
✅ Fertilizing
- Before planting: mix in 2–3 inches compost or aged manure.
- During growth: side-dress with organic fertilizer every 4–6 weeks.
- Focus on nitrogen for lush, green leaves.
✅ Mulching & Weeding
- Apply 2–3 inch mulch layer around plants.
- Remove weeds regularly to reduce nutrient competition and improve airflow.
✅ Pruning & Blanching
- Remove yellowing or damaged lower leaves.
- Blanch select leaves for tenderness and milder flavor.
✅ Pest & Disease Management
- Check for flea beetles, aphids, cabbage worms.
- Use row covers, natural insecticidal soaps, or companion planting.
- Rotate crops and maintain healthy soil to prevent disease.
✅ Harvesting & Ongoing Care
- Pick outer leaves first; leave center for continued growth.
- Monitor soil moisture and lightly feed as needed.
- Inspect plants regularly for pests and damaged leaves.
💡 Tip from My Experience:
Consistent care, especially regular watering and removing damaged leaves, can keep collards producing for months—even into light frost.