Caring for Watermelon Plants Through the Season
Growing watermelons takes more than just sunshine and water. From the moment young plants settle into the garden to the final days before harvest, how you care for your vines directly affects fruit quality, size, and sweetness. After growing watermelons for decades, I’ve found that careful seasonal attention—particularly in how you manage pests, flowering, and fruit set—makes all the difference.
Here’s how to care for watermelon plants step by step through the season.
Early Season Care: Protect and Encourage Growth
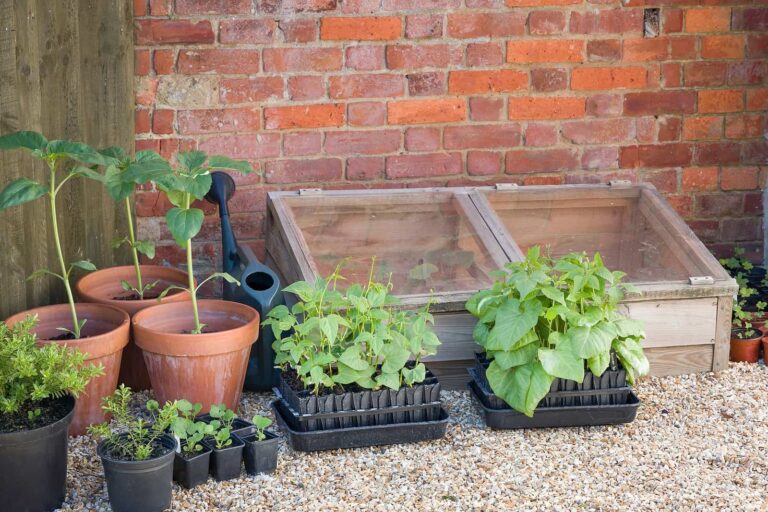
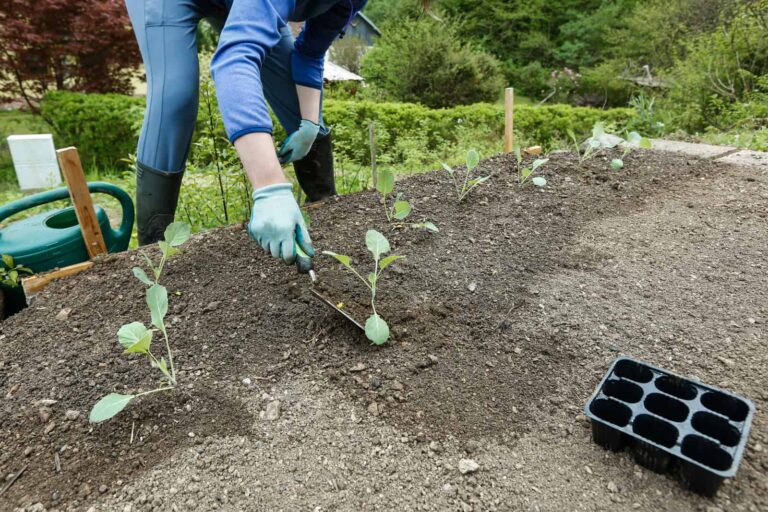
As soon as your watermelon seedlings are transplanted into the garden, help them get off to a strong start:
- Use floating row covers to shield young plants from insect pests like cucumber beetles and squash bugs. These covers also trap warm air, giving the plants a heat boost during early growth.
- Remove the row covers during the day once flowers appear. Watermelon flowers need bees and other pollinators to develop fruit. I check early in the morning and pull covers off before bee activity begins.
💡 Personal Tip: I’ve lost early flowers to poor pollination simply because I forgot to pull the covers. Once I set a weekly reminder, my fruit set improved dramatically.
Guide Fruit Set: Aim for Multiple Melons
Watermelon vines can be stingy if they set fruit too early. A single fast-growing fruit will sap the vine’s energy, slowing or halting further fruit production.
- Pinch out the first fruit if it sets well ahead of others. This encourages the vine to support three to four fruits maturing at the same time.
- Monitor flower development, especially in the first few weeks of blooming. Remove early outliers to balance the plant’s energy.
Weed Management and Mulching
Weeds compete directly with watermelon vines for water and nutrients. Since watermelon roots stay shallow in the top 6 to 12 inches of soil, aggressive weeding can damage them.
- Cultivate shallowly around plants early in the season.
- Once vines begin to sprawl, they’ll naturally shade out weeds. At this point, stop cultivating and rely on mulch.
Mulch options that work well:
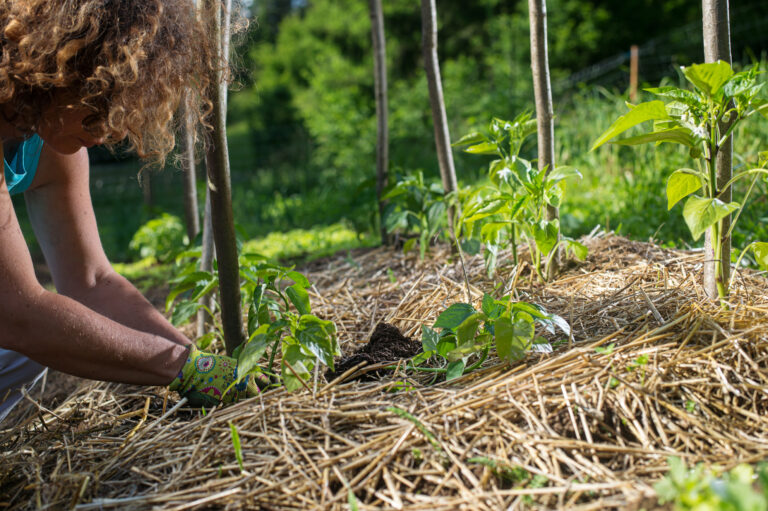
- Straw or dry chopped leaves – Hold moisture and keep the soil cool.
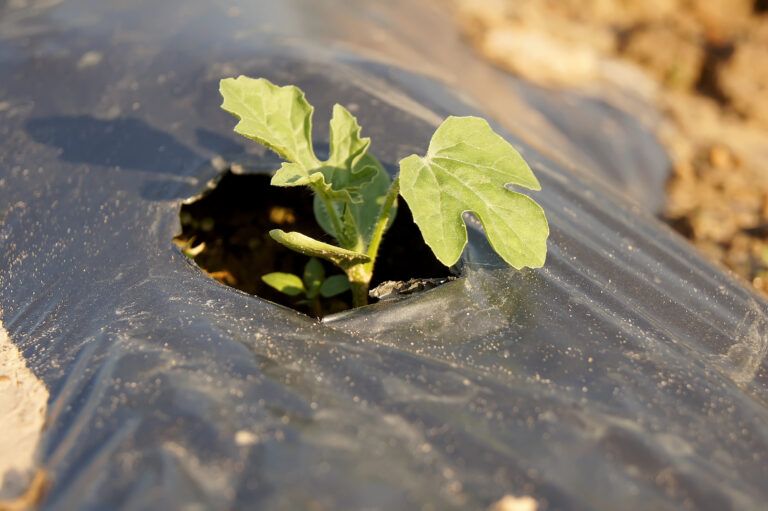
- Black plastic sheeting or garden fabric – Retains heat and suppresses weeds (cut slits to plant vines through).
- Spread mulch after the soil has warmed, typically a few weeks after transplanting.
Mid-Season Care: Support and Protect Fruit
Once fruits are forming, give them every advantage:
- Place a tile, wooden shingle, or piece of plastic under each fruit. This helps:
- Keep melons clean and dry
- Prevent rot from wet soil
- Capture solar heat to encourage ripening
I’ve used everything from roof shingles to old nursery trays—anything that lifts the fruit just slightly off the soil works well.
Late Season Care: Focus the Plant’s Energy
As fall approaches and daylight shortens, it’s time to help the plant finish strong.
- About 50 days before your average first frost, remove all new blossoms and immature fruit.
- This redirects energy to the maturing melons already on the vine, helping them ripen fully.
Use this rule of thumb if you’re unsure when to stop new fruiting: If a new fruit sets now and won’t ripen in time, it’s better to pinch it out.
Summary: Seasonal Care Checklist
| Season Stage | Key Actions |
|---|---|
| Early season | Use floating row covers, remove when flowering begins |
| Mid season | Pinch out early single fruits, mulch, place support under melons |
| Late season | Remove new blossoms ~50 days before frost to concentrate energy on ripening |
Growing watermelons successfully takes more than planting and watering—it’s about guiding the plant through each stage of growth with intention. When you manage flowering, control weeds without disturbing roots, mulch properly, and help fruit ripen evenly, you’ll enjoy sweet, satisfying melons at harvest time.
Watermelons Overview Post:
How to Grow Watermelons from Seed to Harvest: Ultimate Guide for Sweet, Juicy Success
Melons Overview: The Ultimate Guide to Growing Melons: From Planting to Harvest
Related Posts:
Starting Watermelons Right
- When and How to Start Watermelons: A Seed-Starting Guide
- Watermelon Temperature Needs: Warmth, Frost, and Growth Milestones
- Soil Prep and Mulching Tips for Healthy Watermelons
Planting & Space Planning
- How Much Space Do Watermelons Need?
- Growing Watermelons in Containers: Tips for Small Gardens
- Growing Watermelons Vertically: Tips for Small Gardens
- Companion Planting for Watermelons: What Works and What Doesn’t
Watermelon Care Through the Season
- Caring for Watermelon Plants Through the Season
- Watering Watermelons: How Much and How Often
- How to Feed Watermelons: Fertilizer Schedules and Organic Options
- Watermelon Pollination Tips: Helping Watermelons Set Fruit
Dealing with Pests and Diseases
Knowing When to Harvest
Choosing the Right Varieties
- Watermelon Varieties by Size: From Personal Melons to Giants
- Top Watermelon Varieties for Short Growing Seasons
- Best Long Vine Watermelons for Large Gardens
- Best Watermelon Varieties for Small Spaces (Bush & Short Vines)
- How to Grow Seedless Watermelons Successfully
Enjoying the Harvest