Soil Prep and Mulching Tips for Healthy Watermelons
After more than three decades growing watermelons in my home garden, I’ve found that success comes down to two key things: great soil prep and smart mulching. Whether you’re planting in raised beds, mounds, or wide garden rows, getting your soil right before planting and using mulch strategically will directly impact your harvest. In this post, I’ll walk you through the exact soil-building and mulching steps I use to grow juicy, full-sized melons every summer—even in the heat of California’s Central Valley and the longer growing seasons of Sonoma Valley.
Choose the Right Soil for Watermelons
Watermelons are heavy feeders and need rich, well-drained soil to thrive. They don’t like soggy roots or compacted soil, so avoid clay-heavy spots unless you amend them heavily.
Best soil type:
Light loam to sandy-loam soils with good drainage and moderate moisture retention.
Soil temperature matters:
Wait until soil warms to at least 70°F (21°C) before planting directly outdoors. In short-season regions, start seeds indoors 4–6 weeks early and transplant once conditions are right.
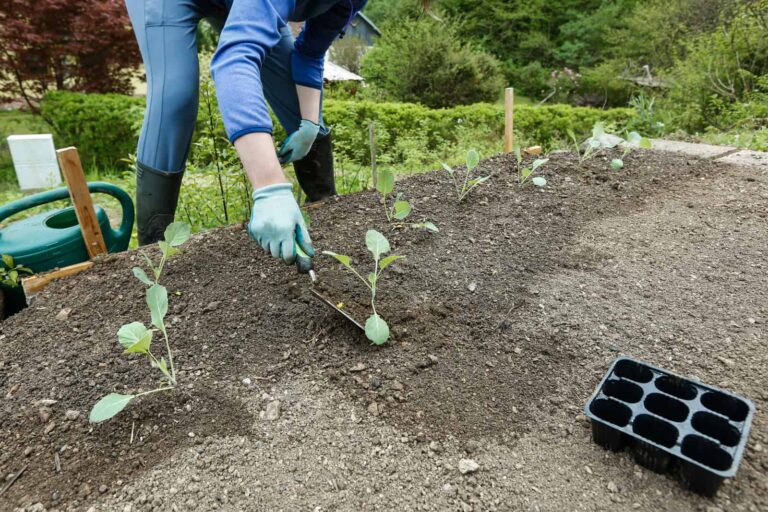
How I Prepare the Planting Site
I always grow watermelons on mounds or raised rows—it’s one of the best ways to improve drainage, retain heat, and prevent root diseases. Here’s my go-to method for preparing a watermelon planting site:
- Dig a hole about 12 inches (30 cm) deep and wide where you’ll sow seeds or set transplants.
- Fill the hole with a mix of:
- Aged compost
- Well-rotted manure
- Several handfuls of coarse sand (for drainage)
- A handful each of:
- Rock phosphate (for strong root growth)
- Earthworm castings (natural nutrient boost)
- Epsom salts (magnesium for lush foliage)
- Use the removed soil to build a mound over the filled hole, about 6 to 12 inches (15–30 cm) high and 5 feet (1.5 m) across.
- Rake the mound flat on top and sow 4–6 seeds in the center. Thin to the strongest plant once seedlings emerge.
This simple “hole-and-mound” method gives roots an ideal start, and the mound serves as a nutrient reservoir while keeping roots warm and well-drained.
Adjust pH and Fertility for Watermelons
Ideal pH:
Watermelons prefer a soil pH between 6.0 and 6.8. If you haven’t tested your soil recently, do so—amending the pH before planting makes nutrients more available and improves growth.
Soil fertility:
Before planting, I turn compost and organic planting mix into the top 12 inches of soil throughout the bed. For heavy clay soils, I go even deeper to break up compaction.
Warm the Soil Before Planting
If you’re planting in-ground rather than on mounds, lay black plastic sheeting over the bed two weeks before planting to trap solar heat. Warmer soil speeds up germination and early root growth—especially helpful in cooler climates.
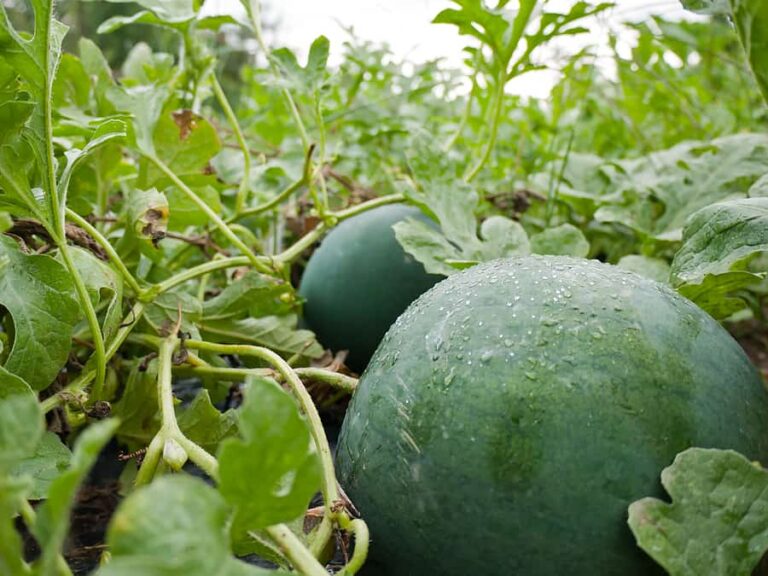
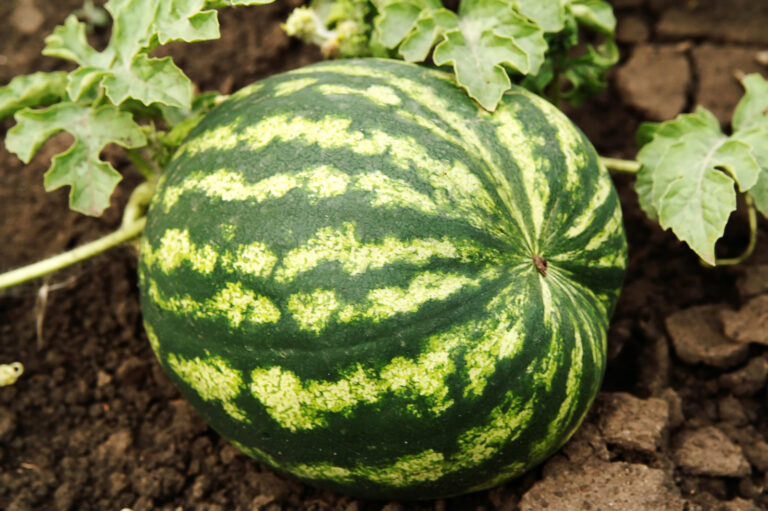
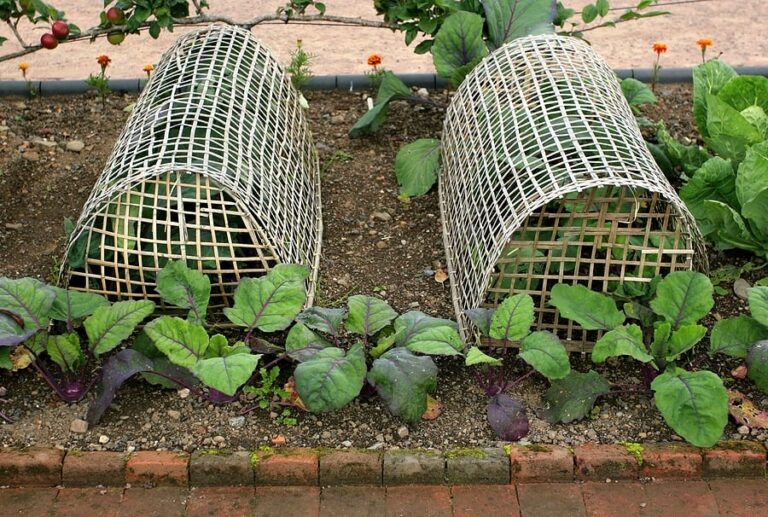
How to Use Mulch to Protect Watermelon Fruit
Once the vines start setting fruit, it’s time to mulch—but not just anywhere.
Here’s how I mulch watermelon for protection and better ripening:
- Place a board, tile, thick straw mulch, or plastic under each melon.
This keeps the fruit from sitting directly on the soil, where it can rot or be damaged by insects. - Why it works:
- Reduces soil contact
- Prevents rot spots on the bottom of the fruit
- Reflects solar heat upward, speeding ripening
If using organic mulch (like straw), keep it a few inches away from the crown of the plant to prevent stem rot.
Final Tips for Strong, Productive Plants
- Full sun is a must. Watermelons need 8+ hours of direct sun daily.
- Keep weeds down until vines shade the soil.
- Water deeply and consistently. Inconsistent watering leads to bland or cracked fruit.
My Experience:
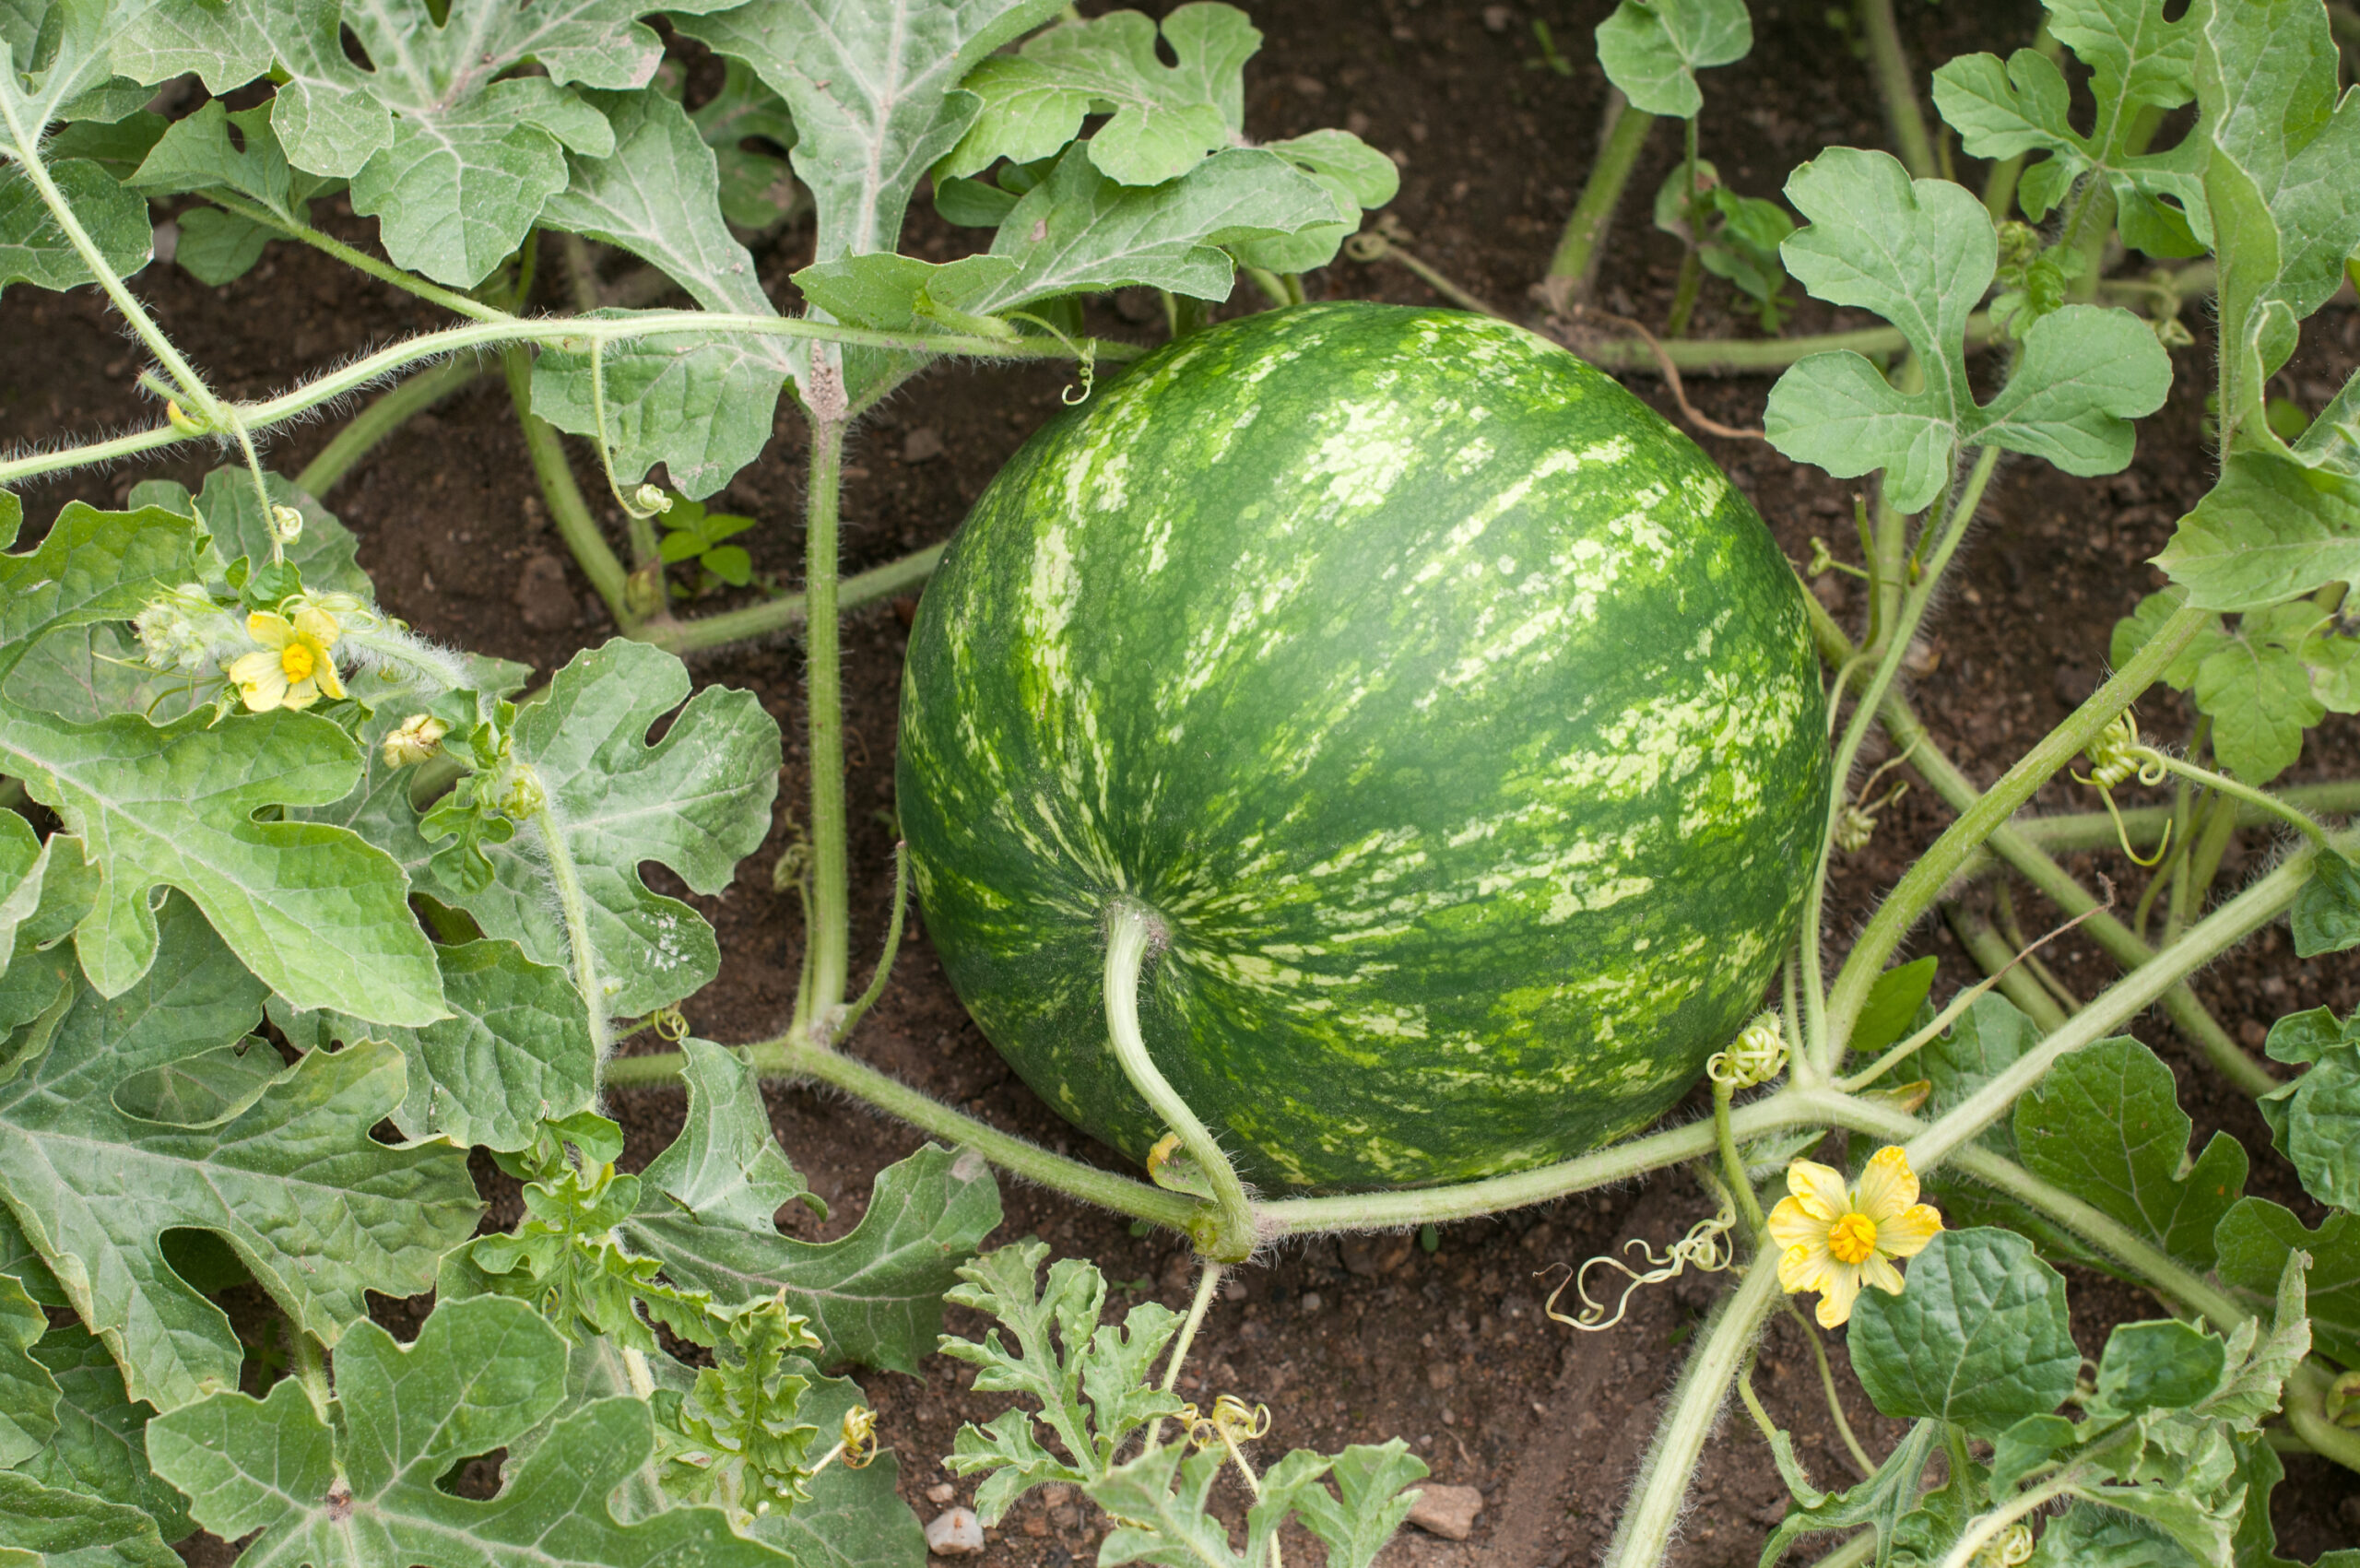
In hot, dry years, mulching under melons and planting into compost-rich mounds has meant the difference between stunted, struggling vines and lush plants loaded with big, sweet fruit. By combining thoughtful soil prep and simple mulching techniques, I regularly harvest 20–30 pound melons—even from compact garden beds.
Watermelons Overview Post:
How to Grow Watermelons from Seed to Harvest: Ultimate Guide for Sweet, Juicy Success
Melons Overview: The Ultimate Guide to Growing Melons: From Planting to Harvest
Related Posts:
Starting Watermelons Right
- When and How to Start Watermelons: A Seed-Starting Guide
- Watermelon Temperature Needs: Warmth, Frost, and Growth Milestones
- Soil Prep and Mulching Tips for Healthy Watermelons
Planting & Space Planning
- How Much Space Do Watermelons Need?
- Growing Watermelons in Containers: Tips for Small Gardens
- Growing Watermelons Vertically: Tips for Small Gardens
- Companion Planting for Watermelons: What Works and What Doesn’t
Watermelon Care Through the Season
- Caring for Watermelon Plants Through the Season
- Watering Watermelons: How Much and How Often
- How to Feed Watermelons: Fertilizer Schedules and Organic Options
- Watermelon Pollination Tips: Helping Watermelons Set Fruit
Dealing with Pests and Diseases
Knowing When to Harvest
Choosing the Right Varieties
- Watermelon Varieties by Size: From Personal Melons to Giants
- Top Watermelon Varieties for Short Growing Seasons
- Best Long Vine Watermelons for Large Gardens
- Best Watermelon Varieties for Small Spaces (Bush & Short Vines)
- How to Grow Seedless Watermelons Successfully
Enjoying the Harvest