Propagating Strawberries from Runners
One of the most rewarding parts of growing strawberries is watching them expand your garden all on their own. Every season, I find myself with more plants than I started with, thanks to the magic of runners. If you’ve ever wondered how to turn one productive strawberry plant into many, here’s how to do it—based on what’s worked best for me year after year.
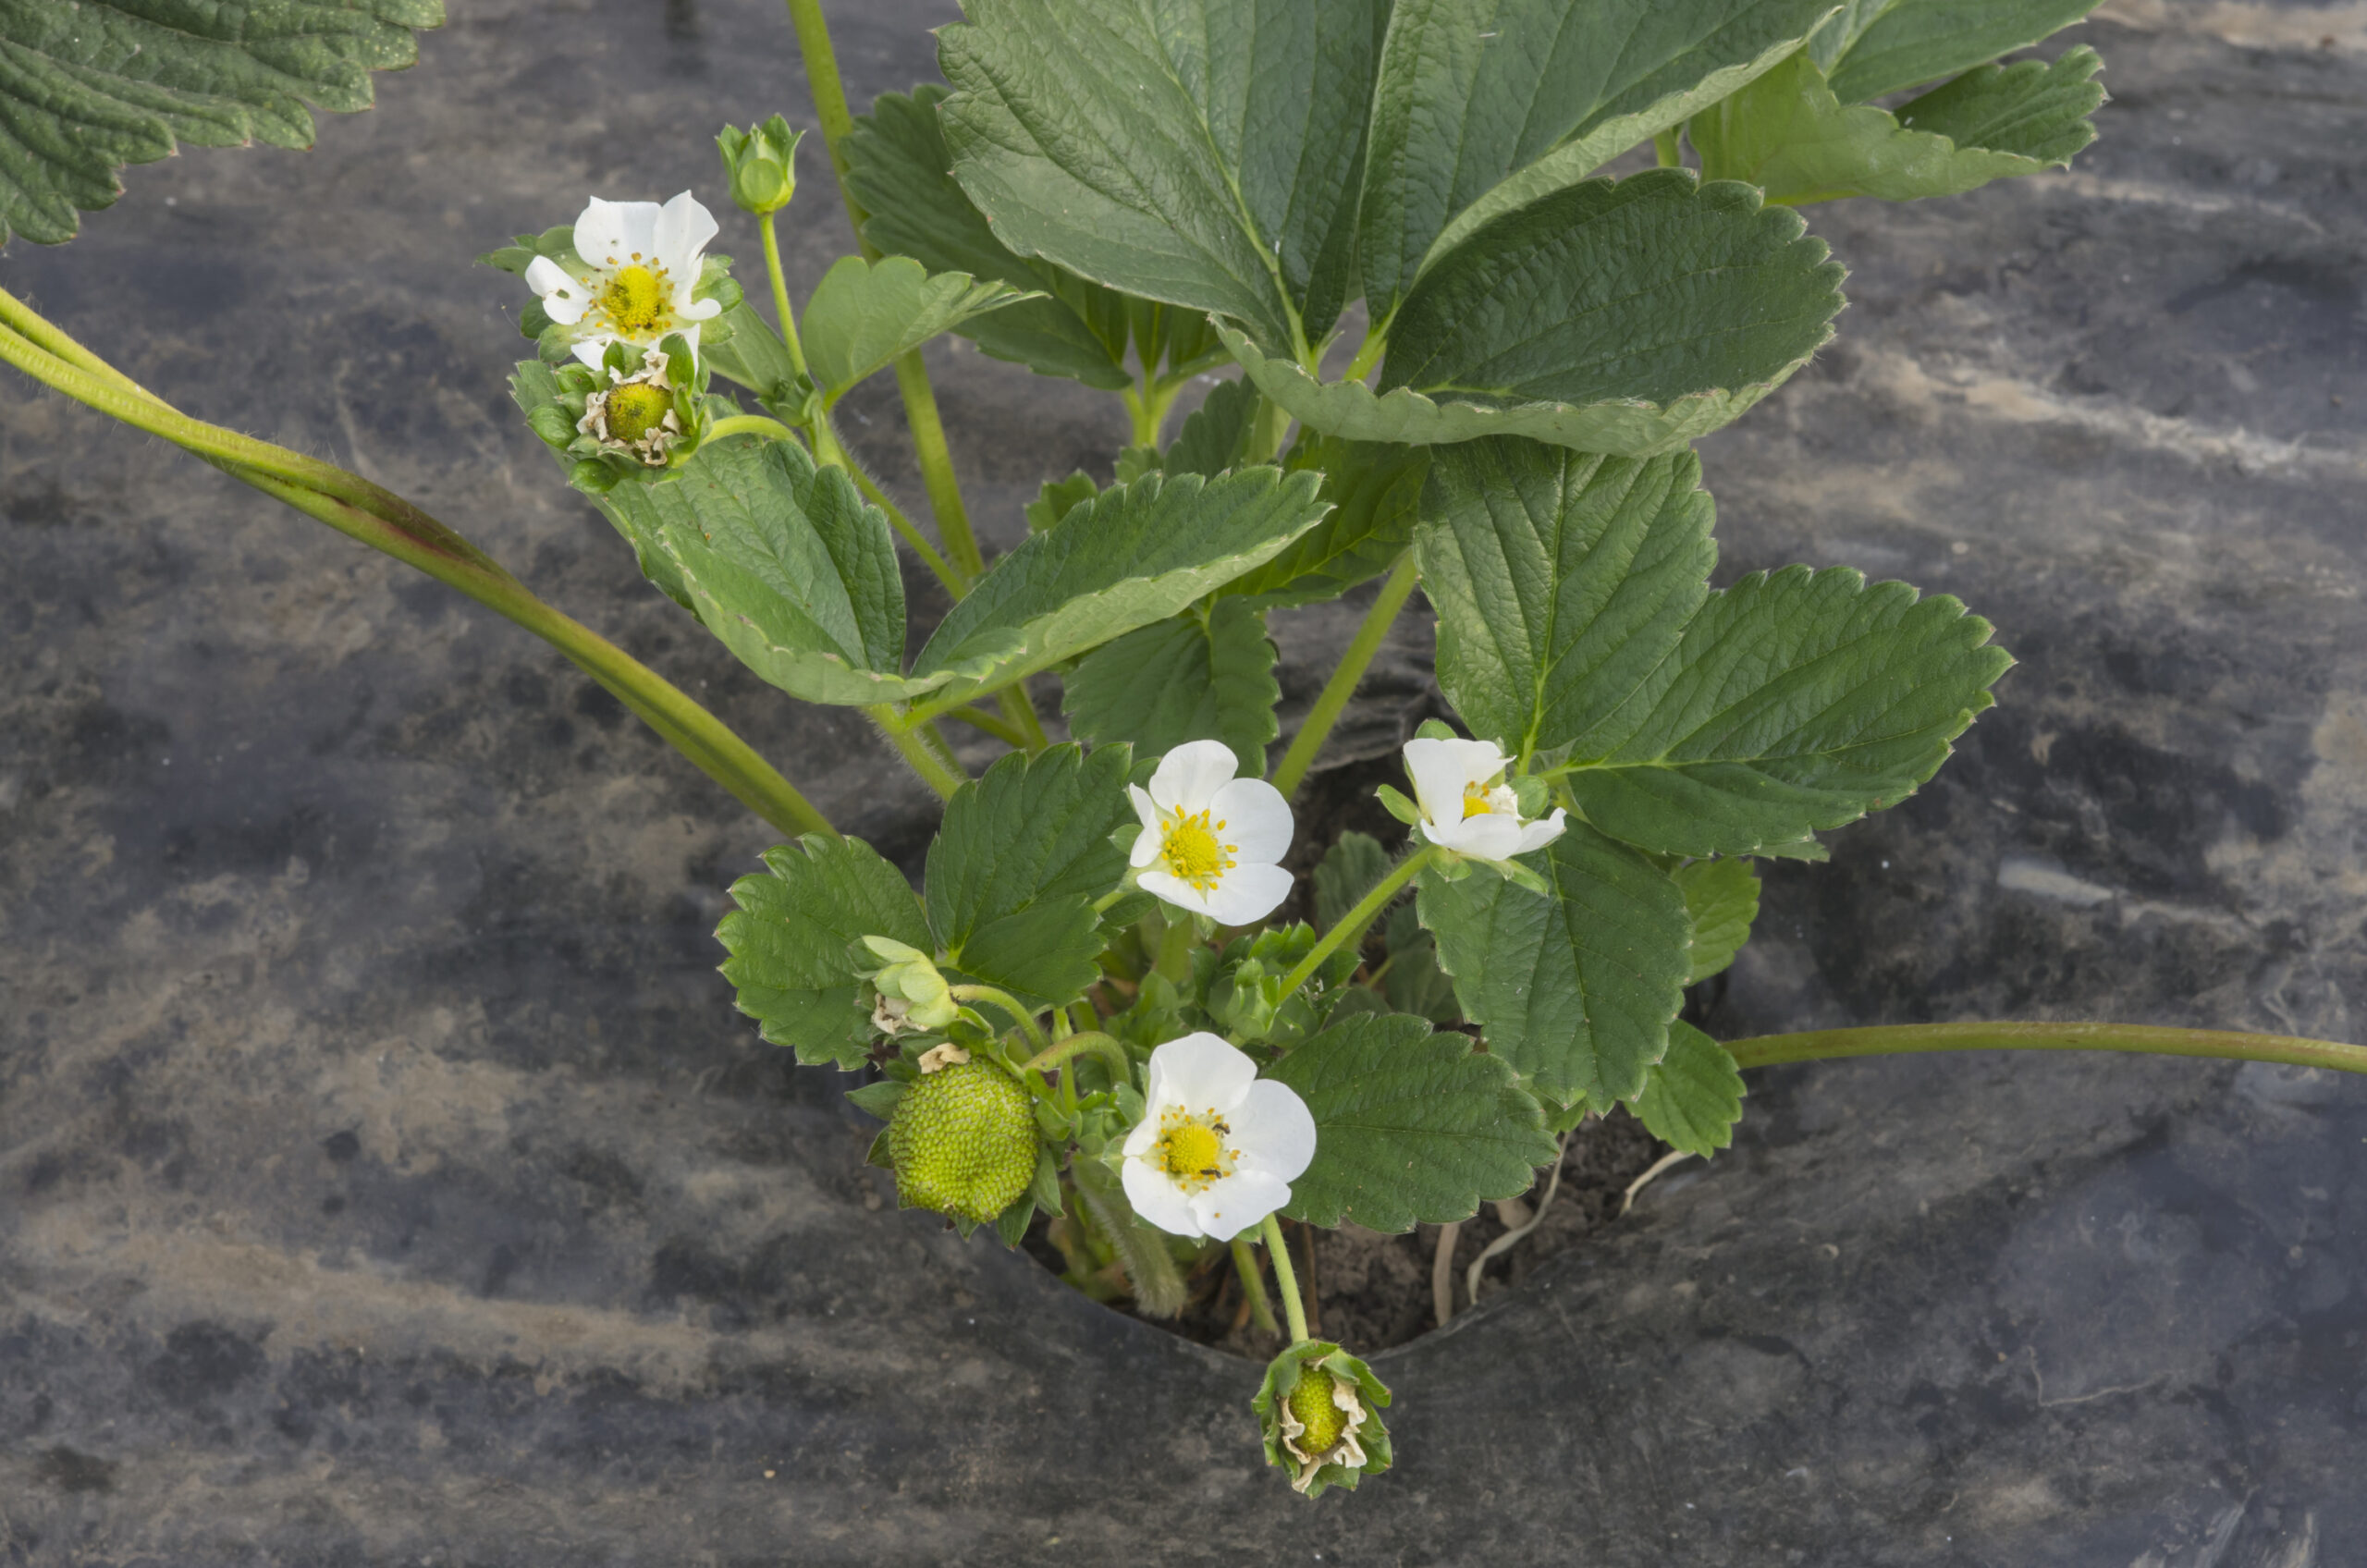
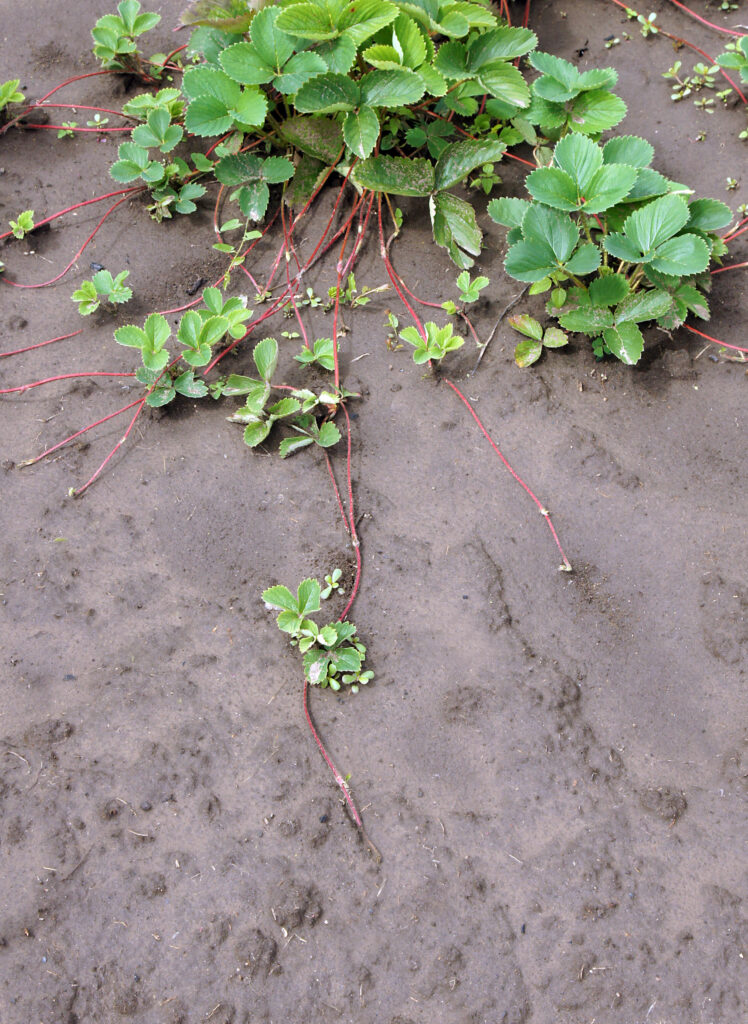
🍓 Understanding Strawberry Runners
Strawberries are perennials, and most varieties naturally propagate by sending out runners—long, leafless stems that extend from the mother plant, typically after it’s done fruiting. These runners develop tiny new plants, called daughter plants, about a foot away. By late summer, those daughter plants often have roots and are ready to grow independently.
In my garden, I rely on this cycle to renew my beds each fall, ensuring I always have fresh, vigorous plants for next season. It’s not only cost-effective, but it’s also incredibly satisfying to grow a whole new patch from what you already have.
🌱 Why Propagate from Runners?
- Maintain productivity: Strawberry plants tend to produce best in their first 2–3 years. After that, yields and fruit size decrease. By replacing older plants with new ones grown from runners, I keep my garden producing without buying new plants.
- Build new beds: Use runners to expand your garden or rotate beds. I often retire older beds and start fresh in a new location using runners from my healthiest plants.
- Fall vs. spring propagation: While strawberries can also be grown from seed (usually started in spring), not all varieties are available this way. Fall is the ideal time to root and transplant runners—plants established in fall will often fruit the following spring.
🔄 Step-by-Step: Starting Strawberry Plants from Runners
Here’s the method I use each year to grow strong, new strawberry plants from runners:
1. Choose the Best Runners
Look for healthy, well-rooted daughter plants that are still attached to the mother plant. I usually pick the ones closest to the base, as they tend to root best.
2. Detach Carefully
Gently dig up the runner and clip it from the parent plant, keeping as much of the root system and surrounding soil intact as possible. This reduces transplant shock.
3. Trim the Leaves
Snip away all but two or three leaflets on each new plant. This helps reduce water loss while the roots settle into their new home.
4. Plant in a New Bed
I plant the runners about 6 to 8 inches apart in a freshly prepared bed. If I’m renovating a bed, I remove the older, less productive plants and compost them, then replace them with the new runners. I rotate locations every couple of years to keep soil healthy.
5. Prep the Soil
Dig a 3–5 inch wide hole, nestle the young plant in, and firm the soil around the roots. Make sure the crown (where the leaves meet the roots) sits just above soil level.
6. Water and Feed
After planting, water gently. I swear by a mix of water and liquid fish-and-seaweed emulsion for giving new runners a boost—it’s made a noticeable difference in my plant survival and early growth.
✂️ Bonus Tip: Crown Division
If your plant doesn’t send out many runners, you can also divide the crown with a sharp, sterile knife. I’ve done this in a pinch and while it’s a bit trickier, it’s a reliable way to multiply your plants.
By propagating strawberries from runners each year, you’ll save money, keep your garden thriving, and always have fresh plants to enjoy. With just a little care and attention, your strawberry patch can renew itself year after year—something I’ve come to truly appreciate in my own gardening journey.
🍓 Strawberry Propagation Checklist: How to Start New Plants from Runners
1. Select Healthy Runners
☐ Choose strong, rooted runners from your healthiest strawberry plants
☐ Prefer those closer to the base of the mother plant
2. Detach the Runner
☐ Gently lift the runner, keeping soil around the roots intact
☐ Use clean, sharp scissors or pruners to cut the stem connecting it to the mother plant
3. Trim the Leaves
☐ Clip off all but 2–3 leaflets from the new plant
☐ Helps reduce stress and moisture loss during transplanting
4. Prepare the New Bed
☐ Choose a sunny spot with well-drained, compost-rich soil
☐ Space plants 6–8 inches apart
☐ Remove old plants if reusing a bed
5. Plant the Runner
☐ Dig a 3–5 inch wide hole for each plant
☐ Set the crown slightly above soil level
☐ Firm the soil around the roots
6. Water and Feed
☐ Water thoroughly after planting
☐ Feed with a mix of water and liquid fish-and-seaweed emulsion for best results
🧤 Pro Tip: Rotate your strawberry beds every 2–3 years and replace aging plants to keep your patch healthy and productive.
Related Posts:
🌱 Getting Started with Strawberries
- How to Grow Strawberries: A Complete Guide From My Garden to Yours
- Strawberry Planting Calendar: What to Plant and When
- How to Plant and Grow Strawberries
- How to Plant Strawberries: Step-by-Step
- Indoor Strawberry Starts: How and When to Begin
- Best Climate and Site for Growing Strawberries
🍓 Choosing Strawberry Varieties
- Strawberries: June-bearing vs Ever-bearing vs Day-neutral Varieties — What’s Best for Your Garden
- Strawberry Varieties by Region: The Best Picks for U.S. Gardeners
- June-Bearing Strawberry Varieties: A Complete Growing Guide
- Guide to Alpine Strawberries: Tiny but Tasty
- Growing Strawberries in Hot Summer Regions Including Best Varieties
🪴 Growing Techniques & Care
- Watering, Feeding, and Caring for Strawberries the Right Way
- Container Growing Strawberries: Space Saving Tips
- Propagating Strawberries from Runners
- Strawberry Problems Solved: Common Pests and Diseases—and How I Handle Them
🌞🌨️ Growing by Climate & Season
- Growing Strawberries Year-Round in Warm Climates: A Gardener’s Guide
- Fall and Winter Strawberry Care: Cold Climate Tips for Healthy Spring Growth
- Planning a Year-Round Strawberry Harvest
🍽️ Harvest & Enjoy