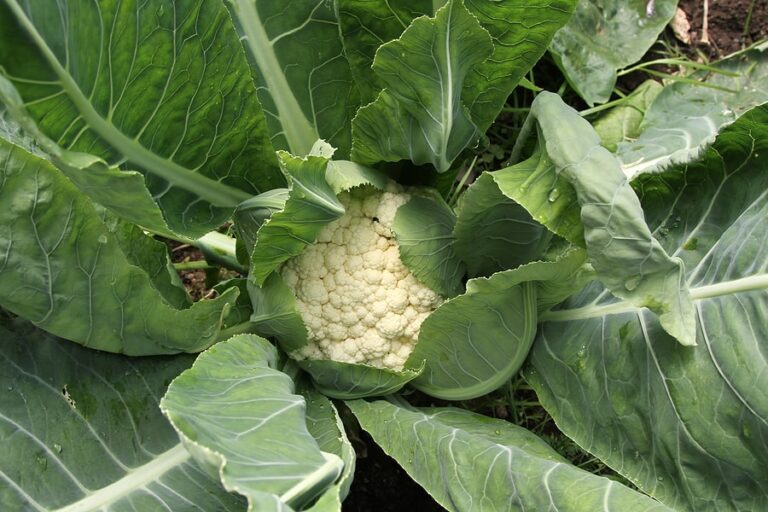
How to Transplant Cauliflower Seedlings Successfully
Cauliflower is one of the more particular vegetables in the garden. In my 30+ years of growing cool-season crops, I’ve learned that transplanting cauliflower seedlings at the right stage and under the right conditions is the single most important step for success. Rush the process—or skip proper preparation—and you may end up with stressed plants, button heads, or no heads at all.
This guide walks you through exactly how to transplant cauliflower seedlings successfully, based on both hands-on experience and proven horticultural practice.
When to Transplant Cauliflower Seedlings
Timing is everything.
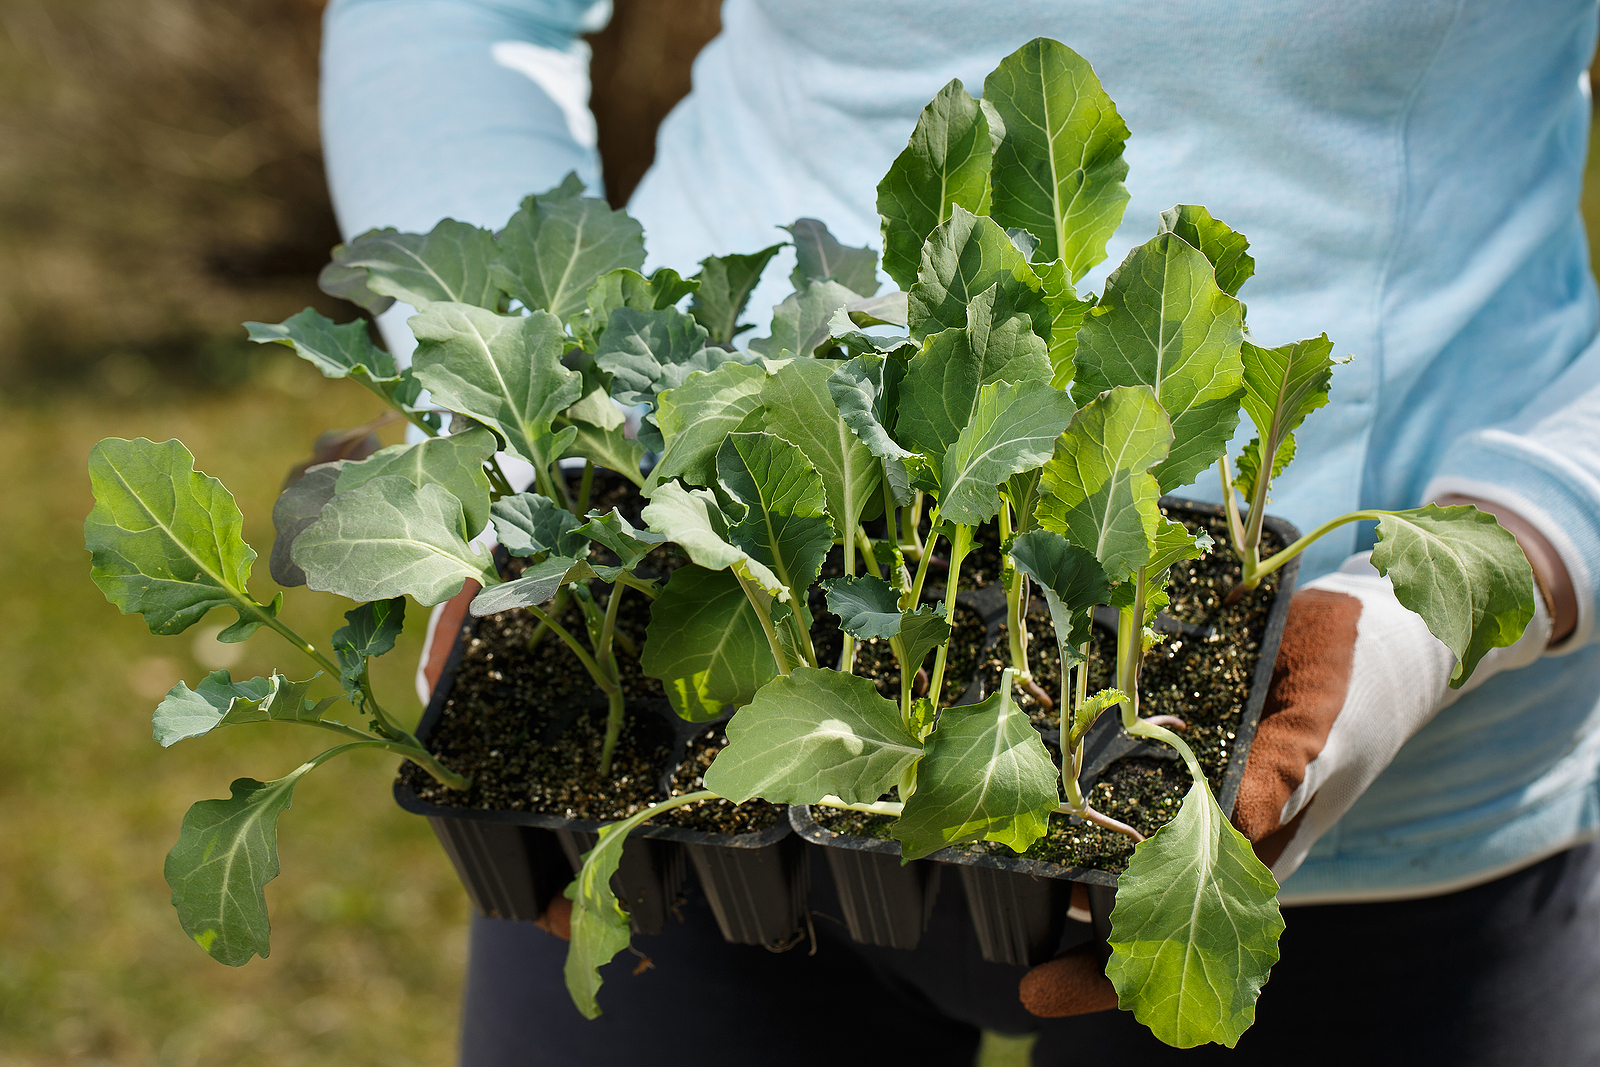
- Seedling size: Transplant when seedlings have 4–5 true leaves and are about 4–6 inches tall.
- Soil temperature: Aim for soil that’s consistently above 50°F.
- Calendar guide: Move seedlings outdoors 2–4 weeks before your last expected spring frost, or 8–10 weeks before your first fall frost.
From my garden: I’ve had the most success transplanting fall seedlings in late August. The soil is still warm, but the days are starting to shorten—perfect for steady growth.
Hardening Off Seedlings
Never move seedlings directly from the comfort of an indoor environment to the garden. Hardening off is essential.
- Start 7–10 days before transplanting.
- Place seedlings outdoors in a sheltered spot for a few hours each day, gradually increasing sun and wind exposure.
- Reduce watering slightly to toughen plants, but don’t let them wilt.
I set my trays out on a shaded patio bench, gradually moving them into full sun. This step dramatically reduces transplant shock.
How to Transplant Step by Step
- Prepare the Bed
- Loosen soil 8–10 inches deep.
- Mix in compost for fertility and improved drainage.
- Rake smooth and water lightly before transplanting.
- Dig Holes
- Space holes 18–24 inches apart in rows 24–36 inches apart.
- Holes should be deep enough to cover the seedling’s stem up to its first true leaves.
- Set Seedlings
- Place each seedling into a hole.
- Gently firm soil around the base for stability.
- Water immediately after planting to settle soil around roots.
- Mulch and Protect
- Apply a thin layer of organic mulch to conserve moisture and keep soil cool.
- Use floating row covers to protect from pests like cabbage worms.
Aftercare for Transplants
- Watering: Keep soil evenly moist. Cauliflower dislikes drought stress, especially in the weeks after transplanting.
- Feeding: Apply a balanced organic fertilizer 2–3 weeks after transplanting to encourage vigorous growth.
- Monitoring: Watch for early pest activity; hand-pick caterpillars or use row covers preventively.
Common Transplanting Mistakes
- Planting too early: Cold stress can cause plants to bolt.
- Skipping hardening off: Leads to wilted, stunted seedlings.
- Overcrowding: Restricts head development and airflow.
Final Thoughts
Transplanting cauliflower seedlings successfully is about patience and preparation. Choose the right stage, harden plants off carefully, and set them in rich, well-watered soil with room to grow. With these steps, you’ll give your seedlings the strong start they need to develop into big, healthy heads.
From my experience, the effort you put into transplanting is exactly what pays off later at harvest.
Cauliflower Learning Hub
Start here: The Ultimate Cauliflower Growing Guide: From Seed to Harvest
🌱 Planting & Growing
- When and How to Plant Cauliflower for Best Results
- Cauliflower Seed Starting Tips
- Cauliflower Planting Calendar: Month-by-Month Guide
- How to Transplant Cauliflower Seedlings Successfully
- Proper Cauliflower Spacing for Bigger Heads
- Growing Cauliflower in Containers: Step-by-Step Guide
- Best Companion Plants for Cauliflower (and What to Avoid)
💧 Care & Maintenance
- How to Water Cauliflower the Right Way
- Feeding Cauliflower: Fertilizer Tips for Healthy Growth
- Essential Cauliflower Care: From Seedling to Harvest
- Blanching Cauliflower: Why and How to Do It
🐛 Pests & Problems
🌾 Harvest & Storage
🍴 Kitchen & Use
❓ What to Grow