How to Plant Collard Greens in the Garden
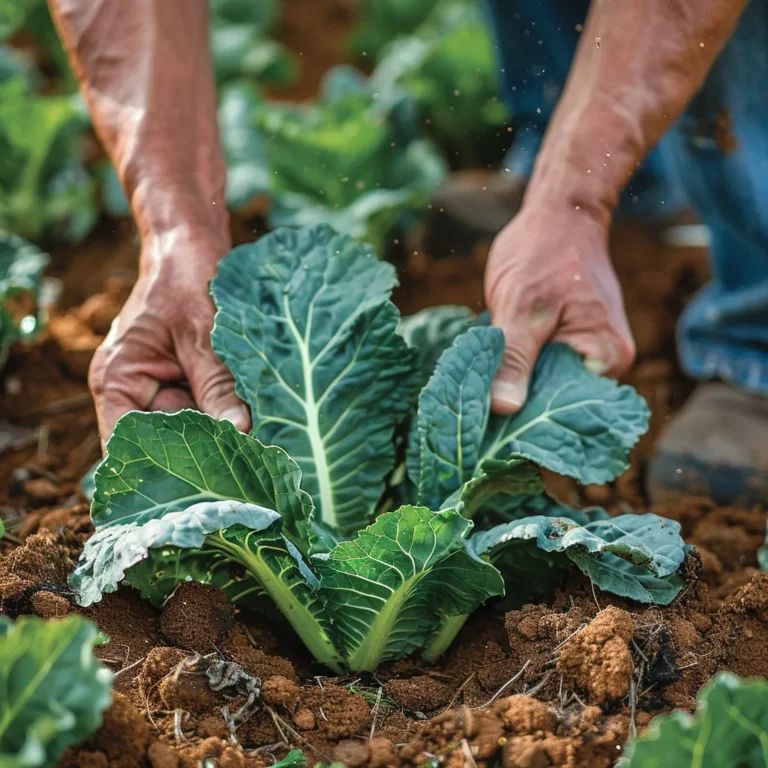
Planting collard greens correctly sets the stage for months of tender, flavorful harvests. Over more than 30 years of gardening in California’s Central Valley and Sonoma Valley, I’ve learned that planting is where success truly begins. From preparing the soil to setting seedlings at the right depth, careful attention at planting time ensures strong roots, steady growth, and fewer pest and disease problems.
Step 1: Prepare the Soil
Collards are heavy feeders and thrive in rich, well-prepared soil. Before planting, work in 2–3 inches of compost or aged manure. This improves soil fertility and structure, which I’ve found makes a big difference in leaf size and color.
- Ideal pH: 6.0 to 6.8
- Drainage: Loose, well-draining soil to avoid waterlogging
- Tip from experience: Adding composted chicken manure before planting gives collards a strong, early boost.
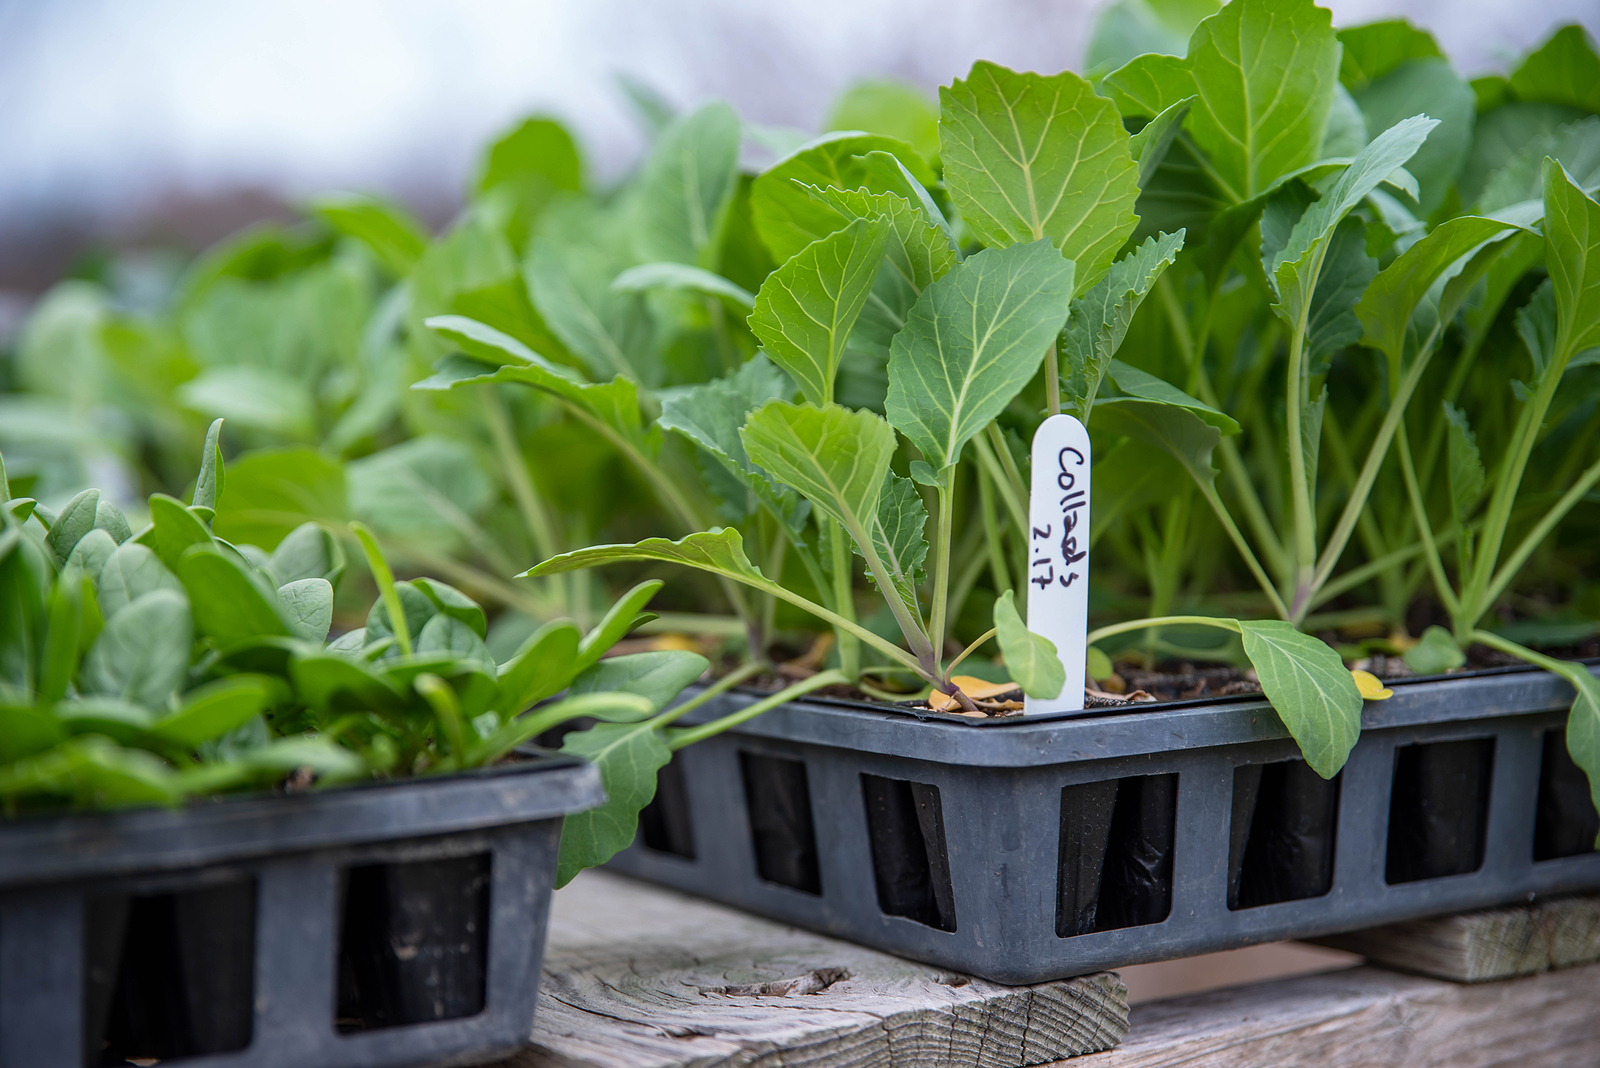
Step 2: Decide on Seeds or Transplants
- Direct Sowing: Plant seeds ¼ to ½ inch deep in rows, thinning to 18–24 inches apart once seedlings reach 3–4 inches tall.
- Transplants: Set hardened-off seedlings in the garden when soil temps are at least 50°F (10°C). Bury them just up to the first set of true leaves for stability.
In my own garden, I often start seeds indoors in midsummer for fall planting. This avoids the stress of transplanting during peak heat.
Step 3: Space for Success
Crowding collards leads to poor air circulation and smaller leaves. For best results:
- In Rows: 18–24 inches between plants, 24–36 inches between rows
- In Raised Beds: A grid of 12–18 inches works well
- Tip: Wider spacing produces larger, more tender leaves—something I’ve consistently seen in side-by-side plantings.
Step 4: Water After Planting
Water thoroughly after planting to settle the soil around the roots. Keep soil consistently moist but not soggy during establishment. A 2-inch mulch layer will conserve moisture and reduce weeds.
Step 5: Protect Young Plants
Newly planted collards are magnets for pests like flea beetles and cabbage worms. I often use lightweight row covers for the first 3–4 weeks to give seedlings a strong, pest-free start.
My Experience
Planting collard greens isn’t complicated, but the details matter. With fertile soil, the right spacing, and steady moisture, collards grow into sturdy, reliable plants that produce for months. By following these steps—and learning from decades of gardening trial and error—you’ll be harvesting tender, flavorful collard greens long after planting day.
Collard Greens Planting Checklist
✅ Prepare the Soil
- Add 2–3 inches of compost or aged manure.
- Check pH (aim for 6.0–6.8).
- Ensure soil is loose and well-draining.
✅ Choose Seeds or Transplants
- Sow seeds ¼–½ inch deep.
- Thin seedlings to 18–24 inches apart.
- If transplanting, plant hardened-off seedlings when soil is at least 50°F (10°C).
✅ Space Properly
- In rows: 18–24 inches between plants, 24–36 inches between rows.
- In raised beds: 12–18 inch grid.
- One plant per 12-inch container.
✅ Water In
- Water thoroughly after planting.
- Keep soil consistently moist, not soggy.
- Apply 2 inches of mulch to conserve moisture.
✅ Protect Young Plants
- Use row covers to deter flea beetles and cabbage worms.
- Check seedlings regularly for early pest signs.
💡 Tip from My Experience: Wider spacing always produces larger, sweeter leaves in my raised beds. If you have the room, give your collards extra space!