Melons in Small Spaces: Container Growing Made Easy
Growing melons in containers is a great way to enjoy a summer harvest even if you’re limited on garden space. While traditional melon varieties can sprawl across large garden beds, container gardening is entirely possible when you choose the right variety, pot size, and growing method.
✅ Choose the Right Melon Variety
Not all melons are suited to container growing. For success, select compact, bush, dwarf, or mini-cultivars bred for small spaces. Here are a few excellent choices:
- ‘Sugar Baby’ Watermelon – A small icebox watermelon, grows well in large containers.
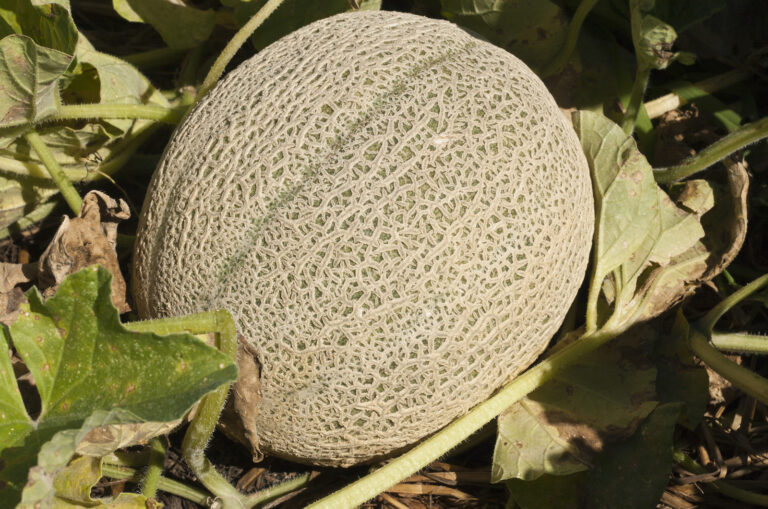
- ‘Minnesota Midget’ Cantaloupe – Early to mature and compact.
- ‘Bush Sugar Baby’ Watermelon – A bush-type version ideal for tight spaces.
- ‘Golden Jenny’ or ‘Tasty Bites’ – Small, sweet melons for containers and vertical growing.
Look for varieties that mature in 70–80 days and produce fruits under 5 pounds for best container results.
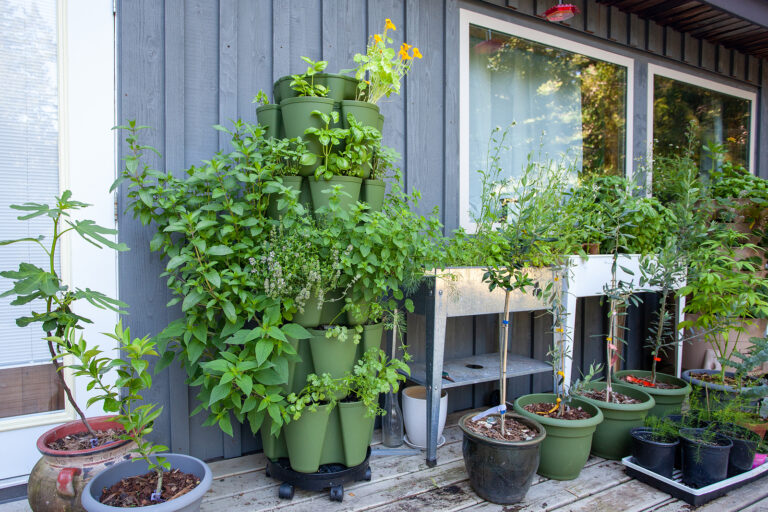
🪴 Use a Large Enough Container
Melons need room for roots and vines to spread:
- Use a container at least 18 inches wide and deep (bigger is better).
- Use a pot with excellent drainage holes.
- Consider fabric grow bags or half whiskey barrels for their breathability and depth.
Fill the container with a well-draining, rich potting mix. Add aged compost and a slow-release organic vegetable fertilizer at planting time.
🌞 Provide Full Sun and Warm Soil
Melons thrive in heat. Place containers where they’ll receive at least 8 hours of direct sunlight each day.
To warm the soil early in the season, preheat your container soil with black plastic or landscape fabric a week or two before planting.
In short-season regions, start seeds indoors 2–3 weeks before the last frost and move them outdoors once daytime temps stay above 70°F (21°C).
📏 Train Vines Up a Support
Melons can be trained vertically to save space and improve air circulation. Install a sturdy trellis or cage at planting time.
Use soft ties to guide vines up the support. As fruit develops, use slings made of cloth or old T-shirts to support the weight of maturing melons.
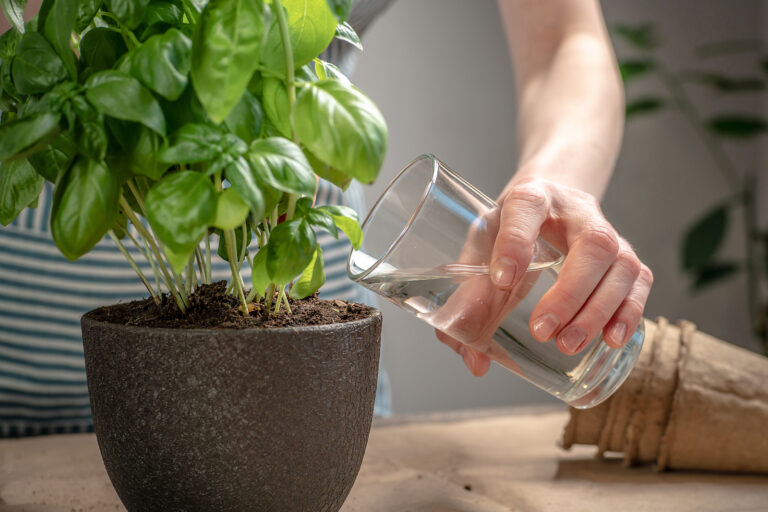
💧 Water and Feed Consistently
Container soil dries out faster than garden soil. Keep the soil evenly moist, but not soggy:
- Water whenever the top 1–2 inches of soil feels dry.
- Use drip irrigation or a watering wand to avoid wetting the leaves.
Feed melons every 2–3 weeks with diluted fish emulsion or compost tea, especially once flowering begins.
🐝 Encourage Pollination
Hand-pollinate flowers if bees are scarce. Use a small paintbrush to transfer pollen from male to female flowers (which have a small bulge behind the bloom).
Once fruit sets, reduce watering slightly to concentrate sugar levels and increase sweetness.
🛠 Container Melon Growing Tips:
- Mulch the soil surface with straw or shredded leaves to retain moisture.
- Rotate the container weekly to ensure even sun exposure.
- Protect from strong winds—secure trellises and heavy pots.
- Harvest when the fruit smells sweet and slips from the vine with gentle pressure.
Final Thoughts
Growing melons in containers is a satisfying challenge that rewards you with fresh, flavorful fruit—right from your patio, balcony, or deck. With the right variety, container, and care, you can enjoy sweet melons no matter how small your garden space.
✅ Container Melon Growing Checklist
1. Choose the Right Variety
- Select a compact, bush, or dwarf melon variety
- ☐ ‘Sugar Baby’ Watermelon
- ☐ ‘Minnesota Midget’ Cantaloupe
- ☐ ‘Bush Sugar Baby’ Watermelon
- ☐ ‘Golden Jenny’ or ‘Tasty Bites’
2. Select a Proper Container
- Use a container at least 18 inches deep and wide
- Ensure good drainage holes
- Fill with rich, well-draining potting mix
- Mix in aged compost and slow-release fertilizer
3. Provide Heat and Light
- Place in full sun (8+ hours daily)
- Warm soil early with black plastic (optional)
- Start indoors if needed, 2–3 weeks before the last frost
4. Add a Trellis or Support
- Install trellis or vertical support at planting time
- Use soft ties to train vines upward
- Use slings to support growing fruits
5. Water and Feed Properly
- Water when top 1–2 inches of soil is dry
- Avoid wetting leaves—use soaker hose or drip irrigation
- Feed every 2–3 weeks with:
- ☐ Compost tea
- ☐ Diluted fish emulsion
6. Pollination
- Encourage bees or hand-pollinate flowers
- Identify female flowers (with small bulge at base)
7. Monitor and Harvest
- Reduce watering slightly after fruit sets to enhance sweetness
- Check for ripeness—fragrant aroma and easy slip from vine
Bonus Tips
- Mulch to retain moisture and suppress weeds
- Rotate the container weekly for even sun
- Protect from wind and secure trellis
Melons Overview: The Ultimate Guide to Growing Melons: From Planting to Harvest
Watermelons: How to Grow Watermelons from Seed to Harvest: Ultimate Guide for Sweet, Juicy Success
Related Posts:
Planting & Growing Basics
- When to Plant Melons for the Best Harvest
- Best Soil and Location for Growing Melons
- Planting and Spacing Melons Step-by-Step
- Growing Melons on Mounds and Hills: A Proven Method for Stronger Plants and Sweeter Fruit
Care & Maintenance
- Watering and Feeding Melons for Maximum Sweetness
- Caring for Melons Through the Season: A Practical Guide
- Melon Pollination: How It Works and When to Lend a Hand
- Melon Pests and Diseases: Identification and Control
Space-Saving Techniques
- Melons in Small Spaces: Container Growing Made Easy
- Growing Melons Vertically: Save Space and Boost Harvests
- Trellising Cantaloupes: Why and How
Ripeness & Harvesting
- How to Tell When Melons Are Ripe
- How to Know When Cantaloupes Are Ripe: Slip Stage and Other Signs
- The Gardener’s Guide to Harvesting and Storing Melons for Peak Flavor
Melon Types & Varieties
- Summer Melons vs Winter Melons: Know the Difference
- Growing Gaila, Honeydew, and Crenshaw Melons
- Best Cantaloupe Varieties for Home Gardens
Enjoying the Harvest