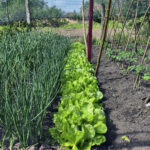
A garden planting bed is home to your vegetables, herbs, and flowers. You want a planting bed in which plants will thrive and you want a planting bed that is easy to make and easy to maintain.
Making a new garden planting bed should be a one-time investment in sweat equity.
Once a new bed is made, if you feed the soil–which in turn will feed your plants, the new bed in short order will become an established bed that will be productive for many years.
Your labor to get the bed established will pay harvest dividends for years to come.
10-steps to make a new garden planting bed
1. Measure the area you have available to plant a garden. Use graph paper to conceptualize your garden beds before you make them.
2. Make sure the site you choose for each bed gets at least 6 to 8 hours of sun each day. Make sure that building and tree shadows do not fall across the bed. Be sure the bed is not in the path of steady or prevailing winds. Make sure the area is well-drained and that water does not stand on the ground after a rain. Locate the bed close to a hose bib or water source. Locate the bed as close to the house or garden shed as possible.
3. A planting bed should be no wider than the reach of your arm to the center of the bed; this will allow you to work the center of the bed from either side without standing on cultivated soil. If your bed can be worked from only one side, then its width should be the length of your arm from the edge of the bed to the back of the bed. Most beds should not be more than 48 inches (1.2 m) wide.
4. The length of the bed should not be longer than you want to walk from one side of the bed to the other. If the bed is too long it may be difficult to lug tools, soil amendments, and hoses to the other side. Don’t make the bed so long that you are tempted to jump across it. Again you do not want to step into a cultivated bed.
5. Use wooden or metal stakes as corner markers for the bed. Drive a stake into each corner. Tie garden twine to each stake and check to make sure that each corner is squared.
6. Leave room for a path all around the outside of the planting bed. If you are using a wheelbarrow or garden cart, a path about 72 inches (1.8 m) wide should be wide enough to maneuver the cart. Make the path a least wide enough for you to turn around comfortably and set down a basket at harvest time. The path can be scraped bare soil, grass, groundcover bark, stepping stones, or wooden planks. A garden planting bed should be easy to work in all weathers; make sure the path material is suitable for all weathers.
7. A planting bed can be a ground-level bed, a mounded bed, or a raised bed. The soil in a mounded or raised bed will warm more quickly in spring and will be well-drained. A mounded or raised bed should be at least 4 to 6 inches higher than the surrounding ground. You will need to move garden soil from the paths into the beds or bring soil and planting mix to the raised or mounded bed.
8. If the ground has never been used as a planting bed before, clear away all sod and grass, weeds, rocks, and stones. Make sure there are no hidden utility lines beneath the bed.
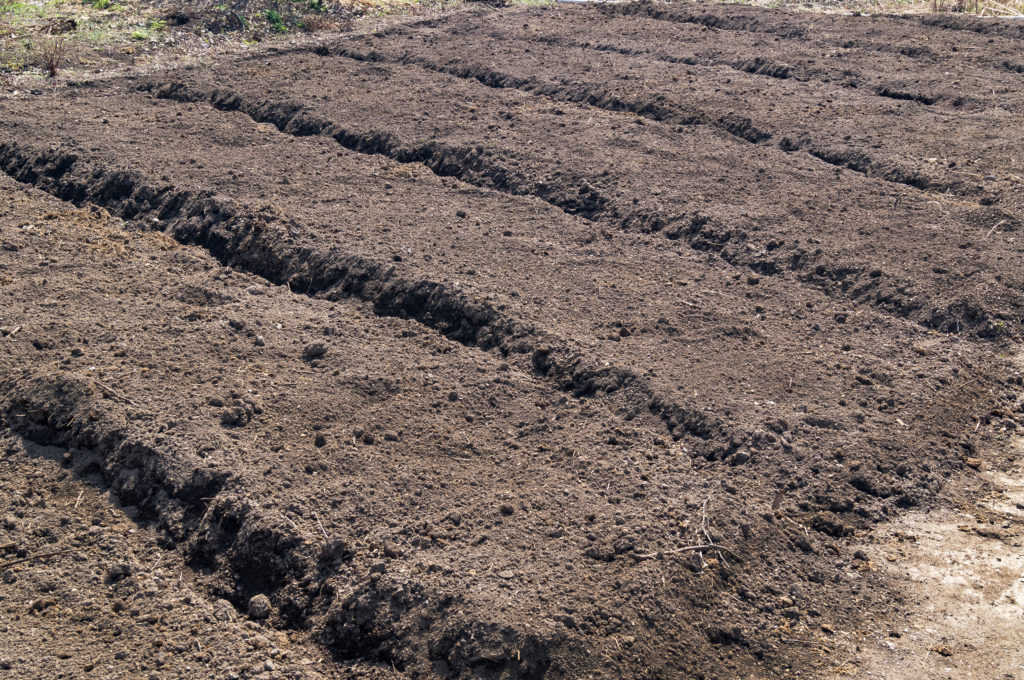
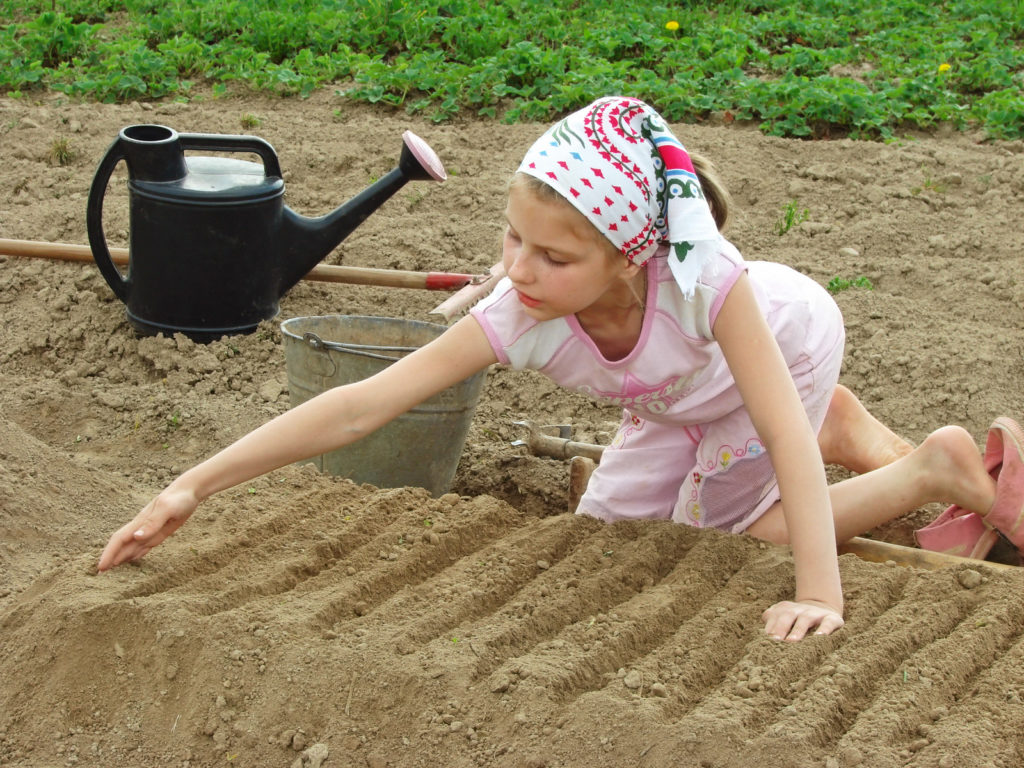
9. Turn the soil to a depth of a shovel blade—12 inches—and remove any pebbles or rocks and old roots. If the soil is heavy with clay, you may want to double-dig the bed to a depth of 24 inches—two shovel blades deep. Pulverize dirt clods, add the compost or planting mix, and rake the bed smooth.
10. Once the planting bed is established you will never deep dig or step into the bed again. You will simply add aged compost and planting amendments across the top of the bed to feed the soil. A good plan is to feed the soil at least twice a year by adding 2 to 3 inches of organic planting mix or a combination of aged steer manure and aged compost.
Prepare an established planting bed for a new season
Newly established planting beds and planting beds that have been used in past seasons must be readied for the coming growing season. To prepare an established planting bed for the growing season you must decide what is going to be planted in the bed. While most planting beds are basically prepared in the same way, some plants have special needs so you will want to be sure the bed is right for the plants you are growing.
For each new growing season and for new plantings later in the season, make sure the planting bed is friable, fertile, and easy to work.
Friable simply means the soil crumbles easily. If you take up a handful of soil and make a fist then open your hand, friable soil will crumble apart. Friable soil is made of aggregates of humus, organic matter, and minerals. Friable soil is well drained and loose—not sandy and not clay; plant roots easily grow through friable soil.
To make soil friable, add aged compost to the planting bed regularly. Add cow or chicken manure to the bed at least once a year. Soil can also be made friable with the addition of grass clippings, dry leaves, and commercial soil amendments called garden compost, garden soil, or planting mix.
Fertile soil is soil rich in nutrients needed for plant growth. The major plant nutrients are nitrogen, phosphorus, and potassium. Plants also need micronutrients—namely iron, manganese, copper, zinc, boron, and molybdenum. Humus-rich soil will be rich in nutrients plants can readily absorb. Humus is highly decomposed organic matter; organic matter that has been processed by microorganisms.
The best way to encourage the production of humus and fertile soil is to feed your planting beds aged compost on a regular basis. Aged compost will still contain some organic fibers. When aged compost is processed—that is eaten and excreted—by soil microorganisms, soil bacteria, and worms, humus will be added to the soil and fertility increased.
Easy-to-work soil is soil that is fertile and friable.
Tools for Vegetable Gardeners at Amazon:
- A.M. Leonard Straight Rake with Ash Handle
- All-Steel Nursery Spade with D-Grip Handle
- 4-Tine Spading Digging Fork with D-Handle
- Digital Soil pH Meter Outdoors Greenhouse
- Earthwise Handheld Electric Fertilizer Spreader
Add aged compost and manure
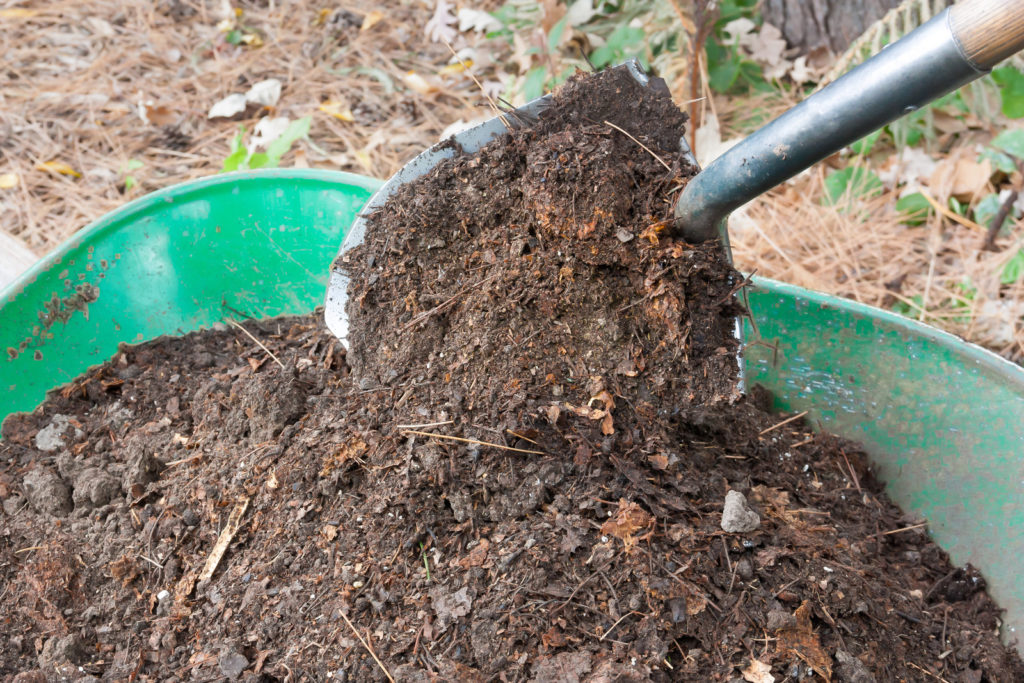
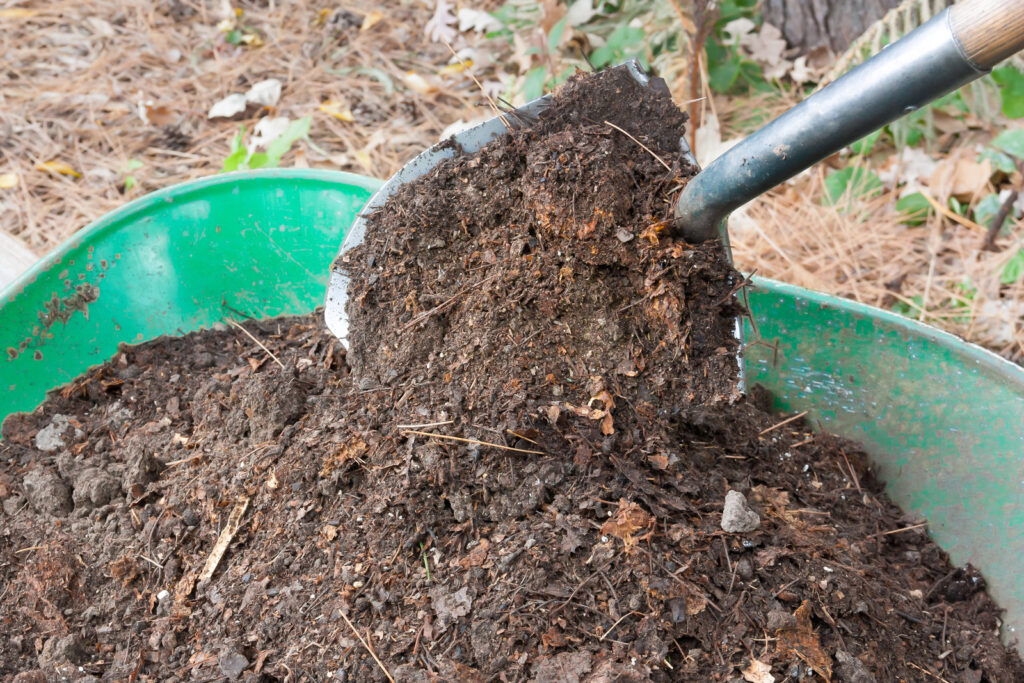
Prepare established beds by adding a layer of aged compost or commercial organic planting mix across the top of the bed; this is often called sheet composting. A 2-inch layer of aged compost is best added when the bed is cleared at the end of a growing season. That will allow winter rains and snow to carry the compost down into the soil. Sheet composting can also happen in late winter or early spring; then you may want to lightly turn the compost under to encourage further decomposition.
In addition to aged compost or organic planting mix, you can add more nutrients and organic matter to a planting bed by also adding an inch of aged cow or chicken manure across the bed. Aged manure is best added in late autumn or early winter to allow for winter elements to work it well into the soil.
More tips at No-Dig, No-Till Gardening

Raking and tilling
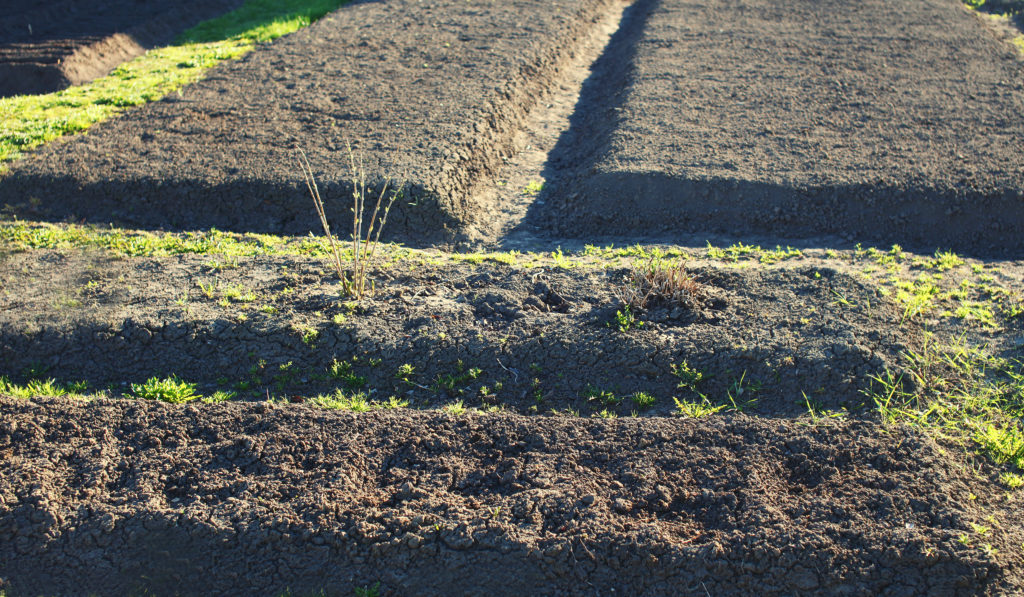
The soil in an established bed that has sat through the winter may have formed a crust across the top of the bed. This usually happens as rain and snow compact the soil. Breaking the crust with a garden fork or rake or a small, lightweight garden tiller if planting beds are large is important before seeds are sown or transplants set out.
Turn the soil lightly, not deep but shallow. Do this with your garden fork, a steel rake, or a tiller. Early in the season moist soil microorganisms and worms will be deep in the soil and are unlikely to be turned by a steel rake. Later in the season as the soil warms, worms, and microorganisms will be closer to the soil surface and may be easily disturbed or injured by cultivation.
Raking and tilling will further work compost and amendments into the soil. If aged compost was not added in the fall or winter, do it in early spring during cultivation.
Adding fertilizer
Aged compost will contain all of the nutrients plants need to grow. If seed sowing or transplanting instructions call for the addition of fertilizers, add them after the soil has been lightly cultivated. Fertilizers can be broadcast across the planting bed or added in pinches to planting holes. Turn fertilizers under lightly with a rake.
More tips at Organic Fertilizers and Soil Amendments.
Remove weeds
Beds that have been lightly cultivated can be allowed to sit a week or two before planting. That will be enough time for the weed seed that has been turned up to germinate. Weeds can be hand-picked or turned up with a hoe. Just before planting, lift any weeds that have germinated. Be sure to take up weeds roots and all.
Rake again
The final step before planting is to rake beds and rake them again. A steel rake will turn up pebbles, rocks, or root fragments in the soil. Raking will remove all clods and lumps in the soil. Raking will turn compost, amendments, and fertilizer into the soil. The bed should be finely finished and level and even across the top when you are finished raking.
Soil tests
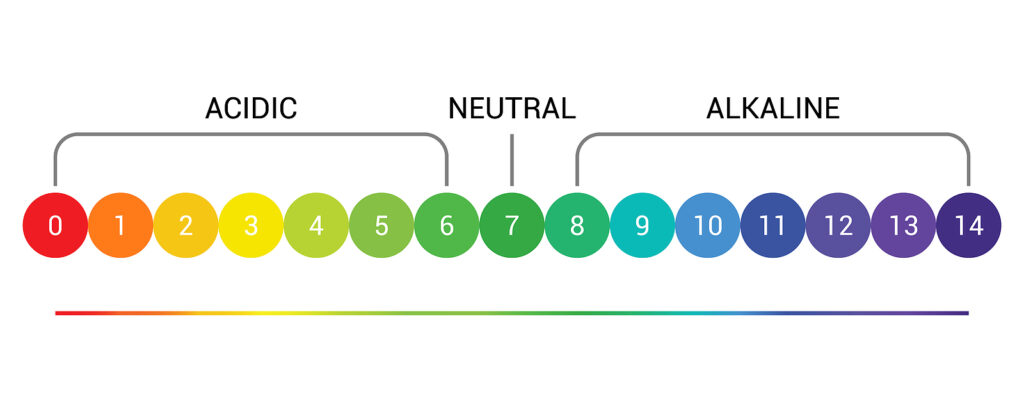
If an established planting bed has declined in productivity in the past few years, a soil test can help you figure out what may be the cause. Soil fertility and the work of soil microorganisms and worms are greatly affected by soil chemistry. A soil test can tell you a lot about soil chemistry—it will tell you if the soil is acidic or alkaline. Soil too acidic or too alkaline will inhibit the chemical reaction of mineral elements in soil moisture—the result is almost always poor plant growth.
A soil test can tell you if a planting bed needs lime. Lime is primarily used in the garden as an alkalizer—that is to raise the pH factor and lower the acidity of the soil. Conversely, a soil test may tell you that the soil is too alkaline and needs calcium sulfate—which will lower the pH.
Acidic soil is found in humid and wet regions where organic matter is slow to decompose. Alkaline soil is commonly found in semiarid regions, near salt marshes, and in areas where the underlying rocks are limestone.
In the United States, the so-called “lime line” which runs from western Minnesota down through eastern Texas to the Gulf of Mexico divides the country into two parts: to the east one commonly finds acidic soil and to the west alkaline soil.
Knowing soil acidity is important. Soil that is too acidic or too alkaline can inhibit the availability of mineral nutrients in the soil to plants and can slow down the work of beneficial microorganisms and soil bacteria—all of which help plants grow.
When mineral elements are unable to mix with soil moisture and soil nutrients are unavailable to plant roots the elements are said to be “locked up.” When the soil pH is right for the plants growing in the planting bed, plants will thrive.
When in doubt, the addition of aged compost or commercial organic planting mix will almost always move the soil to a neutral pH.
The pH scale
The pH scale number 1 to 14; 1 is extremely acidic and 10 or greater is extremely alkaline. A peat bog can have a pH as low as 3; an arid desert can have a pH as high as 10 or 11. A pH of 7 is neutral. Most plants—not all—find a pH of 6.5 to 7 optimal; the same is true for soil microorganisms.
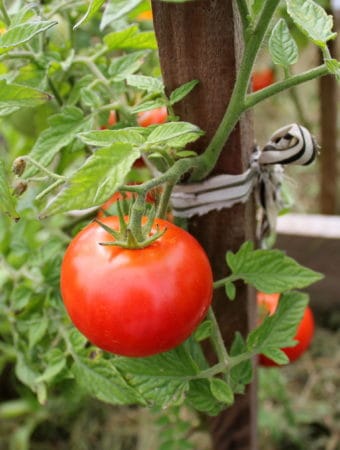
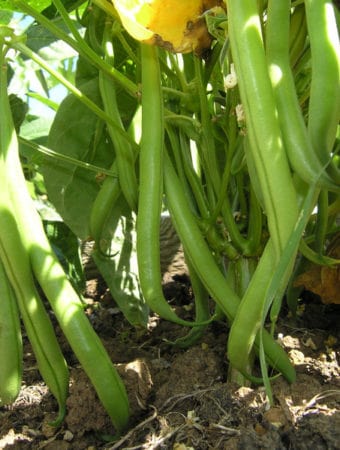
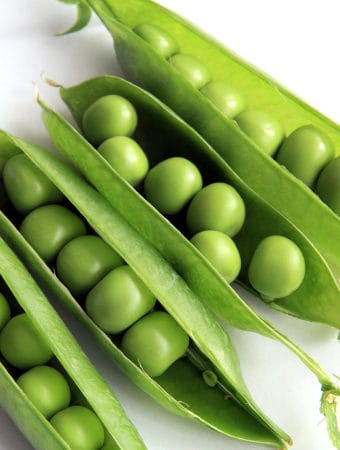
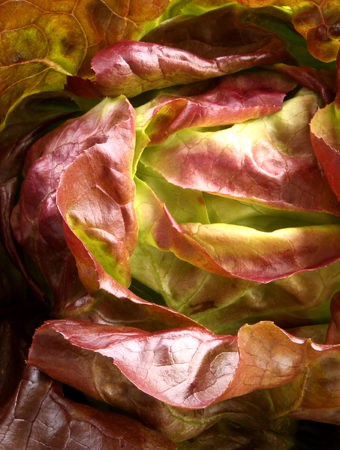
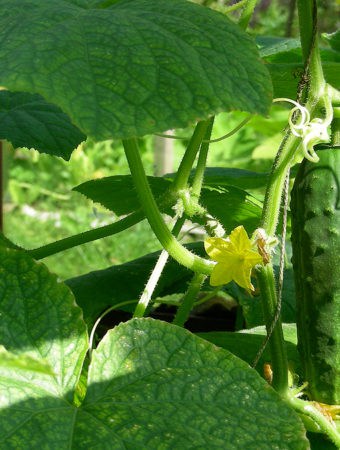
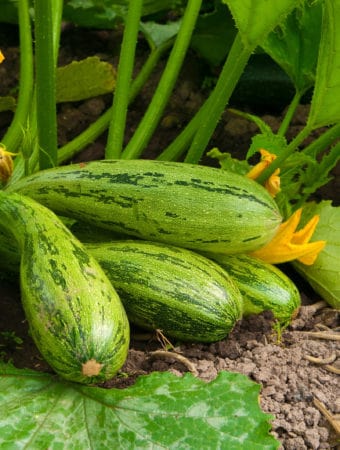
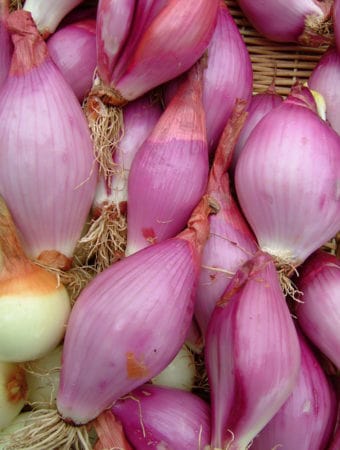
Vegetables that like slightly alkaline soil—6.5 or slightly higher—include asparagus, beans, beets, cabbage, cantaloupe, cauliflower, celery, cucumbers, lettuce, onions, parsnips, peas, rhubarb, and squash.
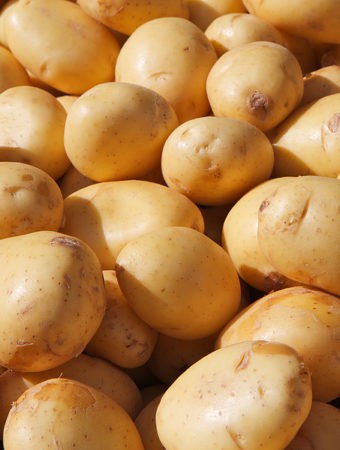
Vegetables that like slightly acidic soil—5.5 to 6.5—include pumpkins and turnips. Vegetables that can tolerate acidic soil as low as 4.5 include peanuts, potatoes, radishes, sweet potatoes, and watermelon. Blueberries, blackberries, and raspberries also prefer acidic soil.
Old-time gardeners tasted the soil to tell if it needed liming or sulfur. If the soil was sour to the tongue, it was acidic and needed liming. If the soil was bitter tasting it was termed “sweet”—the opposite of “sour”; sweet soil is alkaline the opposite of acidic, and benefits from the addition of sulfur.
Adding lime or sulfur to a garden bed will change the soil pH, but only in small increments. You can easily over-apply lime or sulfur so it’s important to follow the directions on package labels. Better than adding lime or sulfur is the addition of aged compost to planting beds. You can never over-apply aged compost to a planting bed.
How to test your soil
A soil test will tell you if the soil in your garden is rich or poor in minerals and nutrients/
Plants depend upon soil nutrients and moisture for growth. If the soil in your garden lacks nutrients, plants will grow poorly or die. The relative acidity or alkalinity affects how soil nutrients become available to plants.
You can test the soil in your garden yourself, or you can send it to a soil testing lab.
Home do-it-yourself soil-test kits test for soil pH (the relative acidity or alkalinity) and major soil nutrients–nitrogen, phosphorus, and potassium. DIY soil-testing kits do not test for micronutrients or organic matter content. The advantage of a DIY kit is that you can test individual beds and get immediate results.
Professional laboratory tests—from a commercial lab or from your state Extension Service–provide more information than home tests, usually pH, nitrogen, phosphorus, and potassium levels, values for secondary mineral elements and micronutrients, and also a report on organic matter in the soil. Professional lab tests cost more time and money than DIY tests.
How to take a soil sample
Take a soil sample on a dry day. Use a clean trowel or spade or a soil sampling probe—a length of pipe with a sharp to pierce the soil.
- Dig a hole six to eight inches deep.
- Take a thin slice of soil about an inch thick from the straight side of the hole. Trim the slice into thirds along its length—use the center or inner slice for the test.
- You can test each planting bed or take half-dozen samples from around the garden equally distant apart. Mix the samples in a plastic bucket; take your sample from this mix. (If you know your garden has very different types of soil in different areas of the garden, test each section separately.)
Soil test kits
Home soil test kits commonly use pH-sensitive paper or film or water-soluble powder. Once you have a soil sample, add mineral-free distilled water to make a slurry then dip in the pH-sensitive paper or add a bit of your sample to the pH-sensitive powder (just follow the instructions that come with your soil test kit).
Compare the color of the paper or solution to those on the chart provided with the kit. Your soil will fall between a pH of 4.5 and 8.5. A chart with the kit will tell you if your soil requires amendments to change the pH or additional fertilizer for the plants you want to grow.
When to test your soil
Test the soil periodically throughout the growing season.

How to build healthy garden soil
Vegetable garden success—growing healthy plants and reaping a good yield—is closely tied to the health of your vegetable garden’s soil. Here are a few tips to build healthy vegetable garden soil.
- Establish permanent narrow planting beds and permanent walkways so you never walk on or step into planting beds. Small, permanent beds are ideal for growing vegetables. A bed 3 or 4 feet (1-1.2m) across and 6 to 8 feet (1.8-2.4) long is a manageable size. Don’t make planting beds too wide; you want to be able to reach into the center of a small bed without stepping on the soil. Permanent beds will not need to be reworked season after season—simply add aged compost and manure to the bed each year to renew soil nutrients.
- To start a new garden, remove whatever is growing there—usually lawn or weeds. Be sure to remove not only the top growth but the roots as well. Do not turn lawns or weeds into the soil. Many types of grass and weeds are spread by creeping roots; don’t leave roots in the soil. Never allow weeds or grasses to flower; weed and grass seeds can lay dormant in garden beds for years before sprouting to compete with vegetables.
- Dig or till the soil when it is just moist—not too dry or too wet. The best soil is almost cake-like in texture—a combination of solids and small air spaces. Digging or tilling when the soil is too wet or too dry can damage soil texture making it difficult for plants to thrive.
- Turn the soil lightly; a half-to-full shovel turn of the soil is more than enough. Avoid rototilling the soil unless you have to. Beneficial microorganisms and worms live in the soil and enrich the soil; do your best to not disturb them.
- Test soil texture and moisture by squeezing a handful of soil in your hand; if the soil forms a tight ball or you can squeeze water out of it, it is too wet. (Wait a few days before working the soil.) If the soil will not form a ball, it is too dry. (Soak the planting beds with water and you will be able to prepare the bed the next day.) If the soil forms a ball that crumbles apart when you just tap it, it is just right and ready to work.
- Use a spading fork to turn the top 4 to 6 inches (10-15cm) of a new planting bed and to break up clods into small pieces not larger than ½-inch across. Remove stones and rocks from vegetable beds. The first time preparing a new planting bed, use a spading fork to loosen the soil to about 6 inches (15cm) deep; thrust or drive the fork into the soil as deep as you can and rock it back and forth every few inches.
- Test the soil and adjust the soil’s pH if necessary. A soil test will tell you the soil’s pH (how acidic or alkaline it is) and if it lacks any nutrients.
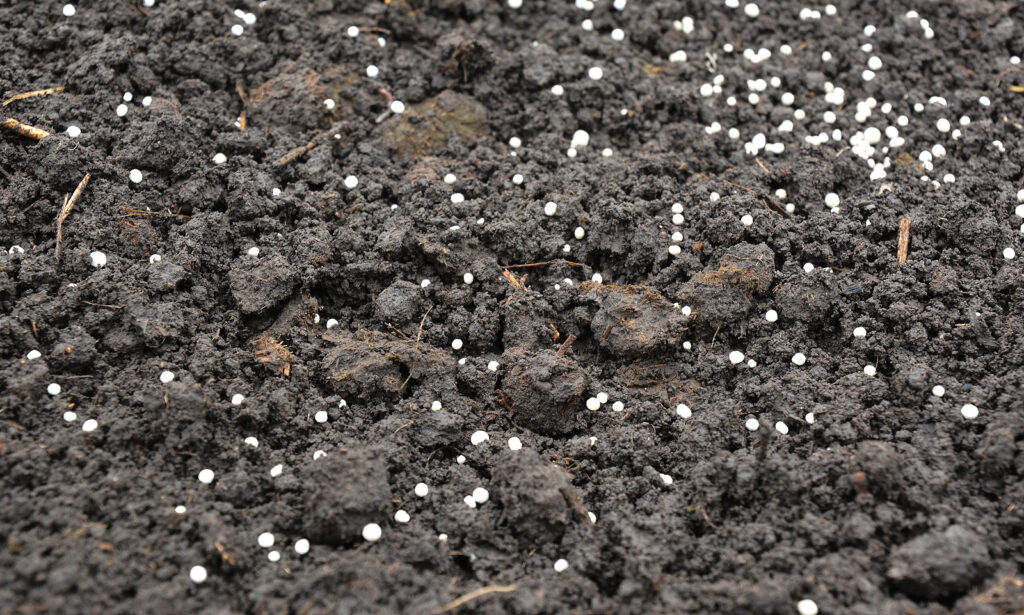
- Add organic amendments and nutrients if your soil test calls for it. You will find a variety of organic fertilizers at a nearby garden center. A balanced organic fertilizer such as 5-5-5 is usually a safe choice. You will also find lime and sulfur to adjust the soil’s pH. Be careful when applying fertilizer, lime, or sulfur to your garden. Don’t add what your garden does not need; too much fertilizer can be as bad as not enough.
- Add 1 to 2 inches(2.5-5cm)of organic matter (aged compost or chopped leaves) to the planting bed once the soil has been loosened. Organic matter releases nutrients to the soil as it breaks down. You can also add a balanced organic fertilizer to the soil if your soil test calls for it. (Commercial organic fertilizers have a label with a series of three numbers such as 5-5-5. These three numbers refer to the percentages of nitrogen, phosphorus, and potassium in the package; if the amounts are roughly equal the fertilizer is called balanced.) Always follow label instructions when applying a commercial fertilizer.
- Once aged compost, organic fertilizers, or other soil amendments have been added to the planting bed, turn the soil to 6 inches (15cm) deep and rake the soil level; break up soil clumps and remove any remaining stones.
- Use organic, natural herbicides, and organic pest and disease controls.
End-of-season soil and planting bed care
Autumn is a good time to begin preparing the vegetable garden for spring planting.
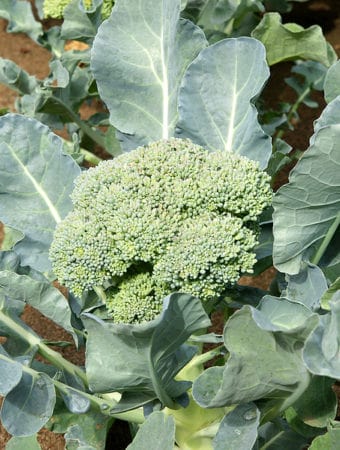
Remove woody and diseased plant debris from the garden as soon as the harvest is complete–pull up tomato vines and beans and remove late cabbage, cauliflower, and broccoli stalks. Plant debris that is not diseased can be finely chopped and added to the compost pile or turned under to decompose in the garden during winter. Diseased plant debris should be disposed of or burned.
If you are planning a new garden for spring, autumn is the time to remove the sod and perennial weeds and turn the soil where the new garden will grow.
Spading, forking, and double digging will be easier in autumn while the ground is relatively dry and before winter snows and spring rains waterlog the soil. The best time to cultivate is when the soil is damp but not soggy. An ideal soil has a crumbly texture. Soil worked too soon in spring can become compacted. Heavy, clay soil and hard clods exposed to winter freezes and thaws will break apart more easily.
There are clear advantages to preparing the garden for spring planting in autumn:
- Compost and manure added in autumn have added time to decompose and release nutrients to the soil. Fertility and soil structure is improved.
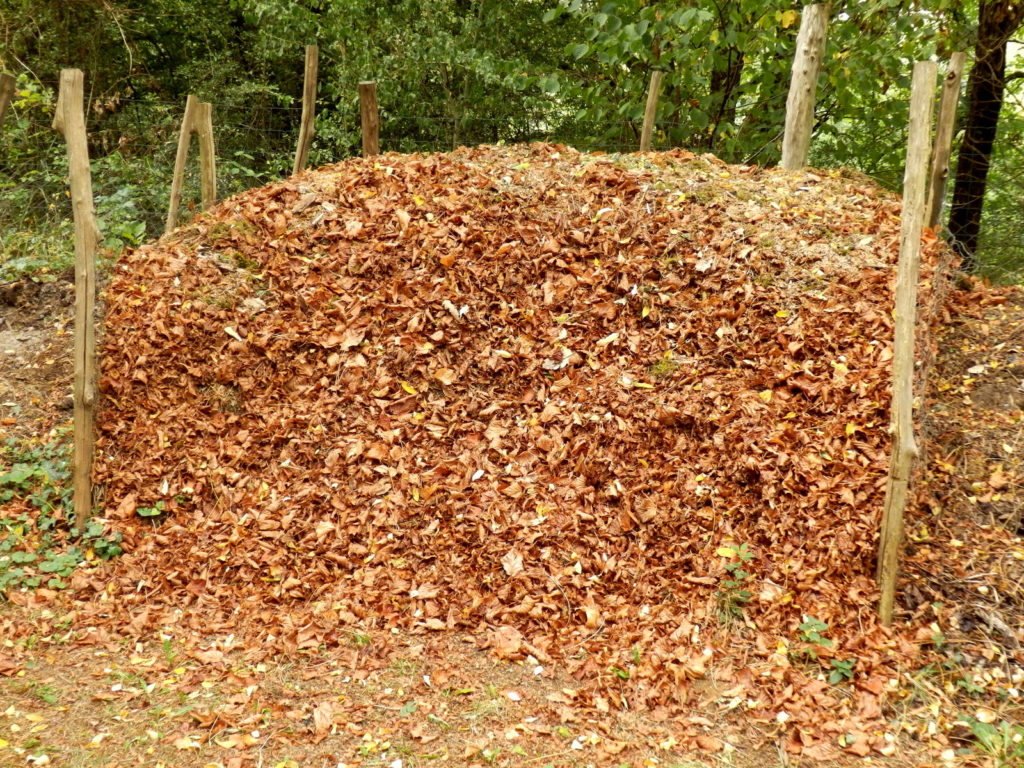
- Leaf mulch is available; shred leaves with the lawnmower and spread them across beds to decompose through the winter.
- Turned soil is better able to absorb winter rains and melting snow.
- Insects are exposed to birds in autumn and cold temperatures in winter; pests will have less opportunity to over-winter in the garden.
- Less groundwork will be required in spring; planting can begin as soon as the ground warms and the next harvest will come sooner.
Autumn is a good time to send a soil sample to the county extension for testing. Compost, manure, and lime intended to adjust the soil pH are best added in autumn and allowed to decompose through winter. Add lime, phosphorus, and other soil amendments as prescribed by the soil test.
Once the planting beds are cleared, turned, and amended, plant green manure cover crops in autumn for turning in winter or early spring. Winter green manures–Austrian peas, crimson clover, hairy vetch, and winter rye–will improve soil fertility and structure and protect the garden from erosion.
Autumn mulch will protect the gar
Also of interest:
Improving Garden Soil with Organic Amendments
Vegetable Plant Nutrients: Sources and Deficiencies
Making Compost for Your Vegetable Garden
Garden Planning Books at Amazon:
- Vegetable Garden Almanac & Planner
- Kitchen Garden Grower’s Guide Vegetable Encyclopedia
- Vegetable Garden Grower’s Guide
- Tomato Grower’s Answer Book